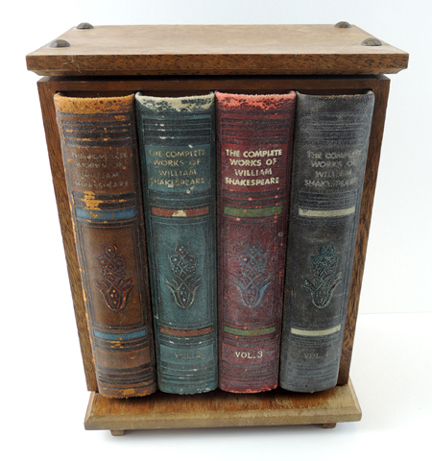
 Yesterday’s holiday means a short post today. So! I thought I would share my absolute most favorite literary find, ever. Thems who knows me can confirm – I am a yard sale fanatic. I spot a yard sale arrow, the car comes to a screeching halt, and I execute a tidy little 3-point turn in a cloud of road dust. Why? Because I find treasures like the one you see above.
Yes, it may look like a four volume set of the “Complete Works of William Shakespeare,” but this is, in fact, a mini liquor cabinet, complete with a glass decanter for your brandy. HOW CRAZY COOL IS THAT???
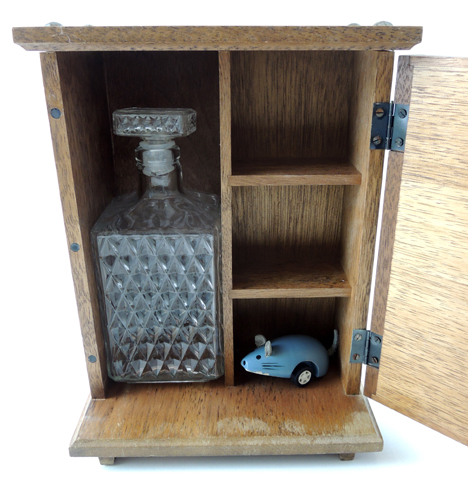 I pounced on this many years ago. It cost me $5. Alas, the shot glasses that accompanied the set were missing from the get go, but my little motorized mouse has found a comfortable home there.
Note: I haven’t actually filled the bottle with brandy. Nor have I even tasted brandy (I know, right?). The running joke is that I’ll toast the publication of my first children’s novel with a big glassful of it. Someday…!


 Flip the puppet back and forth to reveal a simple, dynamic story! This project was part of our library’s World Kamishibai Day
 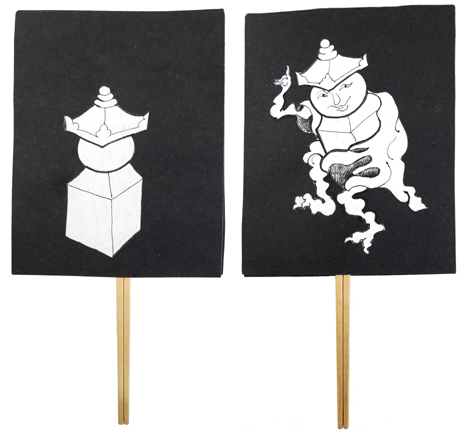 It’s way cooler to see the puppet in action though…
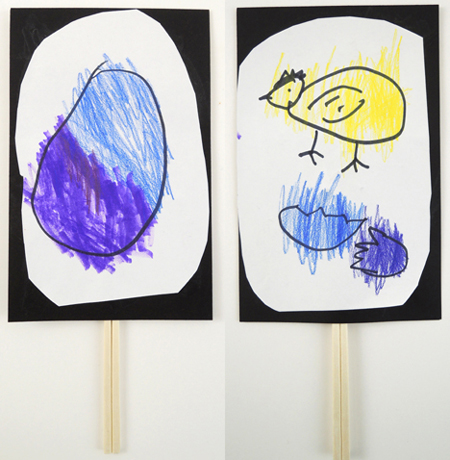
 A very sweet butterfly…
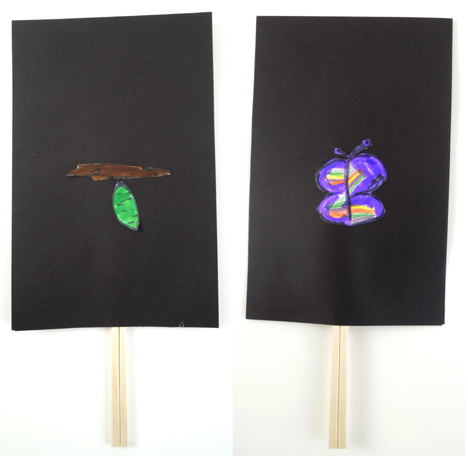 A single fish that goes “Pop!” and turns into a school of fish…
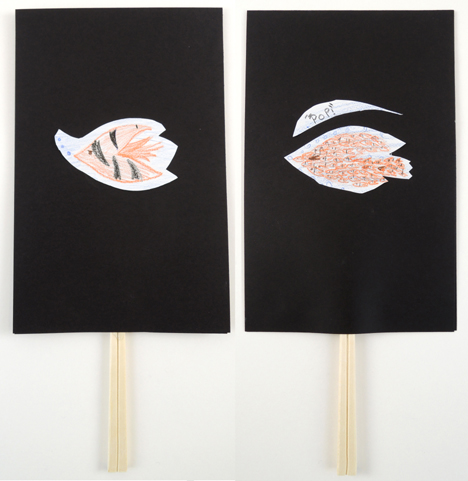 An exploding firework…
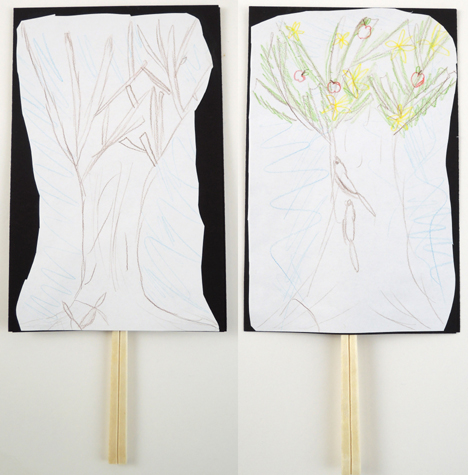
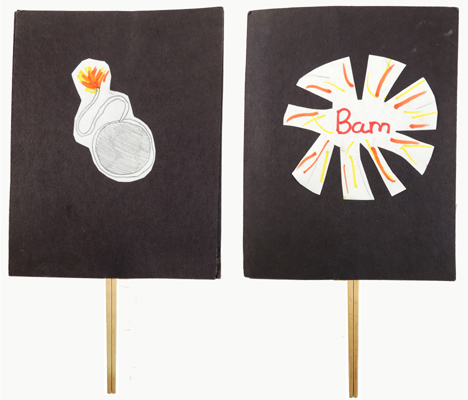 And a girl that duplicates into 5 girls!
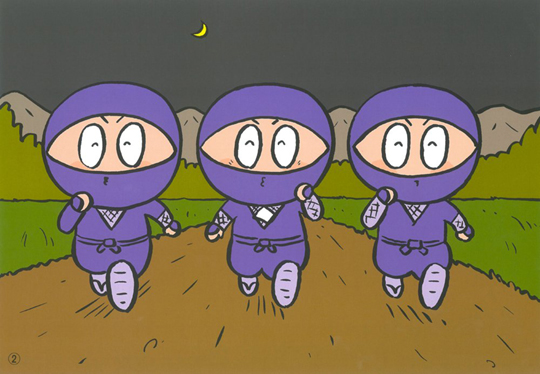
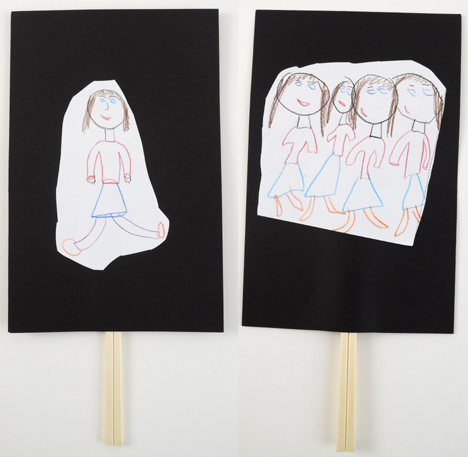 If that last one seems a little confusing, it was inspired by a kamishibai performance of Manmaru manma tantakatan (written by Fumiko Araki, and illustrated by Takuya Kusumi). It’s about a ninja boy who duplicates himself to foil a wicked serpent.