
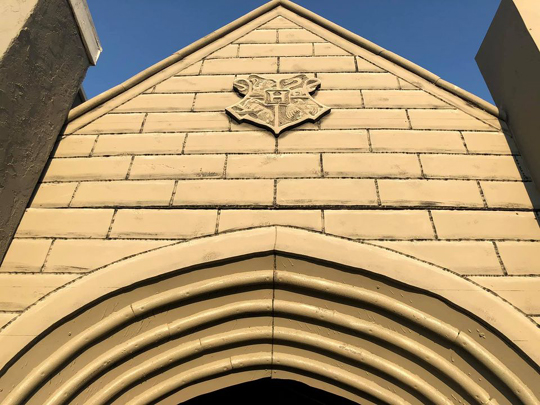
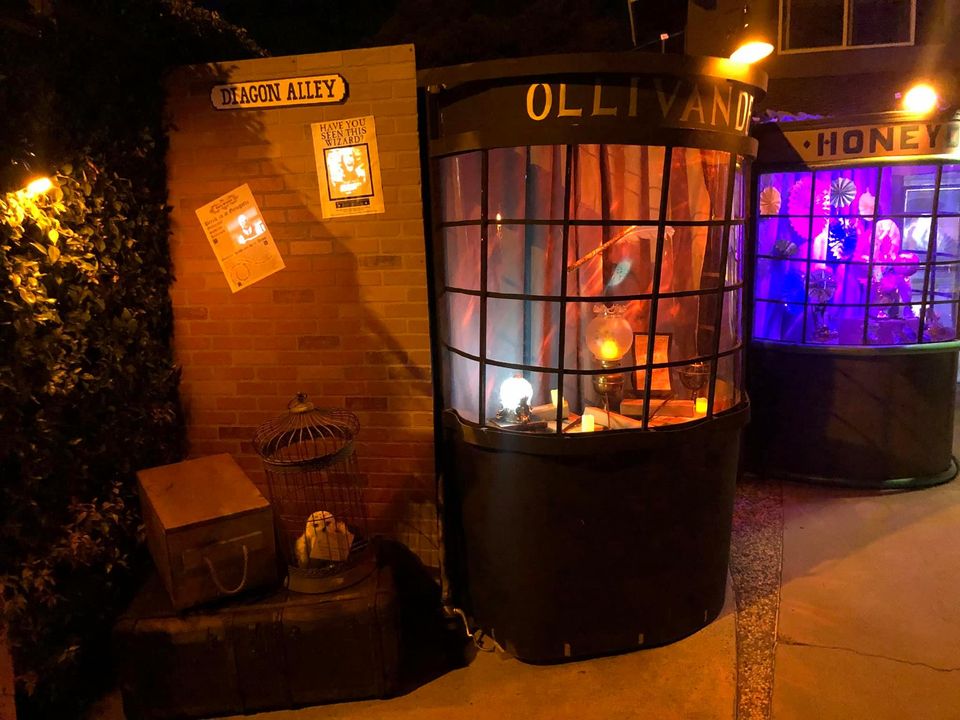
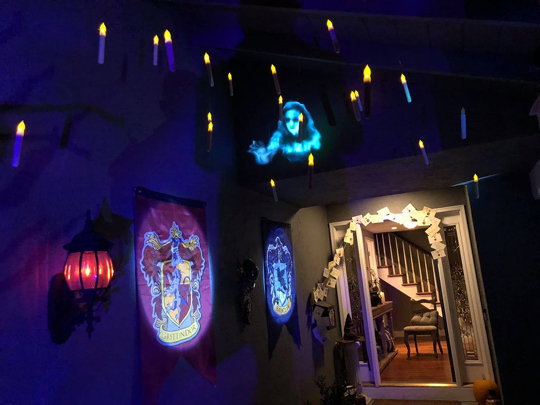
Ready for a stroll down Diagon Alley? Perhaps gaze upon an ever-shifting gothic window? Or maybe you’d like to enjoy the portrait gallery before you ramble through the graveyard? Behold the astounding efforts of Matthew Howard and his family, who have been upping the Hogwarts Halloween stakes since 2018. Katie chatted with Matt about this amazing endeavor!
Who had the original idea to start decorating your house for Halloween?
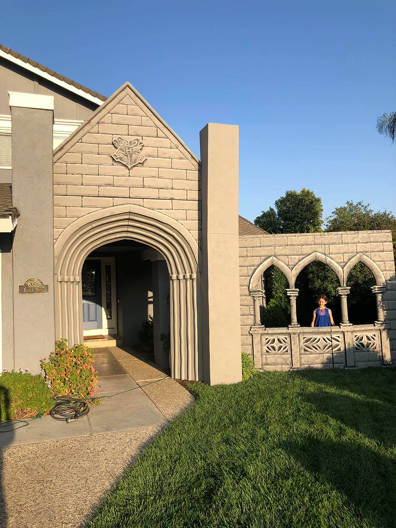
It started in 2017 when we wanted to bring more trick or treaters into our neighborhood. We placed a homemade cutout of Oogie Boogie from The Nightmare Before Christmas in our front window and backlit it to create a silhouette. It was really well received. Not only was it fun for the community, it was fun for our whole family to build. The following year, my wife, Brianna, said, “I wish I could go to Hogwarts. Wouldn’t it also be fun if we had our own Diagon Alley in the front yard?” And so the construction began.
Do you have any experience in construction or set design? Or have you been learning as you build?
I don’t have any construction or set design experience, but as a kid I was always encouraged with “why don’t you build a fort?” when I was bored. It started with pillows and blankets, but as I got older, I started using lumber and building treehouses. Between that, and a great art class in high school, it gave me a solid foundation to build this project upon.
Is this endeavor a family project?
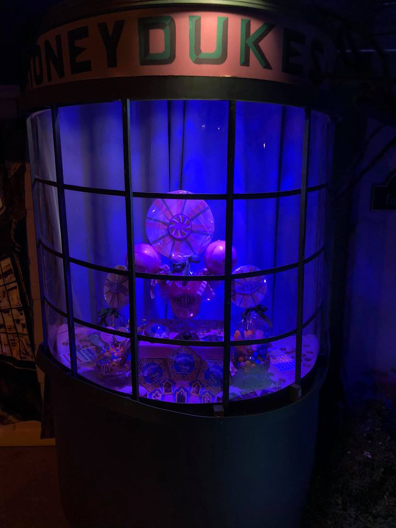
The whole family participates in building the sets. I always ask my daughters if they want to help. They have helped trace the initial projections onto wood, learned to use power tools safely with my supervision, but their favorite activity is painting the sets. Brianna designs and creates most of the small details and props of the display. This includes the window displays in Ollivanders Wand Shop and Honeydukes, as well as the flying Hogwarts acceptance letters. These details create a more immersive experience and have been the main factor in some people staying for 45 minutes looking at all the small intricacies that make the house so magical.
What has been the biggest challenge you’ve faced?
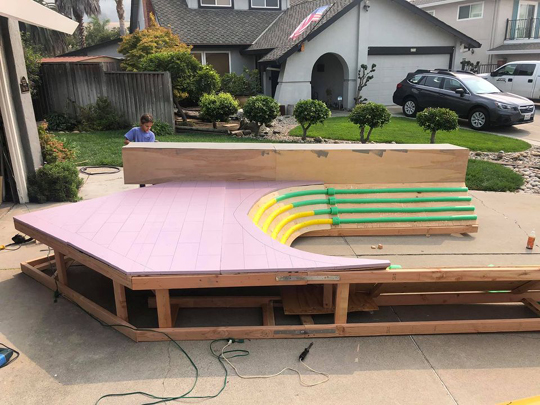
Most people assume the biggest challenges are building the large props and sets. Surprisingly, the biggest issue is securing everything from the wind. We overlooked this for a while and just kept resetting gravestones or other props. Then during one particularly windy year, Ollivanders blew over and we had to spend hours rebuilding it. Since then, everything we build has wind and weather in mind. We expanded our Diagon Alley display this year, and we knew wind would be a huge issue with the larger surface area. Behind the façade, there are a lot of supports bolted into the cement. This is not the most fun part of building our Harry Potter House, but it is essential.
Best guess: how many times have you gone to a hardware store and/or lumber yard for supplies?
The funny part is I plan what I will need to minimize trips, but there is always a box of screws we run out of or a can of paint that has dried out. I love it when we have an idea, mid-build, to make something better. It makes the extra run out to the hardware store more exciting as my imagination is creating big plans. But if I had to guess, we probably go to the hardware store between 1-5 times per weekend from Labor Day weekend up until the day of Halloween.
What is it like for you when you see the reaction of people who trick-or-treat at your house?
This is the most incredible part of the whole build. While the kids think it is really cool, I have noticed it is the adults that really get a lot out of it. Many times, adults will strike up a conversation with us: “I remember the excitement of reading each new book as it came out. This is amazing and it is fun to share this with my kids. Thank you for doing this.” It is really fun to watch as families come up, and each family member is pointing in different directions saying, “Wow! Look that that!” As people approach the house, they run up excitedly shouting, “Harry Potter!” or “We love Harry Potter!”
The highlight is watching everyone’s faces, seeing the positive reactions, and bringing our community together. People bump into old friends all the time here and stop to take photos. It is fun to see how much joy our decorations bring to people of all ages, hearing what their favorite parts of the display are, or why they love the books and movies so much. It is very rewarding and that is why we love doing it.
Where and when can people see your incredible Harry Potter House?
We are located near the Cottle exit of Highway 85 in San Jose, California. Our displays will be running on October 31 and November 1. If anyone is interested in stopping by and seeing the house in person, more information can be found on our Facebook page.

Any advice for others who are inspired to transform their residence into Hogwarts for Halloween?
I think the most important thing is picking a theme you really love and will be excited by every year. Once you have that, just make a plan. We tend to do 1-2 big additions each year and the rest is just coming up with smaller details to add. If you have kids, think about how you can include them. This will make October a month the whole family looks forward to every year.
Early thoughts on the Harry Potter magic you’d like to construct for next year?
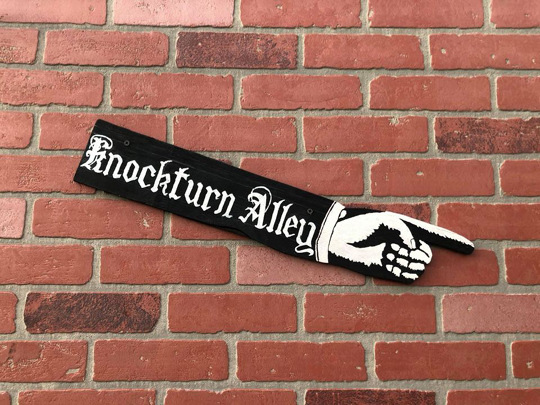
We find the plans for the following year tend to come out of a project we thought of the year before but didn’t have the money or time to complete. Last year’s idea was the entrance to Hogwarts, but that was too much money and too much time. What is great about that is you then find yourself thinking about it for the whole next year and designing it in your head. So when it is finally the time to build, it is even better than your initial idea. This year I really wanted to build more façades for Diagon Alley (and maybe Knockturn Alley?), but we ran out of time and money. So perhaps you can guess what new additions you might see in 2021.
One final important question: what Hogwarts House did the Sorting Hat place you in?
I believe it was two years ago when we sat down and read through the full descriptions of each Hogwarts House on Pottermore. The Sorting Hat then placed three of us into Ravenclaw, and our youngest was placed in Gryffindor. It has been fun to watch our girls grow and continue to see their House attributes and qualities play out. The Sorting Hat sure knows what it is doing.

Images courtesy of Matthew Howard, and the Harry Potter House Facebook page
 It might be a smaller, simpler Halloween this year, but that doesn’t mean it has to be any less spirited (oooo bad pun alert!). We decided to do a round up of our Halloween posts for you to peruse, just in case you needed some projects, activities, costumes, or inspiration. But if you are just here to see Katie’s ingenious candy chute, scroll to the end of the post!
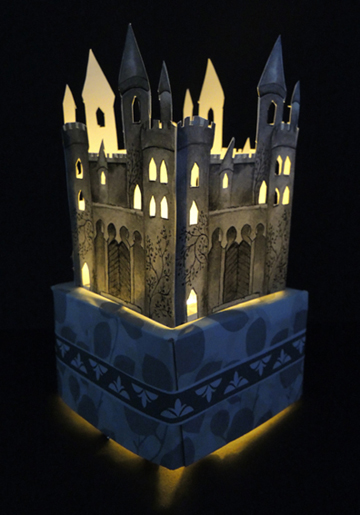


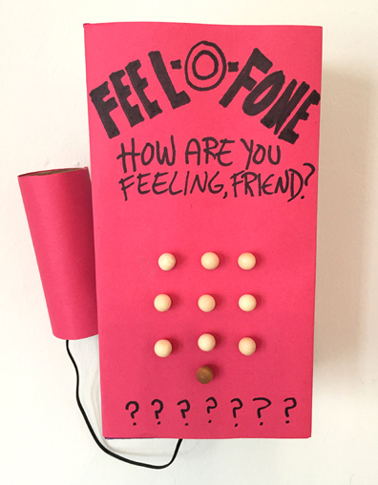
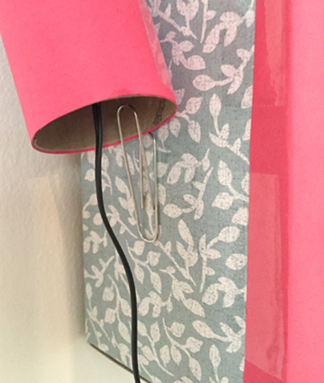 Connect the receiver to the phone box with a piece of ribbon, string, or a shoelace (I used the cable from an ancient set of ear buds). Hang the phone on the wall, and you’re done! To operate the Feel-O-Phone, unhook the receiver and simply talk…tell it how you’re feeling! Happy? Sad? Scared? Worried? Silly? Share away, operators are standing by…