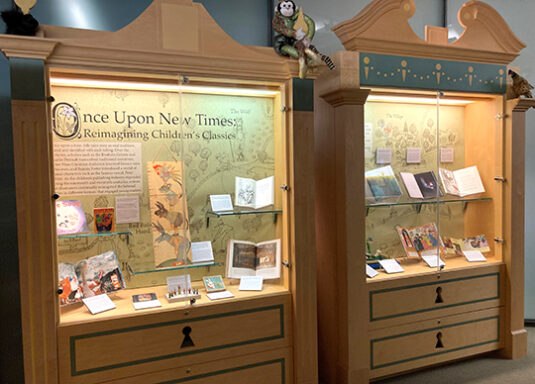
 Come see tales transformed at “Once Upon New Times: Reimagining Children’s Classics,” currently on display at the Cotsen Children’s Library! Curated as a companion to the larger exhibit in the Milberg Gallery of Firestone Library, each item offers a different perspective on a cherished classic. From highly imaginative physical transformations to diverse adaptations, we hope you enjoy these selections from the Cotsen collections, curated by Andrea Immel, Dana Sheridan, and Katie Zondlo. We have a few items to share below…
Katie and I were especially delighted that LEGO’s “Once Upon a Brick” Pop-Up Book made it in the exhibit! Originally posted on the blog here, this set not only renders “Jack and the Beanstalk” in 3D, the pop-up mechanism delights visitors both young and young-at-heart.
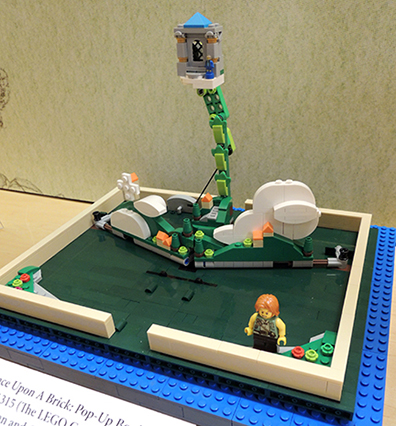
LEGO. Once Upon A Brick: Pop-Up Books. Ideas No. 21315 (The LEGO Group, 2018). Jason Allemann and Grant Davis (LEGO Ideas member submitters), Wesley Talbott and Crystal Marie Fontan (LEGO designers/graphics).
Visitors can also take a look at a kamishibai version of Alice in Wonderland, which includes a red-dressed Alice and a white rabbit in snappy pinstriped trousers. Those unfamiliar with the Japanese performance art of kamishibai can learn more here.
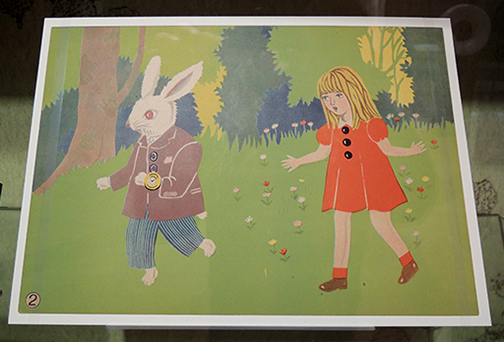
Takahashi Gozan, adaptor. Fushigi no kuni no Arisu-chan. Illustrated by Seiichi Yuno. (Tokyo: Nihon Kamishibai Gento Kabushiki Kaisha, Shōwa 27, 1952). Cotsen Children’s Library, Department of Special Collections, Princeton University Library
Also featured is the gorgeous book The Singing Bones by multiple award winning, and New York Times bestselling, author, illustrator, artist, and filmmaker, Shaun Tan. Masterfully rendered, the book distills classic fairy tales down to a single page (or sometimes a paragraph!) and represents it with a powerfully elemental sculpture. You can hear Tan discuss it, as well as his other books, here.
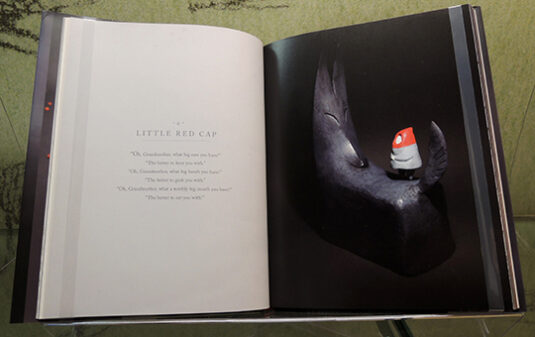
Shaun Tan, reteller/illustrator. The Singing Bones: Inspired by Grimms’ Fairy Tales. (New York: Arthur A. Levine Books, 2016). Cotsen Children’s Library, Department of Special Collections, Princeton University Library
I’ll also share this humorous 1939 pamphlet from General Electric Company titled “Mrs. Cinderella.” Here the story of Cinderella is retold using General Electric products (while also thwarting goblins messing with getting dinner prepared for her happily ever after). You can read more about this particular item in Andrea Immel’s excellent post on Cotsen’s Curatorial blog.
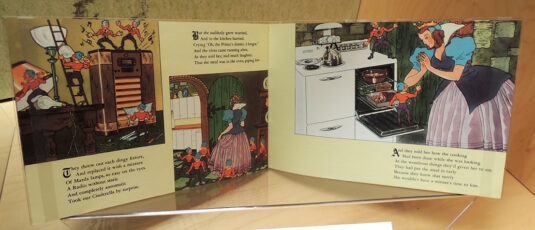
Mrs. Cinderella. Illustrated by Corydon Bell. (New York: General Electric Co., 1939). Cotsen Children’s Library, Department of Special Collections, Princeton University Library
“Once Upon New Times: Reimagining Children’s Classics” runs through March 2024. If you’re in the area, please come and visit! You will find directions and hours to Cotsen Children’s Library here, and we have some fun community programs and events coming up in connection with the exhibit (hint: think gingerbread architecture)!

 We’re finishing 2023 with something we’re really proud of! This spring, PBS came to our library to film for Craft in America. The episode is titled “Play,” and it’s now officially streaming! Our segment of the episode is a tribute to Lloyd Cotsen, and his marvelous vision and gift that resulted in the creation of the Cotsen Children’s Library.
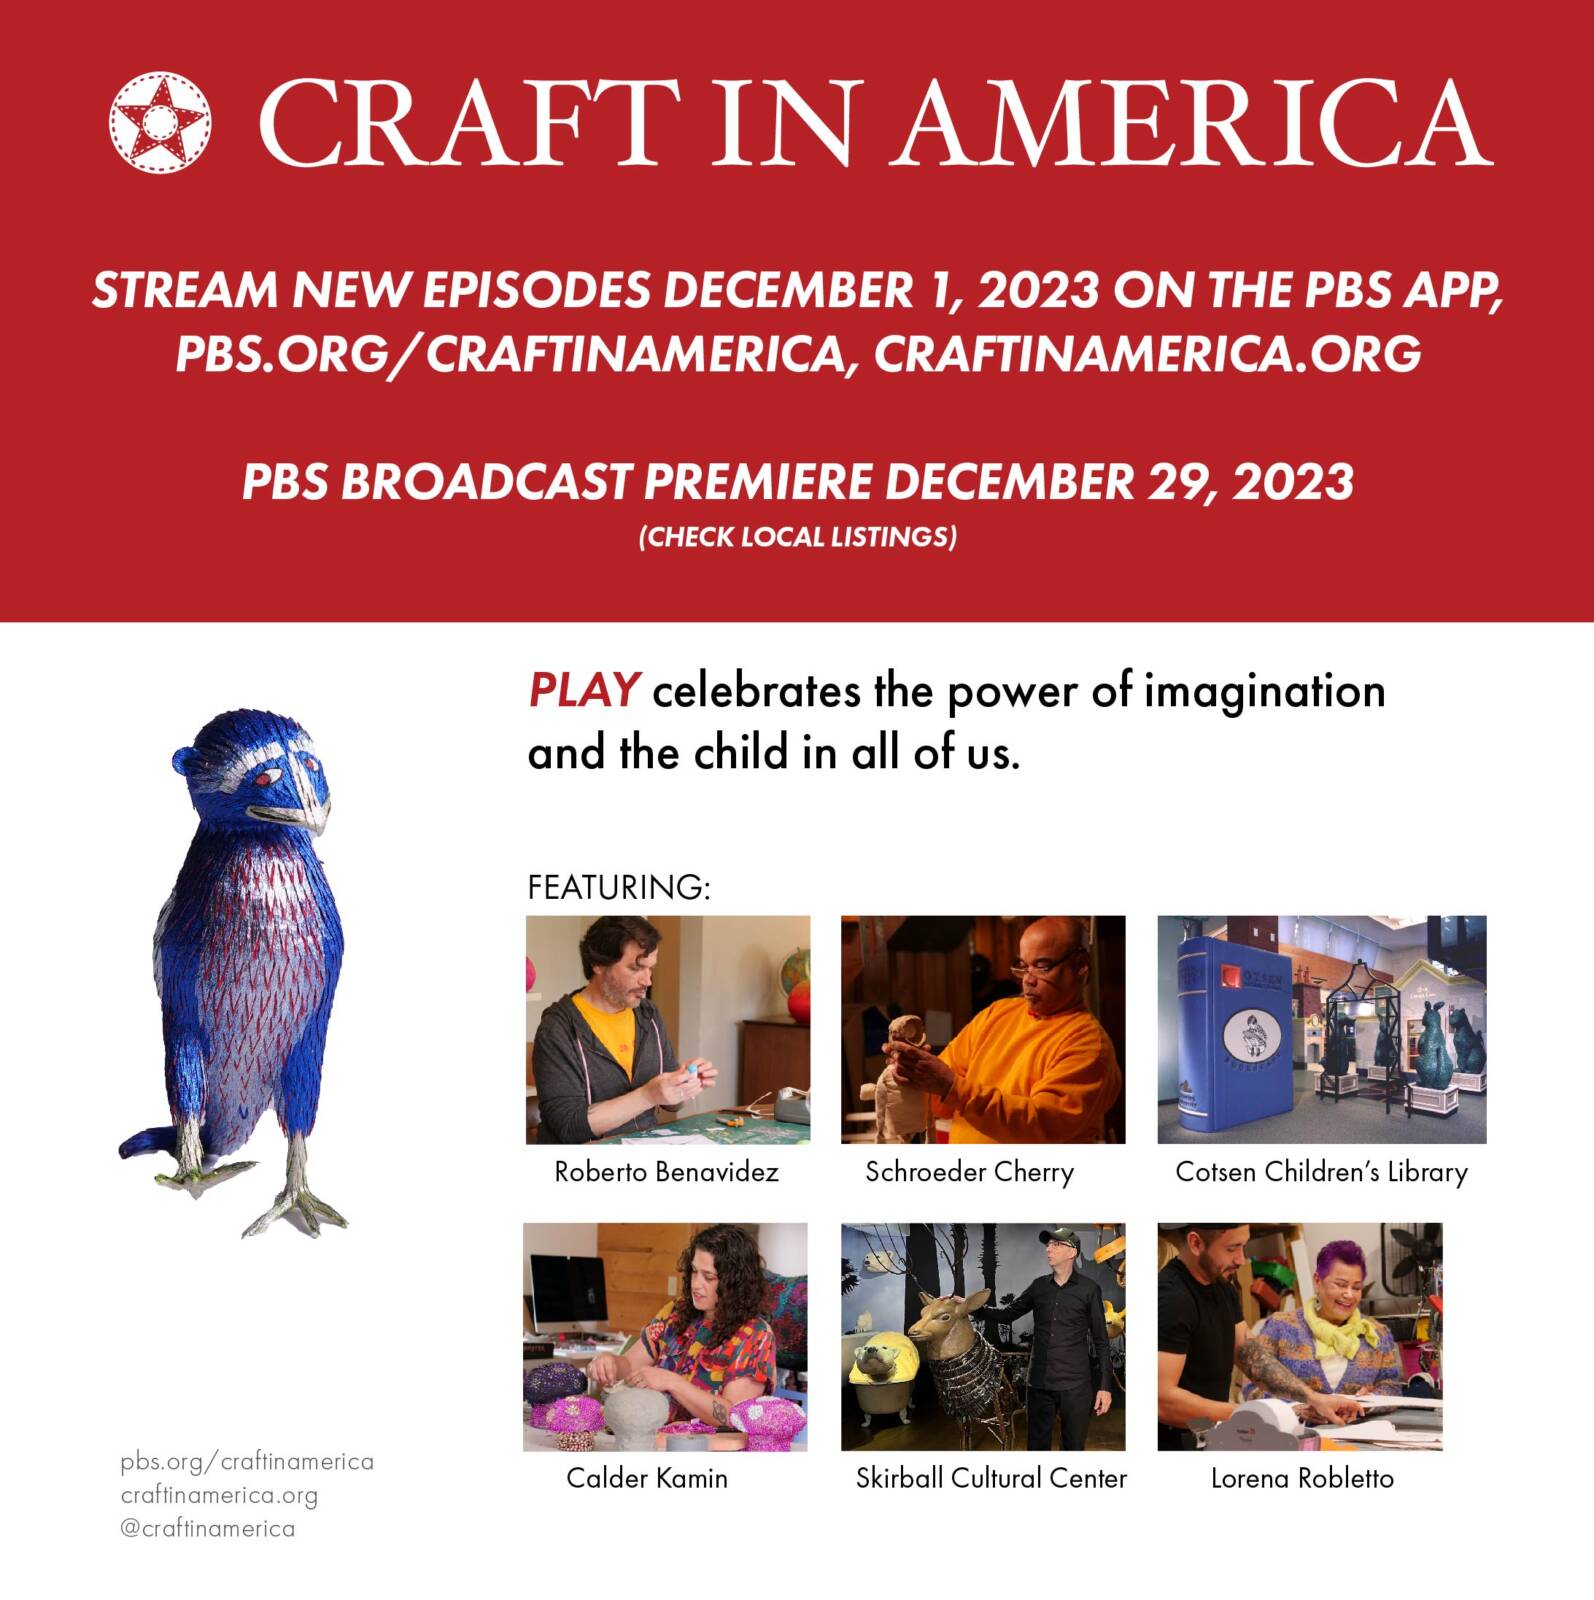 This link will take you to the episode. Cotsen’s section begins at 37:24 (and Katie’s chin has a cameo at 41:47), but we highly encourage you to check out the entire “Play” episode, it’s simply wonderful!
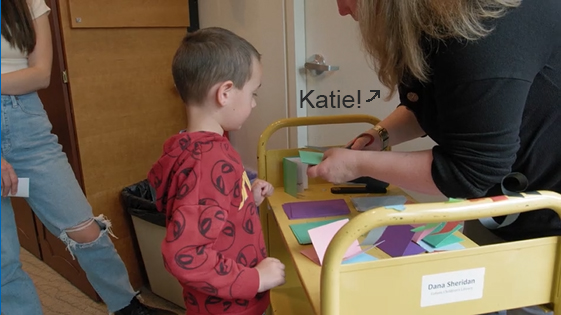
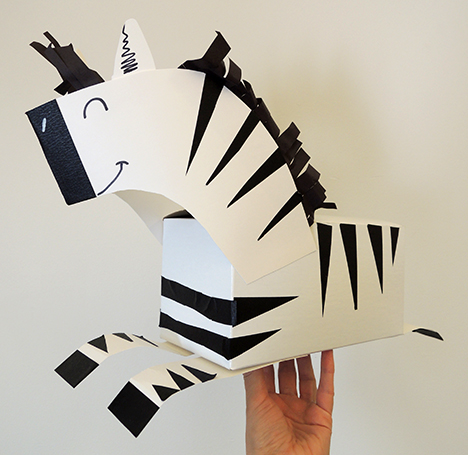
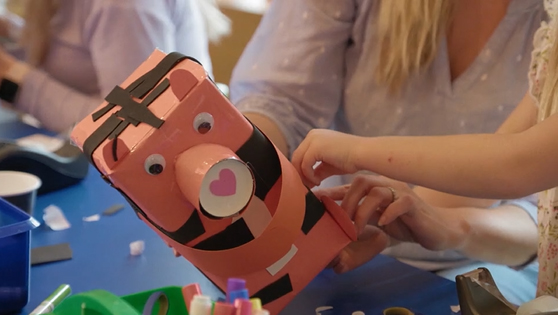
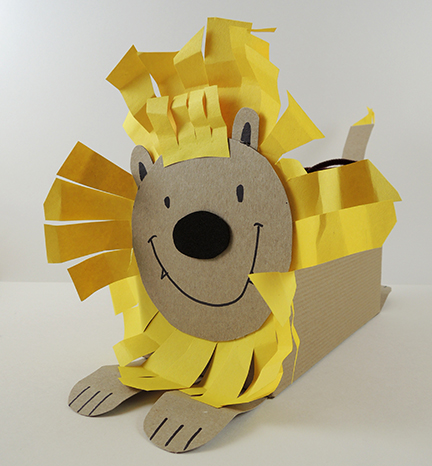 Once the box animals are complete, loop together a pipe cleaner, then tape it to the top of the box, right in the middle. At the top of the loop, either attach a large paperclip to form a hook, or use a carabiner (we had some leftover from
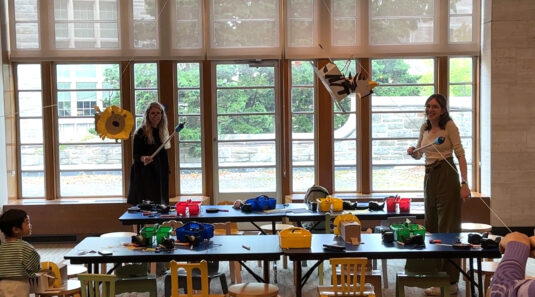
 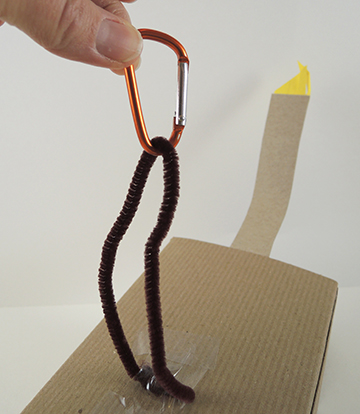 Your animals are ready to race! We set up two zip lines using coated wire. One end of each wire was stabilized on the ceiling of the library, and the other end was held by a volunteer, who could adjust the slope of the zip line to make the box animals go slower or faster. Each kid brought their box animals to the starting line, then scooted over to the finish line (which we marked on the floor with red masking tape). We clipped the boxes to the wire, counted to three, and the race was on!