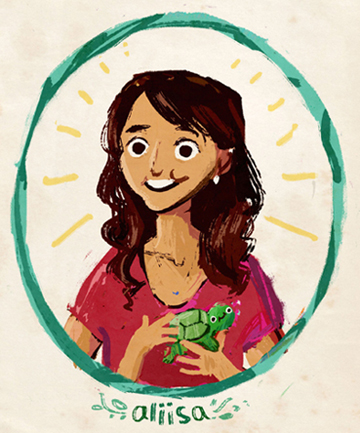
 For the past four years, I have had the privilege of working with an extremely talented Princeton University student artist. Her name is Aliisa Lee, and she has loaned her tremendous abilities to a whole host of artistic endeavors at our library – project templates, event posters, logos, illustrations for children’s stories and poetry, and more.
Summer announcement logo
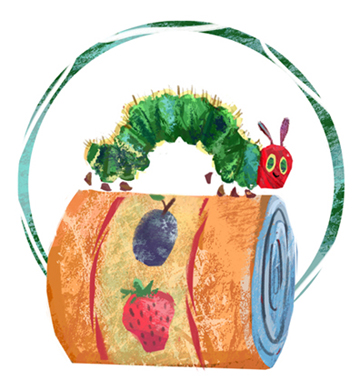
Very Hungry Caterpillar food drive logo. Food drive title and art inspired by the work of Eric Carle.
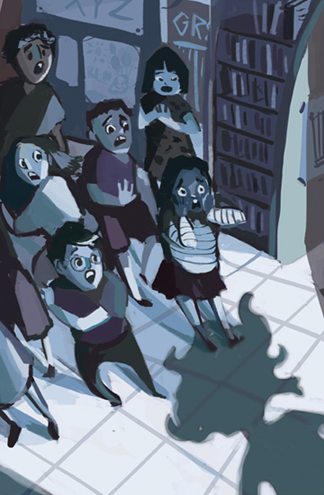
Illustration for “Bad Hair Day”
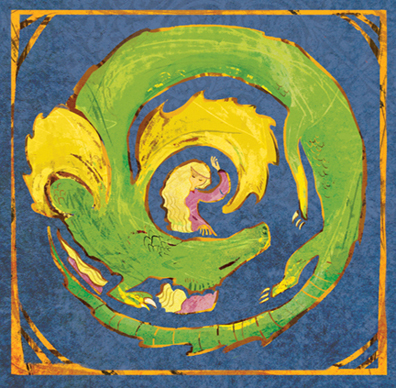
Illustration for “The Dragon Princess”
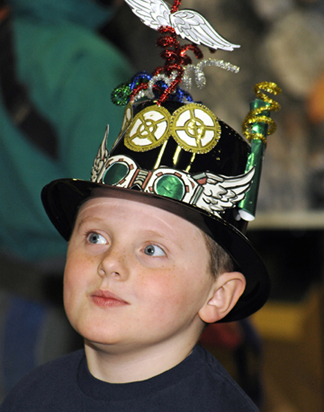
Below you can see some steampunk templates she designed for a Journey to the Centre of the Earth event (later, I used the templates for a Rube Goldberg-esque mechanism and a fanciful steampunk airship story time).
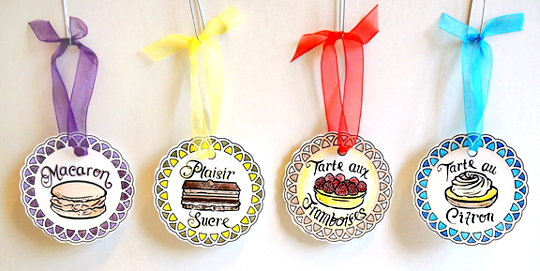
And how about these delightful vanilla-scented French pastry ornaments? Mmmm.
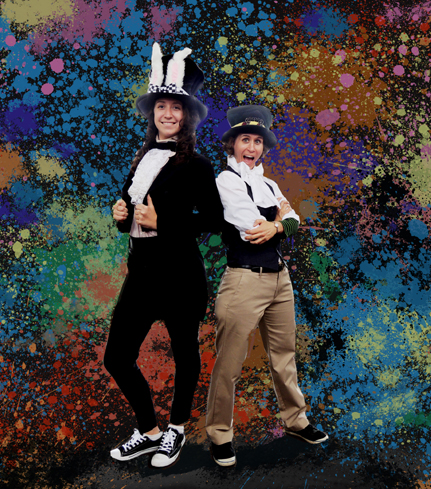
Aliisa’s also worked on completely random (and sometimes rather strange) projects. She didn’t, for example, bat an eye when asked to make 80s paint splatter background.
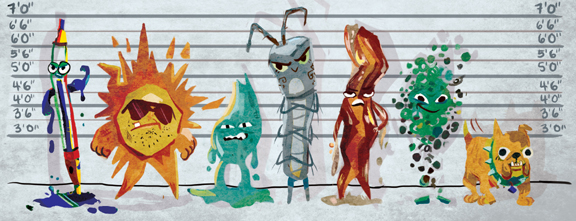
Or create a police line up of book damage perpetrators…
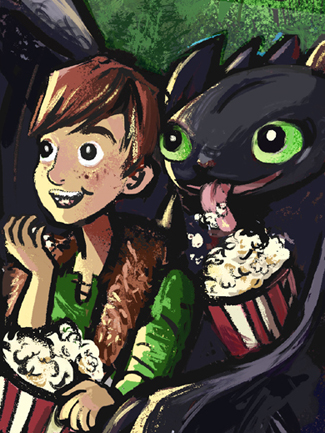
Or depict Hiccup and Toothless at the movies…?
Last month, Aliisa graduated from Princeton University with a major in English and a minor in Visual Arts. I caught up with her to chat about her experience at Cotsen, her process for illustration, and what she’s going to do next (including – and this is important – continuing to freelance for us).
Tell us a little about yourself!
I grew up in the sunny state of Hawaii, but have since moved abroad several times. I am the fourth of six crazy kids, and all of our names start with A. It makes for some fun confusion when we are all together! In my free time, I love reading, writing, and (you guessed it), drawing. I especially enjoy drawing digitally by using my computer, Photoshop, and a Wacom pen and tablet.
Name a few of your favorite artists / inspirations.
I really look up to the artists of my favorite childrens’ books, like Clement Hurd, Mary Blair, Bill Peet, and Henry J. Ford. I am also a huge fan of Pixar and Studio Ghibli, with all their inspiring storytelling and fantasy elements. I follow many digital artists on tumblr, but I also just I love getting ideas from literature, dreams, and of course, my family and friends!
What have been some of your favorite projects for the Cotsen Children’s Library?
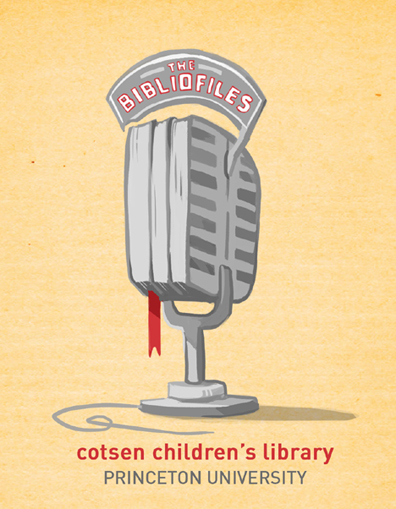
Hmmmm, that’s such a hard question. I’m a bit of a podcast nerd these days, so I loved doing the album art for the BiblioFiles.
I am also a huge fan of Alice in Wonderland and The Phantom Tollbooth, so the Alice thaumatropes and the Digitopolis posters and logo were a great way to pay tribute to some of my beloved texts.

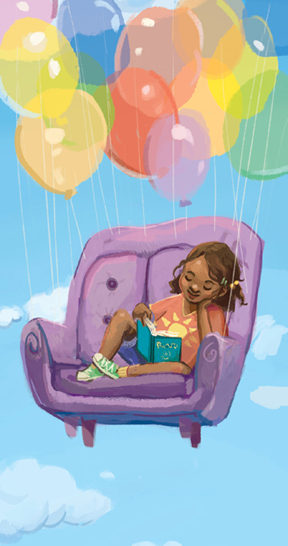
My favorite type of project is probably illustrating for our time’s new generation of writers and poets. If I have to choose one assignment that I especially treasure, it would be the art for “The Sun Lifted Me Away.” The young author’s father wrote to us later that his daughter loved the drawing for her poem; hearing that the young author was so happy with what I drew makes that illustration one of my favorite projects!
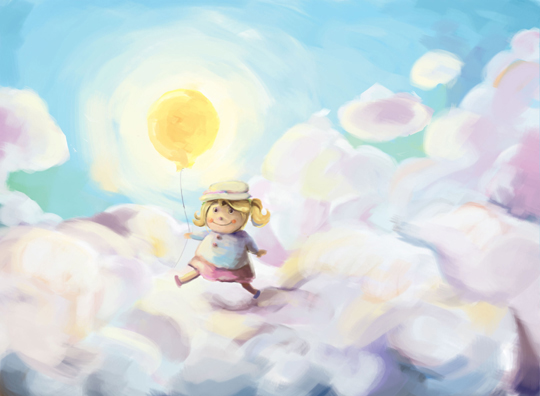
Illustration for “The Sun Lifted Me Away”
You’ve illustrated kids poems and stories. What’s your process for selecting and illustrating specific scenes or phrases?
It varies piece to piece! Sometimes Dr. Dana will have a fairly specific suggestion for a scene, which has trained my eye and always helps with the process. When the illustration is more up in the air, I often read for specific lines and imagery that stand out, and draw fairly literally from that. (For example, a line from “The Pit,” that says “He clasped the edge and began his ascent.” A very dramatic, specific scene gets a very dramatic drawing.)
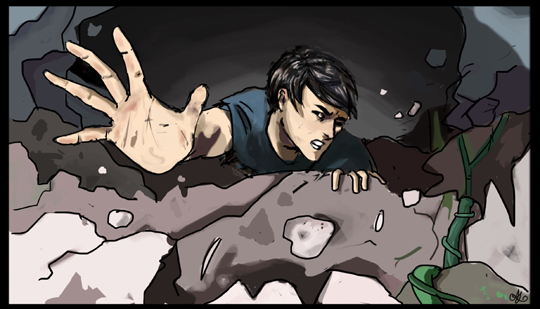
Illustration for “The Pit”
Or, if the piece has more atmosphere than narrative, I brainstorm for scenes or visuals that reflect that feeling. (For example, the poem “Autumn is a Color, Not a Season” is all about the feel of autumn. The drawing and colors reflects this.)
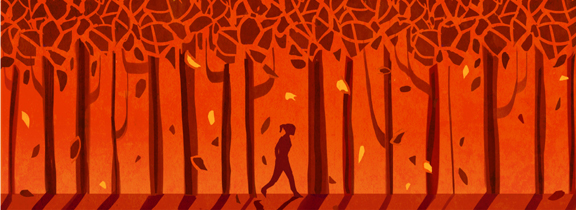
Illustration for “Autumn is a Color, Not a Season”
What surprised you the most about the process of developing, editing, and finalizing a drawing for Cotsen?
Before working for Cotsen, most of my art was just kept to myself or my personal site. When you are doodling in your notebook or drawing just to show your family and friends, you “finish” an art piece when you are satisfied or just get tired of it. One of the greatest things about working with Cotsen and an art director (Dr. Dana!) is having another pair of eyes to help look critically at a piece, then develop it with the ultimate goal of publication. I’ve been pleasantly surprised to see how that process and push to make polished illustrations has just made me a better critical thinker and artist. Plus, it is a ton of fun to draw for Cotsen!
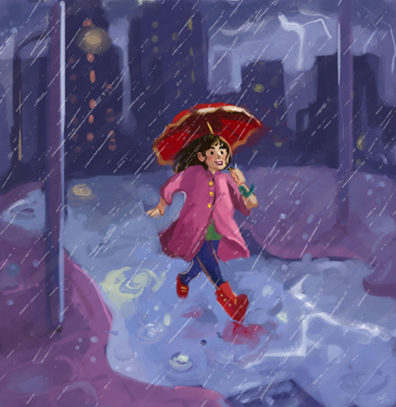
Illustration for “Storm”
In your opinion, what’s the most difficult thing about illustration?
This has probably happened to anyone who has tried to make art: you get a beautiful, inspiring image in your head and you just think, “I NEED to draw this.” But after you sit down and draw, you realize your art just doesn’t measure up to the image your mind conjured up.
This happens to me a lot, especially since the poems and stories I read have such beautiful and creative moments. But it makes we want to work hard to be a better illustrator, since I want to close that gap between what my mind can create and what my hand can draw.
Still, I know that even if I was the best illustrator in the world, I could never quite pin down exactly what my mind envisioned. That could seem frustrating, but it is also kind of beautiful! The imaginations we are given are actually the best artists we could ask for, you know?

Illustration for “The Enchanted Machine”
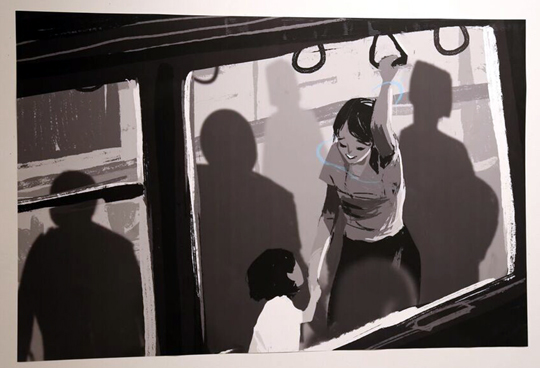
Tell us a little about your senior show!
I would love to! My show was entitled “to wake” and included 80+ digital drawings, printed out in various sizes and placed around the space of the gallery. As you walked around left to right, the images sequentially told the story of a mother and daughter, plus a little bit of the fantastic as they traveled in the subway.
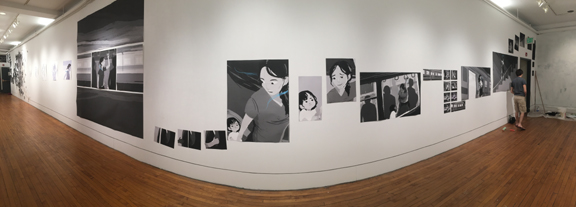
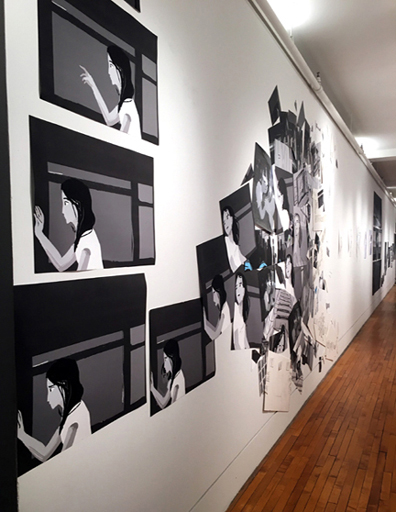
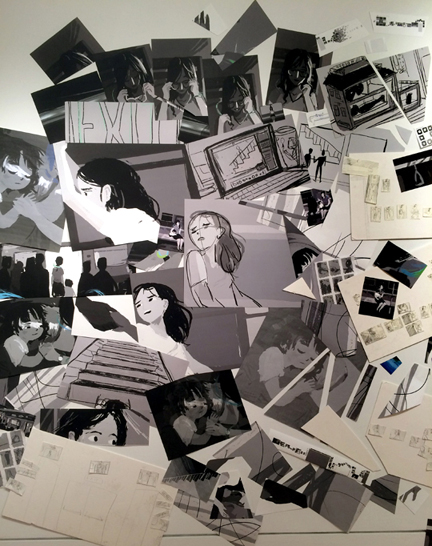 It was very, very cool to have my own show, and to use the gallery space for both art and storytelling (two things I love!)
What are you going to do next?
I’m hitting the real world and getting a job. As a Princeton Project 55 Fellow, I’ll be working in communications at the non-profit International Schools Services, not that far from Princeton’s campus, actually. I can’t stop making art, so I will also be illustrating for Dana (and maybe a few other clients if I’m successful in expanding my freelance network). You haven’t seen the last of me yet! :)
Illustration for “Poets”
If you’d like to see Aliisa’s amazing portfolio, it’s online here. If you’d like to read a little more about her artistic process, she wrote a great post for Princeton University’s admissions blog here.
Thank you for 4 tremendous, tremendous years Aliisa! And here’s to many more!

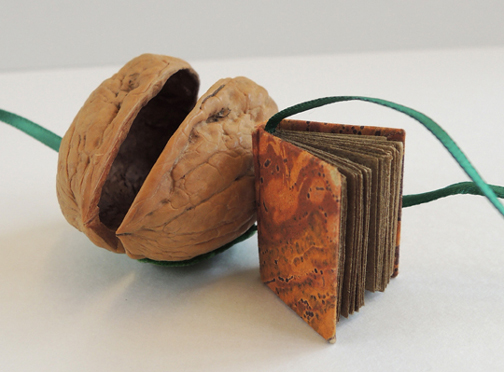 I’m over on Cotsen’s curatorial blog today, sharing a collections education program we did with 9-12 year-olds. The program was titled “Weird Books,” and our goal was to show kids the unusual formats books can take (including this miniature book housed in a walnut shell). Intrigued?
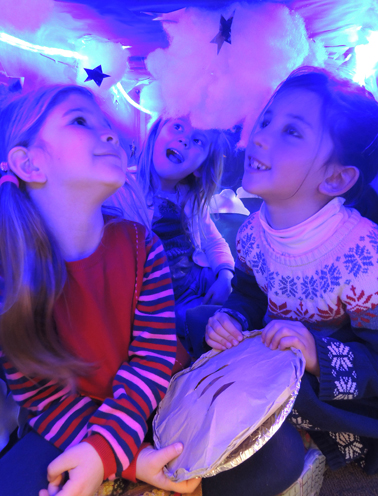 Travel through a cloud-covered dream tunnel which doubles as a magical oven for a pie full of sweet dreams. Dreams and pie…is there a book than can connect the two? Oh my yes.
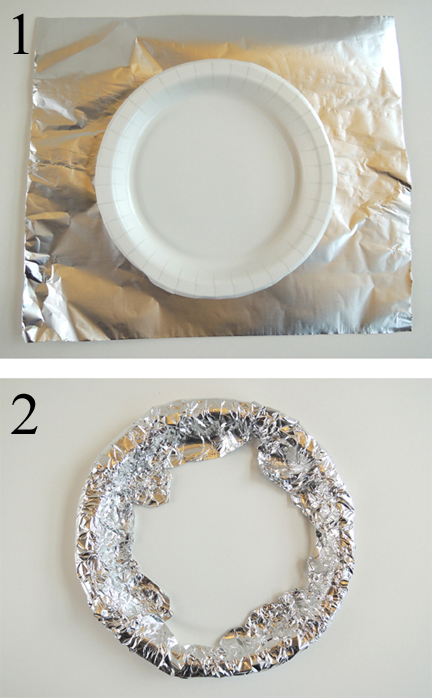 Hot glue a tagboard or poster board circle to the center of the plate.
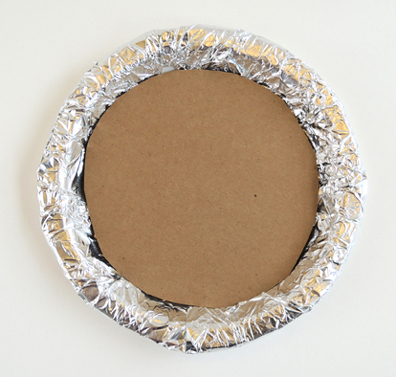 Decorate the tagboard circle with your dream scene! First, we gave kids a quarter of a sheet of paper and asked them to draw a dream character or scene.
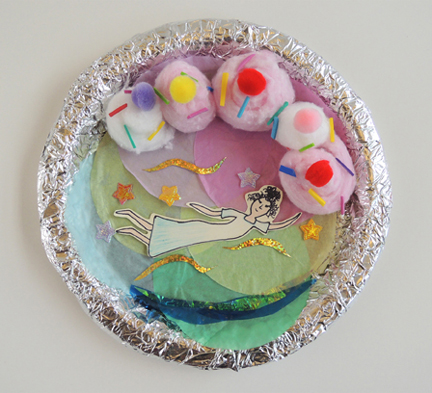 And here are the dream pies the kids made! We asked the kids to describe the dreams for us, but I must admit, those who did offer their interpretations were still somewhat vague. Below, see if you can spot a ballerina, Valentine’s Day, flying, unicorn wonderland, ghost, mountains, butterflies, Spider-man, a birthday party, “purple,” “Antiga,” “shy,” and hippo.
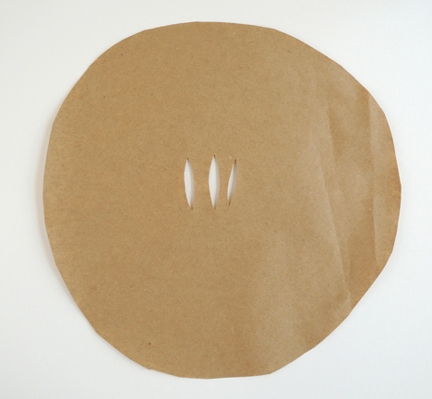 Next, roll the edges of the circle upwards and inwards (about 0.25″ should do it). These are the edges of your “pie crust.”
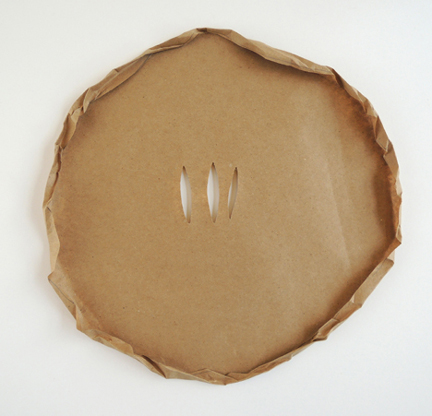 Now to add the “dome” to the top of your crust. Flip a paper bowl upside down and press and smooth the crust over the top of the bowl. You’ll need some height here to cover that crazy dream scene you created.
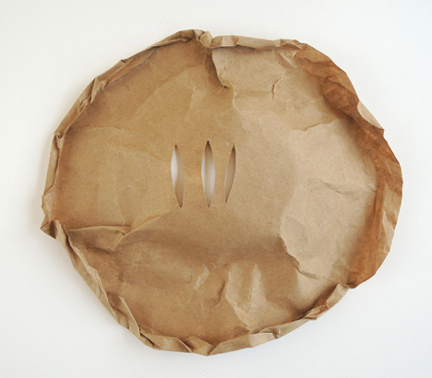 Place the crust on top of the paper pie plate. It’s very cool to see the dream scene through the little ventilation holes of the pie crust!
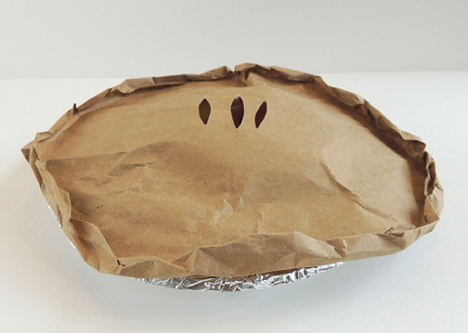 You can stop the project there, or you can take it a step further and go through a dream oven! This doesn’t have to be fancy. You can drape a sheet over a table, or head into a darkened closet with some blue lights or glow sticks. But if you’d like to replicate our dream oven, here’s how we did it. Basically, it was a big box with door flaps cut out on both ends. On the outside, the box looked like an oven set to “Special.”
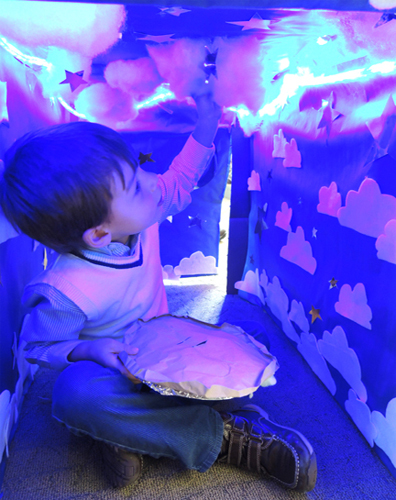
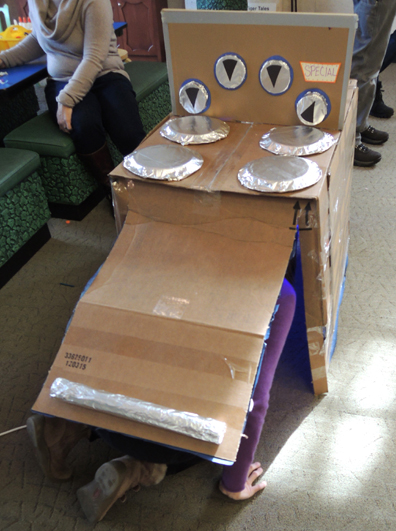 But inside, it was a fantastic dreamscape! Marissa lined the box with blue paper, hot glued white felt clouds to the walls, rigged up dangling
 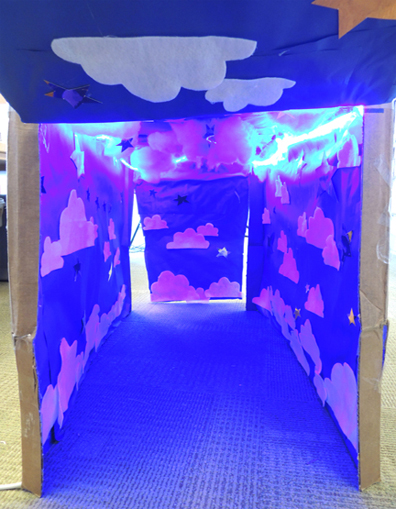 Grasping their dream pies, the kids entered the oven and scooted through the tunnel, “cooking” their pies amidst clouds and stars. Some kids charged through the tunnel and lined right back up for another turn. Others meandered slowly through the tunnel, pausing to take in the dreamy atmosphere. Sweet dreams to one and all!