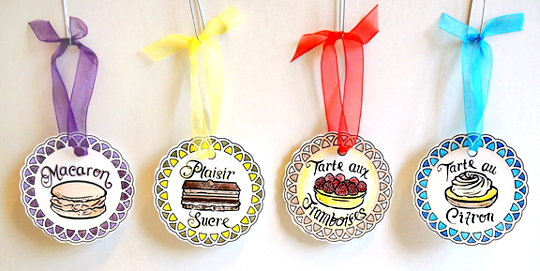
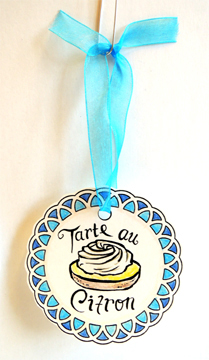
 I bet that title got your attention, right? We made these delicious-looking ornaments for a Journey to the Centre of the Earth event. Kids colored them, hung them on a ribbon, and then brushed the backs with vanilla extract. Mmmmm!
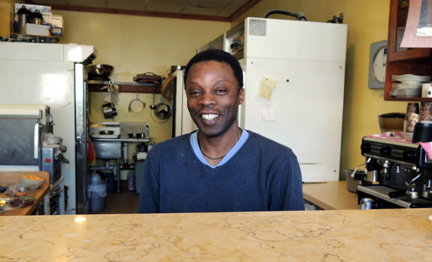
A quick word about our undying devotion to accuracy. Yes, we did the initial French pastry research using Google. But since the internet isn’t always the most reliable of sources, I took them to a local French pasty shop called The Little Chef for some fact-checking. Edwige Fils-Aime, the owner and chef, was kind enough to take a look and correct them for me.
 While he was doing that, I got to take a look at things like this:
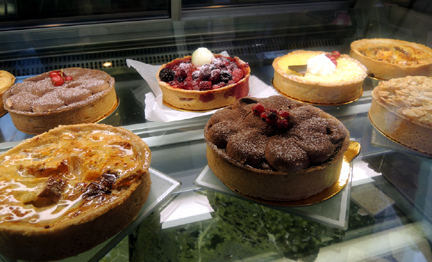 And this:
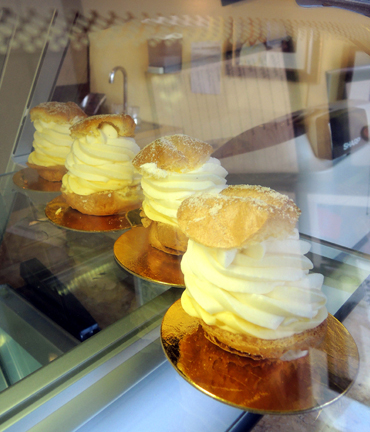 And THIS!
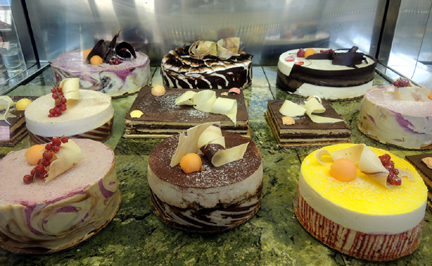 All in the name of research and accuracy, of course. And if some of the pastries happened to come back to the office with me, what of it?
To create French pastry ornaments, you’ll need:
- 1 French pastry template, printed on 8.5″ x 11″ white card stock
- Hole punch
- A selection of shimmer ribbon
- 1 bottle of imitation vanilla extract
- Q-tips
- Scissors
- Colored pencils
Print the template (which features the artwork of talented student artist, Aliisa Lee), and use the colored pencils to decorate the pastries. Punch a hole at the top of the ornament and run a piece of ribbon through it. Knot or tie in a bow.
Dip a Q-tip into the imitation vanilla extract (I found clear vanilla extract at the store, which worked great on the white paper). Gently rub the vanilla extract-infused Q-tip on the back of the ornament.
 The Little Chef was also a contender in our Hansel and Gretel Gingerbread Cottage Challenge. You can see his cottage (with a truly artisanal chocolate fence) here.