
Art museums, science centers, parks, zoos, aquariums – these places share a common thread in that they are fully immersive environments that encourage individuals to follow his/ her/ their own path, exploring, discovering, and learning.
Then, Meow Wolf.
Take the concept of immersive learning and infuse it with powerful storytelling, artistic expression, unbound creativity, and fierce playfulness. Then crank it to eleven. THAT is Meow Wolf. Katie and her son recently discovered Meow Wolf in Santa Fe, New Mexico. Take it away, Katie!
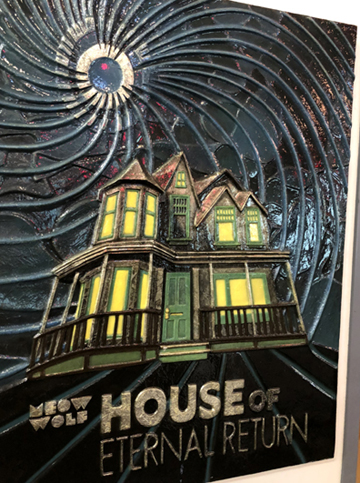
Meow Wolf: House of Eternal Return. Crazy name for an art exhibit, right? Turns out it’s not only crazy, it is a hands-on, completely captivating, artist inspired, mystery to be solved, fantastical world, storytelling experience that’s *really* hard to explain to someone who hasn’t been there. With that said, I’m going to try to explain it, because I was absolutely blown away by this place.
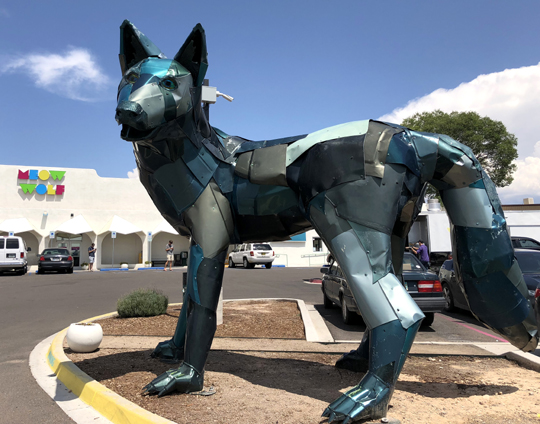
Some history about Meow Wolf: it was formed in 2008 by a group of 12 artists living in Santa Fe, New Mexico, who chose their name by literally pulling words out of a hat. Now operating as an art collective of nearly 200 people, they create unique art experiences for audiences of all ages, or as they so wonderfully describe their vision on their website: “Meow Wolf champions otherness, weirdness, challenging norms, radical inclusion, and the power of creativity to change the world.”
With support from Game of Thrones author and Santa Fe resident George R. R. Martin, who purchased a defunct bowling alley and leased it to the group, Meow Wolf turned the once forgotten building into a permanent art exhibit, House of Eternal Return, which opened in March 2016.
 Employees working the House of Eternal Return ticket counter encourage you to touch everything, explore everywhere, and fully engage yourself within the over 20,000 square foot exhibit.
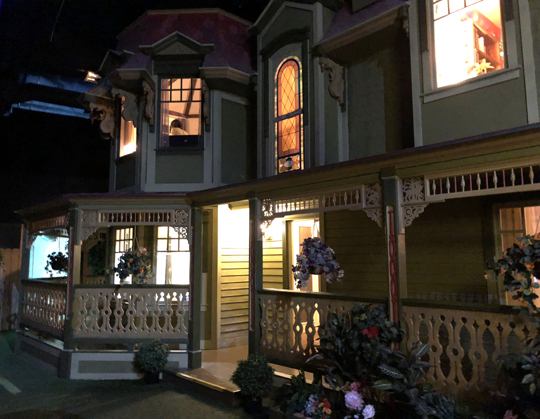
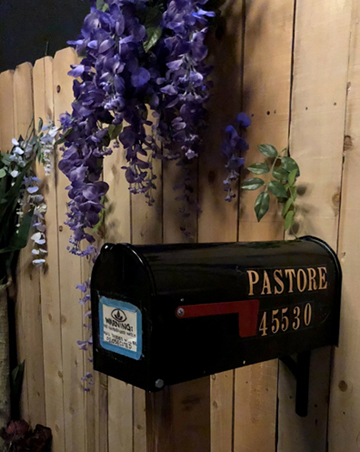
When you enter, you are immediately greeted by a massive two-story Victorian mansion owned by the fictional Selig family, who vanished after conducting forbidden experiments inside the home. If you look closely at the house, you’ll see small credits given to George R. R. Martin. Wolves and dragons appear in the scrawling woodwork. The front doormat reads “Beyond Here There Be Dragons.”
 You start investigating the mystery of the Selig family disappearance by finding a mailbox and reading messages written on the cards inside. The cards provide hints and clues to search for while you wander through the maze of rooms and hallways.
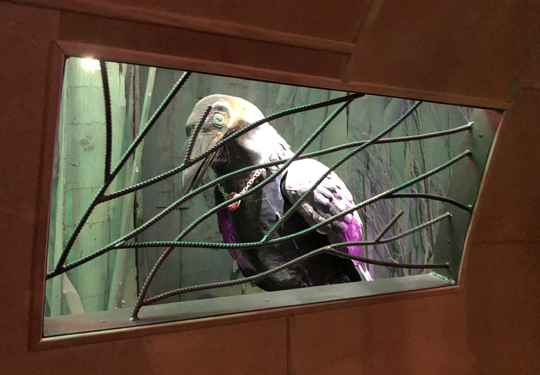
 Deeper inside the exhibit, there’s a mechanical raven (another Game of Thrones nod, perhaps?), which occasionally flaps its wings and chatters at the visitors below.
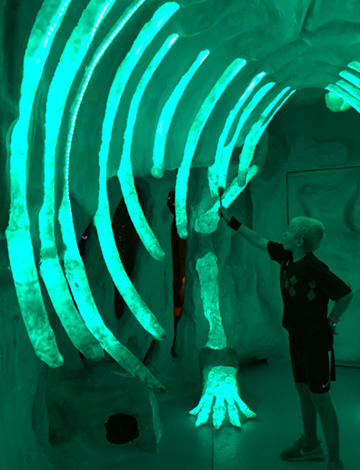
 My son and I spent nearly four hours wandering through the House of Eternal Return. The exhibit has dozens of hidden doors and portals to unique and fascinating places, which through the story strangely connect in some weird way to each other. Crawling through the fireplace brings you to a cave where you can play music on the rib bones of a giant glowing mastodon.
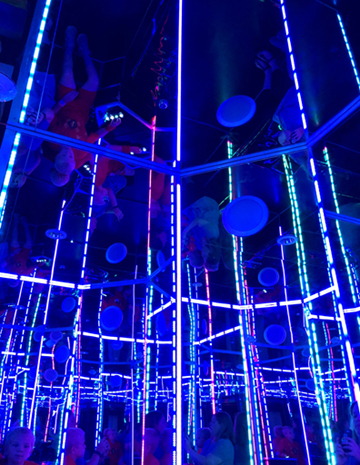
 Walking through the open door of an ice machine takes you into a room full of lights and mirrors, where you push buttons to change the lights and play different notes of music.
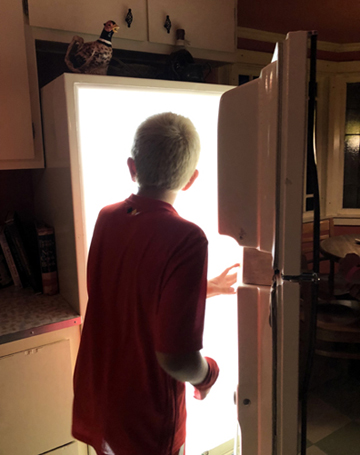
 Going through the refrigerator leads you down a sterile white hallway into what appears to be a rocket ship, ready to take you to futuristic tropical destinations.
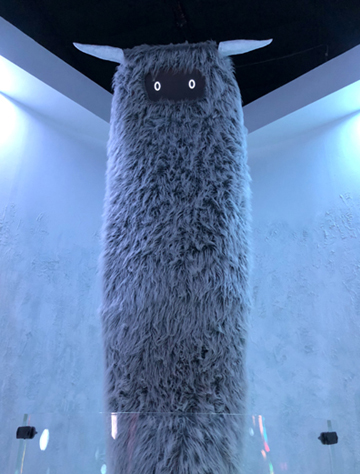
There are also strange space monsters that blink their eyes at you when you walk by.
 Walls of fabric that reveal an ever-changing light show when you touch it (or floss dance between the wavy cloth).
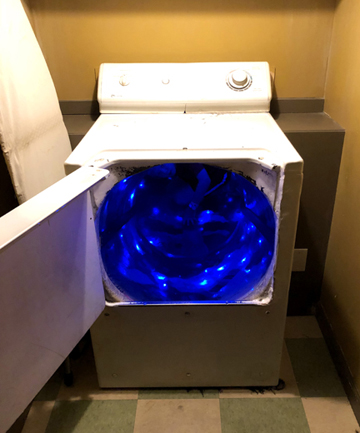
You can also try stuffing yourself down the slide portal inside the dryer, which ends in a small room with walls completely covered in laundry. For those of you wondering, yes, I did manage to squeeze my way into the dryer, much to my son’s amusement. There is another door into (or out of) the laundry room, but my son and I couldn’t figure out where it was after leaving the room.
 The entire exhibit is a mystery you have to attempt to solve, but honestly, I don’t believe there is one definite solution. Visitors interpret art differently, so what one person thinks is the answer, another may believe something completely different.
I can’t say enough about the House of Eternal Return: it is a must-see place. This post barely scratches the surface with all there is to see and experience. Pictures really don’t do it justice because everywhere you look, there’s something distinctly different and jaw-dropping. It’s funky and fun, inspiring and incredible. If you are in Santa Fe and visit Meow Wolf, plan on spending many hours exploring and getting lost within this one-of-a-kind immersive art labyrinth.
I can’t WAIT to go back.
 If you like, you can use
 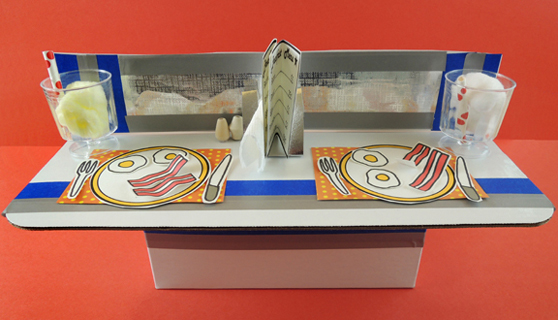 The plates, utensils, food, and menus are on the template. We used
 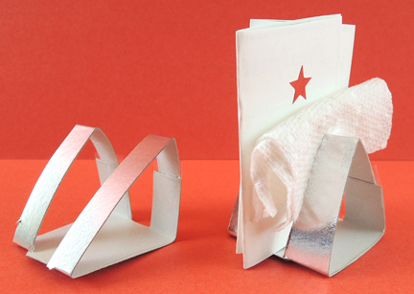 Basically, these are triangles of silver
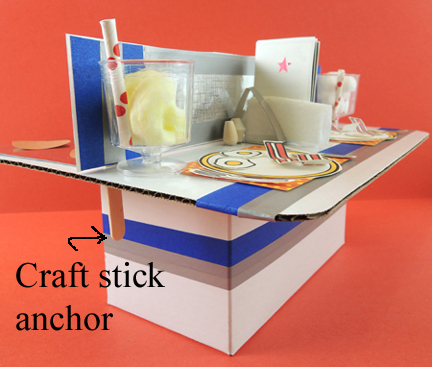
 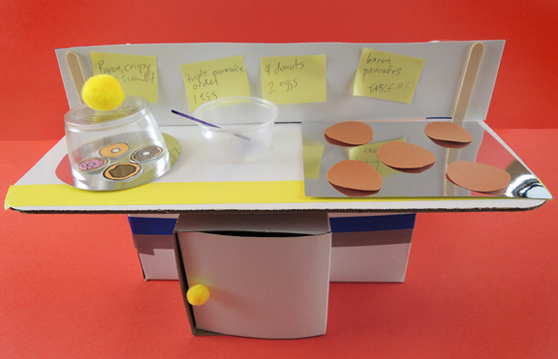 The donut dome is a plastic cocktail cup that has been cut down to 1.5″ and has a small pom-pom hot glued on top. There’s mirror board plate underneath it, and a mirror board griddle as well. There’s also a plastic sample cup mixing bowl with spatula (that’s a bit of silver mirror board taped to a mini craft stick). The pancakes are construction paper. Oh, and we included a fridge made out of a little box, but that’s totally optional.
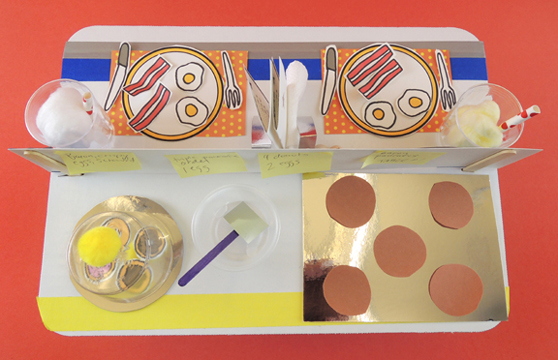 Miniature food sets are REALLY popular at story time. Sometimes, I hear about kids who are still playing with their sets months – sometimes years! – after story time (specifically our
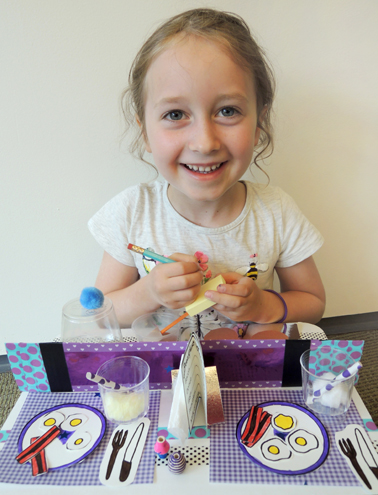
 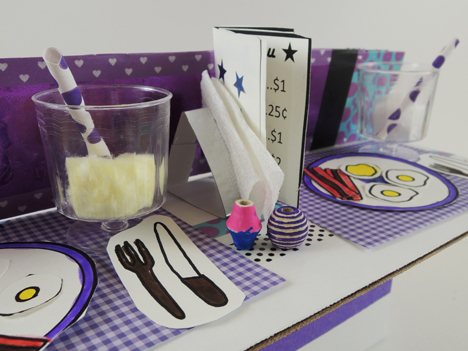 Look at the gorgeous purple decor! The carefully detailed salt and pepper shakers! The purple stripes on the bacon!
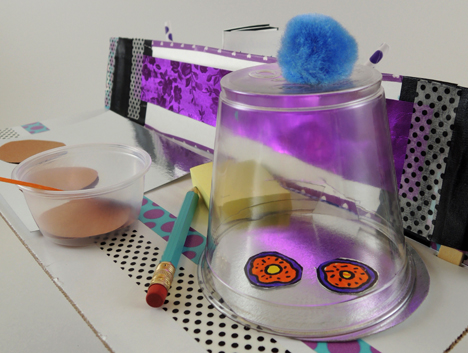 Which are only surpassed by the purple donuts. And then the black polka dots! LOVE.
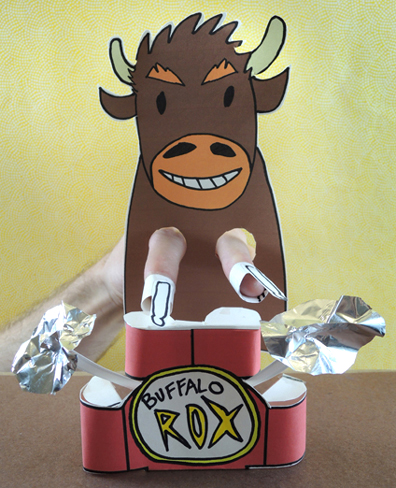
 Decorate it with markers, and don’t forget to write the name of your band inside the circle of the bass drum! When you’re done coloring, flip the drum set template over:
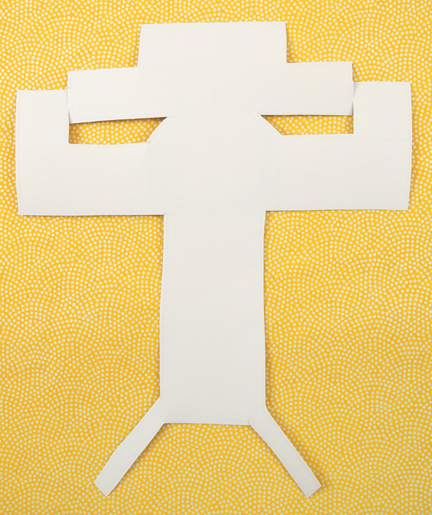 Roll the lower drums inwards, and tape them to the back of the set.
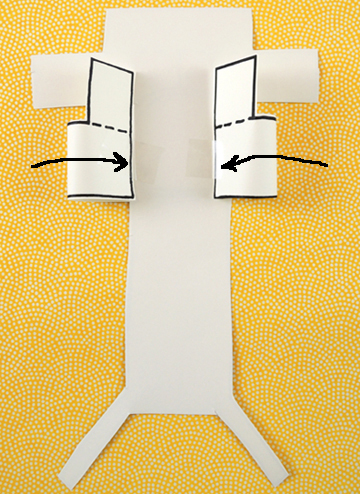 Next, fold the tabs downward along the dotted lines. These are your drum heads. Use scissors to shape them to the tops of your drums, then secure them with tape.
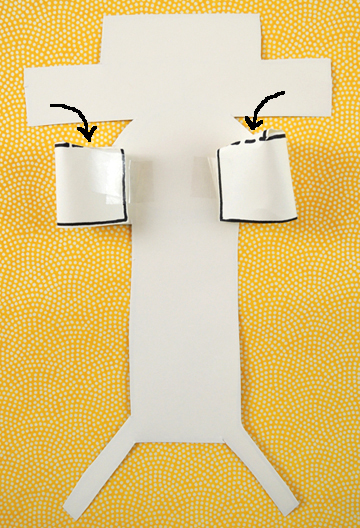 Repeat the same process with the upper drums.
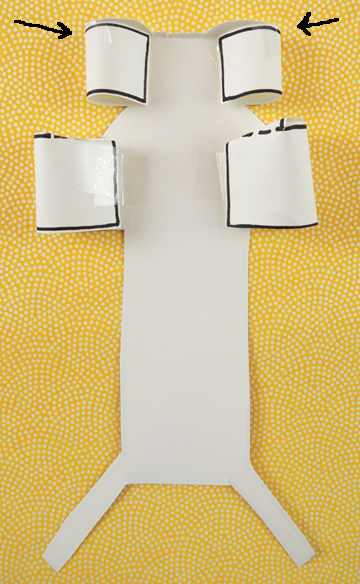 Now fold the long base of the drum set upwards, tucking the cymbal stands between the lower and upper drums.
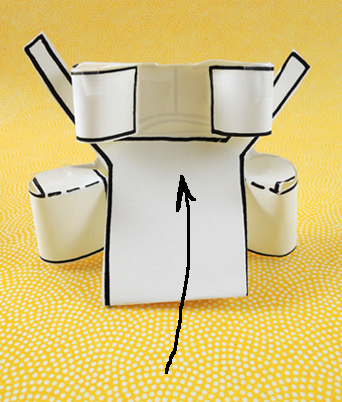 Turn the set around, and stick small
 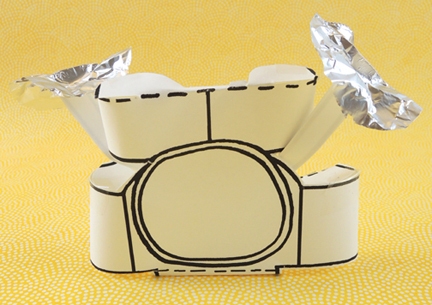 Use scrap paper from your template to fashion a pair of drum sticks and finger loops. Tape the sticks to the finger loops, and slide them over your fingers.
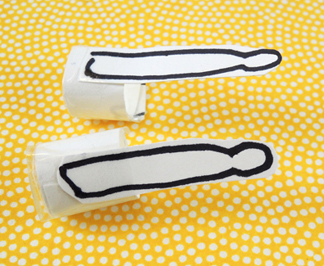 Finally, your buffalo drummer! Cut and color the buffalo finger puppet from the template (or use the full color version