 Three, two, one…blast off! We head to the moon using this rocket ship dashboard, which includes a custom steering wheel, fuel gauge, gravity level, destination dial, and flashing light. This was a special story time for the Bernardsville Public Library, who won our Pop LIVE blog contest. Scroll to the bottom of post to see their truly adorable children’s section!
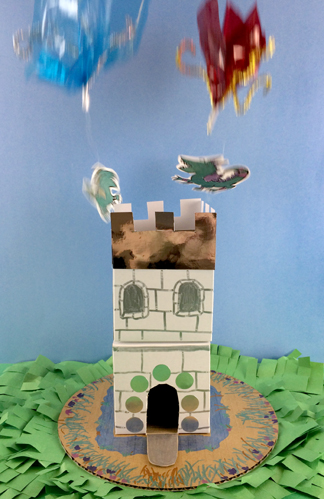
We read The Crimson Comet by Dean Morrissey and Stephen Krensky (HarperCollins, 2006). When the light in the moon goes out, it’s up to Nora and Jack to jump in their home-made rocket and lend a hand. It might look like a toy wagon cobbled together with household items, but the Crimson Comet gets the job done.
You’ll need:
- 1 corrugated cardboard base (we used a 9.5″ x 13.75″ cake pad)
- A few brass fasteners
- A few foam beads
- Poster board, card stock, tagboard, or construction paper
- Dashboard decorations (more on this below!)
- Scissors and tape for construction
- Markers for decorating
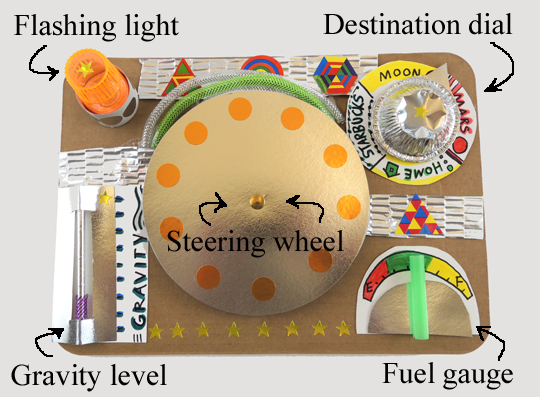
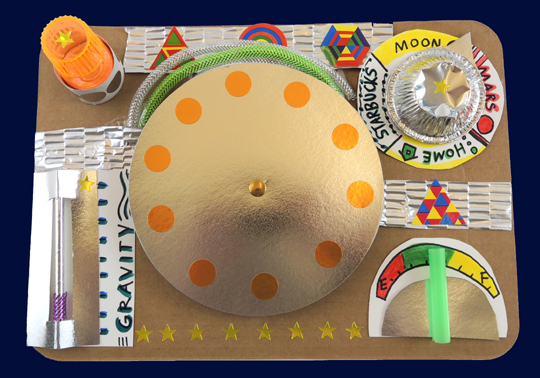
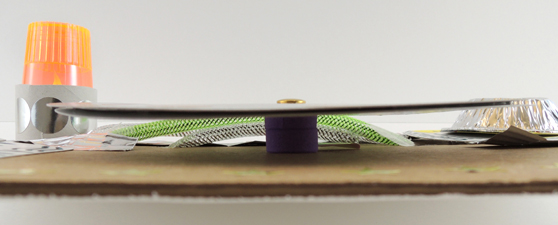
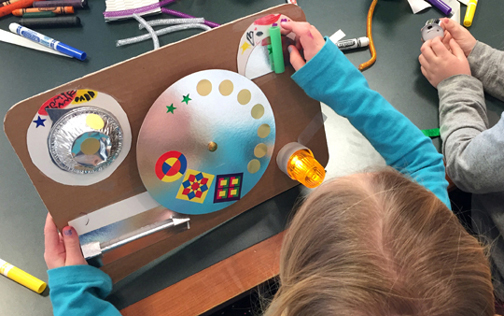
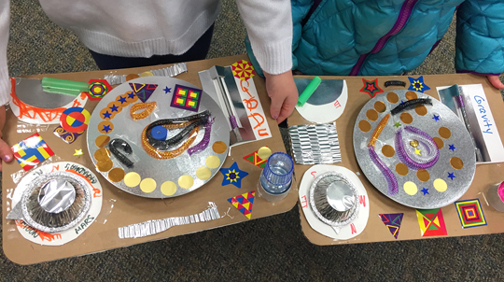
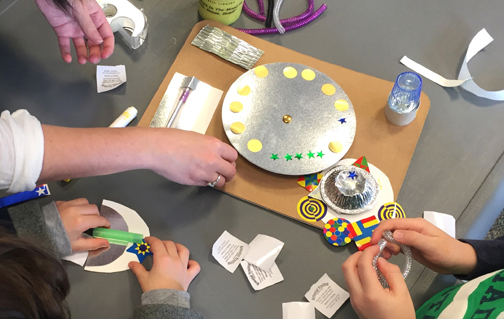
The corrugated cardboard dashboard is designed to sit comfortably in your lap during space flight. Moving clockwise – the destination dial is a mini aluminum pie pan, and the fuel gauge hand is a snippet of bubble tea straw. Both attach to the dashboard with brass fasteners.The gravity level is a little piece of mesh tubing that slides up and down a silver paper drinking straw.
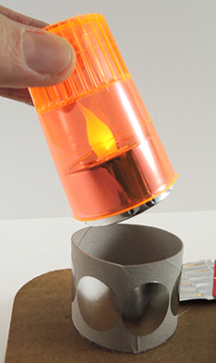
The flashing light is a silver LED votive with a plastic shot glass over it (who knew they would fit together so perfectly?). We wanted kids to be able to turn the light on and off, so the whole thing slides into a 1.25″ piece of toilet paper tube that can be taped or hot glued to the dashboard.
 The steering wheel is 2 silver circles hot glued together and then attached to the dashboard with a longer, 1.5″ brass fastener (or use a bit of balloon stick). We used 2 foam beads to lift the steering wheel off the board a bit. Here’s a shot from the side:
 We also had markers, silver foil paper, mesh tubing, foil star stickers and geometric stickers on hand for decorating. The geometric stickers are “Funky Geometric Shapes Rolls of Stickers” from Oriental Trading Company (6 rolls of 900 stickers are $10).
 Once the decorating was done, we fired up ye olde overheard projector and took a trip to the moon! I drew different scenes on overheard transparency film and interchanged them as we progressed from the landing strip, to the sky, to outer space, to the moon, and back to earth again. Along with way, we dodged birds, weather balloons, comets, and the International Space Station!
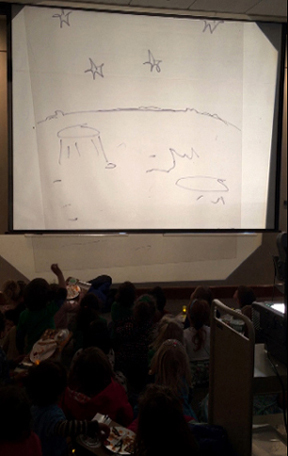 This story time was hosted by the public library in Bernardsville, New Jersey. Look at their charming children’s section, which was the gift of Estella and Jay Parsons:
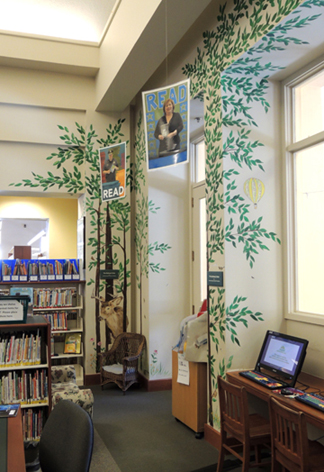
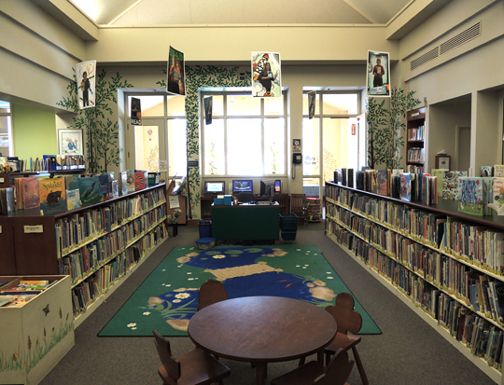 It’s full of beautiful hand-painted trees, botanical touches, and forest animals. Look at the deer standing next to the little wicker chair in the corner!
 This little singing bird is Katie’s favorite:
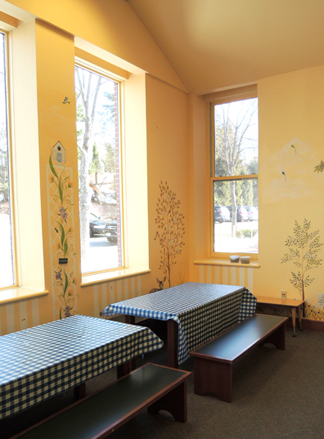
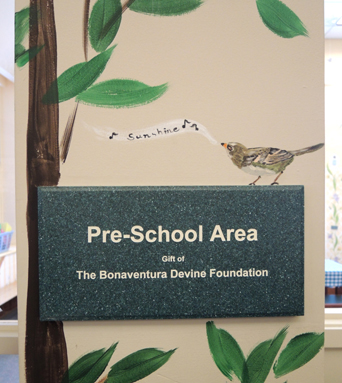 The preschool area (a gift of the Bonaventura Devine Foundation) continues the outdoor theme with picnic-style activity tables with cute gingham covers and buttery sunshine-colored walls.
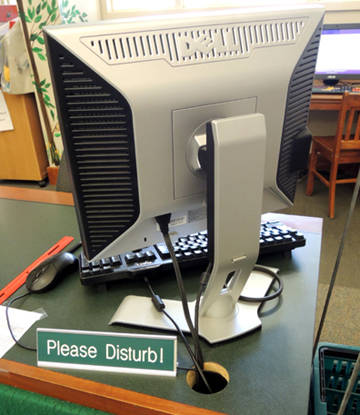
 Here’s my favorite touch, however. The “Please Disturb” sign on the reference desk!
Many thanks to the Benardsville Public Library and their enthusiastic staff for hosting us, and for treating us to a delicious local lunch! You guys are awesome!
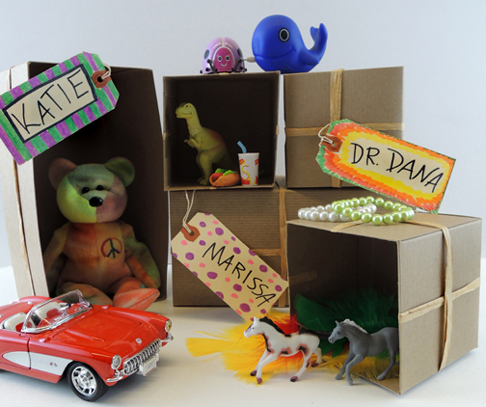 A brown paper package tied up with string? Check! It’s up to you and your partner, however, to guess what’s INSIDE the package!
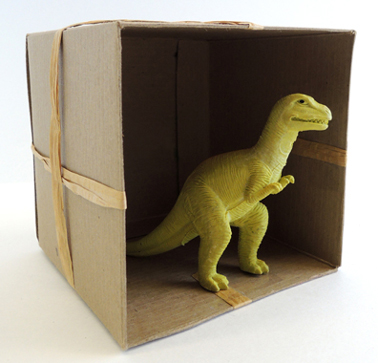 If you’d like to add a little craft project to the story time, we found these old package labels in the office supply cabinet and used markers to decorate them. Or you can fashion your own using card stock, a hole punch, and string.
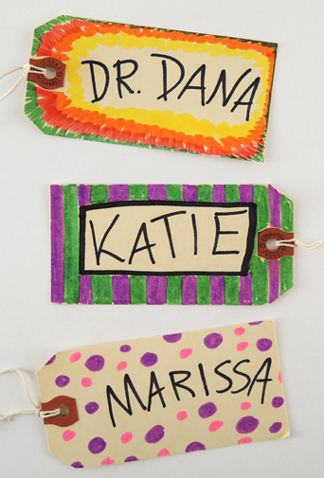
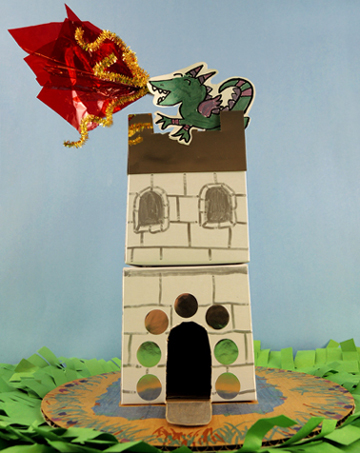
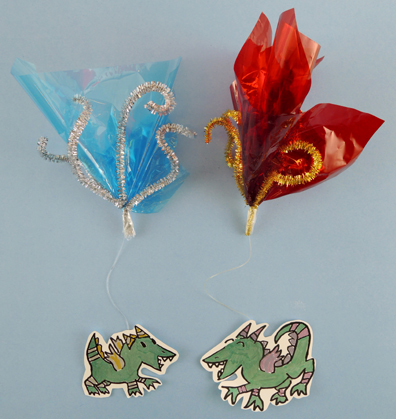 Fold 2 sparkle stems into a V shape, then tape them to the bottom of a bunched 10″ x 10″ square of cellophane, Secure with tape. Knot one end of a 10″ piece of clear beading cord around the bunch, then secure with tape. Repeat these steps to create a second firework. Color and cut the mother and baby dragon from the template, then tape them to the free ends of the firework cords.