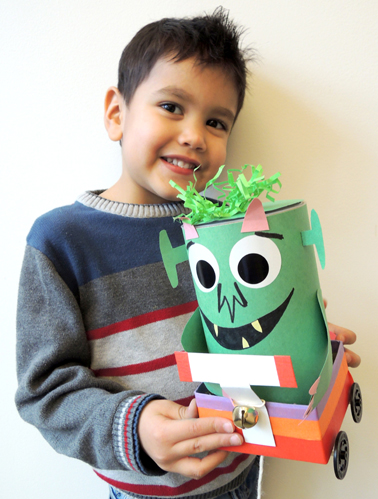
 We’ve made a lot of monster projects on the blog, but this is our first monster…on a bicycle! Where is he going? To find YOU, of course. And make a very special delivery.
We read Bedtime for Monsters by Ed Vere (Henry Holt, 2011). There are monsters out there. In fact, there’s one thinking about you at this very moment…and now he’s heading your way! But as he’s cycling, climbing mountains, and crossing swamps, is his thinking of how delicious you’ll be on toast? Or how tasty you would be slathered in ketchup? No silly! He just wants to give you a big goodnight kiss!
You’ll need:
- 1 small oatmeal container
- Construction paper
- 1 small box
- 1 piece of yarn (ours was 30″)
- 1 set of wheels (more on this below)
- Scissors and tape for construction
- Markers for decorating
- Hot glue
In one section of the book, the monster rides a bicycle. We loved the idea of a pull string bike and a pursuing monster. But it turns out, crafting working 2 wheel bikes is really hard! So you’ll have to pardon us if our bike ultimately had 4 wheels.
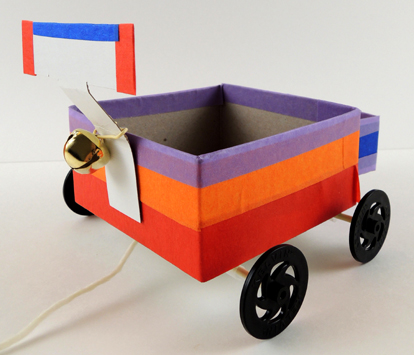 The bike is a 4″ x 4″ x 4″ craft box cut down to 2″ tall (a small tissue box works too!). We also cut the lid off the box and used it to create the T shape handlebars for the bike. Use color masking tape or markers to decorate the bike and handlebars.
The yarn pull string gets taped to the bottom of the box, and we also added a jingle bell secured with twisteez wire. To get things rolling, we recommend our “classic wheel assembly” (instructions here), but wooden wheels or spools work too. And did you notice the basket on the back of the bike?
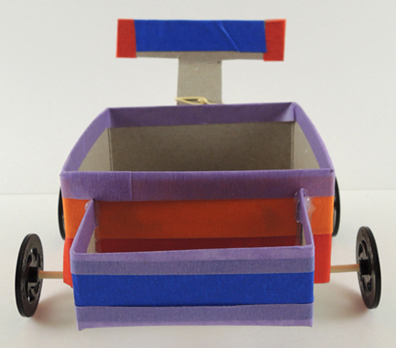 Use a small box or extra cardboard to create a small bike basket, then tape or hot glue to the back of the bike box. Not only does the basket keep the bike from tipping too far back when you’re pulling it, the basket holds something VERY special a little later. Finally, we have our monster…
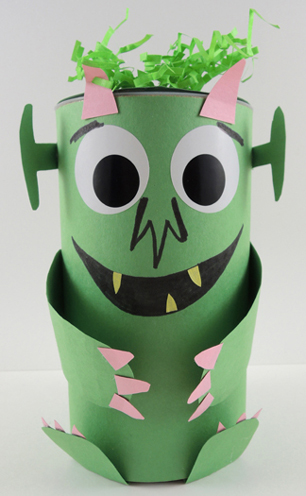 Wrap a small oatmeal container with construction paper, then add arms, legs, eyes, ears, and horns. We added a little paper crinkle to the top of his head as well. Note: if your bike box was small like ours, you might consider folding the monster’s legs upwards so they don’t get crushed. A crushed monster is an unhappy monster.
When the bikes and monsters were finished, kids pulled their creations around the gallery to where I was sitting with some construction paper hearts.
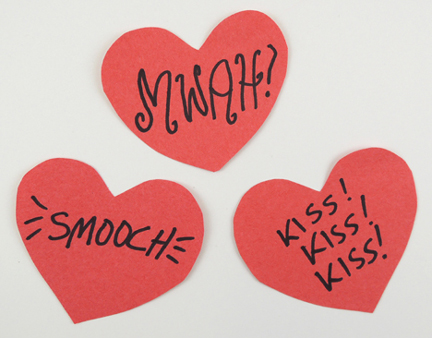 These were “kisses” the monster was carrying with him in his bike basket for you! Awww!


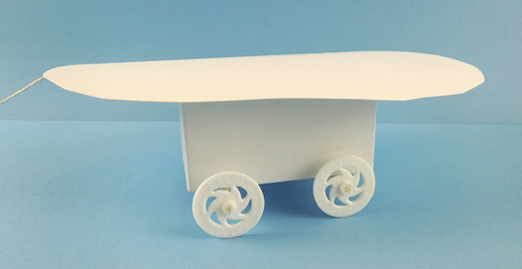
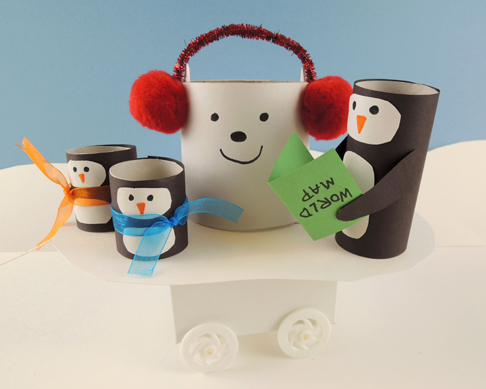 Heading to the North Pole? South Pole? Or perhaps you’re on an unintentional grand tour of the globe? Hop on this convenient ice floe with some slightly puzzled penguins and polar bear and prepare to see the world!
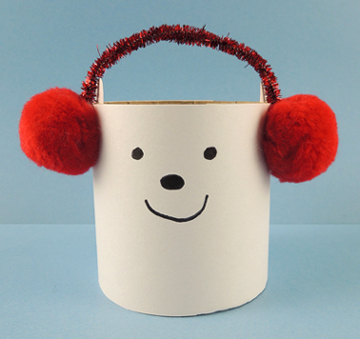
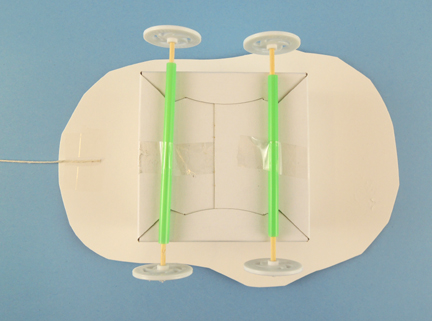 Now for the polar bear and the penguins! For the bear, we wrapped a 3.5″ tall packing tape core with white construction paper. The earmuffs are a
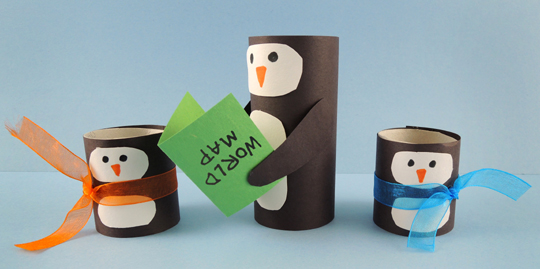
  To make the penguins, wrap 2 toilet paper tubes with construction paper. Cut one of the tubes in half to create the 2 small penguins. Attach wings, faces, and tummies. We also added ribbon scarves and a world map to our penguins trio (and if you want to be true to the book’s illustrations, attach the map upside down).
 Place the polar bear and penguins on top of the ice floe and travel the world! Some kids opted to tape their passengers to the ice floe to keep them from falling off…
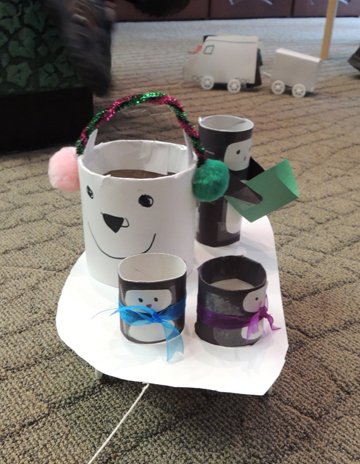 I snapped this adorable traveling quartet en route to our gallery, but did you also notice the vehicle in the background? One little boy decided to create a “snow train” using project materials. The penguins are riding inside the engine. Fantastic!
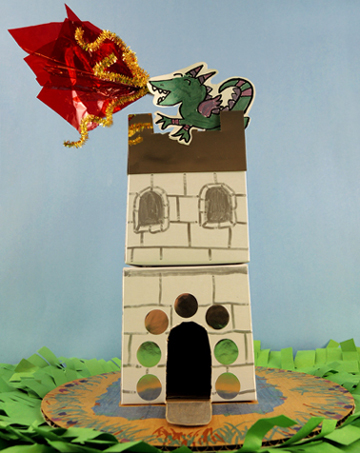
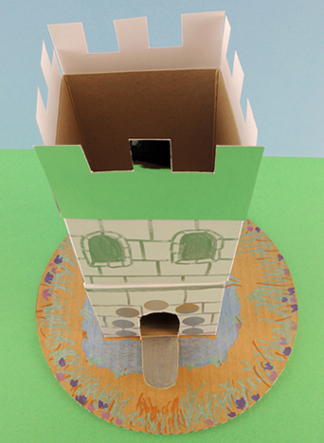
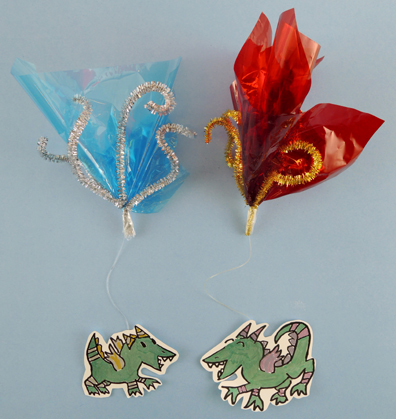 Fold 2 sparkle stems into a V shape, then tape them to the bottom of a bunched 10″ x 10″ square of cellophane, Secure with tape. Knot one end of a 10″ piece of clear beading cord around the bunch, then secure with tape. Repeat these steps to create a second firework. Color and cut the mother and baby dragon from the template, then tape them to the free ends of the firework cords.