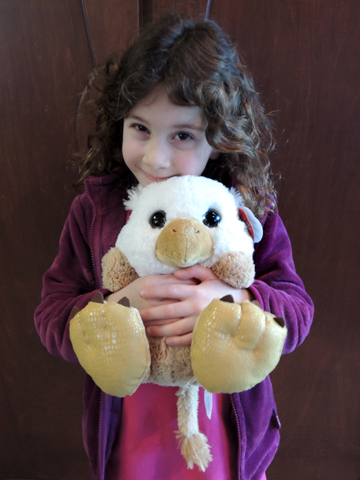
A baby griffin needs lots of care, attention…and hamburgers! Luckily, our story time kids were more than up to the task. This cuddly companion was part of To Be Continued, our chapter book story time for kids ages 6-8.
Is that tufted tail making your heart melt? Details at the end of the post for how to win a baby griffin of your very own!
We read The Menagerie, written by Tui T. Sutherland and Kari Sutherland (HarperCollins, 2013). When Logan and his broken-hearted father move to a remote town in Wyoming, Logan’s life gets considerably duller. Or does it? He soon discovers that the town is hiding a secret Menagerie filled with dragons, unicorns, and other mystical creatures. The Menagerie also has a BIG problem, as six griffin cubs have escaped, and need to be located and returned before the Menagerie itself is discovered. Logan and his new-found friends Zoe and Blue race against time, uncovering more then a few secrets along the way.
In the book, Logan and his friends track the baby griffins by spotting feathers they are molting. I hid these fantastic gold-tipped duck quill feathers around our gallery for the kids to find. Each kid needed to find at least two feathers.
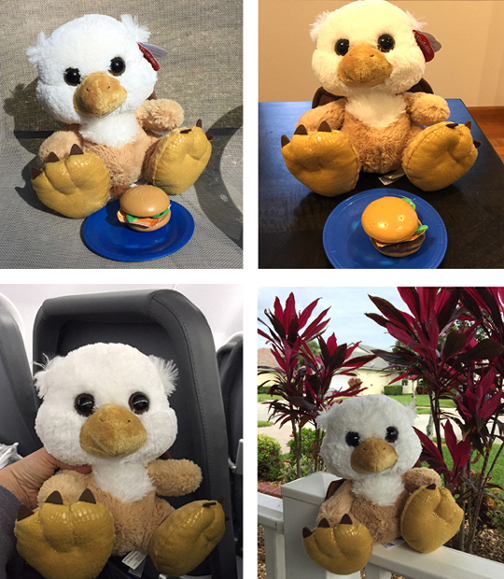
 Once all the feathers were located, the kids were awarded with stuffed baby griffins (purchased on Amazon)! Hoo boy, the kids were surprised and WAY excited! The loving attachment began immediately, and one little boy sent me multiple photos of his griffin Scorp, who, like another griffin in the book, had a serious hamburger addiction. Scorp also flew with him to Florida!
Would you like to receive a brand new baby griffin of your own? Simply e-mail danas@princeton.edu with the name you would pick for your griffin. We’ll put all the entries in a hat and draw a winner at random on Tuesday, June 16. Good luck!

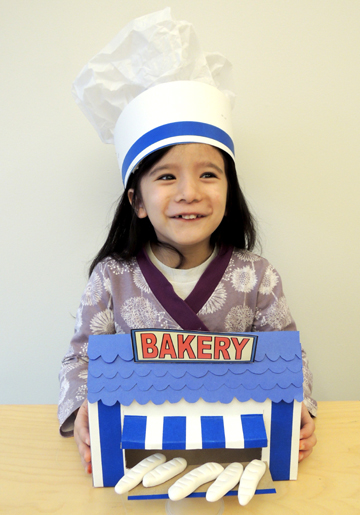
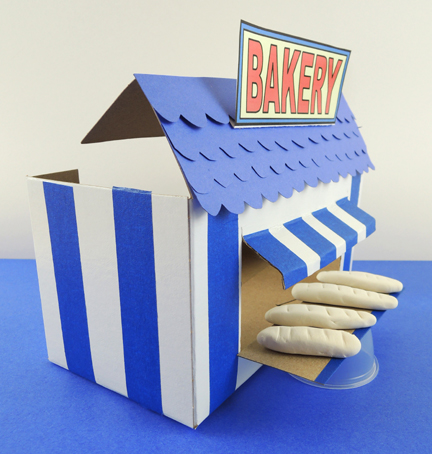
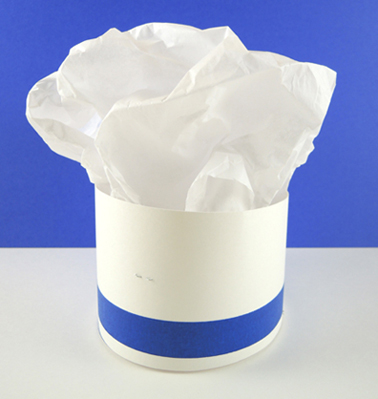
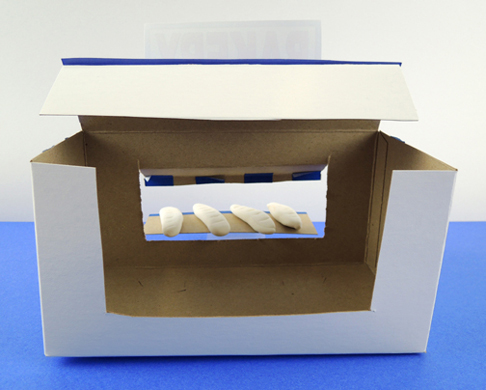 And use the resulting cardboard to make a countertop for your bakery. Hot glue it to a cut-down paper cup or plastic sample cup, then place the counter outside your bakery window. Use modeling clay (we used air dry Model Magic) to fashion some little baguettes.
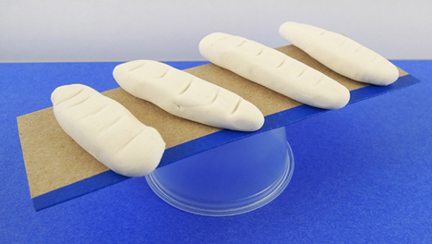 The final touch is a baker’s hat, and you will find the supply list and instructions for it