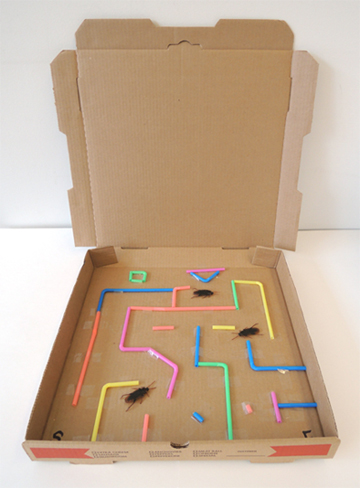
 Wow wowzers wowie WOW are we looking forward to turning the page to 2022! But before we put a lid on 2021, we thought we would revisit some of our favorite posts! Here they are, in no particular order, our Top 10 posts of 2021!
#1 TOTALLY RANDOM
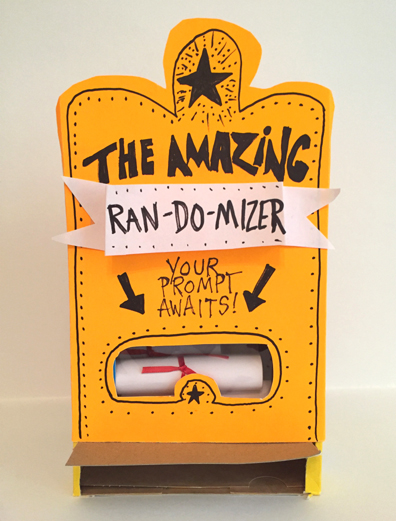 Never in a million years did I think a recycled pasta box would go viral, but this was one of our most popular projects! It’s a simple writing prompt machine, inspired by an arcade claw machine from summer vacations past.
#2 LIFESTYLES OF THE RICH AND NOBLE
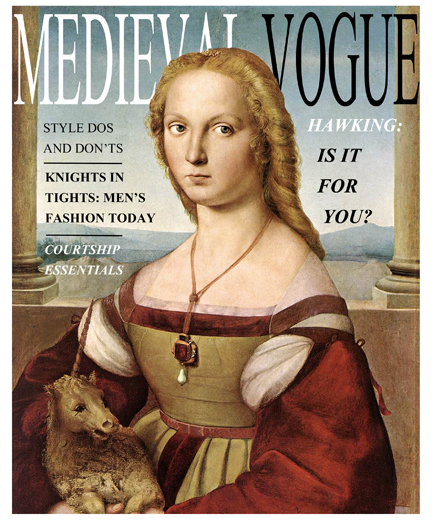
Katie and I had a good time revisiting this fashion-parody-but-it’s-actually-historically-factual magazine. Medieval Vogue was part of a massive 2012 Robin Hood event. You can read more about the event fun here.
#3 DESTINATION: SLEEPY HOLLOW
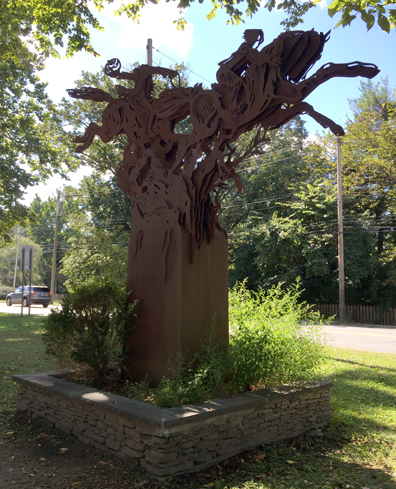
It’s not everyday you get to check a box on the life list! Visiting Sleepy Hollow, NY has been something I’ve always dreamed of….and our 2021 trip will always be something to remember.
#4 BRINGING LITERATURE TO LIFE
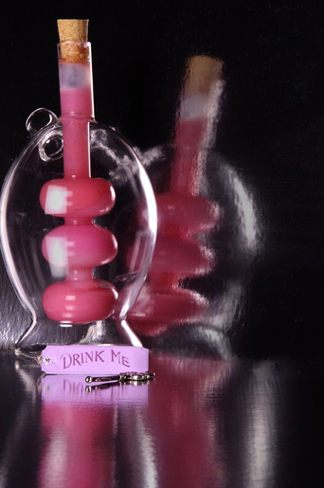 Katie was delighted to interview Australian blogger Bryton Taylor, whose amazing literary parties and original recipes give us much inspiration!
#5 LITERARY AMUSEMENT PARK RIDES

A Top 10 list in a Top 10 list? We couldn’t resist including this one because it was pure joy to research.
#6 FLOWERS FOR FERDINAND
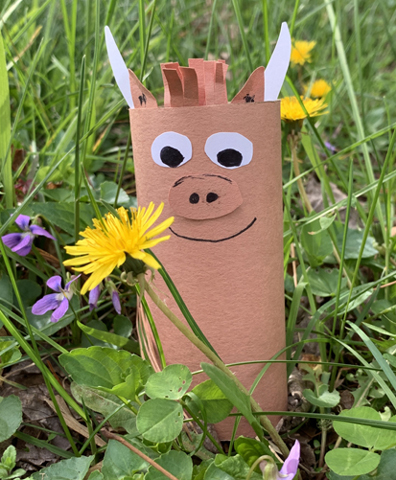 In addition to featuring one of Katie’s favorite picture books, this post was full of hope, spring, and a fantastic wildflower identification app!
#7 FROM FOLKLORE TO FANTASY

Co-hosted with Vineet Chander from Princeton University’s Office of Religious Life, Hindu Life Program, this live Zoom webinar with talented authors Sanyantani DasGupta and Roshani Chokshi was just magical. And the Q&A with the kids was epic! You can find the entire event here.
#8 SPLASHY SPELLING
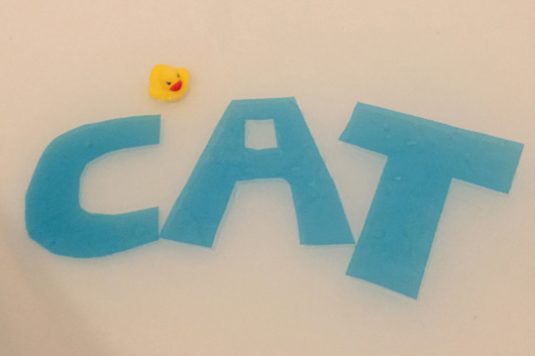 This one made the list because it was almost a huge fail and it turned my hand pink. Yes, PINK! Though I ultimately managed to produce a cute bath time spelling craft, my digits were blush for days!
#9 PUPPY POST
 Of course we’re going to include the post that introduced Finley, the newest addition to Katie’s family! Look at him, rocking that doggie delivery mailbox! Awwwww!
#10 THE 12 MONTH, 46 HOUR LIBRARY
 Otherwise known as the craft kit that almost took Katie down. It might have taken a year, but now we have an adorable physical representation of Katie’s persistence and perseverance (and just look at that cute library ladder)!
HAPPY NEW YEAR EVERYONE! HERE’S TO 2022!

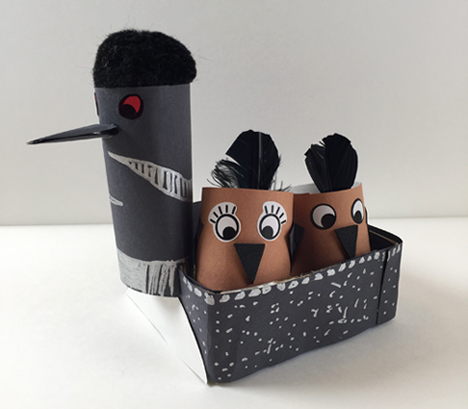
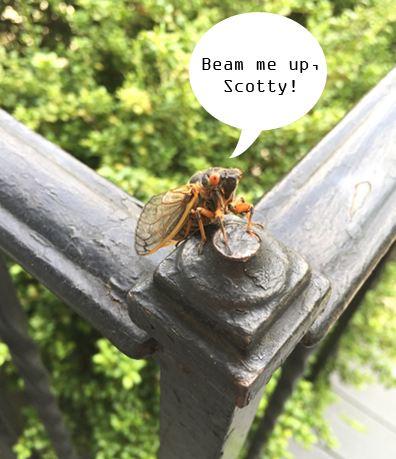 I don’t know about ya’ll, but the Brood X cicada noises sound like someone is trying to remateralize on my street via a Star Trek transporter. Every day. Alllll day. Very LOUDLY. Katie, feeling similarly inspired (or perhaps crazed), put together today’s blog post featuring cicada connections and some of our awesome bug story times and projects!. Take it away, Katie!


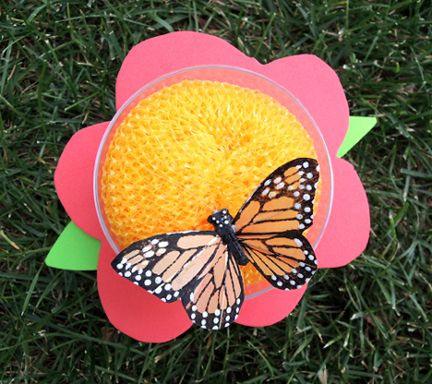
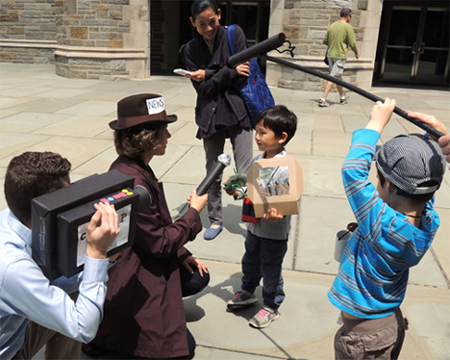
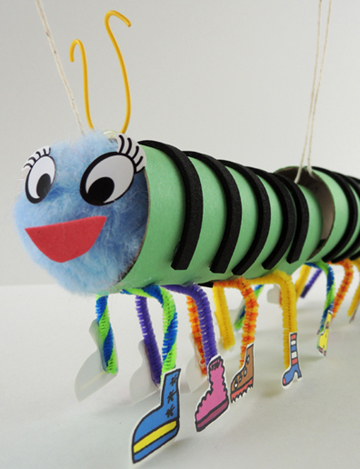 Budding young entomologists create a bug and tell our story time film crew about it
 Annnnd a magnetic fake