
 Let this Sous Chef Souris help you make delicious pies! Your miniature kitchen has everything you need for creative baking – mixing bowls, wooden spoons, cutting board, rolling pin, pie pans, fresh felt ingredients, and, of course, matching chef hats!
We read Tiny Pie, written by Mark Bailey and Michael Oatman. Illustrated by Edward Hemingway (Running Press Kids, 2013). It’s past her bedtime, but little Ellie the elephant is hungry. She’s too short to reach the kitchen counters or open the fridge, but she can peep through that interesting mouse hole in the wall. There, she discovers a mouse cooking show in progress inside, complete with cameras and studio audience. It’s tiny pies, big flavor, for Ellie and her new mouse friends!
You’ll need:
- 2 small boxes (more on box specifics below)
- 1 cooking show sign template, printed on 8.5″ x 11″ white card stock
- 4-5 clear plastic sample cups
- A piece of tagboard or brown poster board
- Small pieces of brown and red felt
- 4-5 blue mini pom-poms
- 1 drinking straw
- 1 snippet of bubble tea straw (approximately 2″)
- 2 miniature aluminum pie tins
- 2 paper muffin cups
- 1 toilet paper tube
- Grey and white construction paper
- 1 pink mini pom-pom
- White poster board
- 1 white facial tissue
- 1 piece of white tissue paper
- Scissors and tape for construction
- Markers for decorating
- Hot glue
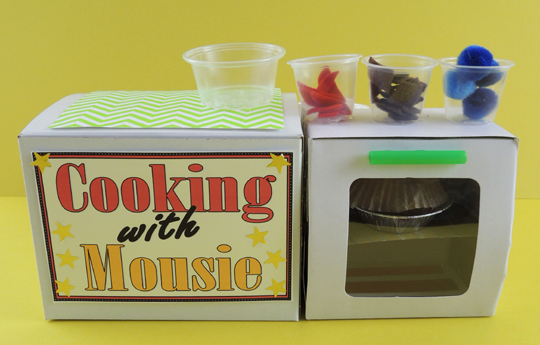
The cooking counter consists of 2 parts. Part 1 is a 6″ craft box work counter (that’s where the sign template goes – don’t forget to add your name to the sign!). Part 2 is the oven. We used a 4.5″ “White Cupcake Box” from Oriental Trading Company ($5 a dozen) as our oven. Why? That cute little window in the top! It makes a perfect oven door. Add a 2″ bit of drinking straw as an oven handle, and you’re ready to bake!
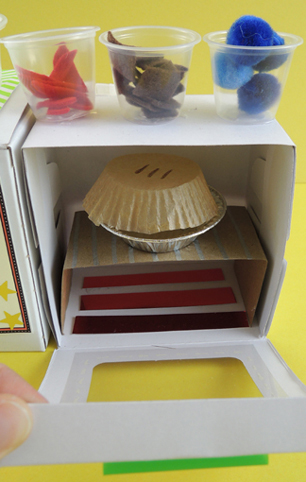
Inside the oven, we fashioned a little shelf out of tagboard (poster board works too), and and added some red mirror board heating elements:
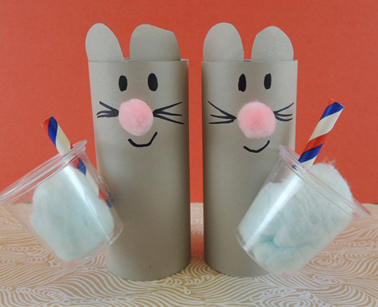
 On top of the cooking counter is some patterned paper, as well as 4 clear plastic sample cups. 3 of the cups were stocked with pie fillings: red felt apple slices, brown felt chocolate, and mini pom-poms blueberries. The 4th cup is the mixing bowl.
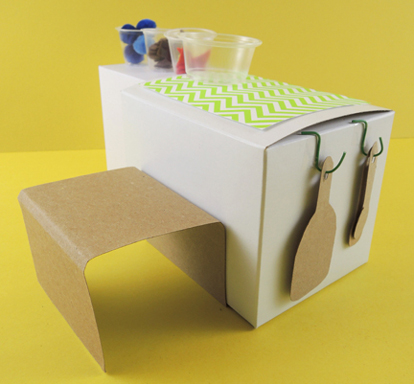
To give the mouse chef a little boost, we had to add a tagboard “stool” to the back of the cooking counter. You can see it in the photo below, along with some twisteez wire hooks we added to the sides to hang your utensils (you can also use paper clips).
Here are more kitchen goodies:
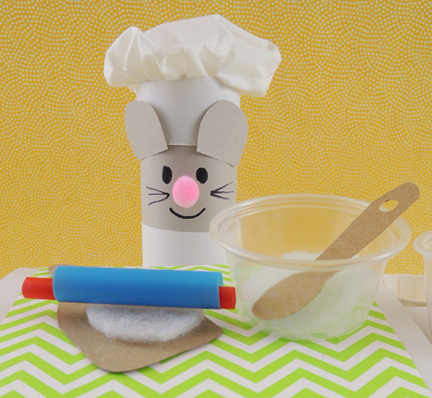
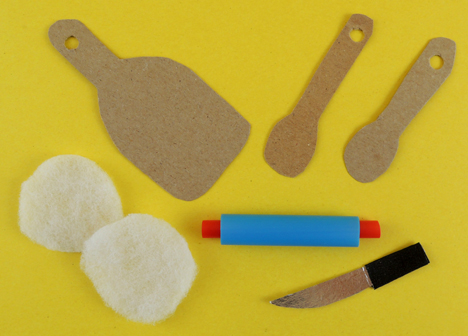 The cutting board and wooden spoons are tagboard. The knife is a little piece of silver mirror board with a black masking tape handle. Those two white circles are polyester batting “pie dough” for the mixing bowl, and the rolling pin is a 2.25″ snippet of bubble tea straw with a 3″ piece of drinking straw threaded into it.
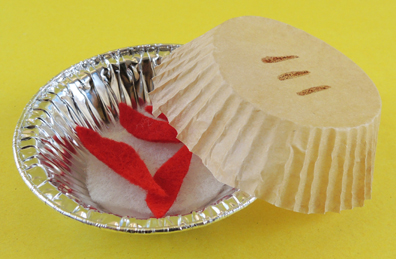
The pies are mini aluminum pie pans with a circle of fabric batting dough tucked in the bottom. Top if off with some felt or pom-pom ingredients. The crust is a trimmed-down muffin baking cup top.
 The toilet paper tube mouse is sporting a chef hat made from construction paper and a bunched up facial tissue.
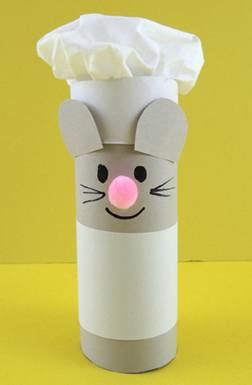 Your chef hat is made out of cardboard and white tissue paper. Instructions for making it can be found in this post. It only occurs to me now, looking at the photo. This chef hat TOTALLY needs a pair of grey construction paper mouse ears.
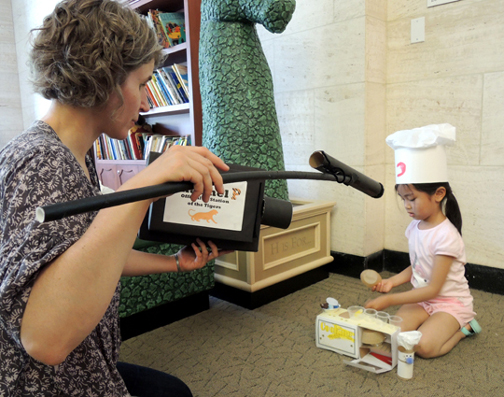
 When the kitchens were finished and the chefs were ready, we brought out our camera equipment (learn how to construct it here) and filmed a number of pie-themed cooking shows. Chocolate appeared to be the pie flavor of the day. And with good reason, amiright? Nom nom.
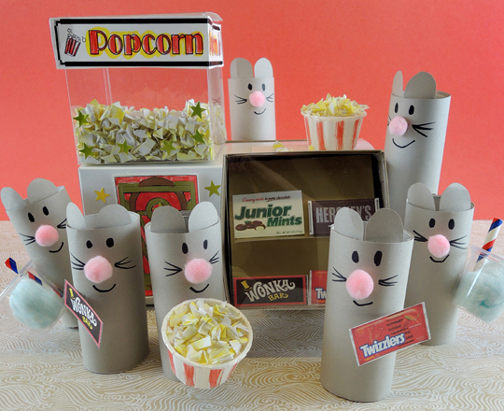

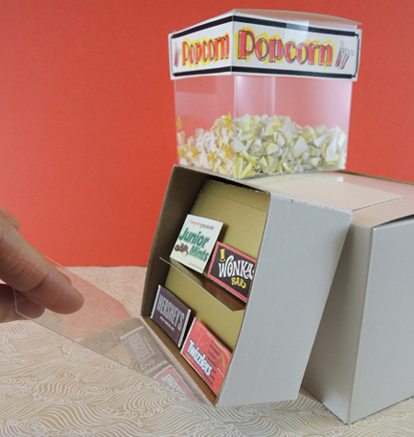
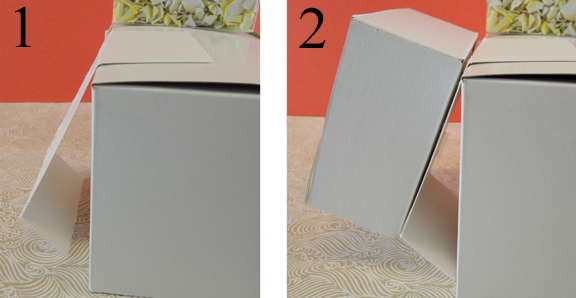
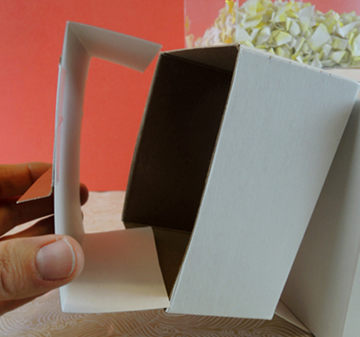
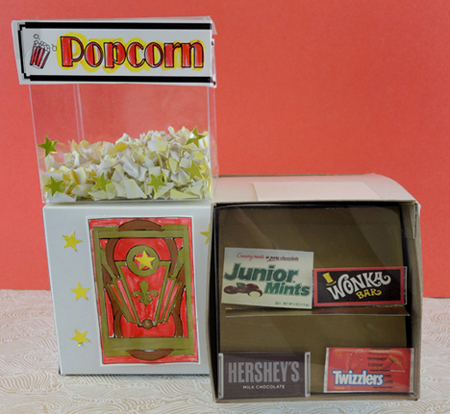 First the concession stand, starting with that awesome popcorn machine! Our popcorn machine is a 4″ x 4″ x 4″ plastic favor box from Oriental Trading Company (item #13705345, 24 boxes for $9.50). Cut the clear lid off the top of the favor box and set it aside. Later, the this lid will be the “glass” front of the candy display case. You can leave the top of the popcorn machine open, or use a piece of poster board to create a new lid.
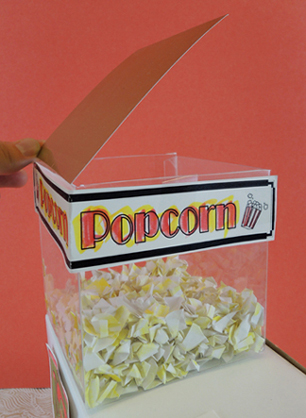 Cut and color the popcorn sign from the template and tape it to the top of the favor box. Then hot glue the popcorn machine to the top of a large box. To make the popcorn, scribble on 1-2 pieces of white printer paper with yellow marker. Cut the paper into tiny squares and crinkle them tightly. Serve your popcorn in 2 small paper sample cups. Use a marker or crayon to draw red stripes on the cup if you’d like!
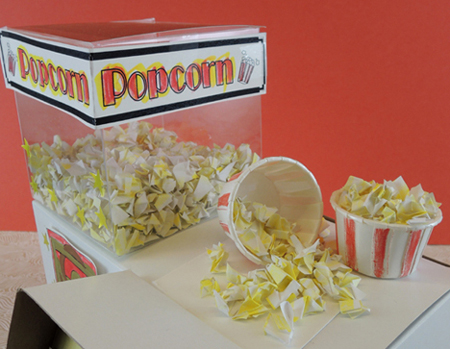
 What was playing that day? A mouse movie of course! It was
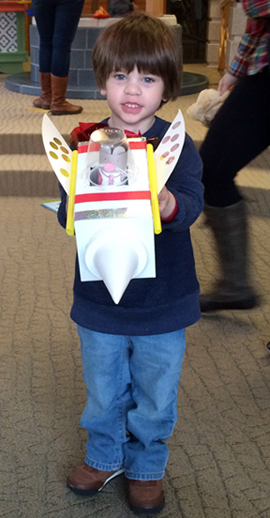
 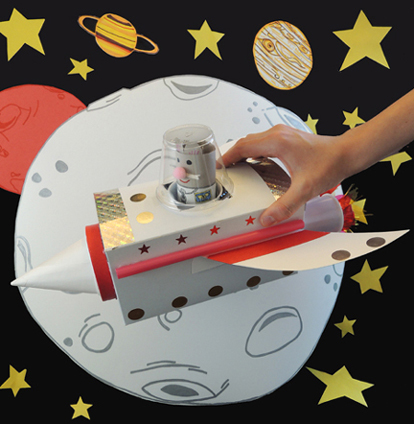 Boldly go where no mouse has gone before. We created a rad rodent rocket, then flew it across the library on a mission to the moon! If you are ever looking for an excuse to bust out a pair of walkie-talkies at story time, this project is for you.
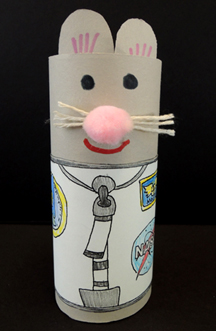 Set the mouse aside for a moment. It’s time for the rocket!
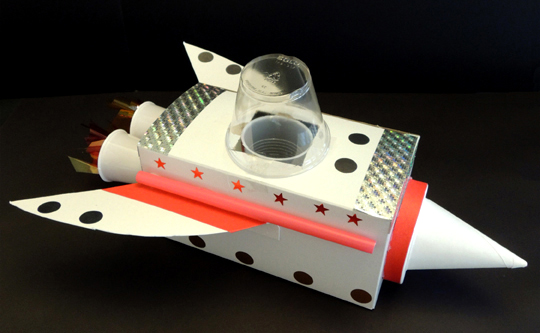 The trickiest part of constructing this rocket? Finding the right plastic cups for the “seat” and “cockpit.” The seat cup needs to hold mouse snugly, while still allowing it plenty of head room. I found some 5oz plastic cups that were just perfect.
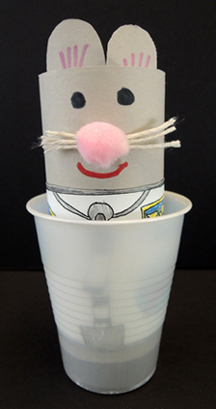 Use a box cutter to cut a square hole in the lid of your box (if you’re using a tissue box, flip the box over and cut the square in the bottom). You want the hole to be big enough to slide the cup into, but not so big that the cup is in danger of dropping through (mine was 2.5″ x 2.5″). Slide the cup into the hole, then secure it to the box with tape. Place your mouse in the cup.
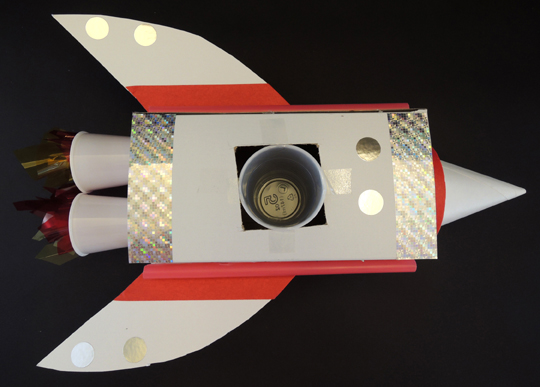 The cockpit cup needs to be wide enough to cover the hole, yet tall enough for your mouse’s ears. This 9oz clear plastic cocktail cup did the job very nicely.
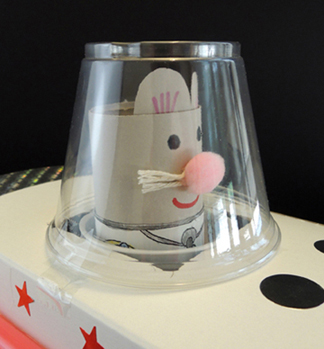 In the image above, you’ll notice that the cockpit cup is attached to the box with a single piece of tape. This is so you can open and close the hatch of the rocket. If you’d prefer your mouse to be sealed in, add more tape. Next, print and cut the wings template, fold along the dotted lines to create a tab, and attach the tab to the side of the box with tape or hot glue.
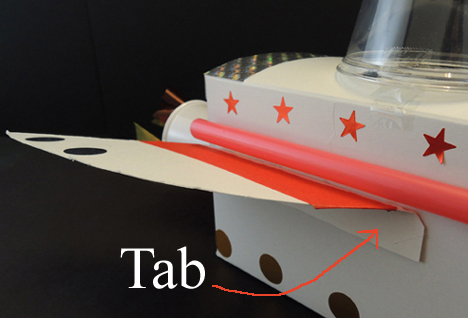 To make the rocket’s boosters, twist squares of yellow and red cellophane together, then tape the twists inside a pair of plastic cups (I used white, 3oz plastic cups). Hot glue the cups to the back of the ship.
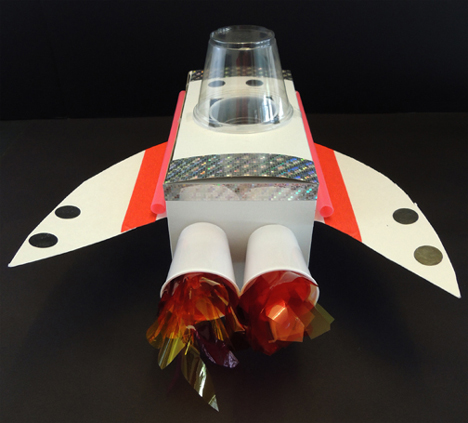 The nose of the rocket is a cone water cup. We hot glued our cones to unused, 3.5″ paper lids (the kind you get when you buy hot soup). But you can just go with the cone if you’d like.
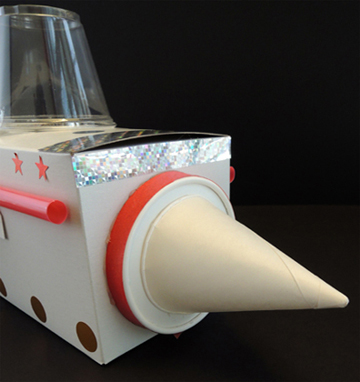 Decorate the ship with metallic dot stickers, color masking tape, and whatever else strikes your fancy (we flashed things up with silver holographic tape). Also, did you notice the awesome
 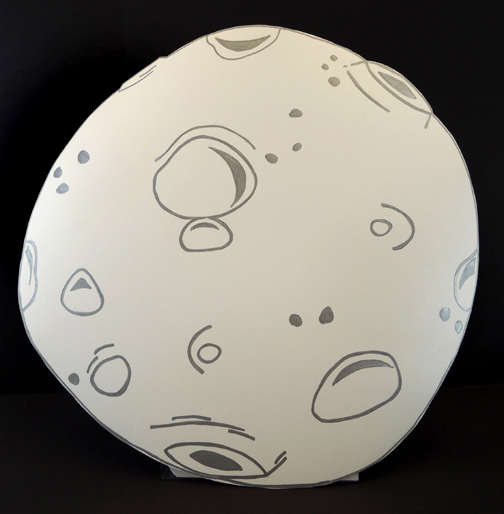 Marissa also crafted this awesome Moon Base out of a tissue box, poster board, a
 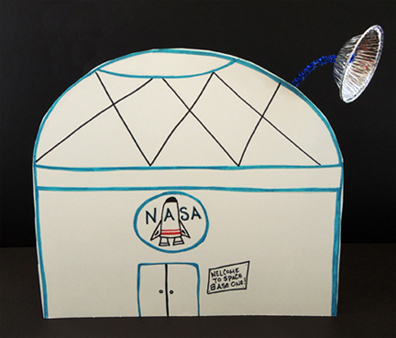 Marissa and I equipped ourselves with a couple of walkie-talkies. Marissa was Mission Control, stationed in the story time area…
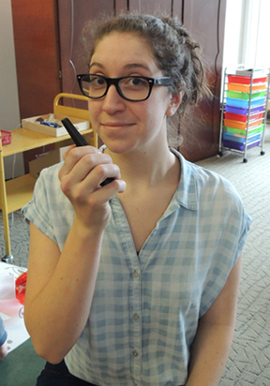 And I was at Moon Base, waaaaay across the library’s cavernous lobby. Marissa and I couldn’t see each other and definitely couldn’t hear each other without using walkie-talkies. This was intentional. We wanted the kids to feel like they were traveling far away.
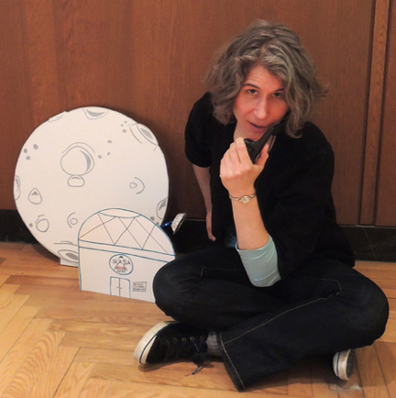
 One-by-one, they were treated to some “walkie-talkie space banter:”
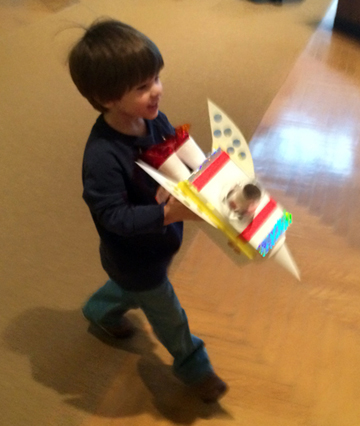 The rocket would navigate the long journey across space…
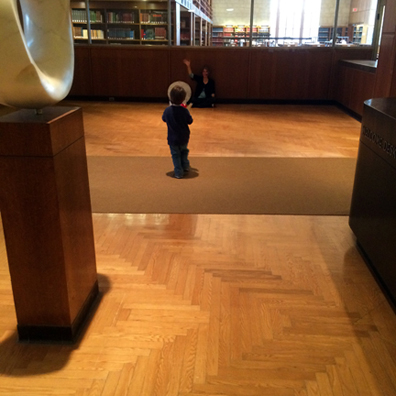 And successfully touchdown at Moon Base! The pilot could then could select some star stickers to further decorate his/her rocket. I radioed back that the mission had been a success, and requested that the next astronaut prepare for launch.
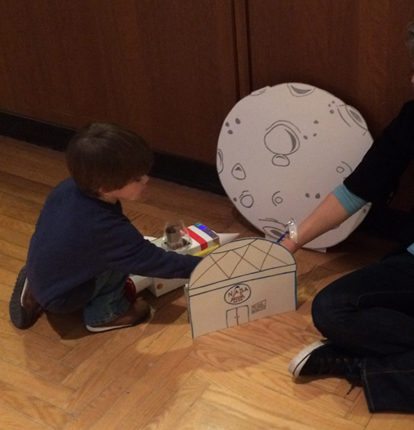 Of course, while waiting for my next rocket to arrive, I couldn’t help treating Marissa to a few songs through the walkie-talkie: This is Ground Control to Major Tom…You’ve really made the graaade!