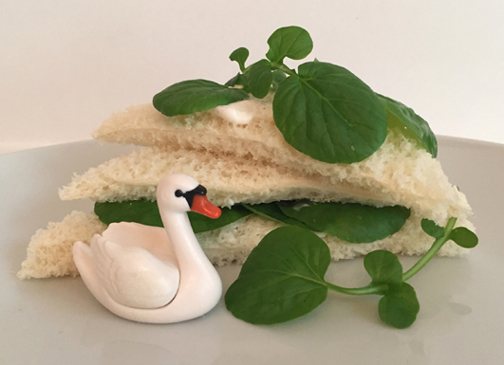
My son is bird-obsessed these days, so I presented him with E.B. White’s classic, The Trumpet of the Swan. He loved it and I was soon fielding questions about swans, trumpets, and what watercress sandwiches taste like. I’m not a swan or a trumpet expert, but watercress sandwiches? That I can do!
A quick Google search reveled 559,000 recipe results. In the end, I went with the simplest one: white bread, mayonnaise (or in our food allergic house, Vegenaise), and fresh watercress. I did have a little trouble locating the watercress, but finally found success in the produce section of Whole Foods.
And what did my son think of the sandwiches? Here’s his full report…
To be honest, it did not have much of taste, sort of like spinach. But it did have a bit of spicy aftertaste. Which was not much compared to the mustard cabbage I once tried. That was a dark day. I am obsessed with waterfowl (scientific name Anseriformes). And in one part of the book, the swan eats some watercress sandwiches, and it is said in the book that all the swan really wanted was the watercress. I guessed that waterfowl eat watercress, and other stuff that grows underwater. So we tried it to see what it tastes like. So overall, it wasn’t bad or anything. Just a little bit tasteless. Maybe next time I’ll try bird seed.
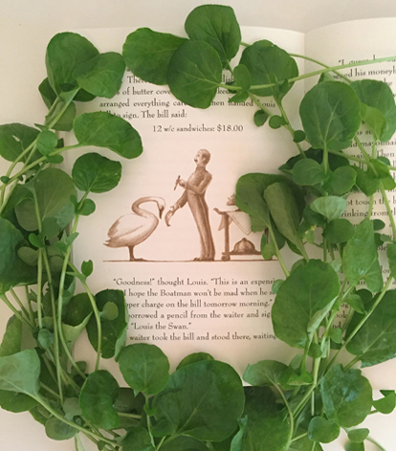
Yes, I was a bit surprised. Watercress is a tad spicy. Not unlike arugula. However, the spice added a nice kick to counter the creamy mayo. Nom nom nom. Watercress is also a gorgeous green. I couldn’t resist garnishing Fred Marcellino’s illustration of Louis being presented the bill for twelve watercress sandwiches, Ritz Carlton Hotel, Boston (Harper Collins, 2000 paperback reissue).
If you are looking for a few more recipes, yummies, and challenges heading into the holiday season, you might want to try some rock cakes, say hello with this chocolate pen, or take our literary food quiz!

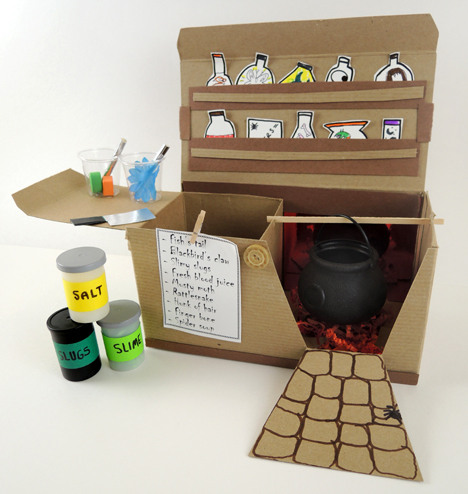
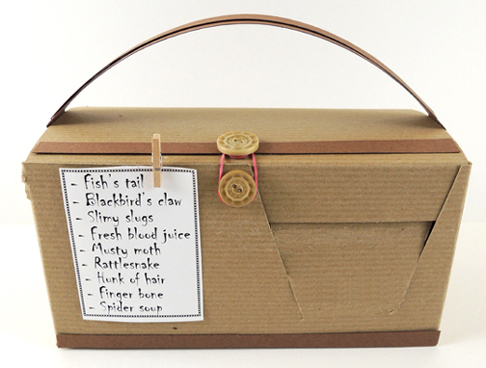 We read One Witch, written by Laura Leuck, and illustrated by S.D. Schindler (Walker & Company, 2003). A witch visits her ten sets of (unusual) friends to gather ingredients for the ultimate brew. She cooks it up, sends out invitations via bat, and a massive party ensues – including a special bowl for you! This is a fantastic counting book, plus a real family favorite. My kids asked me to read this book to them year round!
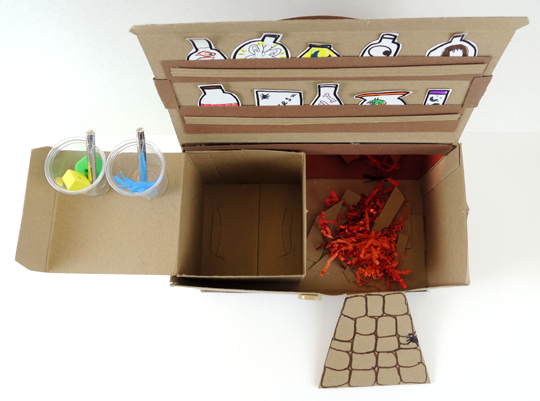 As you can see, it’s a box within a box. The left side of the kitchen is the unfolding countertop/secret storage area, the the right side is the fireplace for the cauldron (which we stoked with brown poster board logs and red
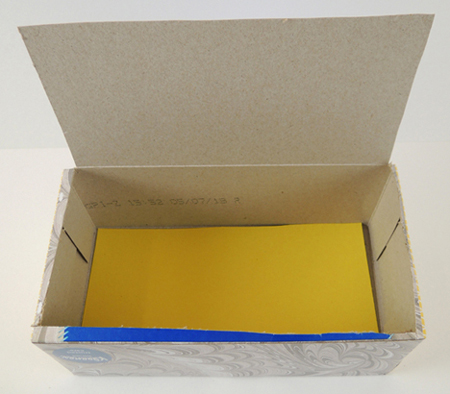
 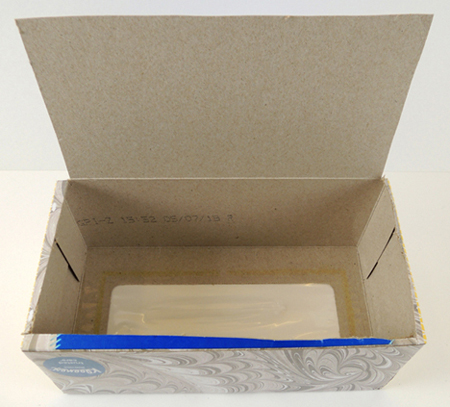 The issue, of course, is you have a big hole in the floor of your kitchen. No problem! Just glue or tape a piece of poster board over the hole (shown here in yellow):
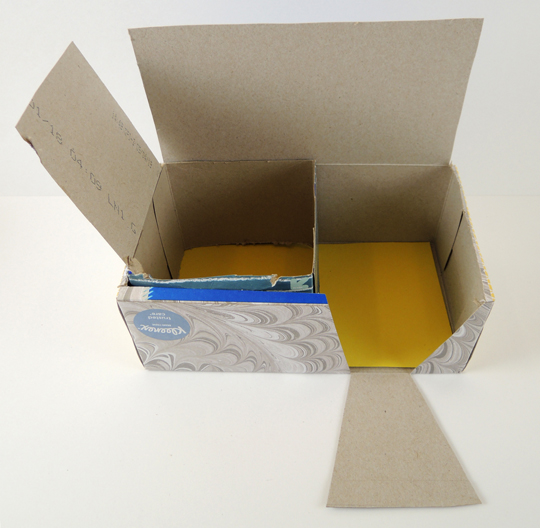
 To make the unfolding countertop/secret storage space, flip a small tissue box, cut the bottom to make a hinged lid, cut the box down to the proper height, then attach it inside the large box. Cut the V-shaped hearth door and you’re set!
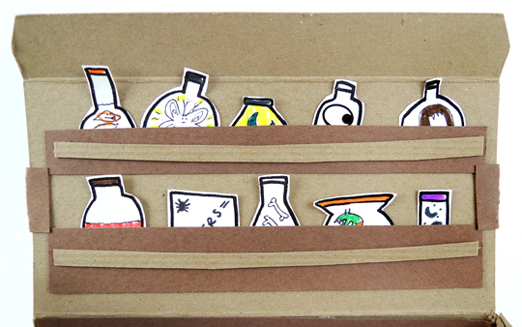
 The shelves along the back of the kitchen are basic poster board pockets. Cut and color the various bottles in your template to stock your kitchen:
 In the secret storage are little plastic sample cups for mixing, snippets of drinking straws, plus (optional) ingredient bottles repurposed from old-school film canisters. We filled ours with
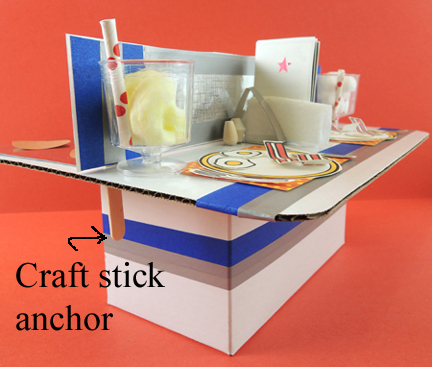 If you like, you can use
 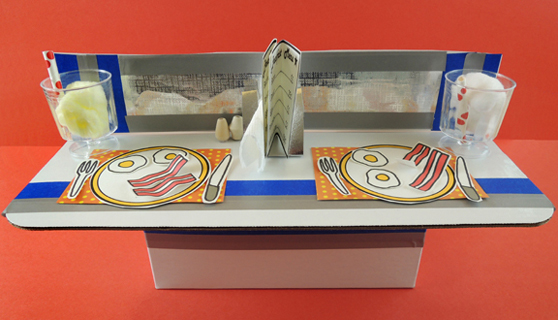 The plates, utensils, food, and menus are on the template. We used
 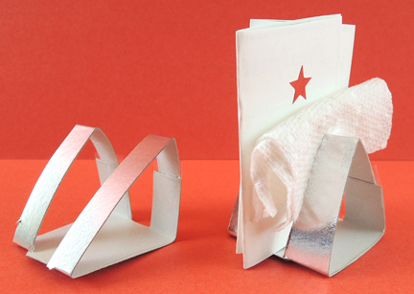 Basically, these are triangles of silver
 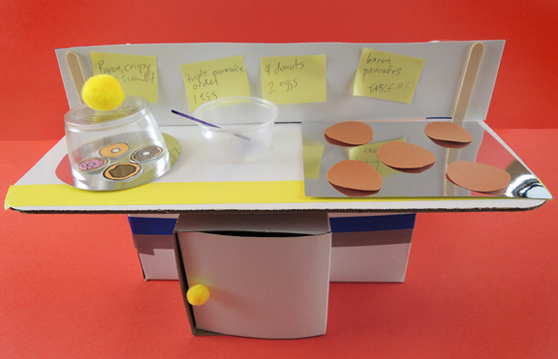 The donut dome is a plastic cocktail cup that has been cut down to 1.5″ and has a small pom-pom hot glued on top. There’s mirror board plate underneath it, and a mirror board griddle as well. There’s also a plastic sample cup mixing bowl with spatula (that’s a bit of silver mirror board taped to a mini craft stick). The pancakes are construction paper. Oh, and we included a fridge made out of a little box, but that’s totally optional.
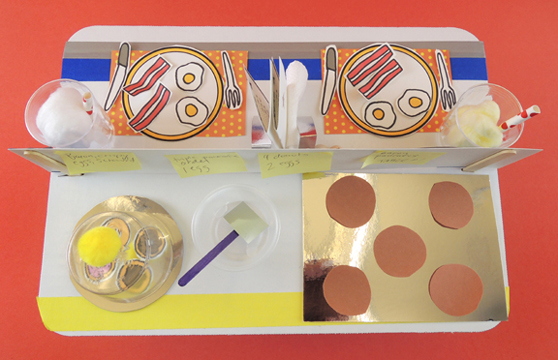 Miniature food sets are REALLY popular at story time. Sometimes, I hear about kids who are still playing with their sets months – sometimes years! – after story time (specifically our
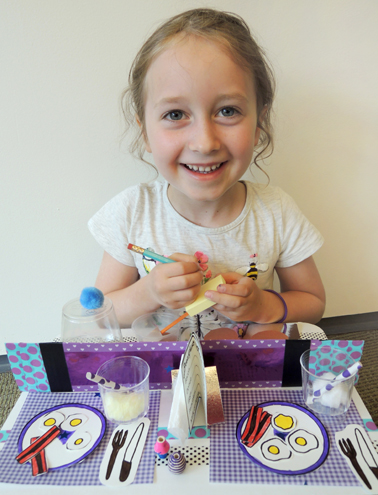
 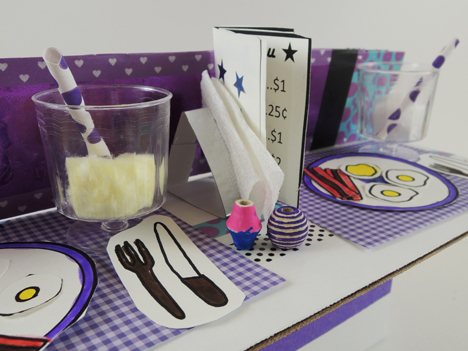 Look at the gorgeous purple decor! The carefully detailed salt and pepper shakers! The purple stripes on the bacon!
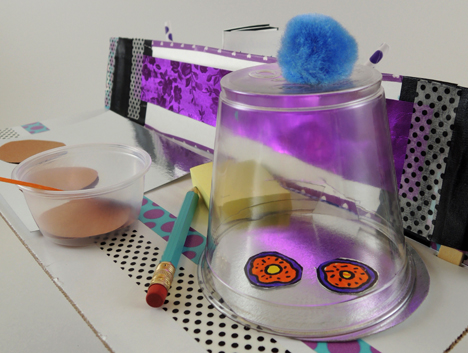 Which are only surpassed by the purple donuts. And then the black polka dots! LOVE.