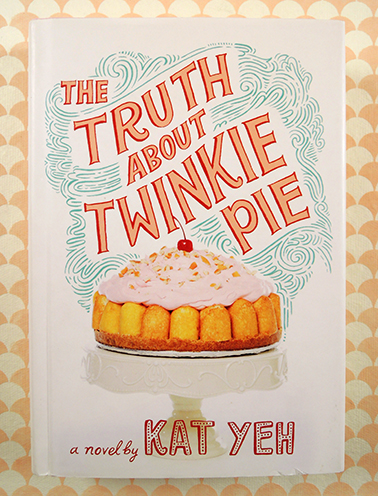
It’s time to head to Katie’s test kitchen to try a literary recipe! Previously, it was sunshine bread. Today, it’s a delicious helping of Twinkie Pie! Twinkie Pie hails from Kat Yeh’s middle grade novel The Truth About Twinkie Pie. It’s a sweet story about coming-of-age, sisterhood, secrets, and delicious desserts. Ever since my interview with Yeh, I have been yearning to try her novel’s signature dish, and it did not disappoint! Take it away Katie!
As a 1980s kid, it was a great day when my mother came home from the grocery store with a surprise box of Hostess sweets. Whether it was Twinkies, CupCakes or Ding Dongs, I can assure you that when the box was empty, there would predictably be a fight of “who ate what and how many” between my brothers and me.
When I saw the recipe for Twinkie Pie, I just KNEW it was something I needed to make and taste test. It gave me a great excuse to purchase a springform pan, which was something I had wanted for a while, and it also meant I could officially introduce my son to the magical and wonderful Twinkie.
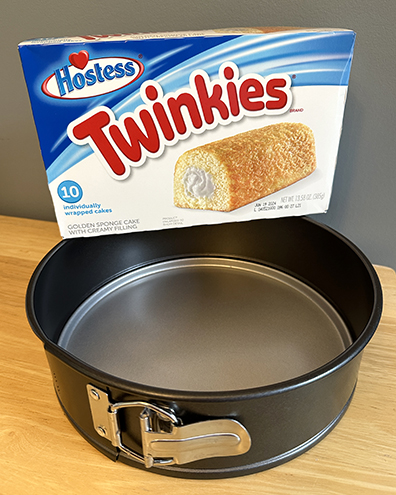
What about the Twinkie? Mothering fail. My kid had never eaten one.
So while I was baking up the vanilla wafer cookie crust, I sent my son to the grocery store to pick up a couple necessary items for the pie, most importantly a box of Twinkies. After a 45-minute food aisle scavenger hunt, he sent me this hilarious text.

He did eventually track down the elusive Twinkies, though he didn’t say if it was because of the screenshot photo or by asking for assistance. Side note: Does anyone remember the great Twinkie crisis of 2012?
The pie is very easy to put together. After you cool the cookie crust, you essentially layer the different ingredients inside the springform pan. Once finished, I popped the pie into the refrigerator for a couple of hours to firm and then brought it to share with friends at an evening BBQ.

Twinkie Pie is a heavenly blend of flavors and despite all the sugary ingredients, it’s not overly sweet. The inside layer of bananas and outside circle of Twinkies add the perfect texture to the pudding and maraschino cherry whipped topping. Needless to say, it was very popular with the teenagers in attendance at the BBQ. One kid said, “This is the best pie I’ve ever had in my entire life.”
And this is from Dr. Dana’s 13 year-old: “The pie has some flavors that I wasn’t sure would mix well together, but I was surprised at how good everything tasted and found myself wanting more, especially the soft crust. 9/10!”
Surprisingly there was enough Twinkie Pie left over that I could bring slices into work to share with my library colleagues. Here is the opinion of Beth Kushner, who, being an awesome librarian, dropped in an additional literary reference:
“I’d like to just get one of those pink clouds and put you in it and push you around.”
~Daisy Buchanan, The Great Gatsby
The slice of Twinkie pie was mainly creamy and delightful.
pros: that PINK CLOUD smelled and tasted wonderful… fluffy, ambrosial
cons: the slice of banana looked weird (I couldn’t identify it before tasting it); the crust was kinda hard (wish it were crispy or crunchy) — one hard element in an otherwise soft dessert.
For adults with kids who are eager helpers in the kitchen, there are great lessons to teach while creating the pie layers: crushing vanilla wafers, whisking pudding, blending cherries, beating heavy cream with a mixer, cutting bananas. Twinkie Pie is an excellent introduction to the art of baking, and the best part, it’s REALLY delicious!
Extra bonus! In preparing this post, we found this awesome YouTube video of Kat Yeh making Twinkie Pie with KidLit TV’s Rocco Staino. It’s definitely worth checking out!

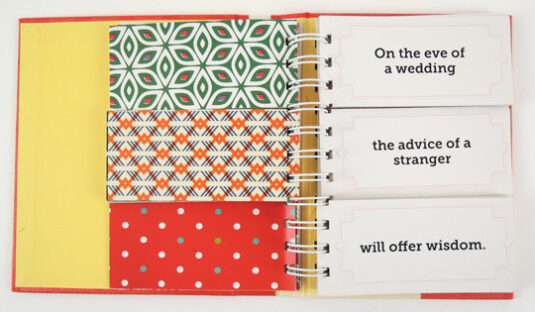
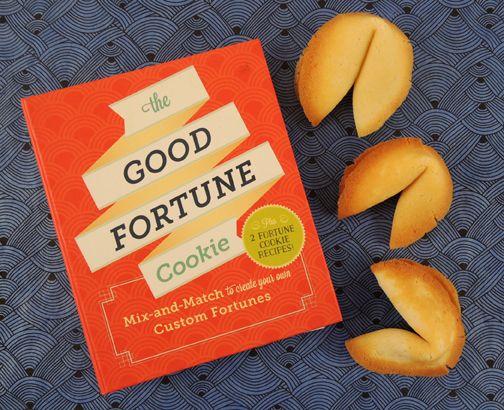 The time was summer. The place was Wisconsin. Katie was shopping at an antique mall when she discovered The Good Fortune Cookie (Chronicle Books, 2015) inside a dealer nook. After flipping through a few pages and laughing at the unique format, she knew the book belonged at our library. As an added bonus, it included recipes to make your own fortune cookies, so to the literary testing kitchen we go! Take it away Katie!
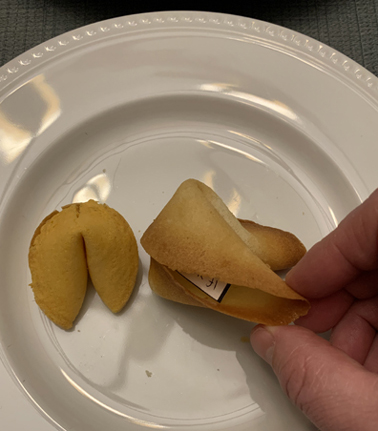
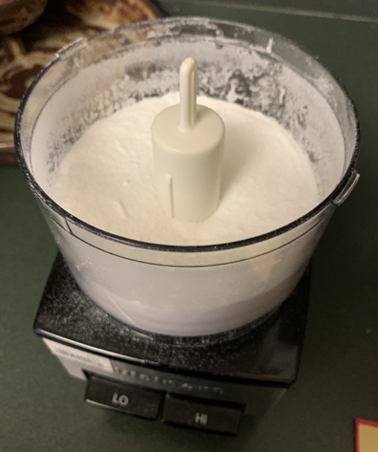
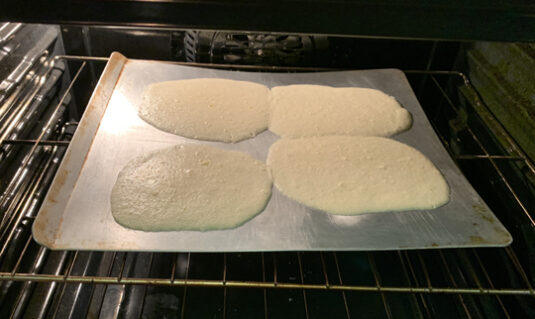
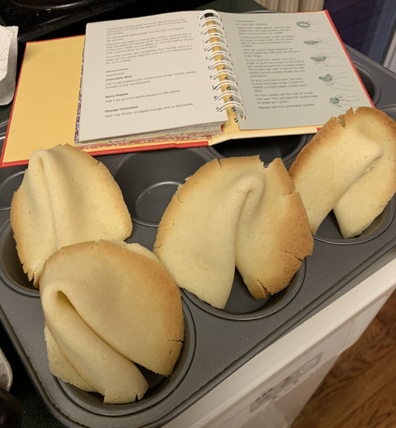
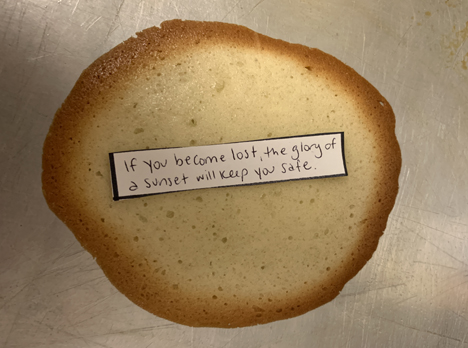
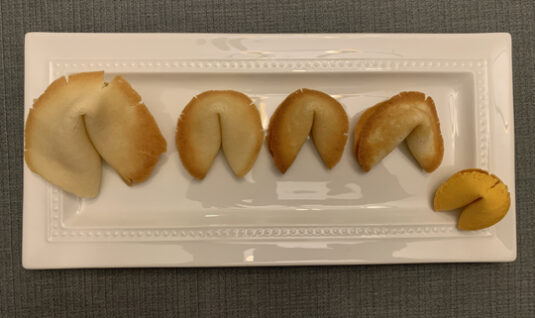 After sampling one (okay, three) cookies throughout the baking process, I can attest that they are really delicious. In the future, I think I’ll replace the almond extract with vanilla, or add some lemon or orange zest to enhance their flavor. There’s also a recipe for chocolate fortune cookies which basically reduces the amount of flour and adds cocoa powder.
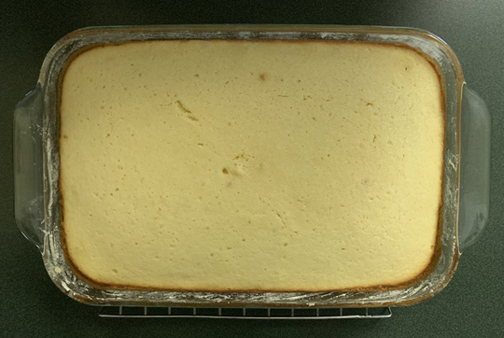
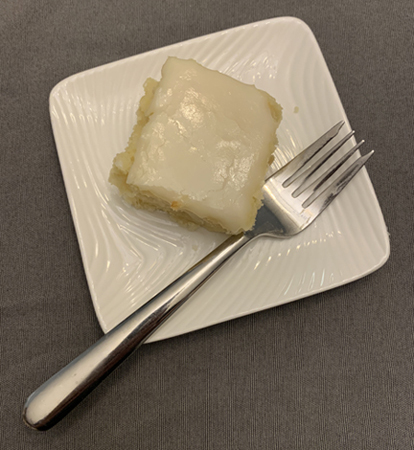 It was the best of cakes, it was the worst of cakes. Armed with a recipe, lemons, and an inordinate amount of patience, Katie took a Lemon Bar Cake Bake literary recipe for a test drive….twice. Which means I got to eat TWO cakes Katie baked. Which means yum (though, as you will soon read, one was a tad melancholic). Take it away Katie!
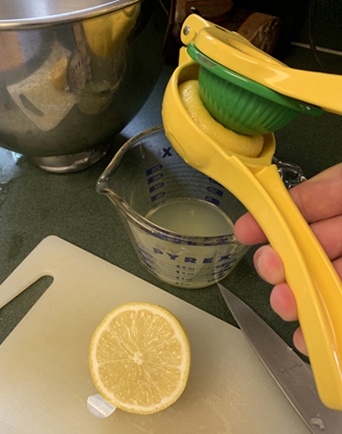
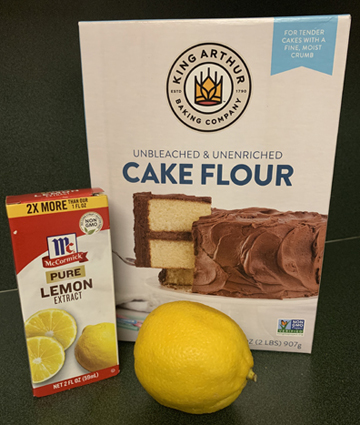
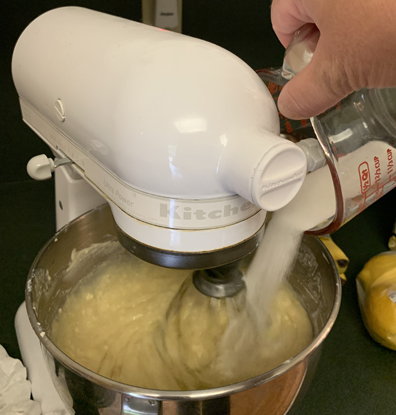
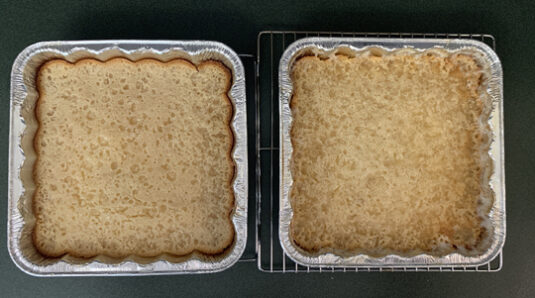 Sad and defeated, I threw what was left of my original lemon bar cake into the trash. I later learned the cake I sent with my son also ended up in the garbage. The beachgoers shared my opinion and were underwhelmed with the texture and flavor of the cake.
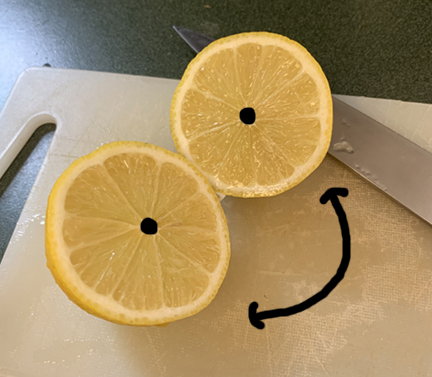 I sifted the dry ingredients together, the butter was fully melted, I had plenty of fresh lemon extract, and I let my mixer run for an extra minute to make sure all of the ingredients were blended well together. I slid the new cake into the oven, hopeful the changes would yield a better result.