Test three different methods for making ice cream? Yes please! When our kid tester pitched this idea to me, it didn’t take much convincing. After a little research, we decided to test the Young Chef Ice Cream Maker by Five Stars (retails for $20-$40), the Camper’s Dream Ice Cream Maker by UCO Industrial Revolution (retails for $25) and the Plastic Bags Method (2 plastic baggies! Woot!). Let the battle of the ice cream makers commence, Hope!
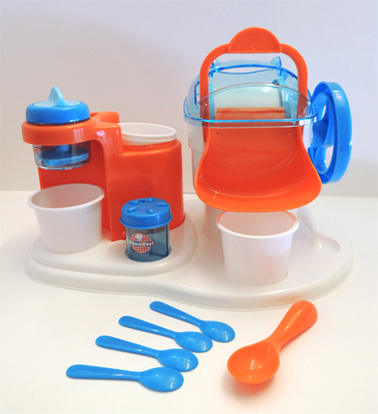 Hi everyone! First up is the Young Chef Ice Cream Maker by Five Stars. The ice cream maker came in separate pieces, which Dr. Dana hand washed and assembled at home. The set also contained 4 little plastic cups, 1 orange plastic serving spoon, 4 blue plastic “eating” spoons, 2 small containers with holes in the tops (for sprinkles, alas, none were provided in the kit! ☹), and directions in English, German, Spanish, Dutch, French, and Italian.
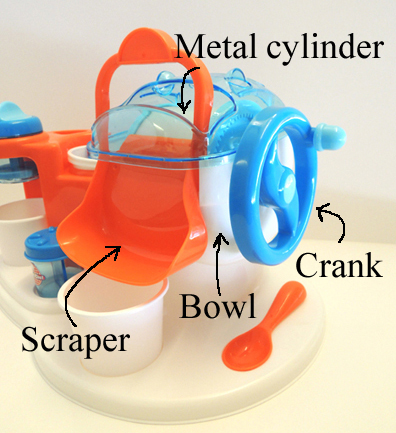
The machine consisted of a white, high-sided “bowl.” Suspended above the bowl was a resealable metal cylinder that sat on pegs. A blue plastic handle connected to one side of the cylinder. When you turned the handle, the metal cylinder spun on the pegs. There was also an orange plastic “scraper” that you could raise or lower to scrape your ice cream as it solidified on the cylinder.
 We got started on the recipe. The directions were pretty hilariously translated from German. For instance, at the beginning of the directions it said: “Before starting, you have to read the instructions, which inform you about how to assemble your ice cream machine and use and clean it.”
Another example, from the end of the directions: “Put a biscuit, one you like, on a plate. Put a ball of your favorite ice cream on the biscuit. Put one more biscuit on top of the ice cream. You can now eat your ice cream sandwich or deep freeze it until another day.” PRICELESS!
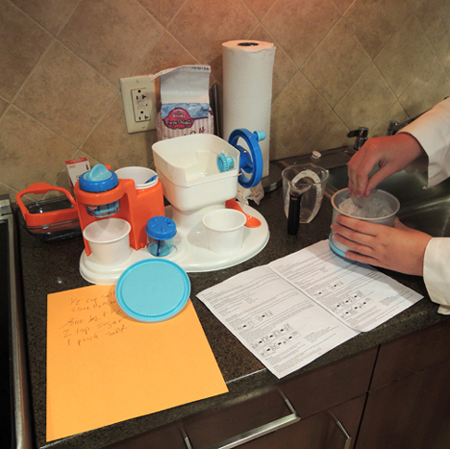
The recipe was in milliliters and grams, so Dr. Dana had to use the handy dandy internet convert it to ounces and cups. Here’s the Young Chef Ice Cream Maker recipe:
4 oz cream
4 oz milk
2 tsp sugar
1 pinch of salt
Dr. Dana and I wanted to make sure that all of the ice cream recipes were as similar as possible. So even though the Young Chef directions called for regular salt in the cylinder, we used rock salt for all three recipes. We also used half and half in all the recipes as opposed to cream and milk in the Young Chef recipe. Once the ice cream ingredients were mixed, I put ice and 1/2 cup rock salt into the metal cylinder.
 The directions said to pour hot water (!) into the cylinder with the ice. I was confused! Why hot water? But I followed the directions, and moved on. I put the cylinder in place above the bowl, which was holding the ice cream ingredients.
According to the directions, if I turned the cylinder around and around, the ice cream ingredients would freeze and solidify on the cylinder. When enough ice cream was stuck to the cylinder, the scraper could be used to literally undermine the ice cream, causing it to flake off into a plastic cup. Dr. Dana and I were deeply, deeply, skeptical of this method.
I started turning the cylinder around and around. It was VERY noisy. WHIR! CLANK! WHIR! CLANK!
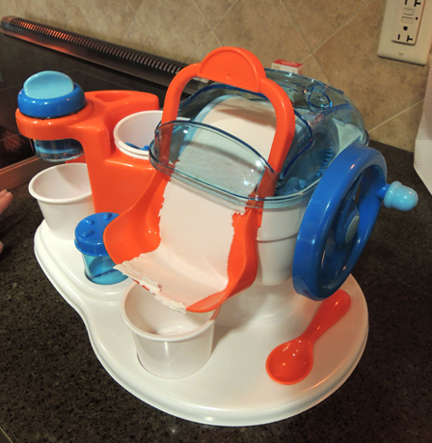
The crank was kind of awkward, so Dr. Dana and I took turns spinning it around and around, until finally, the ice cream started solidifying. Yes, the machine worked! Basically, when the freezing cylinder passes through the liquid ice cream ingredients, some of it freezes and attaches to the cylinder. We used the scraper to ease the ice cream off the cylinder in a long, creamy ribbon.
 Once we had enough, we put it into bowls and grabbed some spoons, anxious to try our creation. Scooping up a spoonful we counted 1! 2! 3! Put it into our mouths, and…..
BLECH!!!! YUCK!!!!! GROSS!!!!!!!!!!!!!! IT WAS DISGUSTING!!!!!!!!!!!!!!!!!!!!!!
The yellowish ‘ice cream’ had almost no sweetness, and was watery. To be honest, it tasted like frozen milk. Yuck. The ice cream consistency was a little weird too, because it came off the machine in a ribbon. Oh and there were a lot of parts to clean up afterwards. The actual machine was cute though, and it worked.
Now for test #2, the Camper’s Dream Play and Freeze Ice Cream Maker by UCO Industrial Revolution.
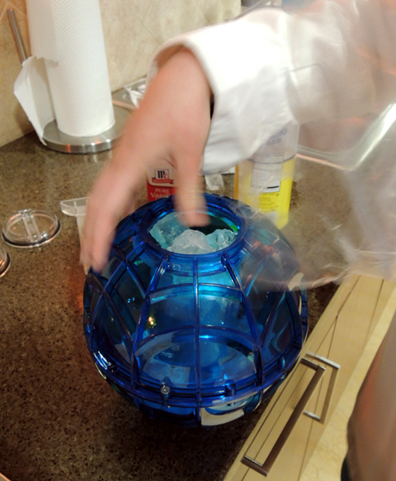
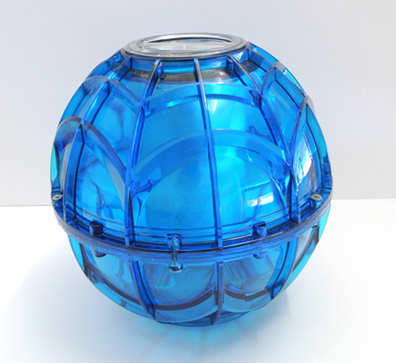 This ice cream maker was a blue plastic sphere with two chambers. One chamber was the outer part of the sphere (where the ice and the rock salt was poured in). The other chamber was a metal cylinder within the sphere (where the ice cream was going to be made). The sphere had two openings that lead to each chamber. I packed ice and 1/2 cup rock salt tightly into the outer chamber. It was hard to shove the ice in – I had to do it one cube at a time.
 I mixed up the ice cream ingredients and poured them in the inner chamber. Here’s the Camper’s Dream recipe:
1 pint half & half
1.5 tsp vanilla
1/3 cup + 2 tablespoons sugar
Then it was time for the fun (and noisy) part.
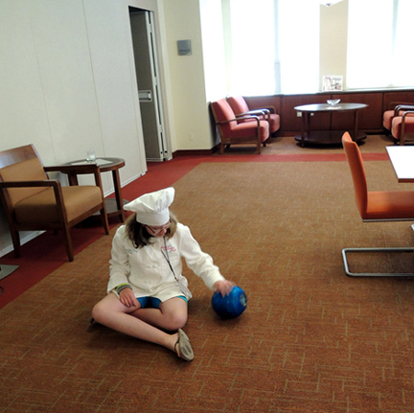
The whole point of the sphere shape was to play while making the ice cream. I quote: “Shake, roll and pass it around as you mix and freeze the ingredients. You don’t need electricity, just have a ball!” Sadly however, Dr. Dana and I had to crouch on the floor and roll it back and forth, back and forth, because you could not (the directions stated) bounce or kick the ice cream ball. This was slightly disappointing, because rolling the ball around was a tad anticlimactic. However, the ice cream chamber had a little ‘window’, so I could check the progress of our ice cream, which was cool!
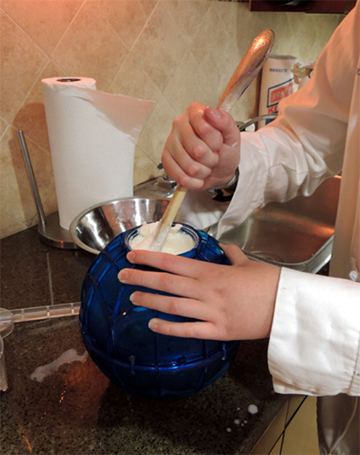
 After rolling the ice cream ball around for about 10 minutes, we opened up the metal cylinder and scraped the sides as best we could. The directions called for a plastic spatula or wooden spoon. I used a wooden spoon, but the sides were super hard to scrape! I had to use the handle of my wooden spoon!
 Then, as the directions suggested, we replaced the ice and rock salt in the outer chamber, as it was melting. We rolled the ball around for 7 more minutes. And shook it up and down too! (At this point, Dr. Dana and I were convinced that it was really a giant maraca with anger issues. It was SO DANG LOUD.) Nervous, (because of our past taste-testing experience) we unscrewed the inner chamber. Inside, we found a soft-servish liquid (it probably would’ve been thicker if we had shaken it longer). Scooping it into some bowls, Dr. Dana and I raised our spoons… and…
YUM!
YUM YUM YUM YUM YUUUUUUMMMM!!!!!!!!!!!!!!!!!!!!!!!!!!!!!!!!!!!!!!!!!!!!!!!!!!!!!!!!!!!!!!!!!!!!!!!!!!!!!!!!!!!!!!!!!!!!!!
The ice cream was delicious, delectable, enticing, exquisite! Dr. Dana and I gobbled up a whole bowlful each.
Then we started to clean up our mess to prepare for the next (and final) testing. But when we tried to open the ice chamber, it was frozen shut! We tried to use the tool that came with the kit to open it. Not strong enough. We had to ask a passing gentleman to open it for us! Then we had to dump everything out of the ice chamber. NOISY! And messy. We had a glob of ice and rock salt sludge in the sink. Also, ice cream ‘puddles’ formed on the exterior of the maker.
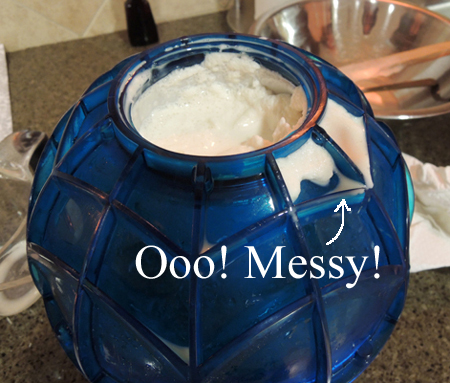 It was… messy. No. Not a little messy. It was catastrophically messy. Not a camper’s dream!!!! After finally finishing off the titanic disaster of a mess, grinning and licking up the excess ice cream in our bowls, we moved to the final ice cream method…the Plastic Bags Method.
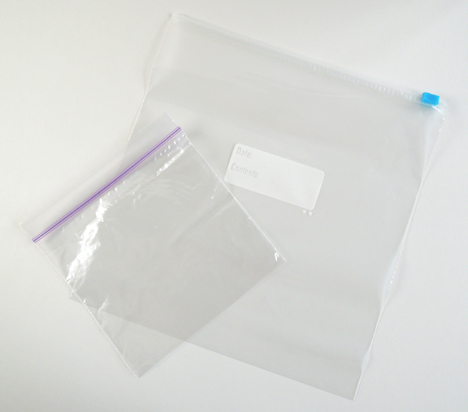 Simple, and easy, all we had to do is put 1 pint-sized plastic bag inside 1 gallon-sized plastic bag. We put ice and 1/2 cup rock salt in the gallon bag, and here’s what went into the pint-sized bag (the recipe is from wikiHow):
2 tablespoons white sugar
1 cup half & half
1/2 tsp vanilla extract
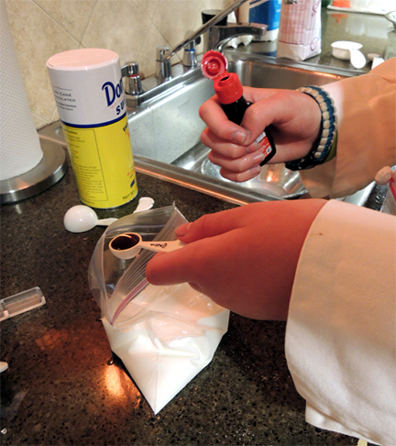 We zipped the smaller bag inside the bigger bag, and…noticed that the small bag was leaking. So we double bagged it. Then, as the directions suggested, I started shaking it up and down, while holding it inside a towel. The recipe calls for a towel or gloves and THAT IS DEFINITELY A GOOD IDEA. Holding an ice bag for 10 minutes is COOOOLD!
 We shook it for 7 minutes. Then 10 more. Then we pulled the smaller bag out and stuck our spoons in. It definitely had the best consistency, and it had decent flavor (we maybe could have used more sugar), but the winning super wowsie recipe was the Camper’s Dream Play and Freeze. Dr. Dana and I returned to our hoard of Camper’s Dream ice cream, and chowed down. By the way, cleaning up the Plastic Bags Method was a snap. Just toss everything in the garbage!
SO WE HAVE THE RESULTS!
Young Chef Ice Cream Maker by Five Stars: 2 OUT OF 5
How ironic. This ice cream was not five stars, nor was the machine.
Camper’s Dream Play and Freeze Ice Cream Maker by UCO: 4 OUT OF 5
Delicious ice cream, kind of fun, the lid froze shut, SUPER LOUD!
Plastic Bags Method: 5 OUT OF 5
Good ice cream, fast to make, easy to do, cheap, quick clean up, good ice cream consistency.
Overall, the easiest and most effective method of ice cream making was plastic bags. The most delicious recipe came from the directions of the Play and Freeze Ice Cream Maker. Even so, the plastic bag recipe could be tweaked to match the Play and Freeze one. All in all, this was a most delicious testing! SPOONS UP!
(Hey Dr. Dana, I heard we had some ice cream left over….?) ;)
(Wait! Don’t tell the readers! They might invade the staff lounge!)
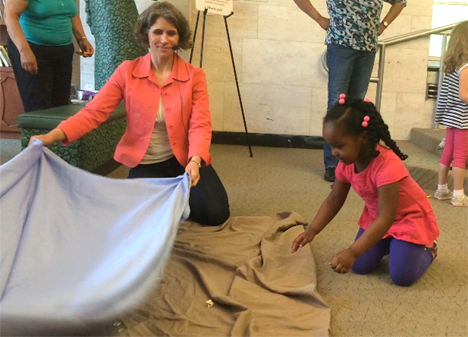
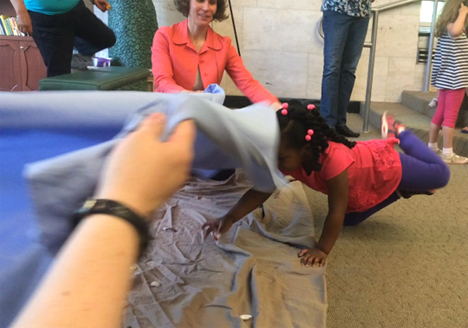
If you’re looking for a more earth-friendly version of the Plastic Bag Method, I spotted a cool, kid-friendly technique at a Colonial America demo. Stick a tall canister (or pot) with lid in a bucket of ice and rock salt. Add your ice cream ingredients to the canister, cover, and rotate briskly for 10-15 minutes (or until the liquids solidify). You might need to take the lid off once in a while to scrape the sides of the canister. No plastic needed!