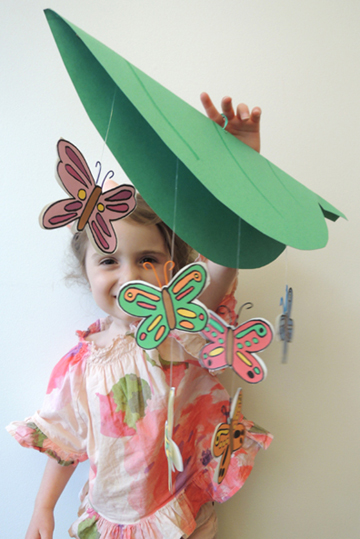
 Just a quick, clever little flip…and your giant leaf reveals a gorgeous butterfly mobile!
We read Wild Baby by Cori Doerrfeld (Harper, 2019). Mama is slowly waking, but wild baby orangutan is ready for an adventure – with or without her! As mama tries to keep up, wild baby doesn’t quite realize the trouble he’s causing…or the danger he’s in! When mama finally does catch up, baby gets a big scolding. But then he reveals a beautiful present for her, resulting a heartfelt hug.
You’ll need:
- Green poster board
- 1 wooden dowel
- 4 pieces of clear elastic beading cord
- 1-2 copies of the butterfly mobile template, printed on 8.5″ x 11″ white card stock
- A box cutter
- 1 piece of twisteez wire or pipe cleaner
- Scissors and tape for construction
- Markers for decorating
- Hot glue
At the end of the book, it’s revealed that wild baby has been collecting butterflies to give as a present to Mama. She opens a big leaf and they fly into the sky. We definitely wanted to capture that surprise with our project!
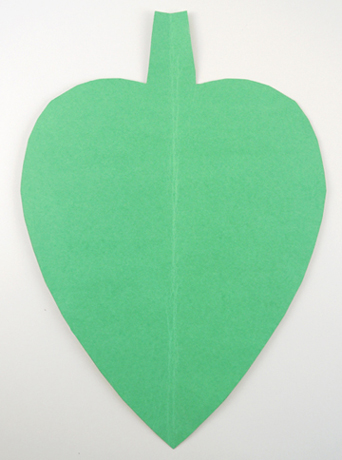
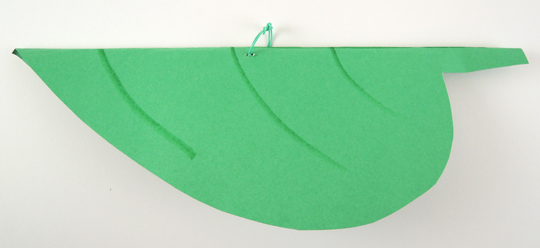
Begin by cutting a leaf from green poster board. Then fold it in half, lengthwise. Note: the leaf has to be fairly large to hold and shelter all the butterflies. Our finished leaf was 16″ long, and 11″ wide.
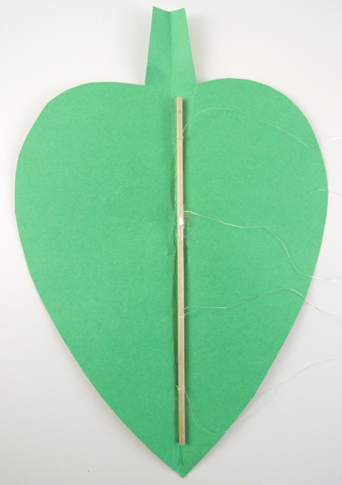
 Next, knot 4 pieces of clear elastic beading cord around a wooden dowel. The strings need to be fairly long (15″ or so) to allow the butterflies to dangle well below the edges of the leaf. Once all the strings are attached, hot glue the dowel along the spine of the leaf.
 Now your leaf needs a finger loop. Fold the leaf in half, then use a box cutter to make a small hole in its middle. Thread an 8″ piece of twisteez wire or pipe cleaner through the slit, then circle the wire to make the loop (you can also use markers to draw veins on the outside of the leaf like we did!).
 Now for the butterflies! Color and cut the butterflies from the template. The way I positioned the butterflies on the template allows you to fold them double sided. But you can also go single sided if you like! Arrange the butterflies on the elastic beading cord, then secure with tape.
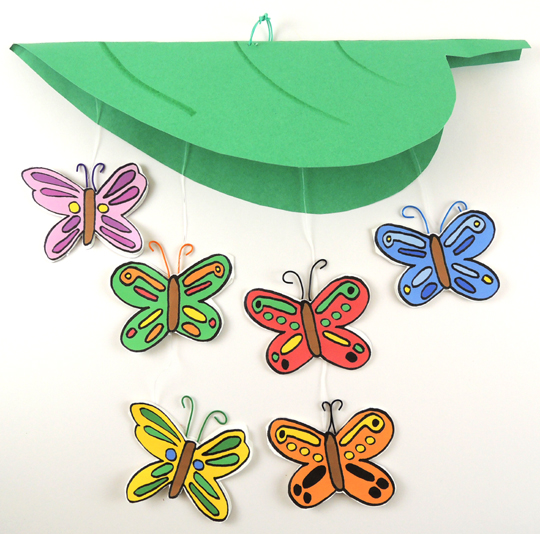 To operate the mobile, tuck the butterflies into the leaf. Slide your finger in the loop, and, keeping the butterflies tucked, hold the leaf upwards. Find the person you’d like to surprise, then quickly flip the leaf upside down, releasing the surprise butterflies!
You can also simply hang the mobile from the finger loop, and enjoy the butterflies dancing in the breeze.
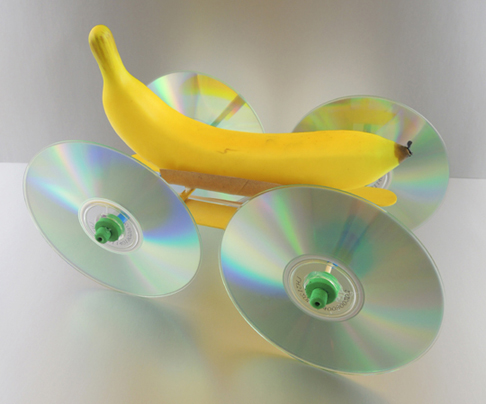 This banana’s going mobile, thanks to its CD wheels and rubber band engine! And why did we rig this fruit to roll? Four words: fusion, bananas, trolls, and technology. This feat of engineering was was constructed at
 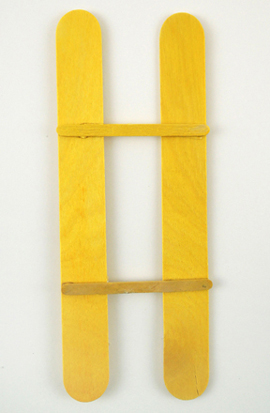 Next, cut a toilet paper tube in half, then hot glue it on top of the mini craft sticks:
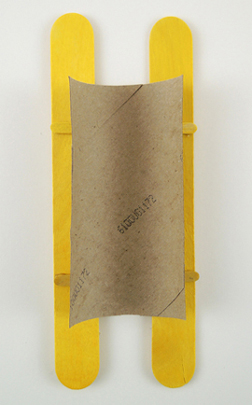 This creates your “banana saddle,” which keeps the bottom of your banana from interfering with the rubber band motor. Here’s a side view of the finished saddle:
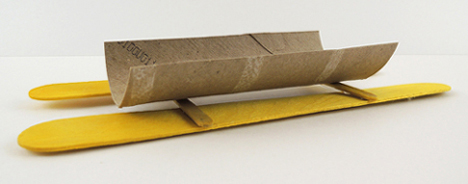 To create the rubber band motor, tightly wrap a brass fastener around the center of a 5.75″ piece of bamboo skewer. You want to prongs to be nice and tight, but make sure there’s still a little room under the head of the brass fastener for the rubber band.
 Cut a drinking straw into 3 pieces (two 1.5″ pieces, and one 3.75″ piece). Thread the 2 smaller pieces on either side of the bamboo skewer with the brass fastener. Then thread the larger straw piece onto the other bamboo skewer. Hot glue the straws directly to the jumbo craft sticks, then loop a rubber band onto the center of the longer straw. The underside of your car should now look like this:
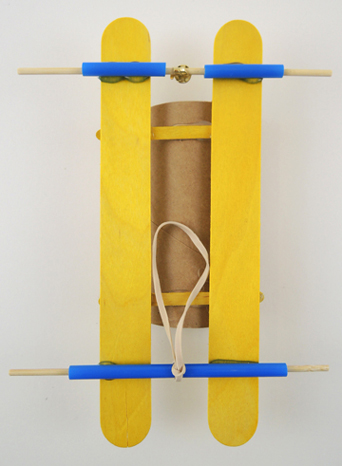 Later, you will wrap the rubber band around the head of the brass fastener, then wind the wheel and the axle to tighten the rubber band and prime the banana car’s “motor”:
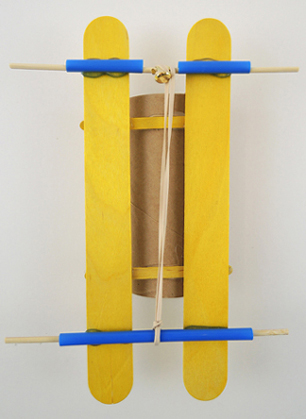 The car’s wheels are surplus CDs we obtained via donation from various University departments. We pushed a foam bead through the holes of each CDs, then hot glued them for extra security. Slide the wheels onto the ends of the bamboo skewers, then hot glue another foam bead to the outside of each wheel.
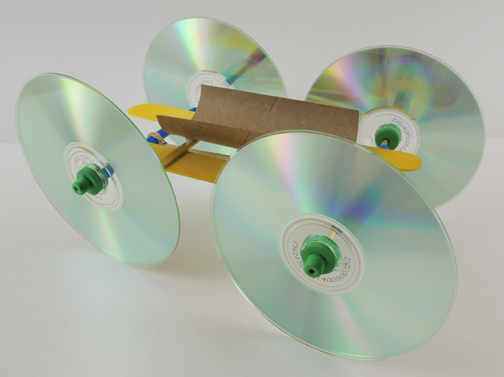 The car is ready to go…all you need is a banana! We actually went with FAKE bananas for this project (Amazon: 6 cost $11). Firstly, fake bananas don’t ripen inconveniently. Secondly, fake bananas are lighter, which meant that the cars would roll a little further.
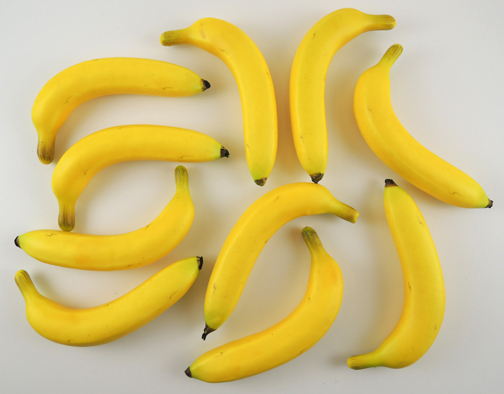
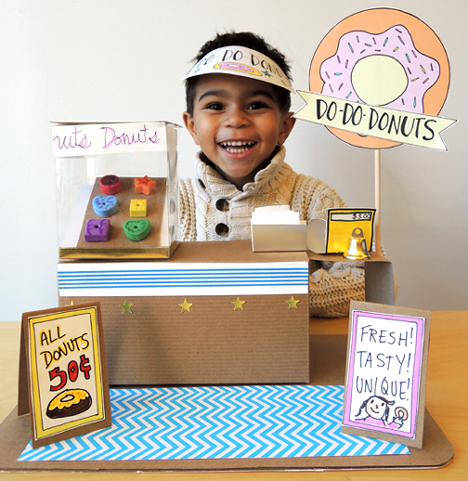 We couldn’t let this holiday pass without mention! Donuts are the life blood in our office (as is espresso, cupcakes, and whatever chocolate Katie brings back from her travels to
  If you’re looking for something a little simpler, we highly recommend Marissa’s felted
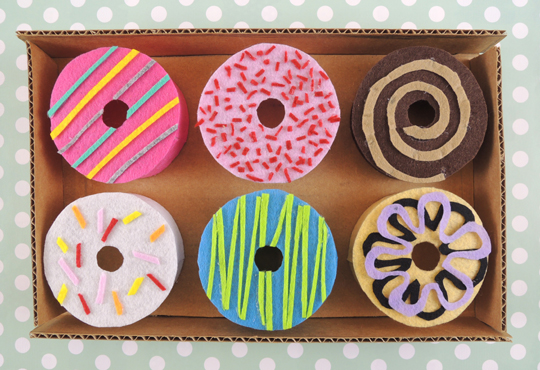
 OF COURSE we had to conclude this post by traipsing down to House of Cupcakes (winner of Cupcake Wars!) to enjoy a couple of their fresh, house-made donuts.