 What do you get when you decorate 1 plain box and 1 toilet paper tube roll with a plethora of art supplies? Clearly, some very clever crafting!
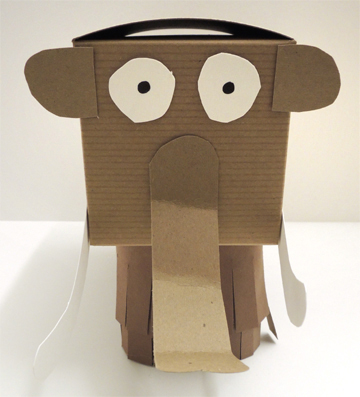
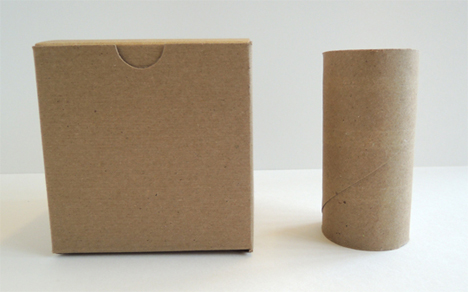
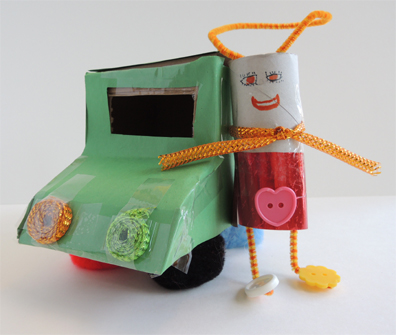
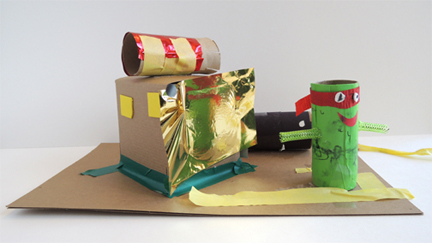
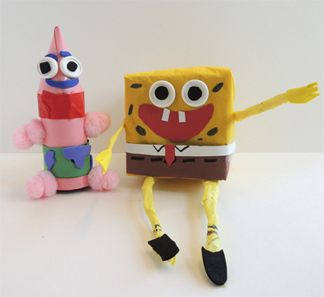
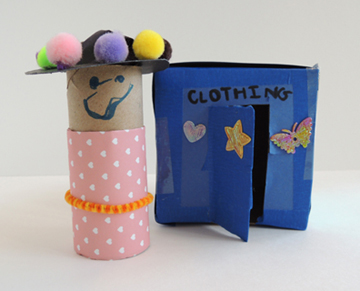
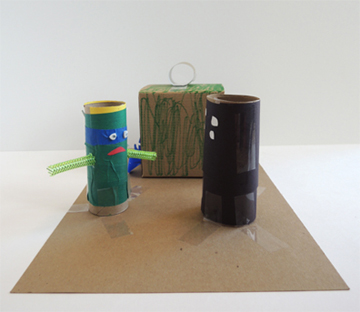
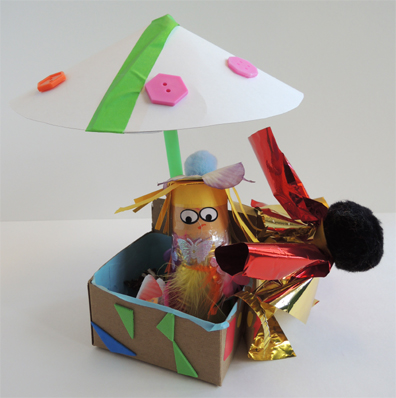
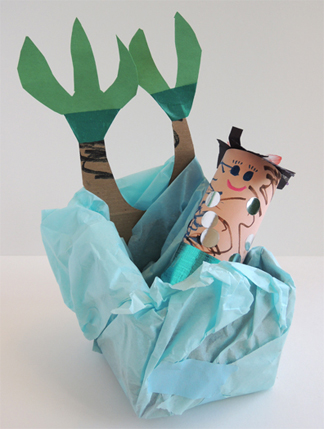
 For our story time project, we started everyone with a 4″ x 4″ x 4″ box and a toilet paper tube. Then we asked the kids to use the tube to create a doll, and the box to make an accessory for the doll. Helping themselves to tables loaded with art supplies, our imaginative inventors went to work!
We read Crafty Chloe, written by Kelly DiPucchio, and illustrated by Heather Ross (Atheneum Books, 2012). Chloe may not be good at sports, video games, or dance, but she is an absolute genius at crafting. Chloe’s creativity is challenged, however, when it comes time to find a birthday present for her best friend Emma. More than anything, Emma wants a Violet doll, but when Chloe goes to purchase one, she finds that London, a snooty classmate, has beaten her to the purchase. Rattled, Chloe tells London she’s going to make Emma’s present. London’s response is derisive (“You’re going to MAKE her something?”). The big day arrives, but, on her way to the shindig, London trips on her glittery heels. She drops Violet in a muddy puddle, and, to add insult to injury, the doll’s dress is ripped off by London’s dog. Instead of leaving London to her awful fate, Chloe unveils her present. It’s a handmade purple dolly dress that fits Violet perfectly. Also in the gift box? A color-coordinated canopy bed for Violet. Perfect.
I love this book on so many levels, and not just because of the super sweet hot glue gun holster Chloe wears while she’s crafting her masterpieces.
You’ll need:
- 1 box (mine was 4″ x 4″ x 4″ but any size will work)
- 1 toilet paper tube
- A selection of multicultural construction paper for skin
- Black, brown, yellow, and red construction paper for hair
- Assorted craft supplies (see our complete list a little later in this post)
- A Bling Bin
- Scissors, tape, and glue sticks for construction
- Markers for decorating
- Hot glue
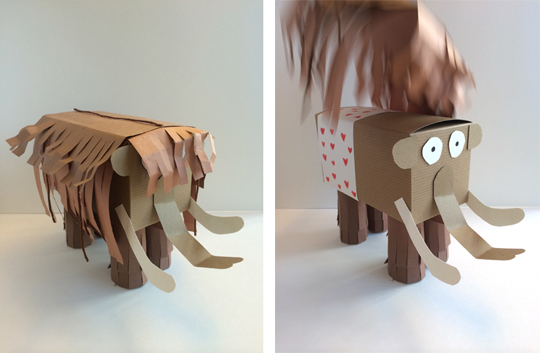
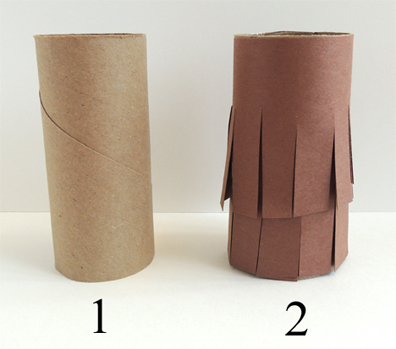
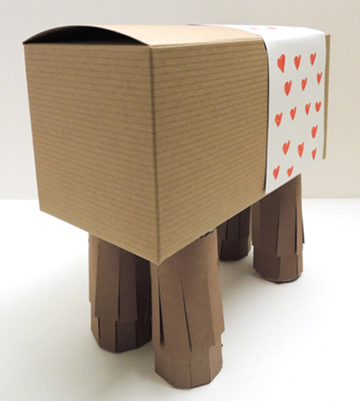
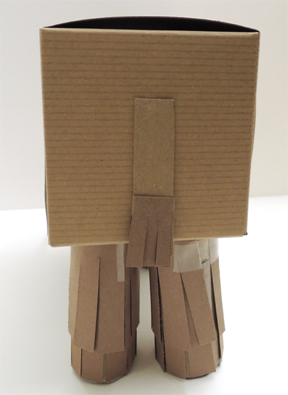
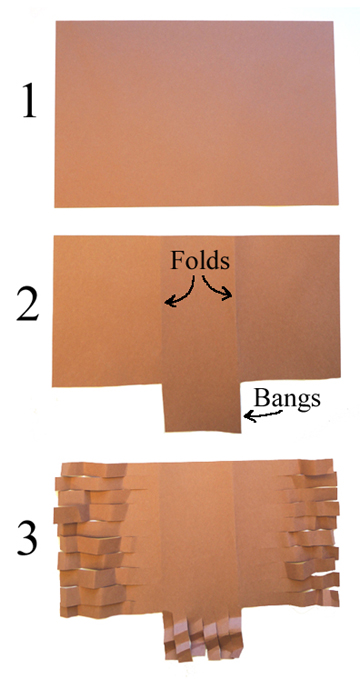
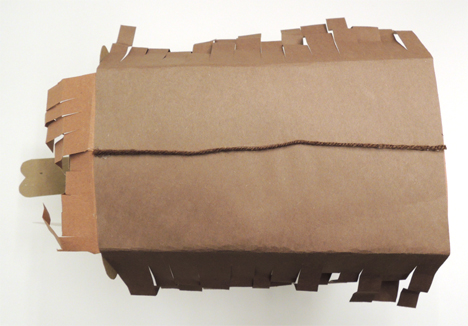
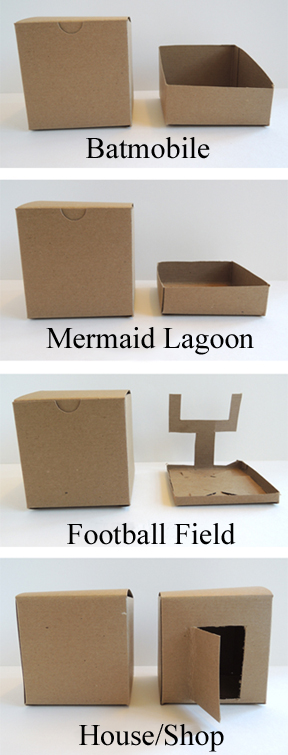
As I mentioned in the introduction, the projects all started with the same box. Here’s a look at how we cut them down in various ways.
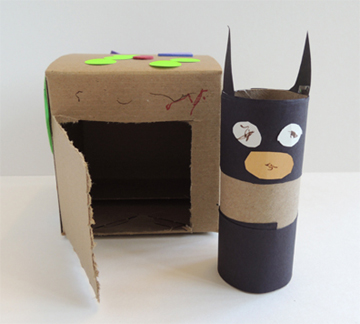
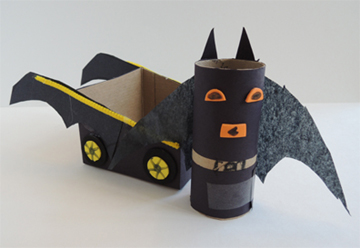
 For this particular project, it’s important to create a few example projects to put on display. Example projects are helpful for craft-challenged parents and caretakers, and they also help kids who have trouble brainstorming. The only drawback, of course, is that some kids just want to recreate your projects. I mean, who wouldn’t be tempted to recreate Vivian Ward shopping on Rodeo Drive?
 Ahem. As far as art supplies, we offered color masking tape, felt pieces, twisteez wire, a selection of small feathers, 3 sizes of pom-poms, color macaroni, mesh tubing, large plastic buttons, seashells, bubble tea straws, self-adhesive foam shapes, construction paper, embossed foil paper, patterned paper, white poster board, tagboard, a selection of tissue paper, cellophane, pipe cleaners, sparkle stems, plastic sample cups with lids, fabric flowers, balloon stick cups, and iridescent fabric shapes. And the Bling Bin of course.
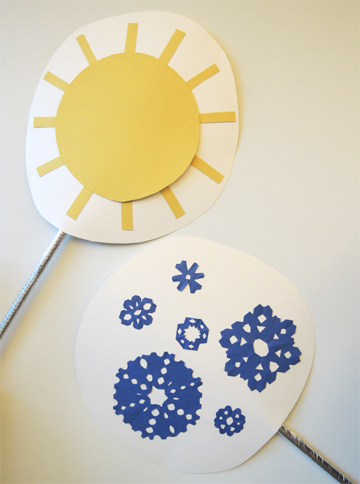
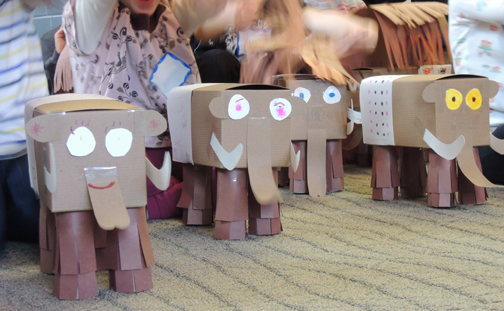
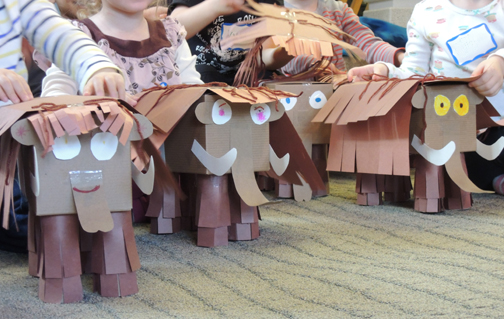
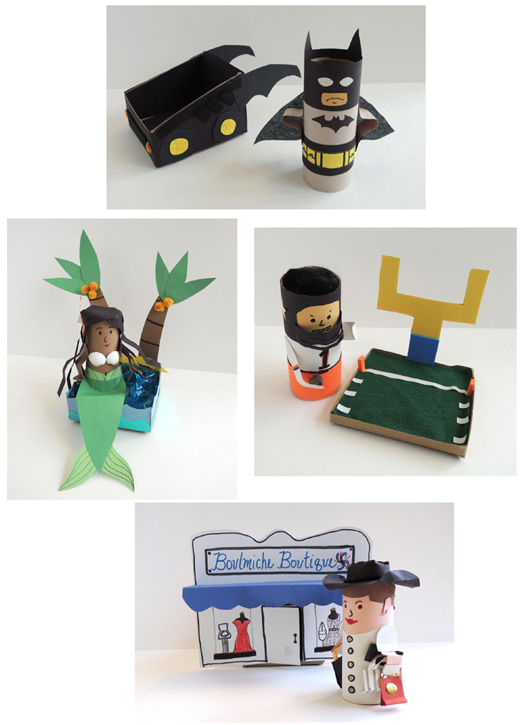
OK…ready to see some crafting awesomeness?
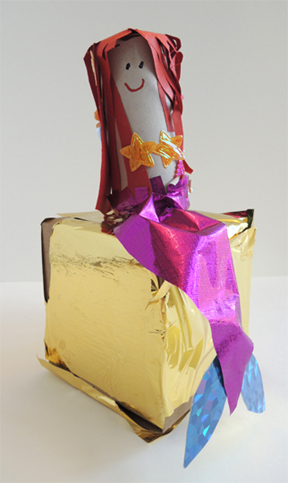


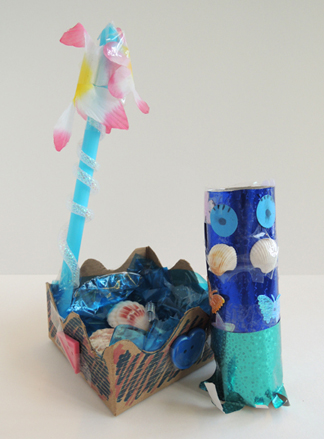
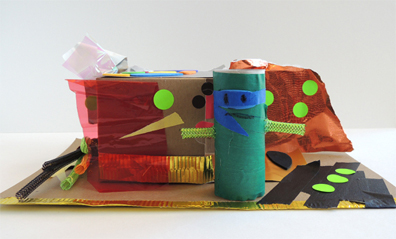

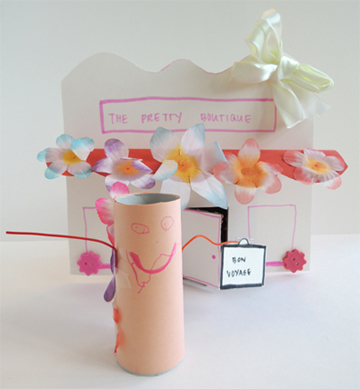
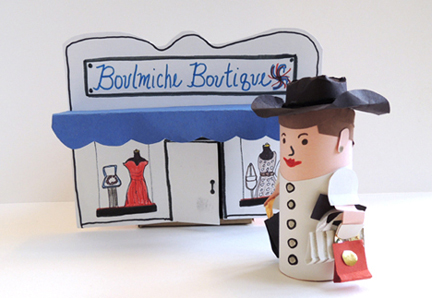
 Alas, a few projects did get away without being photographed. There was another mermaid, a butterfly princess, Queen Elsa, and a football field with pom-pom fans swarming the goal post.