 Heading to the North Pole? South Pole? Or perhaps you’re on an unintentional grand tour of the globe? Hop on this convenient ice floe with some slightly puzzled penguins and polar bear and prepare to see the world!
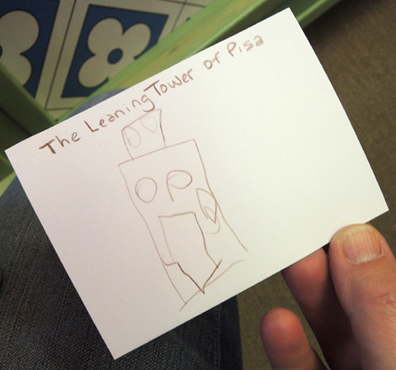
We read Poles Apart, written by Jeanne Willis, and illustrated by Jarvis (Nosy Crow, 2015). One fateful day, the Pilchard-Brown penguin family depart for a picnic at the South Pole. But a wrong turn takes them to the North Pole and Mr. White the polar bear, instead. Mr. White kindly offers to help the penguins get home. Unfortunately, Mr. White’s sense of direction isn’t much better then the Pilchard-Browns. He leads them through the United States, England, Italy, India, and Australia. Finally, they arrive at the South Pole, where Mr. White must say goodbye and travel back to the North Pole. He’s feeling lonely…and that’s when he discovers a little surprise in his hat.
You’ll need:
- 1 small box (ours was 2” x 4” x 4”)
- White poster board
- 2 sets of wheels (more on this below)
- 1 piece of string (ours was 26″)
- 1 packing tape core
- 2 toilet paper tubes
- Black and white construction paper
- Scissors and tape for construction
- Markers for decorating
- Hot glue
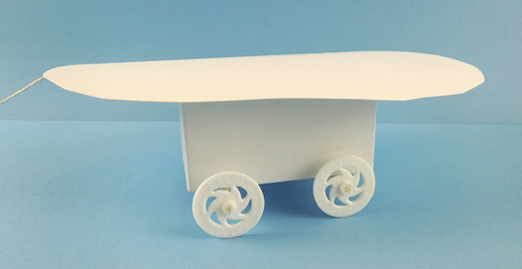
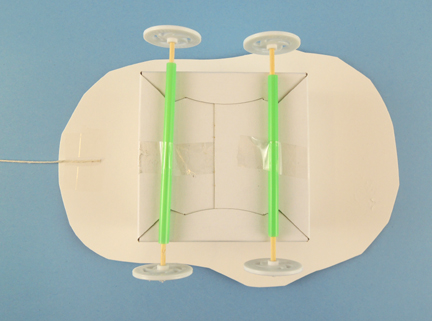
First, the ice floe! This is a white poster board “floe” hot glued (or taped) to the top of a small box (and make sure you make the floe large enough to carry the polar bear and all 3 penguins!). We used plastic wheels from Kelvin Educational (our wheel assembly instructions are here). But wooden spools also work. The pull string attaches to the front. Here’s the finished underside of the floe:
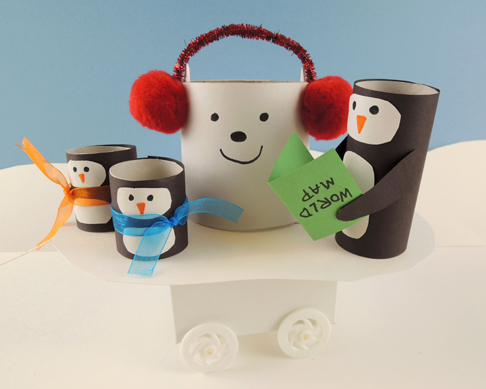
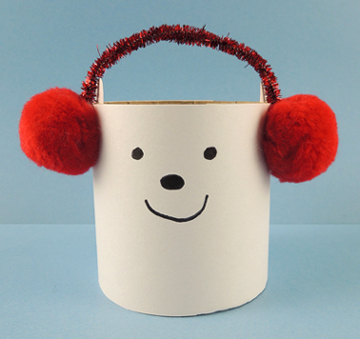
 Now for the polar bear and the penguins! For the bear, we wrapped a 3.5″ tall packing tape core with white construction paper. The earmuffs are a sparkle stem and two pom-poms attached with hot glue.
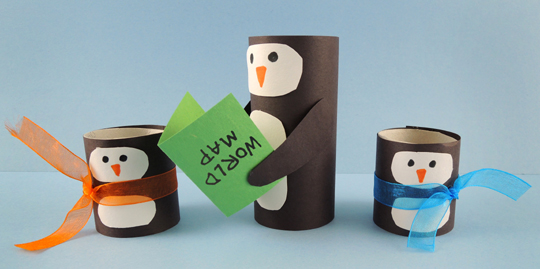
 To make the penguins, wrap 2 toilet paper tubes with construction paper. Cut one of the tubes in half to create the 2 small penguins. Attach wings, faces, and tummies. We also added ribbon scarves and a world map to our penguins trio (and if you want to be true to the book’s illustrations, attach the map upside down).
 Place the polar bear and penguins on top of the ice floe and travel the world! Some kids opted to tape their passengers to the ice floe to keep them from falling off…
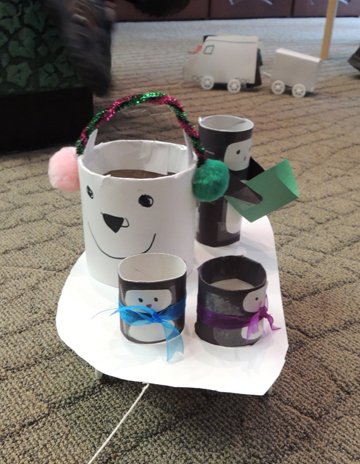 I snapped this adorable traveling quartet en route to our gallery, but did you also notice the vehicle in the background? One little boy decided to create a “snow train” using project materials. The penguins are riding inside the engine. Fantastic!
 Families entering the theater were greeted by a table covered with postcards (I found a pack of 92 vintage postcards at the thrift store for for $4 woot!) and a big world map.
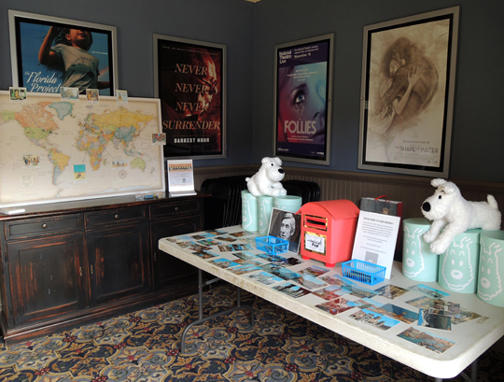 Kids were invited to select a postcard and write their name and address on it. Then, they put the postcard in the red mailbox for a chance to win a stuffed animal of Snowy, Tintin’s faithful canine companion. Katie modeled the mailbox after the ones she saw in Brussels (birthplace of Tintin!). Isn’t it awesome? It has pom-pom feet!
 Next to the postcard table was a big map (50″ x 32″) mounted on foam board:
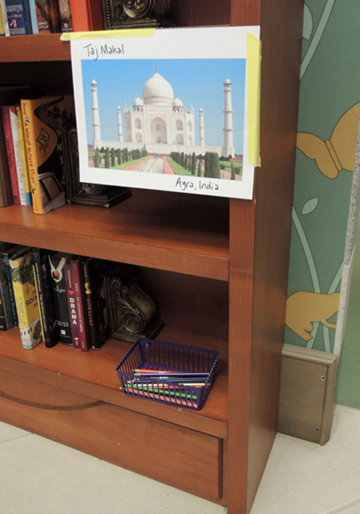
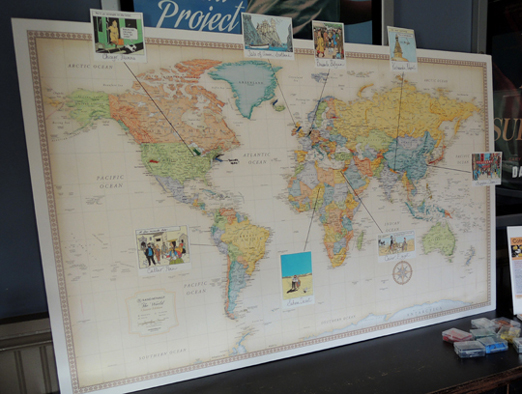 Katie selected some cool Tintin location images from the various volumes and attached them to the map. A line and a flag showed the actual location on the map.
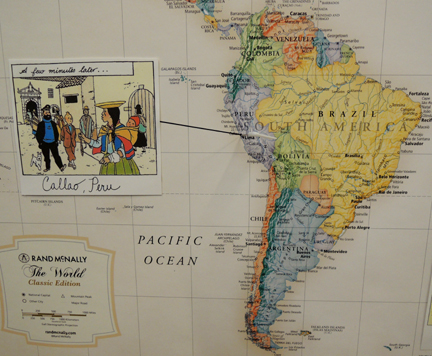 During the event, kids were invited to add pushpin flags on locations they had traveled to. As it turns out, our crowd was pretty well traveled! Iceland, Australia, India, Thailand, Costa Rica, China, Hawaii, South Korea, Europe…
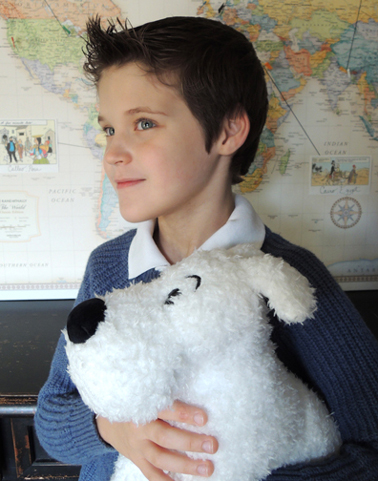
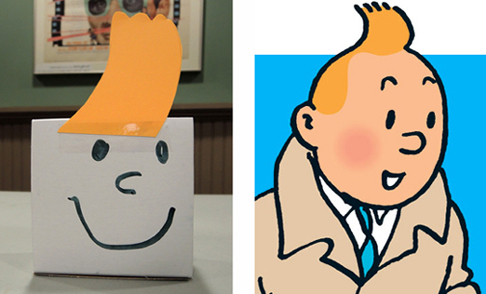
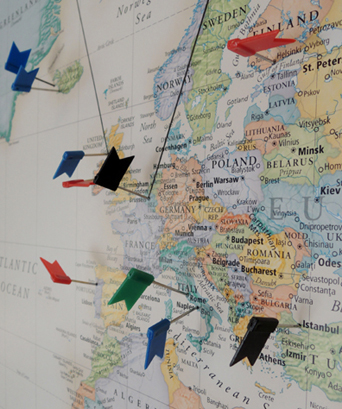 Around the corner from the postcard and map table were 2 additional activities: A Tintin head band with the iconic hair flip, and a pull-along box Snowy. The box Snowy was a 2″ x 4″ x 4″
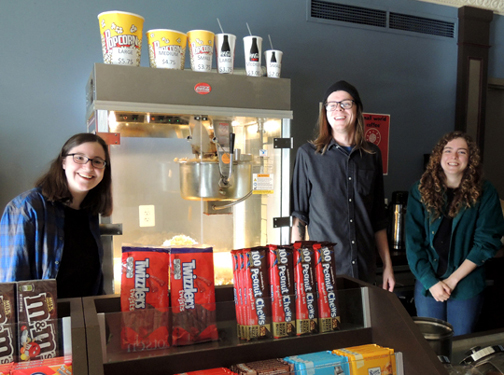
 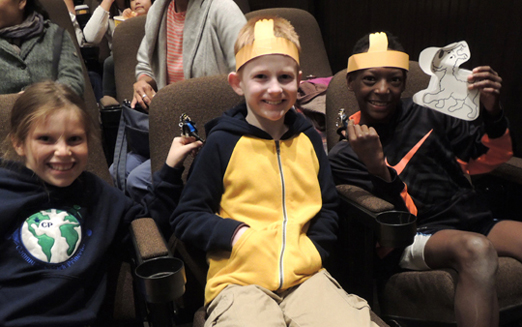 Notice the little Captain Haddock key chains they’re holding up? Those were part of a trivia contest we were running. Our Tintin expert had a couple key chains on hand to give to kids who correctly guessed Snowy’s original name in the comics (which were first published in French).
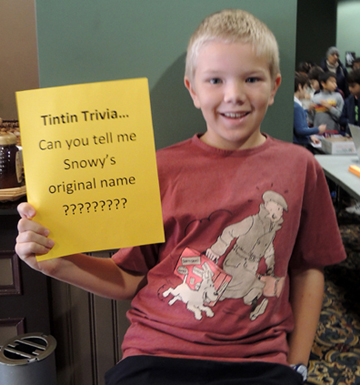 In honor of Snowy, we also had a very, very special performance. A live dog show provided by
  Bill Berloni is a Tony-Award winner with decades of experience training animals. In fact, he trained the very first Sandy for the original production of Annie. He and his apprentice, Andy, brought 3 dogs – Marti, who plays Sandy in Annie (and this was the Sandy from the 2014 movie!), Nessa, who plays Toto in The Wizard of Oz, and Bowdie, who plays Winn-Dixie in Because of Winn-Dixie. Above is Bowdie. Below is Marti, waiting with Andy to go on stage:
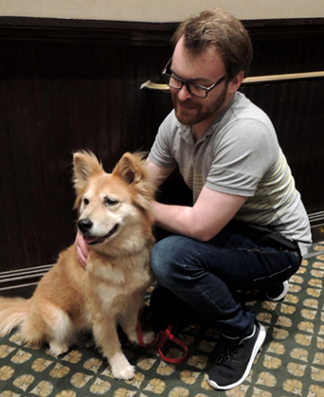 And here’s Nessa, the cutest, most enthusiastic Toto ever, racing down the aisle:
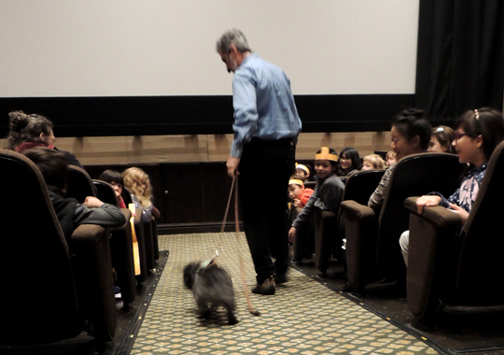 Bill shared a little of his history, his training techniques, and the rescue stories of each of the dogs. There were plenty of demonstrations too, both on and off the leash. The thing that shone through the most however? How happy the dogs are, how much they love working with Bill, and what a tremendous advocate he is for rescue animals. He’s truly amazing. He’s also an author! After the event, he gave me a copy of his heart-warming book, Broadway Tails: Heartfelt Stories of Rescue Dogs Who Became Showbiz Superstars (Lyons Press, 2008), which has a foreword by Bernadette Peters.
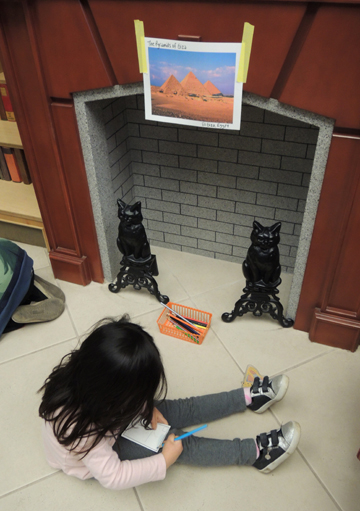
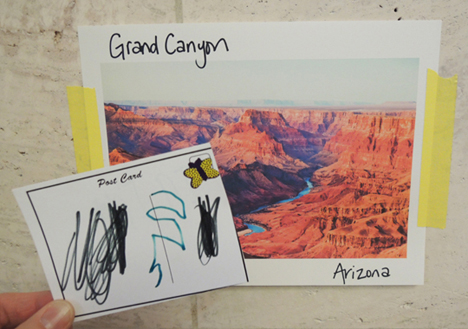
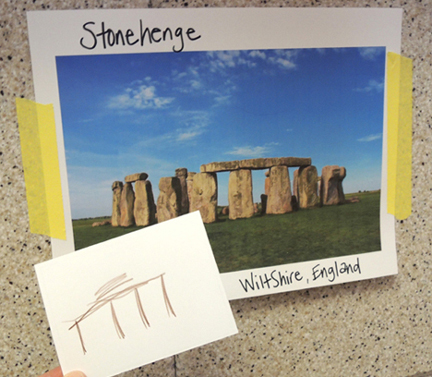
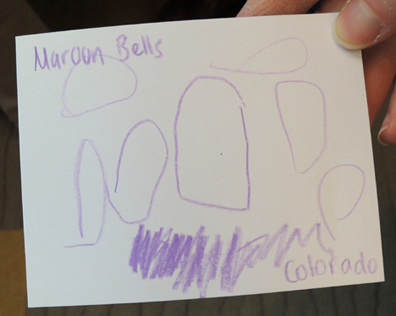
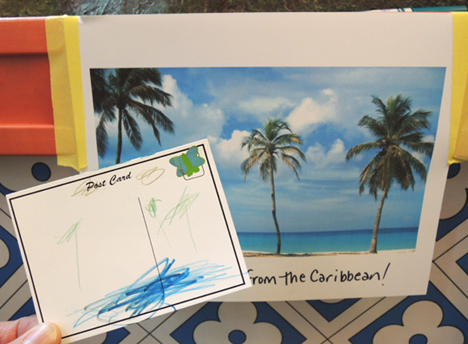
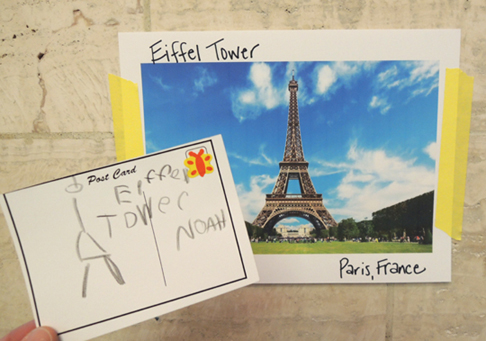 It’s the ultimate global adventure that ends with custom postcards in your very own mailbox! We made classic blue mailboxes, then visited locations around the globe to create postcards to send home. And don’t forget the stamp!
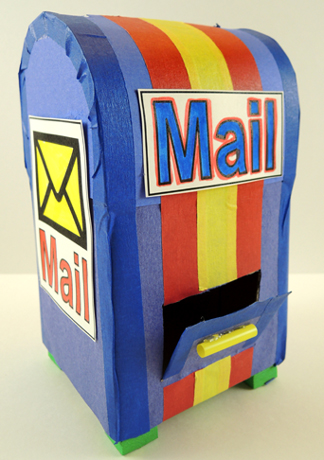 To make a mailbox, cut the top off a small tissue box. Use a box cutter to cut a little door at the bottom of the box. The postcards are 3″ wide, so make sure your door is 3″ or wider.
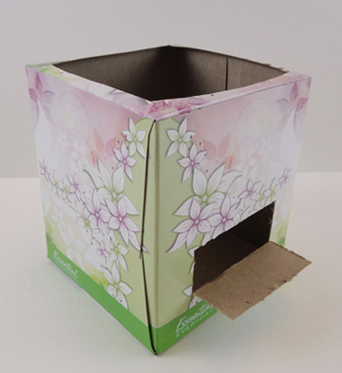 Wrap the box with blue construction paper, then use the box cutter (or scissors) to re-establish the little door.
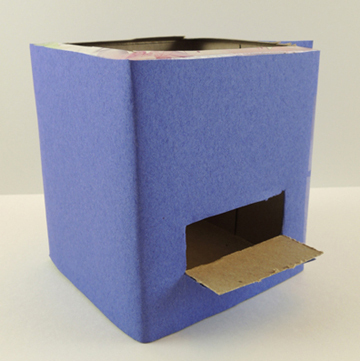 The rounded sides of the mailbox are 2 pieces of blue poster board (ours were approximately 4.25″ wide, and 3.25″ tall). Secure them in place with tape.
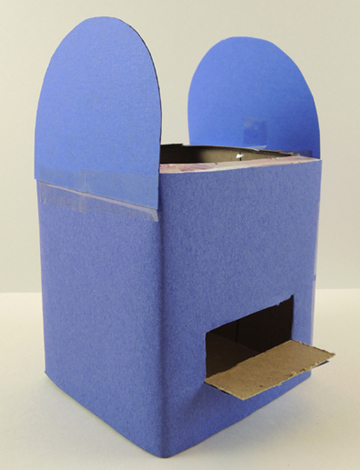 To make the top of the mailbox, cut a 3.5″ mail slot in the center of a 4.5″ x 9″ rectangle of blue poster board. Gently curl the poster board over the rounded sides of the mailbox, then tape in place. The curling and taping is definitely the toughest part of the project. Keep in mind that it doesn’t need to be perfect!
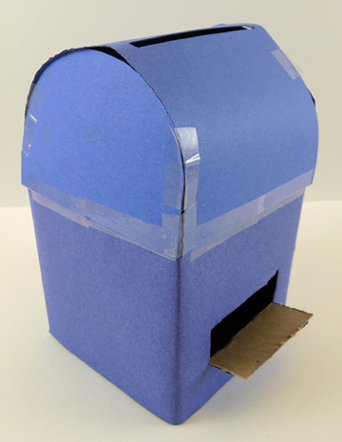 Next, use colored masking tape to reinforce the edges of the mailbox, and to decorate it. Color and cut the mailbox signs from the template and tape (or hot glue) in place.
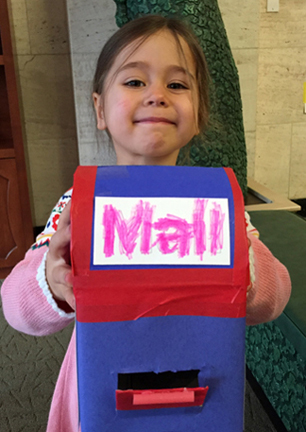

 We even got postcards from places we didn’t include! Here’s a postcard from the Amazon, even though it wasn’t one of our photo locations. I think that’s a person on top of a giant tree with a ladder? Cool.
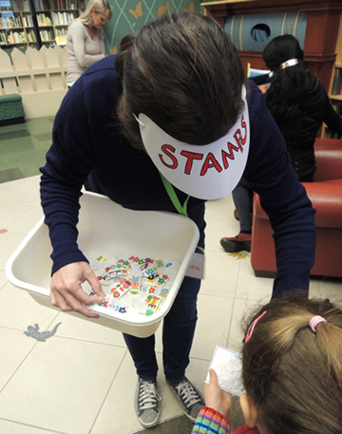
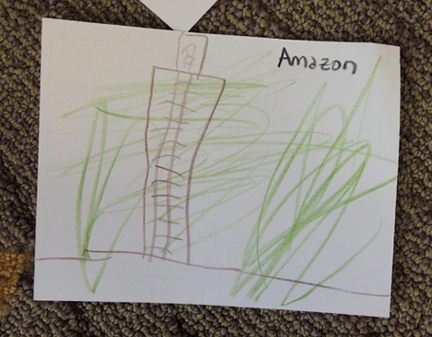 To make the postcard activity official, Miss Melinda donned a stamp-selling visor and circulated the gallery, “selling” stamps that were actually cute little stickers.