When the pumpkins begin to grow ripe on the vine, my thoughts always turn to my favorite spooky story since childhood, Washington Irving’s The Legend of Sleepy Hollow. I’ve always wanted to visit Sleepy Hollow and walk across that famous bridge, and this past weekend, I got my chance!
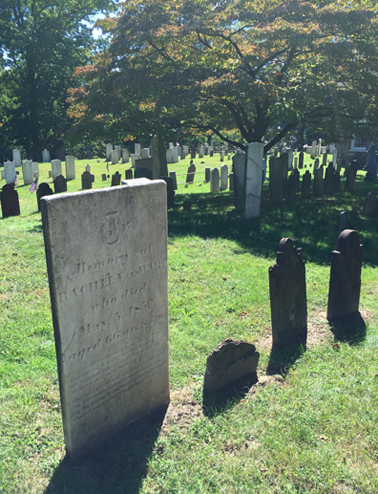
The tale was first published in 1820, and begins in Tarrytown, New York, on the banks of the Hudson river. Sleepy Hollow is a quiet glen a few miles away. Tarrytown most definitely exists, and North Tarrytown was officially renamed Sleepy Hollow in 1996. Here you will find all the famous sites, such as the cemetery where the Headless Horseman is said to materialize.
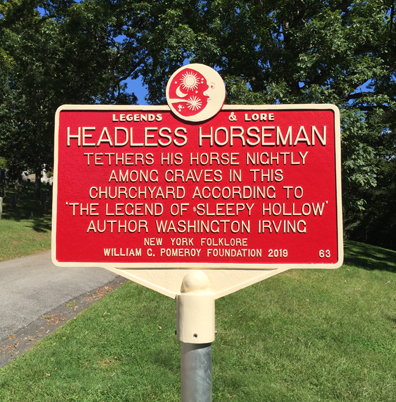
I love the graphics on top of this historical sign…
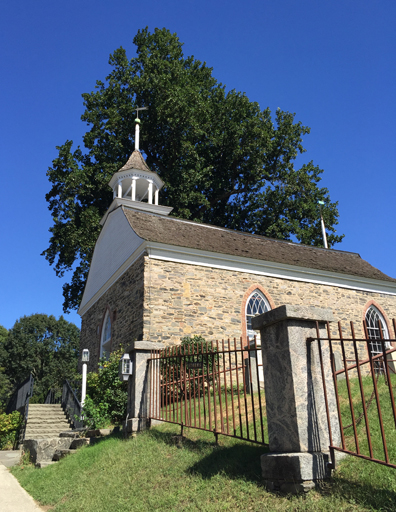
 The churchyard is part of the Old Dutch Church of Sleepy Hollow, which was constructed in the 17th century. Featured in Irving’s short story, it’s one of the of the oldest churches in New York State.
 From the church, we headed down to the FAMOUS BRIDGE. Which, as it turns out, is the “is the most popular destination in Sleepy Hollow that doesn’t exist.” Because the simple 1700s wooden bridge that inspired Irving has long since disintegrated (you can read a little more bridge history here).
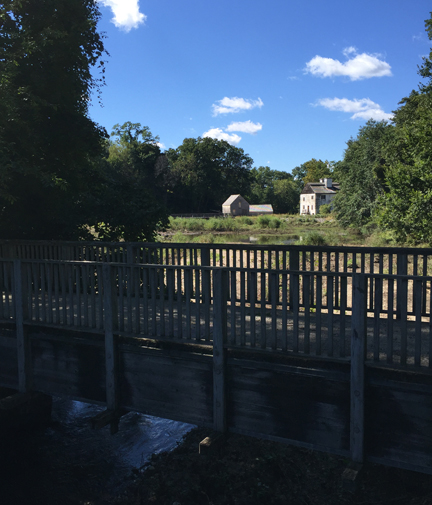
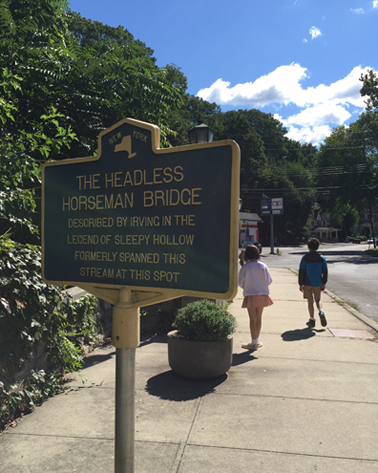 The bridge is located in a pretty major intersection with a gas station nearby. So it’s almost a blink-and-you’ll-miss-it historical literary moment. Here’s the bridge as it stands today…

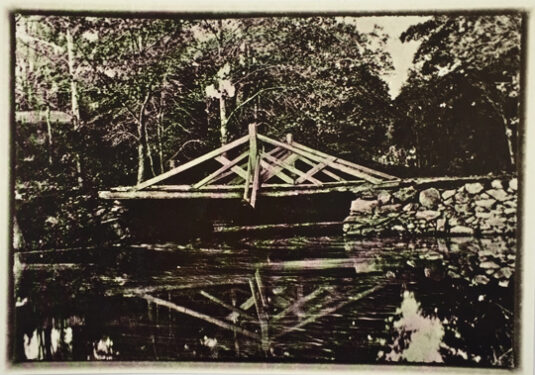
And here’s a postcard image of the historic bridge! With the logs, the stonework, and the silken water…you can absolutely imagine being clocked by a pumpkin at a ghostly hour.
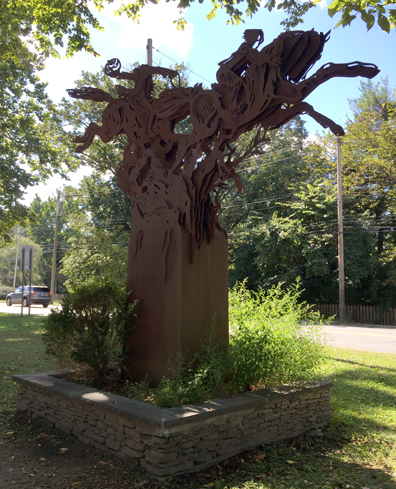
 Not far from the bridge is the town’s official statue, depicting Ichabod’s fatal race home. This was a bit of a surprise too. I expected something more traditional. But I like the metal layers on this interpretation – they’re almost like a paper cut silhouettes. Unveiled Halloween 2006, the statue was designed by artist Linda Perlmutter, and fabricated by MILGO/BUFKIN.
 The Sleepy Hollow cemetery, church, bridge, and statue are all across the street from the Philipsburg Manor Upper Mills, which is a restored 18th century living-history museum (you can read more here). It’s currently closed for restoration work.
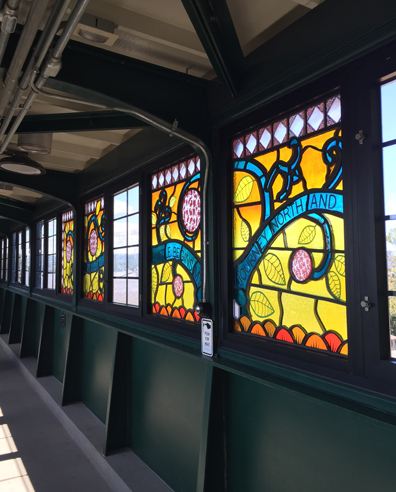
 We also got an unexpected surprise at the nearby Philipse Manor train station, which operates on the Metro-North Railroad’s Hudson Line. The station’s pedestrian bridge had really cool stained glass windows…
 And check out the VIEW of the Hudson River on the other side!

I also recommend heading to Patriot Park, which is on the border of Sleepy Hollow and Tarrytown. It boasts stone bridges, staircases, and water. And plenty of green space to run around on!
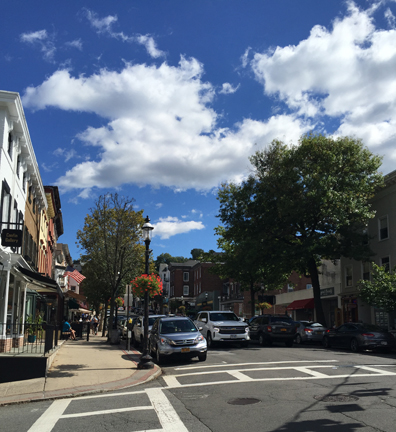
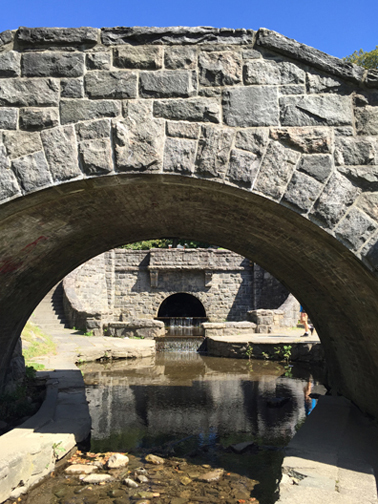 At this point, we were getting hungry, so we headed over to Tarrytown for some bites. Main Street was charming, walk-able, and there were plenty of eateries to chose from.
 One other building of note is the historic Tarrytown Music Hall, a 136 year-old historic theater. Supposedly haunted, and yes, they DO have ghost tours. And yes, I’m definitely kicking myself for not thinking of buying tickets in advance of my trip!
 The sun was starting to set as we headed back to New Jersey with haunted places still on our minds. This Halloween, when I revisit Irving’s tale, I’ll actually be able to say that I’ve walked through the cemetery, stood next to the church, and crossed the bridge! How awesome is that?
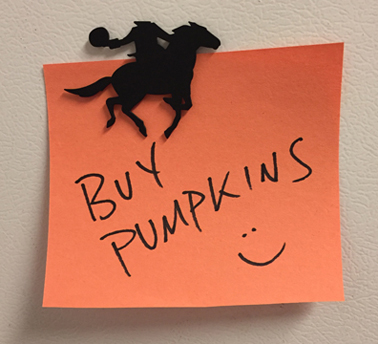

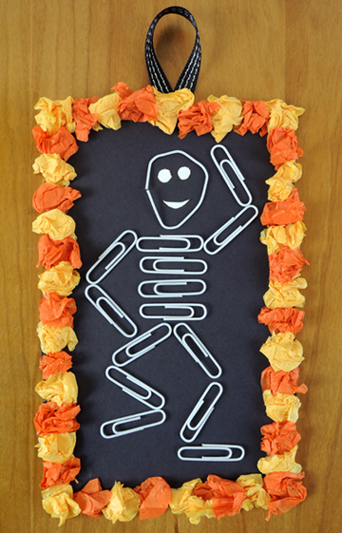
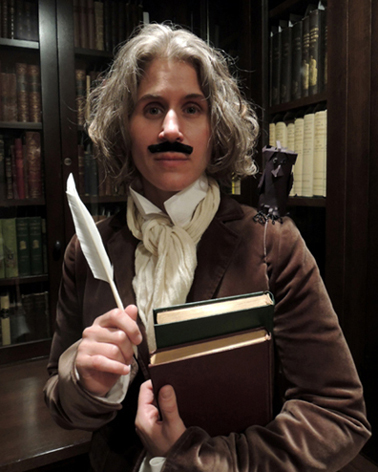
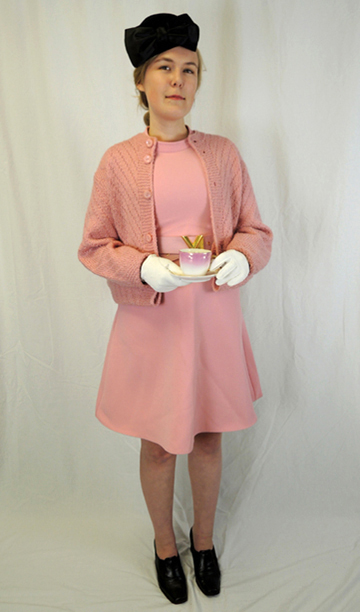
 It might be a smaller, simpler Halloween this year, but that doesn’t mean it has to be any less spirited (oooo bad pun alert!). We decided to do a round up of our Halloween posts for you to peruse, just in case you needed some projects, activities, costumes, or inspiration. But if you are just here to see Katie’s ingenious candy chute, scroll to the end of the post!
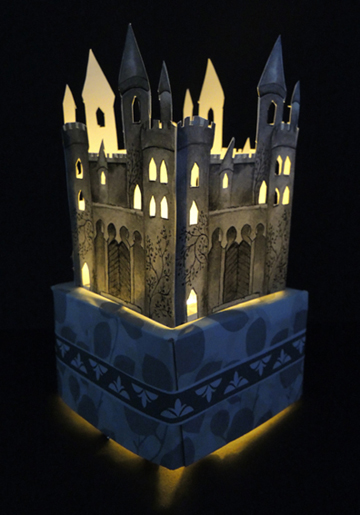

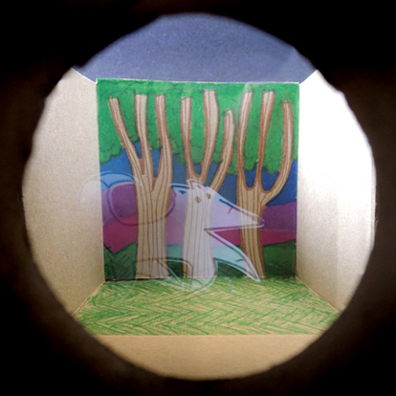

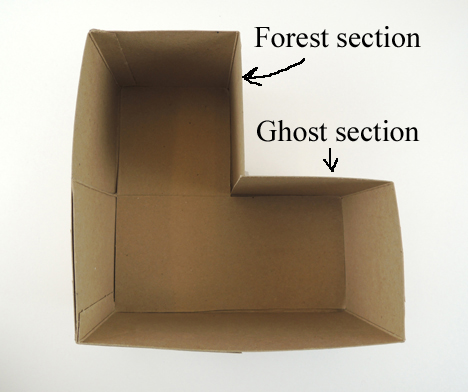
 The L shape box is consists of two sections: a “forest section” and a “ghost section.”
 Next, cut a small square (approximately 1.75″ x 1.75″) in the side of the box that faces the forest section. This is your viewfinder.
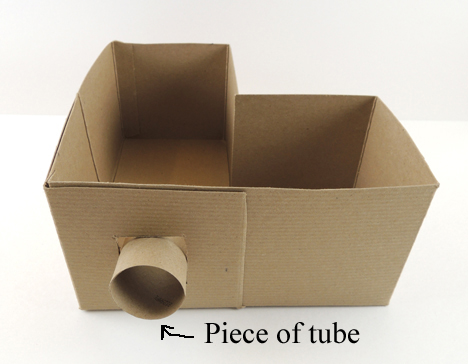
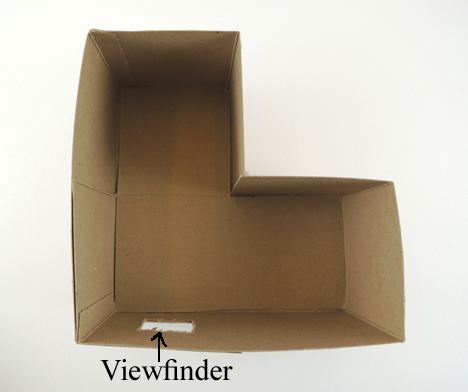 In the book, Arlo gazes through a slipknot, a loop of rope or lacing that allows him to see and travel multidimensionally. In order to replicate that rounded view, we slid a 2.25″ piece of toilet paper tube into the viewfinder as well.
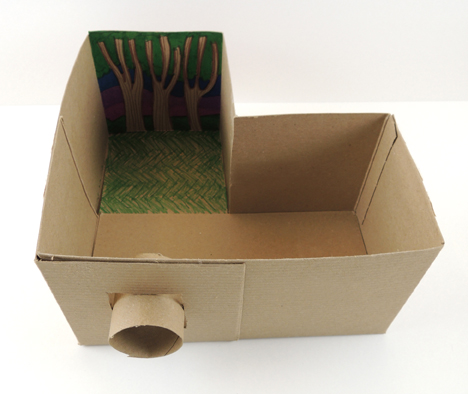
 Now draw a backdrop for the wall opposite the viewfinder. I had the kids decorate a pre-cut piece of paper or cardboard, then we glued it to the inside of the box.
 Next, sketch a ghost on a piece of white card stock. Here’s my tribute to Fox, a spirit from the book (and my favorite character):
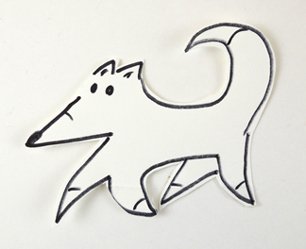 Tape the ghost in the ghost section of the Pepper’s Ghost box. Though you will probably need to do a little adjusting on the exact placement, try to arrange the ghost in the center of the section. I found this gave the best results.
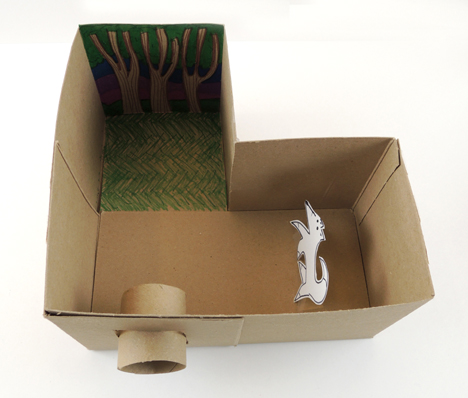 Now for the magic! A Pepper’s Ghost illusion is essentially a reflection. For this model, the reflection is caused by a piece of glass or clear polystyrene set at a 45 degree angle in the junction of the L shaped box.
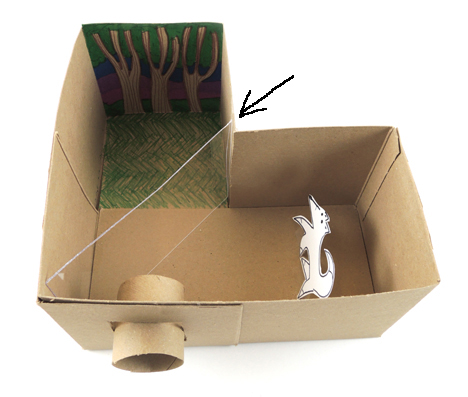 During my initial test, I used a piece of glass from a 4″ x 6″ picture frame. However, I was a little uncomfortable giving multiple 6-8 year-old kids pieces of glass to take home. Luckily, I found clear polystyrene sheets on Amazon (a set of ten, 8″ x 10″ sheets cost $15). Polystyrene is plastic, lighter weight, doesn’t shatter, and you can cut it down to size with a box cutter or scissors. Testing revealed that the reflection illusion works just as well with polystyrene as glass. Yay!
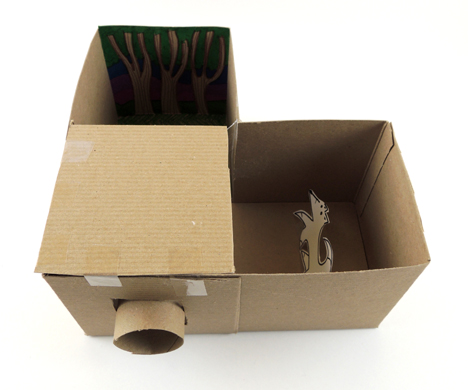 Then hinge a second square of cardboard over the ghost section. It’s important that this flap open and close. With the flap closed, the ghost will not appear through the viewfinder. But when you lift the flap, the ghost section will illuminate, causing a reflection to appear.
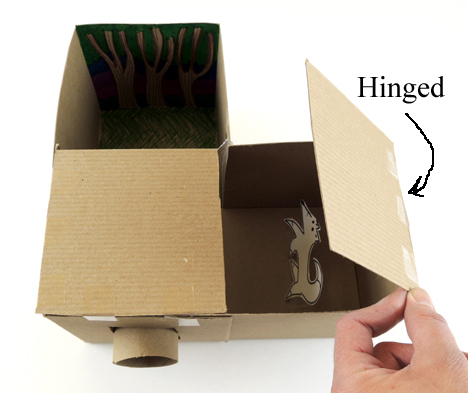 Ready to see the illusion in action? Close the flap and peer through the viewfinder. Keep gazing through the viewfinder, then lift the flap over the ghost section. Your ghost will magically appear! I also encouraged kids to stick their hands in the forest section and try to grab the ghost. Their fingers passed right through it, of course!