
 We couldn’t let this holiday pass without mention! Donuts are the life blood in our office (as is espresso, cupcakes, and whatever chocolate Katie brings back from her travels to Europe). So we would like to wish you a very happy National Donut Day, readers!
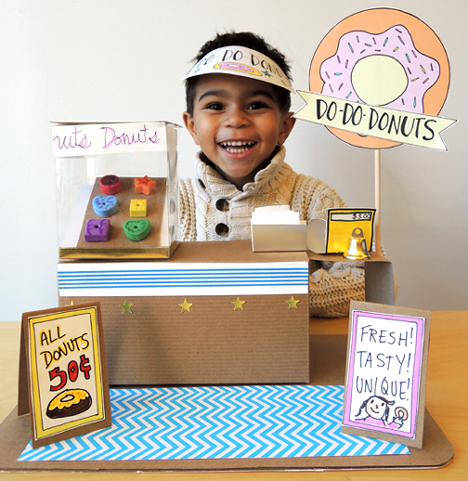
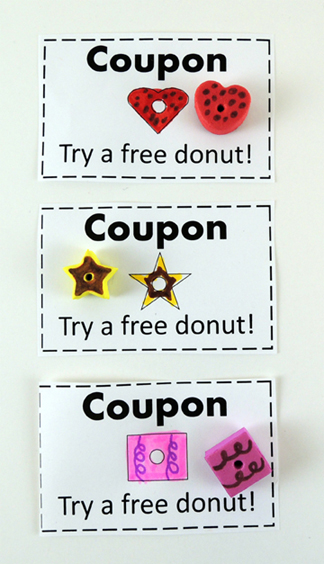
If you’re interested in story time projects related to donuts, we recommend the donut shop we designed for The Donut Chef by Bob Staake (Golden Books, 2008). The shop doubles as a matching game, as you pair customer’s coupons with your shop’s stock!
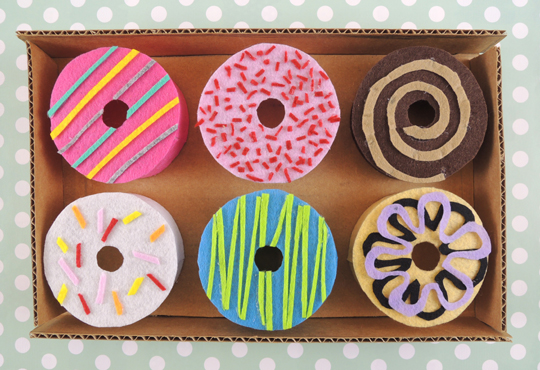
 If you’re looking for something a little simpler, we highly recommend Marissa’s felted donut project for the book Please, Mr. Panda by Steve Antony (Scholastic, 2014).
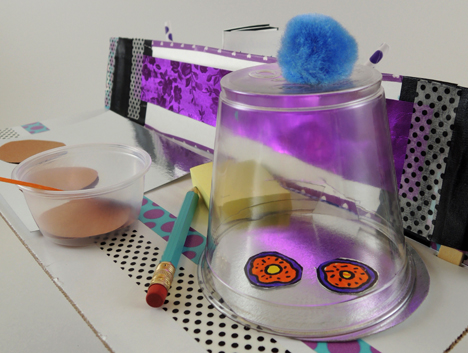
Even simpler? A cup, a pom-pom, and some paper put together to create an adorable donut display case for this delightful diner.
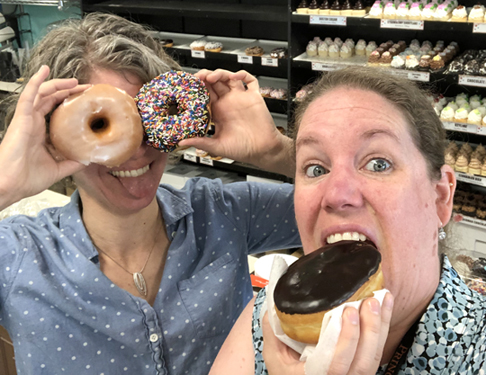
 OF COURSE we had to conclude this post by traipsing down to House of Cupcakes (winner of Cupcake Wars!) to enjoy a couple of their fresh, house-made donuts.
And if today’s sugary adventures leave you in need of a good dentist, you’ll find one here!
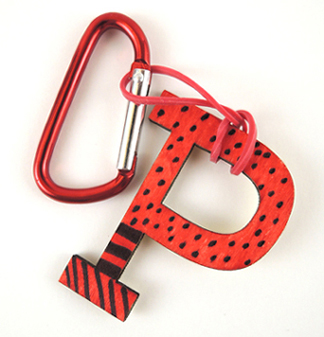
 At the event, we simply laid everything out and invited kids to decorate! I think we made around 350 keychains that day. Also, since we were representing Princeton University, Katie and I wore tiger onesies (like we needed an excuse, right?).
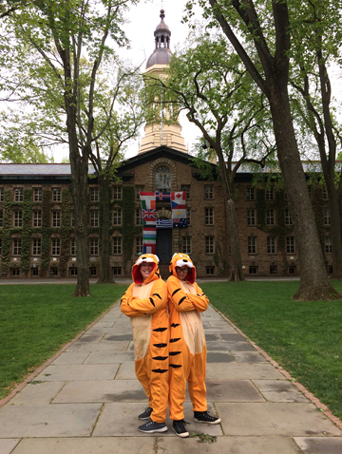 The project was quick, easy to explain, inspired a lot of creativity, involved alphabet letters, and kids of various ages (plus a few college students!) really enjoyed it. You can’t get much better then that!
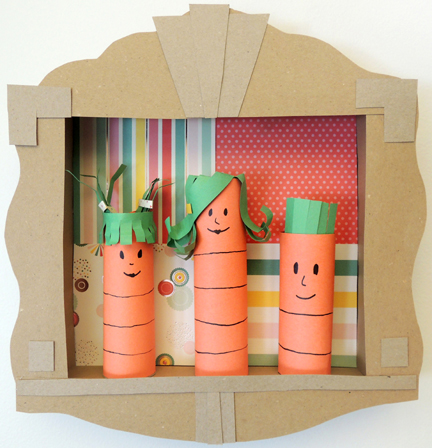 This handsomely framed three-dimensional portrait is a must for any home. And if you want to portray your sweet little family as carrots, well why not?
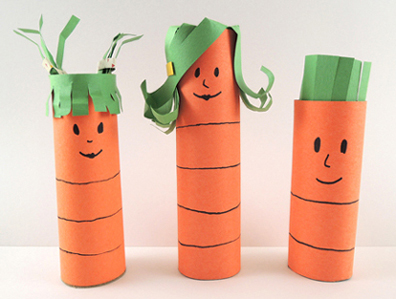 The frame is a box cut down to 2″ deep. We decorated the back of our frame with patterned paper (but you can also have kids draw the background on with markers). Next, we offered different brown poster board shapes to glue around the edges of the box:
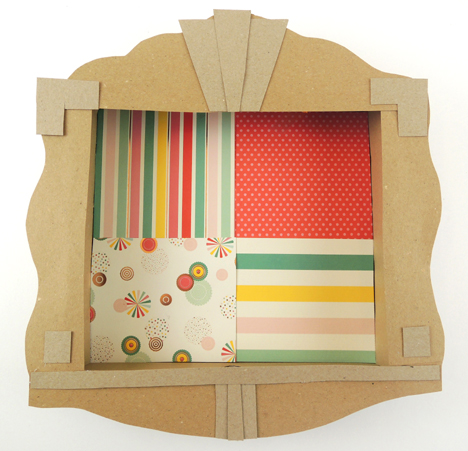 To hang the frame, twist a pipe cleaner into a loop, then attach it to the top of the box with tape. Want to make it extra secure? Cut a slit in the top of the box, thread the pipe cleaner ends through the slit, then tape them to the interior top of the frame. Here’s a shot of our frame from the back, hanging loop in place:
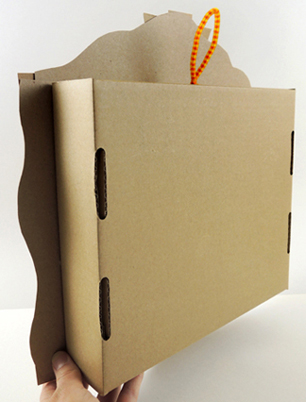 Hang your frame in your favorite room of the house, place your little family inside it, and feel the love!