Oh, how we have wanted to test these floating LED candles for the blog. And YES they were just as amazing as we thought they would be!
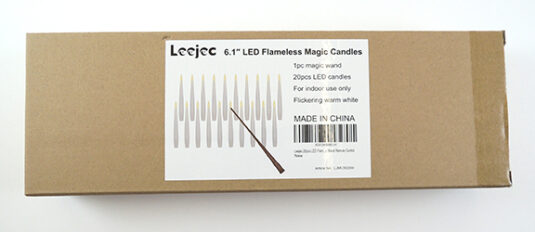
Katie first spotted the Leejec Flameless Taper Floating Candles on Amazon. We’ll admit, they are pricey. You can get them at various lengths (6″, 7″, or 11″) and in various amounts (6-20 in a pack). We needed quite a few for our gallery display cases, so we went with the 6″ pack of 20 for $60.
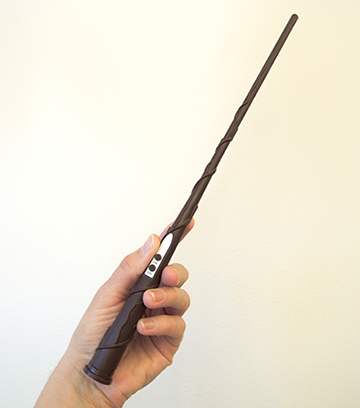
 Each candle requires a AAA battery (not included) and had a long, invisible fishing line extending from the top. But the best part is…wait for it…you turn them on and off with a wand!
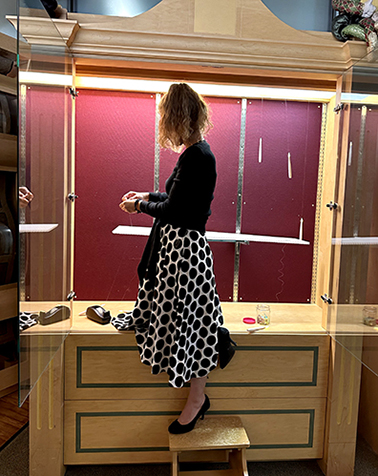
 Hanging the candles was a bit tricky. The fishing lines are really, really, really long. We ended up wrapping them around paperclips (which was kind of slippery and frustrating until you got the hang of it), securing them with tape, sticking the wrapped paperclip through some plastic light covers in the case, and then anchoring the wrapped paper clips with more tape. It definitely took some time and patience!
 In the reviews on Amazon, some folks used thumbtacks to secure the candles to the ceiling, some used poster putty. Others hung them on already existing light fixtures. It was agreed the fishing lines were super long, but for people with cathedral ceilings, that was a bonus.
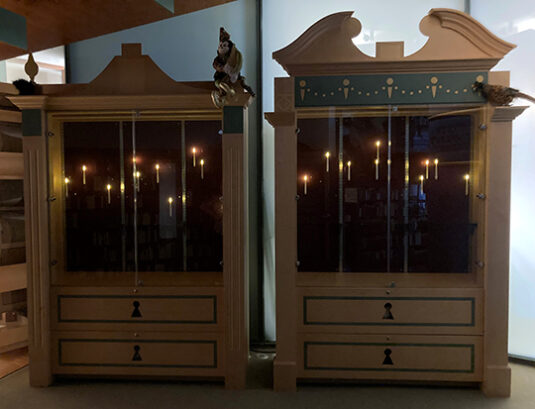
There’s no denying the final results. Our exhibit cases look amazing with the candles twinkling and swaying. And the wand is so much FUN to use. Honestly, we spent about 20 minutes turning the candles on and off both up close and at a distance. Sometimes one candle would lag behind the others and you would need to do another quick click, but generally they responded really well to the wand commands!
While these candles are expensive, the results speak for themselves. This is a really special set, and has earned a Pop Goes the Page five star review and two wands up!
Postscript: After displaying the candles in our cases for a couple months, we’ve learned that their “burn time” is about 20 hours before the batteries wear out. So while they’re great for parties or a special event, they’re not so great for long-term displays (or just get ready to burn through a lot of AAA batteries)!
 You’ll need:


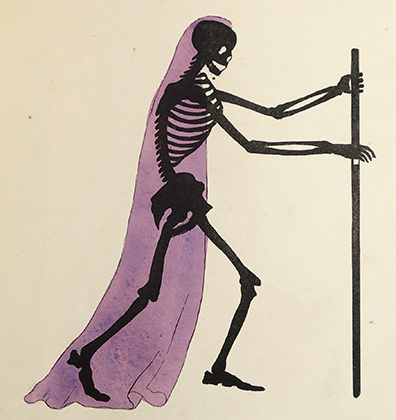
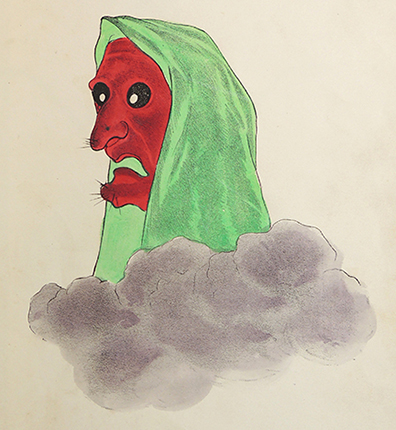
 Last Halloween season we took a stroll through our special collections

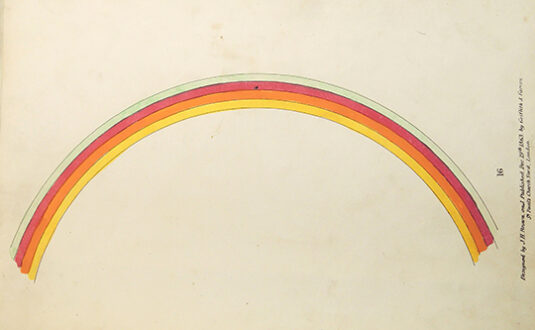
 The book concludes with a grand finale image that is not a ghost, but a rainbow! Definitely try this one, because it is so cool to see the colors flip in the afterimage!