
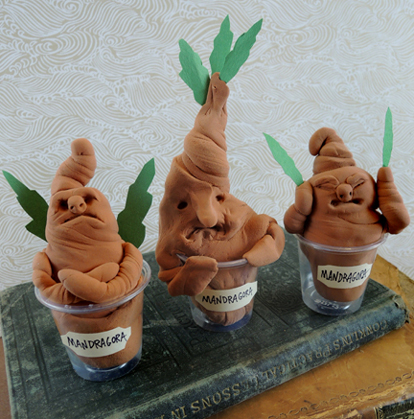
Behold! An easy – but totally awesome – mandrake that even the littlest wizard or witch can repot. Katie and I created this project while planning a Harry Potter event. We were looking for something creative, simple, low mess, and appropriate for a wide age range. Ultimately, we decided to not do this mandrake craft at our event, but we definitely wanted to share it with you!
You’ll need:
- Crayola Model Magic (we used the color terra cotta)
- 1 small plastic cup (we used 1.25oz Solo cups)
- Green construction paper
- Clay sculpting tools (chopstick, paperclip, X-acto knife, pencil, etc.)
- Scissors
Since this craft was going to take place in our carpeted gallery, we wanted zero mess. Model Magic is perfect for this purpose. It’s light, soft, spongy, non toxic, leaves no residue on the hands, and air dries beautifully. A 4oz package made 4 mandrakes.
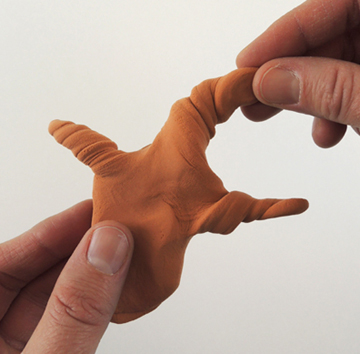
First, take a chunk of Model Magic and form a root plug at the bottom, 2 arms, and a head. Gently twist the arms and head to make them appear gnarled and root-like.
 Use sculpting tools and smaller bits of Model Magic to create the face. Then push the mandrake’s plug into a small clear plastic cup. Cut leaves from green construction paper, and gently pinch the Model Magic around the leaves to hold them in place. I love the expression and leaf placement on Katie’s mandrake:
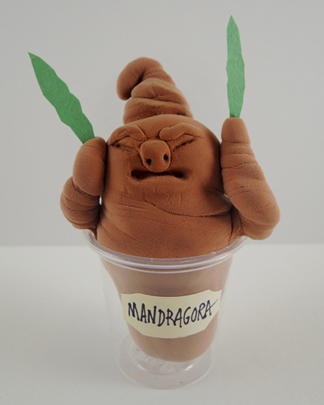 You can add a label to your pot if you’d like. Ours was a bit of manila paper adhered to the plastic cup with a glue stick. We went with the plant’s Latin genus name, Mandragora.
Also optional for this project: a pair earmuffs, charmed with extra soundproofing.
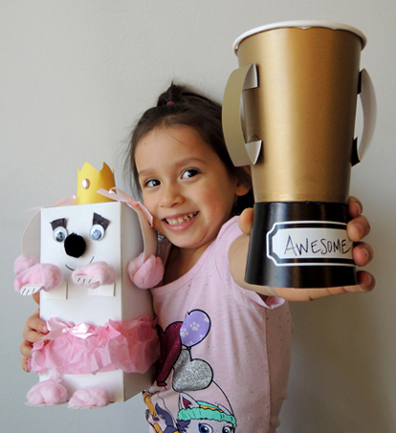
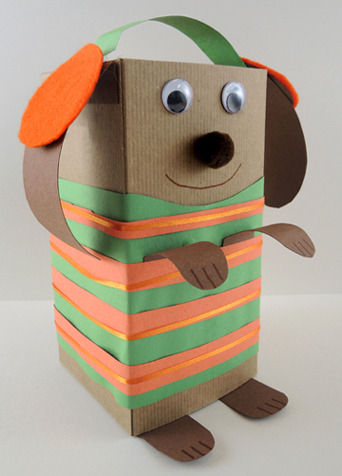 I made a princess poodle, in a tutu, with construction paper eyelashes. Her name is Kami.
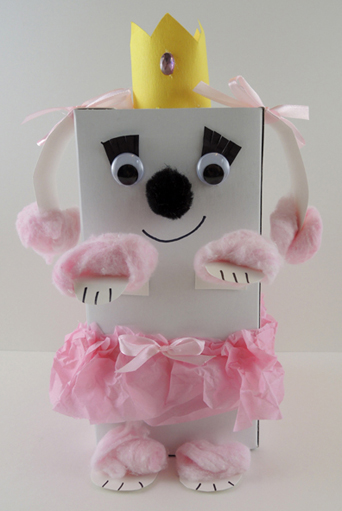 In addition to construction paper for the outfits, we couldn’t resist adding tissue paper, ribbon, felt, cotton balls, and the
 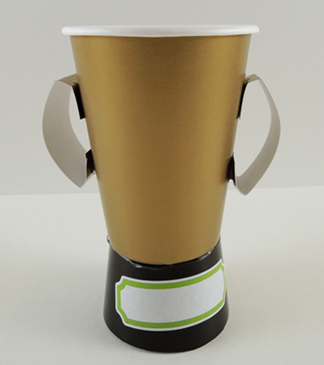 We also came up with some potential award categories in advance. Such as:
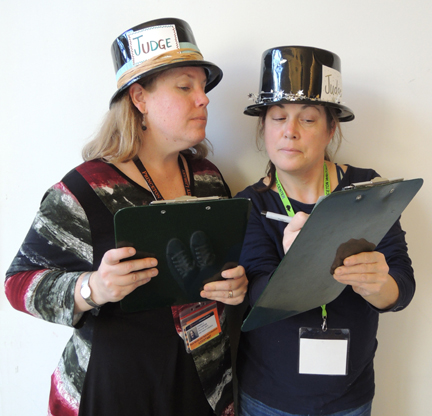 And everyone headed to the library’s lobby! Acting as the announcer, I asked the kids to circle, change direction, halt, and twirl for the judges. While they were doing this, Katie and Melinda were furiously writing award categories on the trophies. I recommend writing a few general ones (Most Creative, Most Original, Best Smile) on the trophies in advance, because the kids get tired of circling around the show grounds pretty quickly!

 If you’d like to see the event map,
  Or this really cool Victorian visual toy called a thaumatrope
 And what about tea? 2016 was the 150th anniversary of the publication of Alice’s Adventures in Wonderland, and we put together an elaborate Victorian
 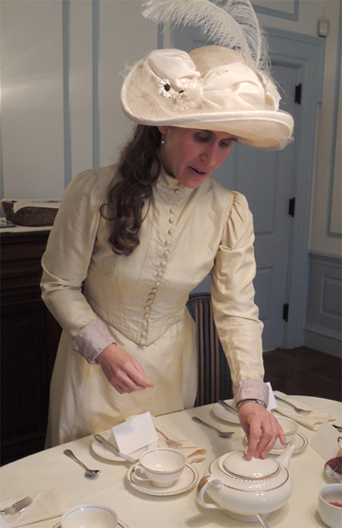 The Library of Congress went all out for the 150th anniversary as well. In
  However, the award for the most whimsical Alice connection goes to the Mazza Museum of International Art from Picture Books (which I blogged about
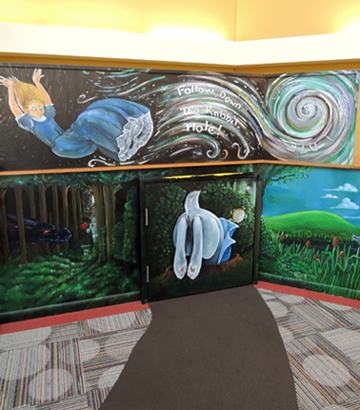
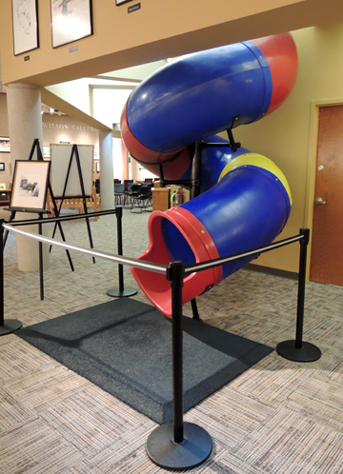 Dang. I want a twisty slide in my place of employment.