Coins, buttons, and yo-yos? There IS a connection between these three things. Granted, it’s a very uncommon connection…
We read The Uncommoners: The Crooked Sixpence, written by Jennifer Bell, and illustrated by Karl James Mountford (Crown Books, 2017). When Ivy and Seb Sparrow’s grandmother breaks her wrist, it sets off a very unexpected chain of discoveries. The siblings quickly learn that a subterranean world exists underneath their feet. It teems with common objects that do uncommon things (flying vacuum cleaners, healing buttons, lemon squeezers the shed light, for example). Ivy and Seb also learn that they are part of a family with a dark, secret past…a past that is coming back to haunt them and threaten the lives of all the citizens of Lundinor.
This book was perfect for To Be Continued, our chapter book story time for kids ages 6-9. Time was tight towards the end of the book and our summer break, so I devised these quick activities for the hands-on portion of the program.
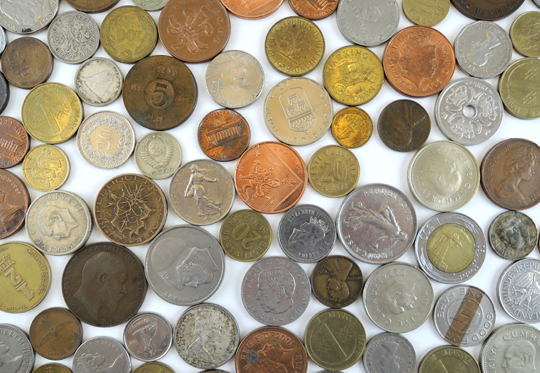
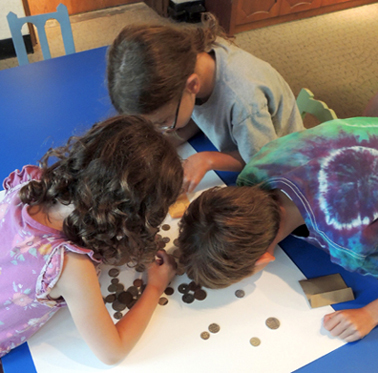
In the book, Ivy comes to possess a coin – a slightly bent one-pence piece made of silver that warms in her hand. The coin is very significant, as are other objects in the story. Happily, I had a large bag of old coins that were donated to the library by my lovely neighbor, Leonore. I spread them out on tables, and kids got to examine them and take home a pile for their personal collections. As you can see, they were VERY intent on this task!
 Next came a mysterious package tied with an old brass button (buttons have healing powers in Lundinor):
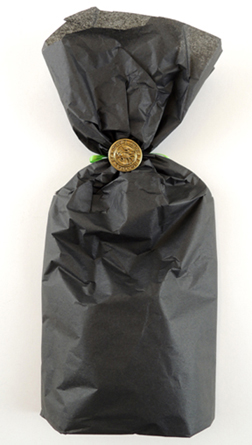 Inside the package was a yo-yo. That’s right. A yo-yo.
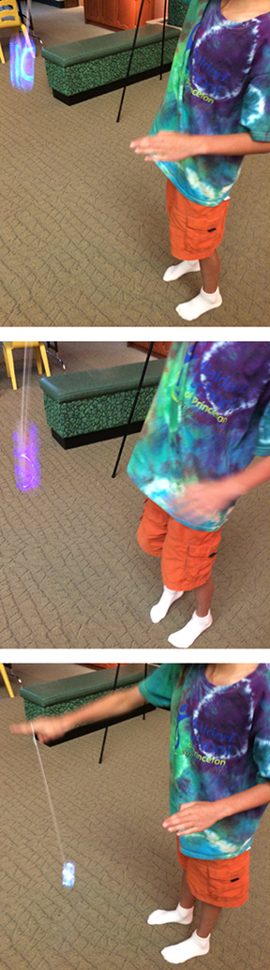
In Lundinor, yo-yos are uncommon. Meaning, they are weapons that create whirlwinds to fend off murderous selkies and giant grim-wolves. I loved this concept and wanted to share it with the kids. But I didn’t want it to be just ANY yo-yo. So I bought Duncan “Lime Light” yo-yos that change color as you spin them!
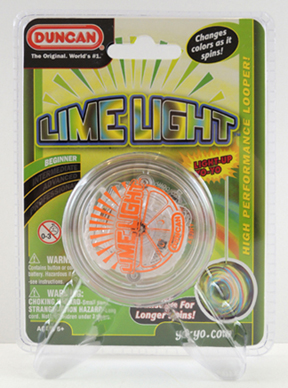 I bought these directly from Duncan’s website for $5 a pop. And because it’s currently Duncan’s 90th anniversary (wow!) they were 15% off and free shipping. The kids loved them, of course!
 Tomorrow, our library is kicking off the programming year with a Secret Garden event at
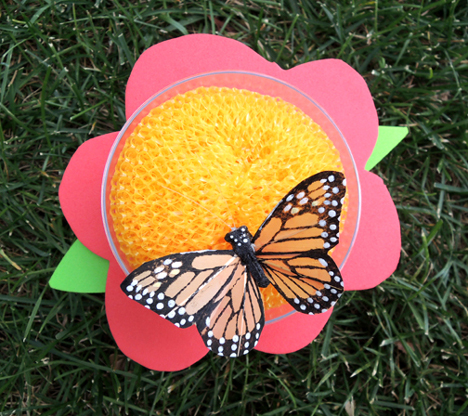
 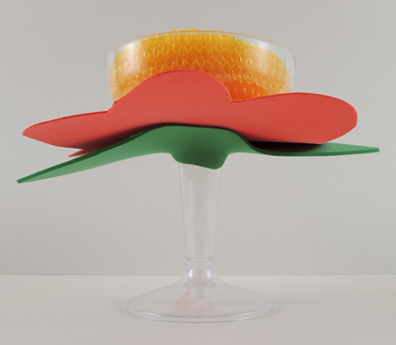 To make the homemade butterfly nectar, mix 9 teaspoons of water with 1 teaspoon of white sugar. Pop it in the microwave for about 45 seconds. Pour the nectar on top of the pot scrubber…your butterfly buffet is ready!
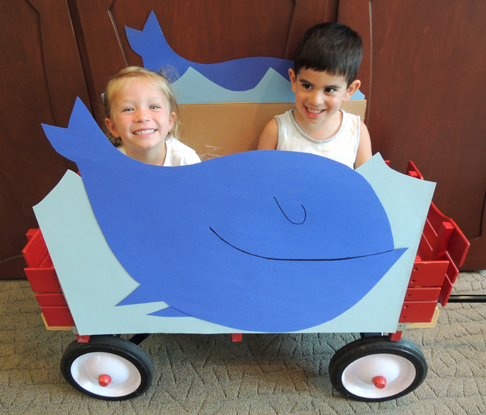
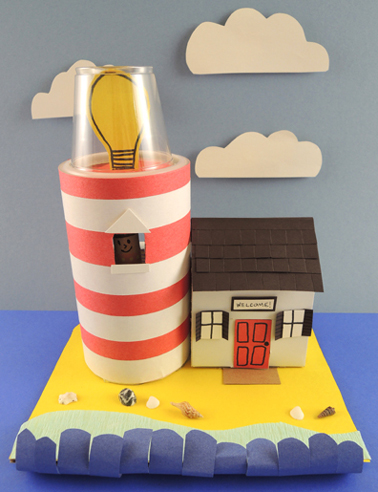 Our “ocean” consists of a curved, light blue crepe paper streamer and a fringe of dark blue construction paper waves. We had mini shells handy for the beach, but you can use images of shells, or just have the kids draw the shells on the beach with markers.
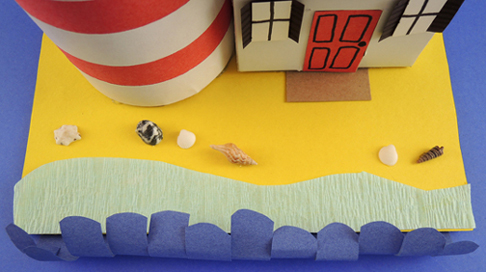 We also decided to cut the backs out of the box and the oatmeal container to create a dollhouse. Use a circle of white card stock to create the second floor of the lighthouse, then decorate the walls and floors with paper. Need furniture and some framed artwork? You’ll find templates and instructions in
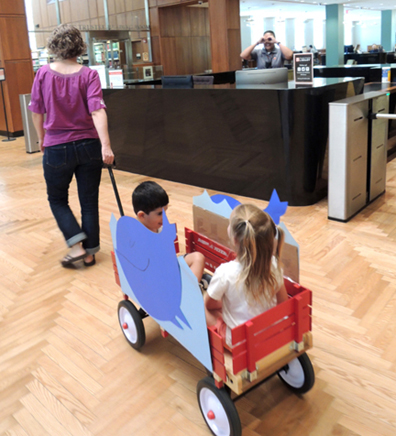
 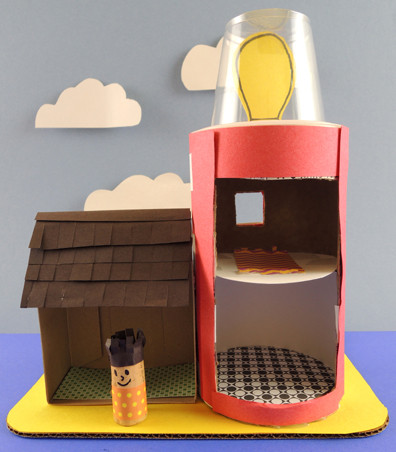 When the lighthouse islands were done, we announced that a whale had been spotted in the library’s main lobby. This was a red wagon with a whale facades taped to both sides. Kids took turns getting rides and smiling at local whale watchers!