From boredpanda
Yes, there is a National Letter Writing Day, and it is today! Katie and I decided to celebrate with a very broad, very liberal take on what it means to put letters into the world. There’s a bonus one at the end of the post. We couldn’t resist.
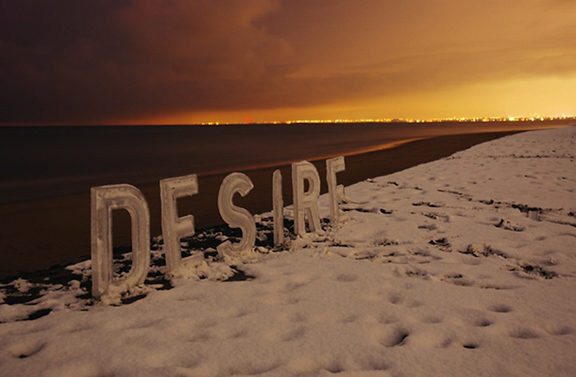
#10 ICE TOPOGRAPHY BY NICOLE DEXTRAS
From My Modern Met
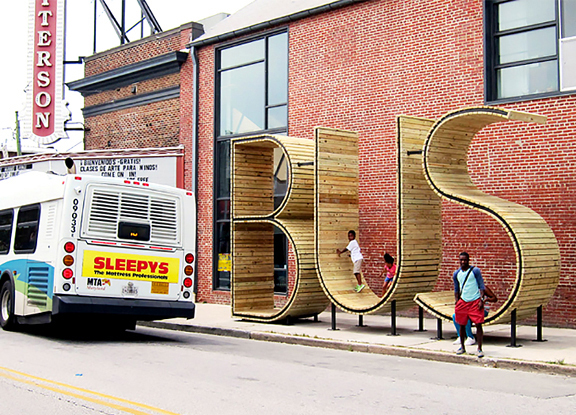
#9 BALTIMORE BUS STRUCTURE BY “MMMM…” COLLECTIVE
From Inhabitat
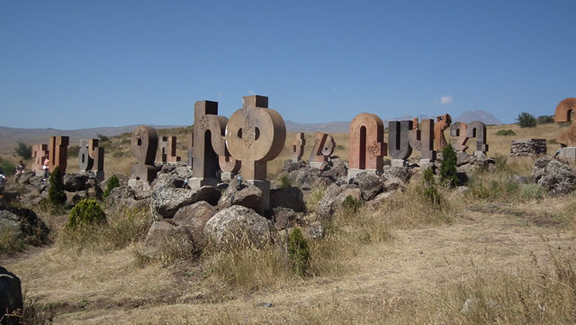
#8 ARMENIAN ALPHABET MONUMENT BY J. TOROSYAN
From Atlas Obscura
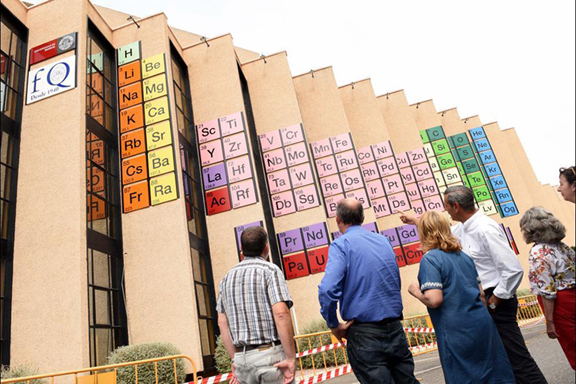
#7 PERIODIC TABLE, UNIVERSITY OF MURCIA, SPAIN
From Chemistry World
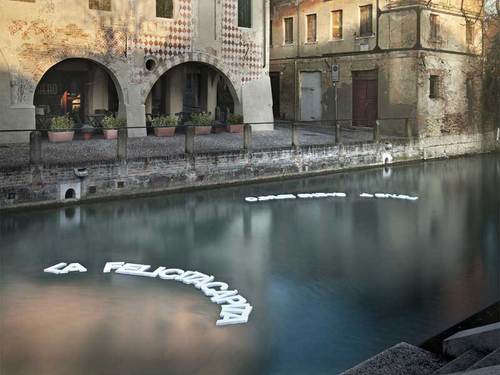
#6 FLOATING SENTENCES, TREVISO, ITALY
From Spudart
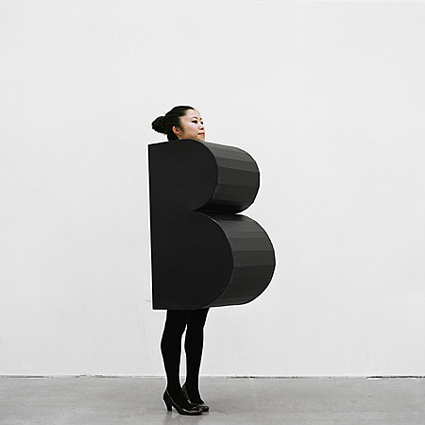
#5 TYPOGRAPHY COSTUME CONTEST
From Parsons School of Design
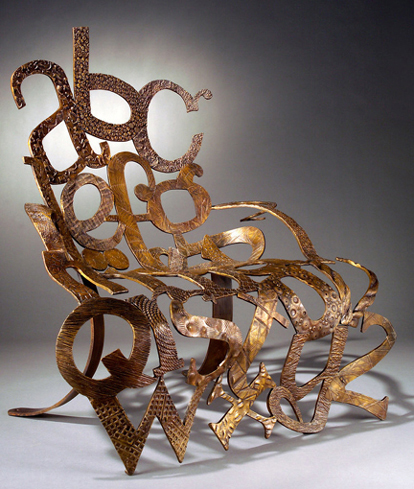
#4 THE ALPHABET CHAIR BY SARAH PETERS
From Sarah Peters Sculpture
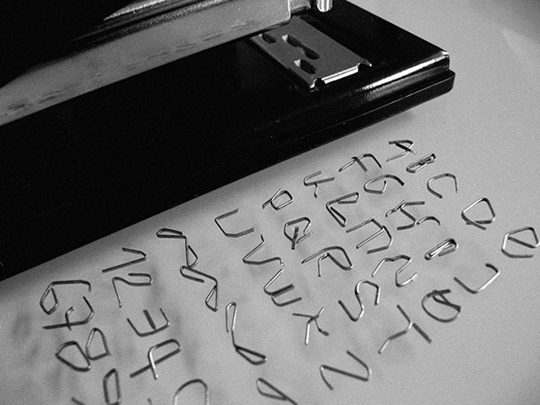
#3 HANDMADE STAPLES FONT BY RAFAEL FAGULHA
From Bēhance
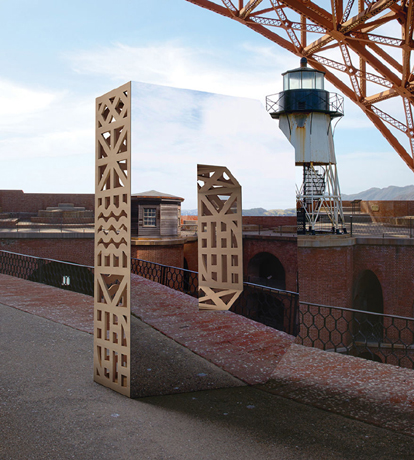
#2 “LOOK CLOSER” INSTALLATION BY CHARACTER
From boredpanda
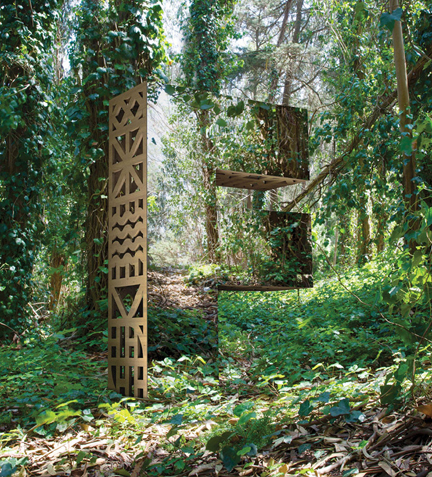
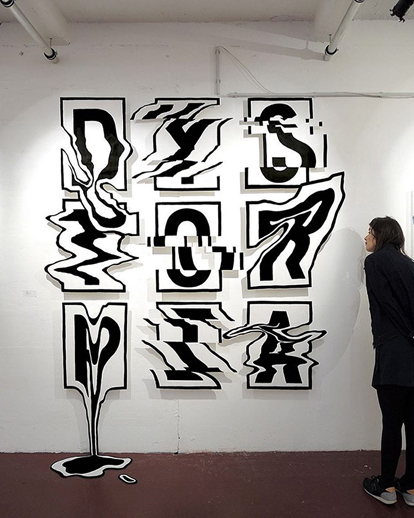
#1 OPTICAL ILLUSION CALLIGRAPHY BY RYLSEE
From deMilked
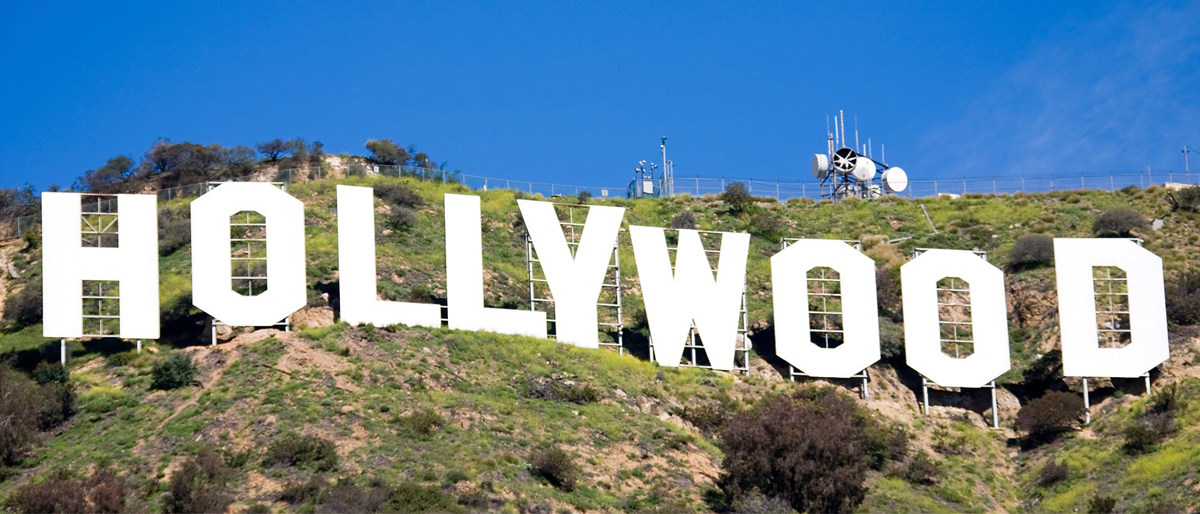
BONUS! AMERICA’S MOST FAMOUS LETTERS…
From Hollywood Sign
If you’re interested in doing a bit of letter art in your own home, library, or classroom, may we humbly suggest the letter art project we blogged about here? See also our topiary letters, letter fishing, magic floating letters, our favorite fuzzy crinkle letters, custom neon letters, or the result of inflating 130 giant alphabet balloons and stuffing them in the entryway of your library.

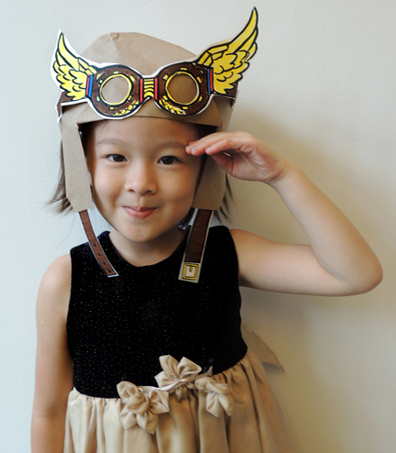
 We read Pilot Pups, written by Michelle Meadows, and illustrated by Dan Andreasen (Simon & Schuster, 2008). Join a pair of enthusiastic stuffed dogs as they fly through the house in a toy plane. Dodging mountaintops (Dad’s head), encountering fog (tea kettle), and careening past the creek (kitchen sink), and returning to the bed before anyone notices their daring adventures.
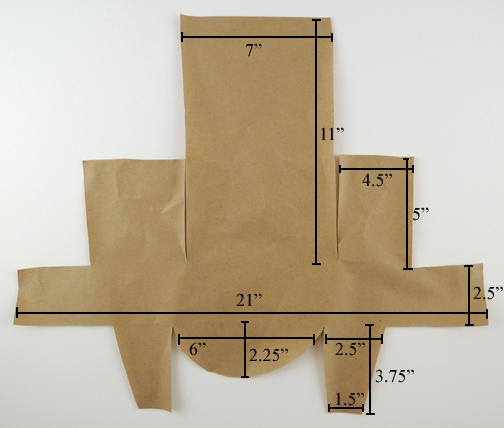
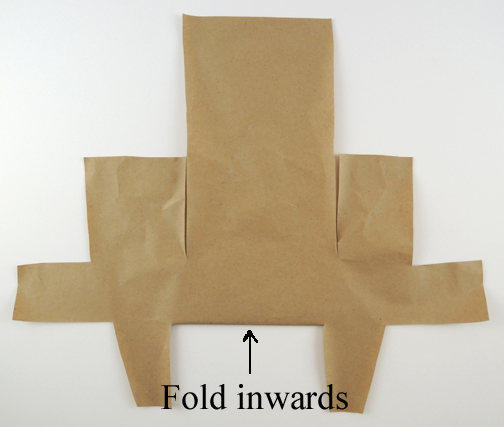
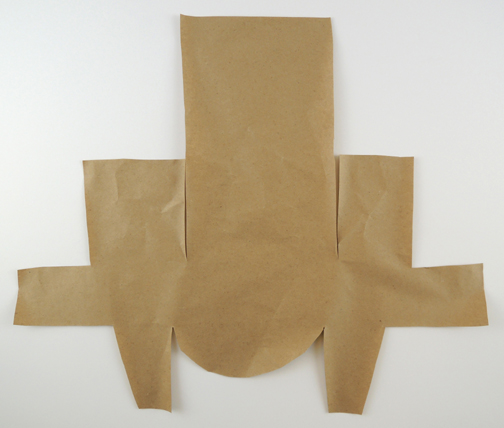 First, fold the rounded part of the template upwards and inwards, so it tucks under the back of the template. Later, this will be the bill of your aviator hat.
 Hold the template to your forehead and curve the long ends around your head. Secure the ends together with staples. This is the headband of your hat (and, if the template band doesn’t go all the way around your head, just add a little extender piece in the back).
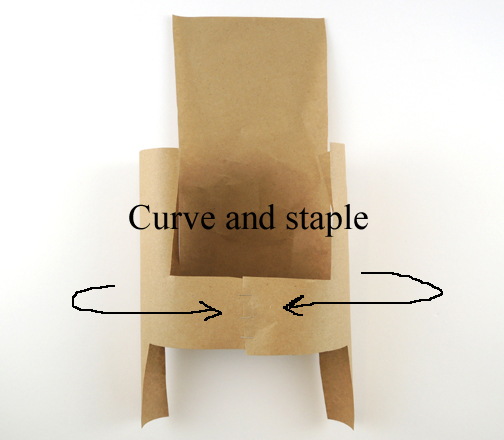 Next, fold the right and left flaps over the top of your head. Secure them together with staples. Note: you want the flaps to form a bit of a “dome” over your head, not fit super tight on top of your skull.
 Fold the the center flap down over the top of your head, gently tucking it into the back of the hat brim. Trim off any excess flap sticking out from under the brim.
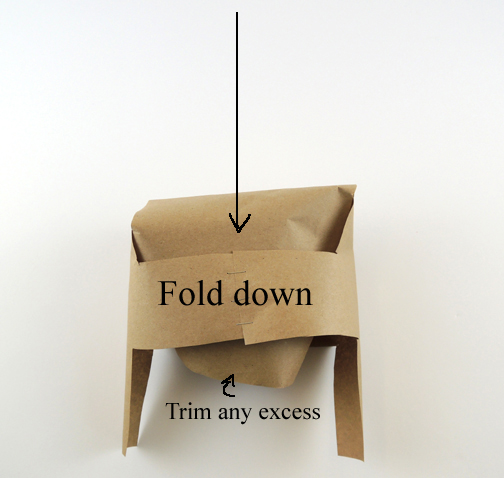
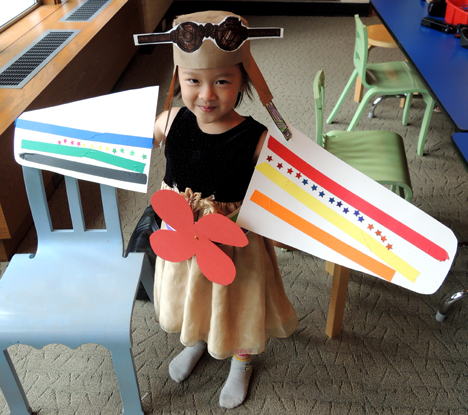
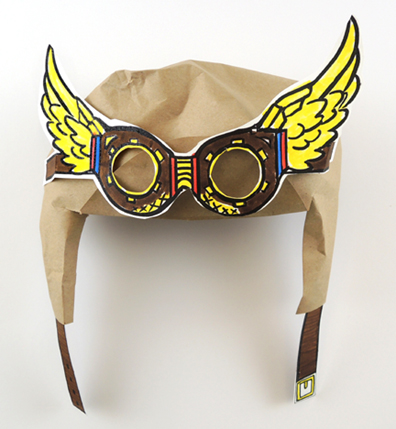 That’s your hat, now for the rest of the costume! The wings are super simple. We cut pairs of 9.5″ x 16″ wings from white poster board, which the kids decorated with markers,
 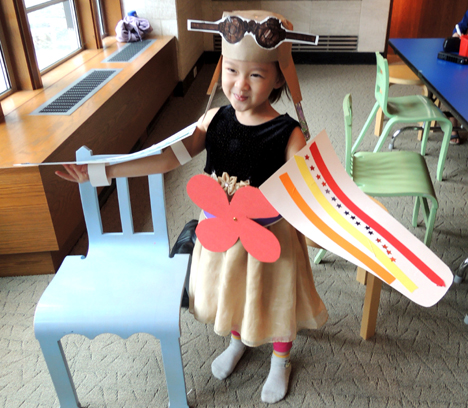 The propeller belt is a strip of poster board with holes punched in each end. Wrap the belt around your waist and secure it in place with a snippet of ribbon (decorate with markers and color masking tape of you like to) threaded through the belt holes. You can simply attach a poster board propeller to the front, or you can make it spin by using a
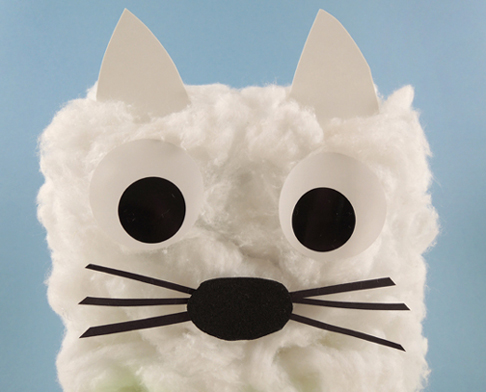
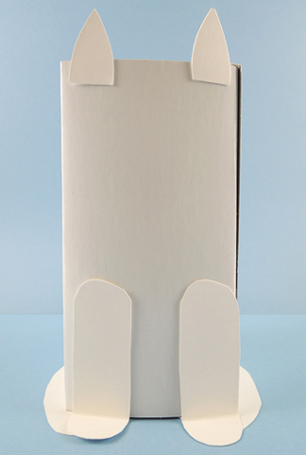
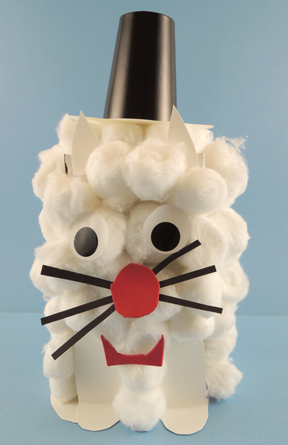
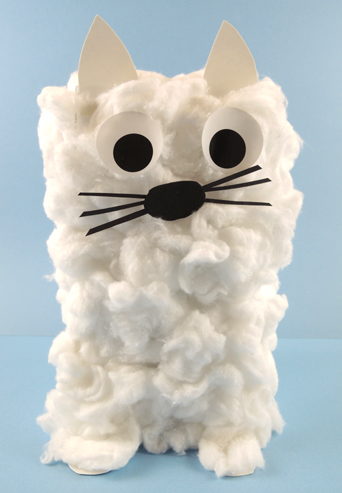 Basically, just cover the box with cotton balls! The fluffier, the better! For the face, we used large, 1.5″ eyes stickers from Oriental Trading Company (a roll of 100 pairs is $2.50), and a bit of
 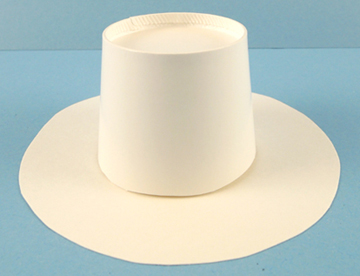 Then, out came the