 A trio of birds has invaded your kitchen, intent on repeatedly interrupting your bonding with a baked good. Can you get the birds out of the kitchen and still take the cake?
We read Marigold Bakes a Cake by Mike Malbrough (Philomel Books, 2017). On Monday, Marigold the cat ALWAYS bakes. With no distractions, Marigold measures and mixes the ingredients just so. Everything is going well…until birds start unexpectedly visiting his kitchen. This drives uber-organized Marigold more and more crazy until he finally loses it in a total feline frenzy. Can the birds and Marigold reach a cake-appreciating middle ground? Hilariously, as it turns out, they cannot.
This project was designed for a little girl who has been coming to Tiger Tales for 3 years! Marigold Bakes a Cake was the (totally awesome) book she selected for her final visit with us. Diana, this one’s for you!
You’ll need:
- 1 small tissue box
- 1 small paper plate
- 1 paper cup
- 3 toilet paper tubes
- Construction paper
- 1 cardboard box kitchen (more on this later!)
- Scissors, tape, and glue for construction
- Markers for decorating
- Hot glue
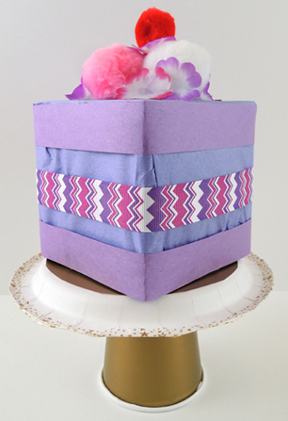
First, the cake! This was a small tissue box decorated with construction paper and marker. We also added pom-poms, fabric flowers, and ribbons for more texture. The cake stand is a small paper plate flipped over, and hot glued to a similarly flipped paper cup. We used patterned tape to decorate the cake stand, but markers work great too!
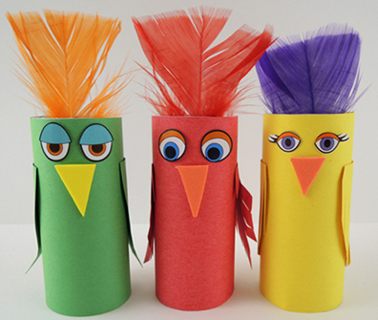
 To make the birds, wrap 3 toilet paper tubes with construction paper and add paper wings. Optional: self-adhesive foam beaks, eye stickers, and feather crests. Or, just use markers to add features to your birds.
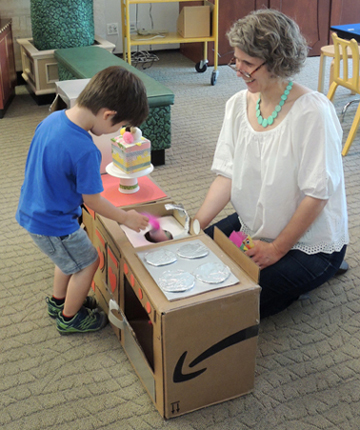
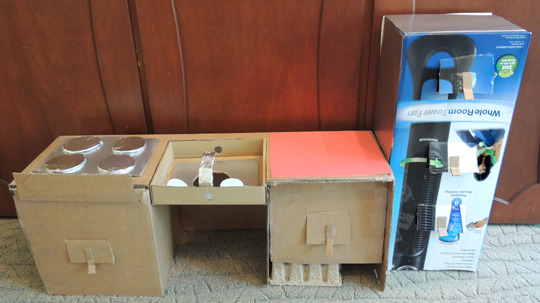
 Once you have your cake, cake stand, and birds, it’s time to play the kitchen game! Katie and I used a bunch of recycled boxes to build a kitchen with a fridge, counter, sink, range, and oven.
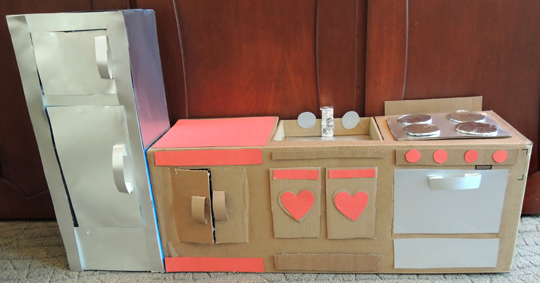 Cut into the back of the set were little trap doors. The trap doors (and the hole in the sink) allowed me to sneak the toilet paper tube birds into the kitchen.
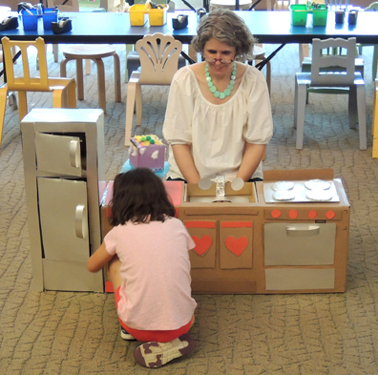
 Ready to play the kitchen game? First, kids handed me their birds and placed their cakes on the counter. Then, they took 10 steps back to the starting line. I would hide 1 bird in the kitchen and shout “The bird’s in the freezer!” The kid would race forward, find the bird, and run back to the starting line. We repeated this, using different kitchen locations, until all 3 birds were captured. The prize was their cake!
 If you don’t have time to construct a kitchen, simply tape images of kitchen elements onto boxes. Then drop the birds into the boxes for the kids to locate.

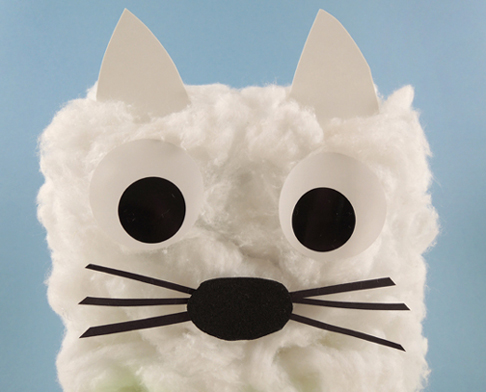
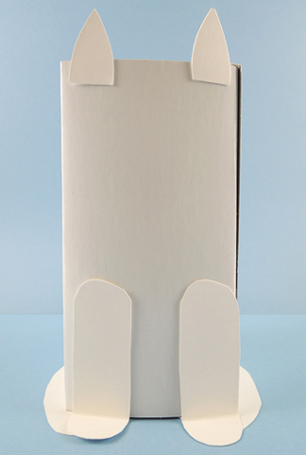
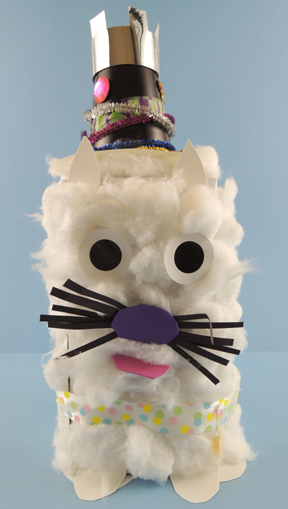
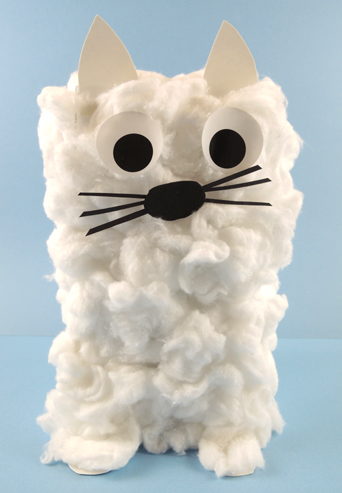 Basically, just cover the box with cotton balls! The fluffier, the better! For the face, we used large, 1.5″ eyes stickers from Oriental Trading Company (a roll of 100 pairs is $2.50), and a bit of
 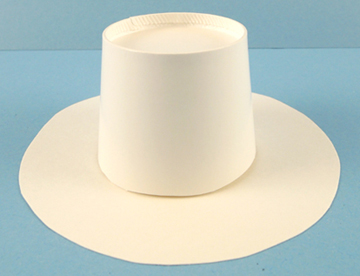 Then, out came the
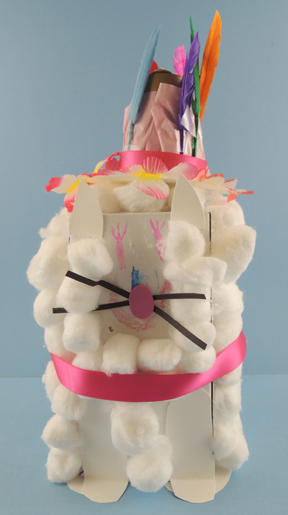
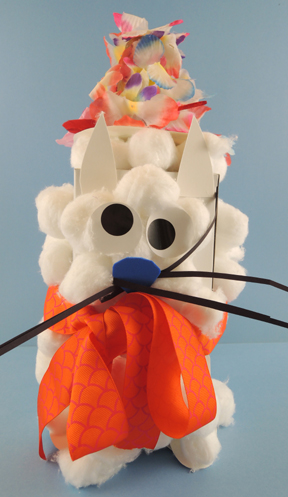
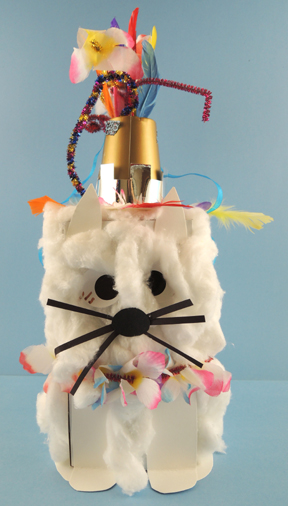
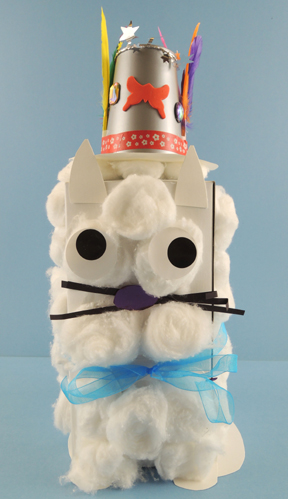
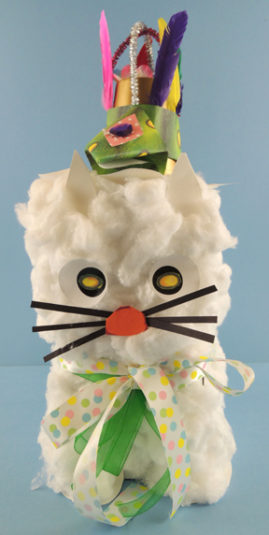
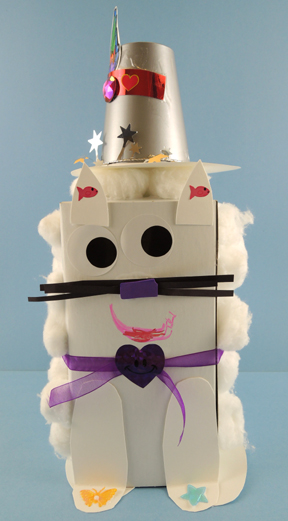
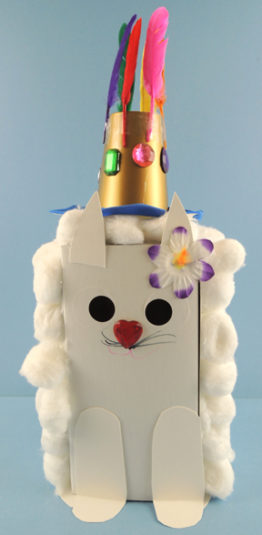
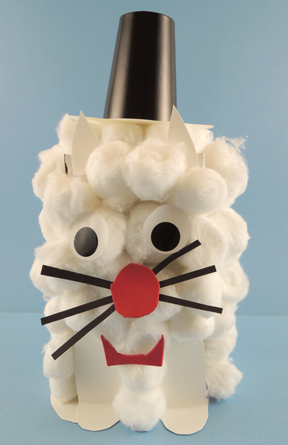
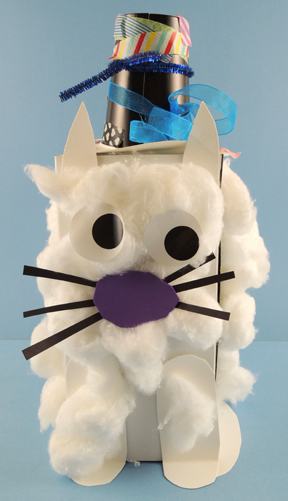
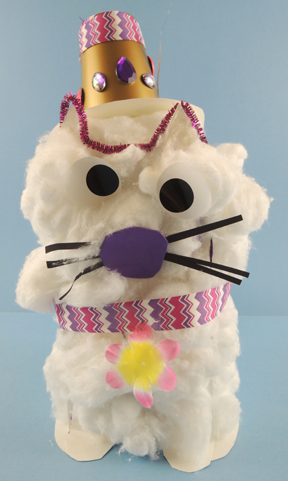
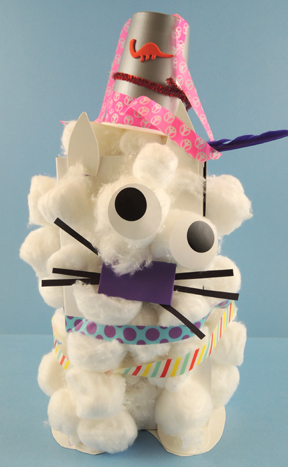
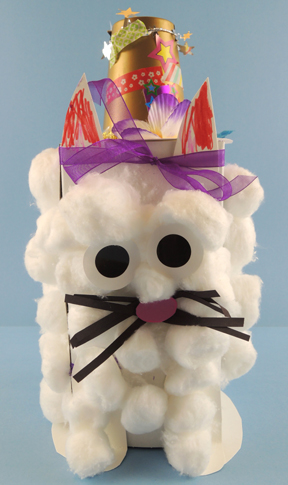
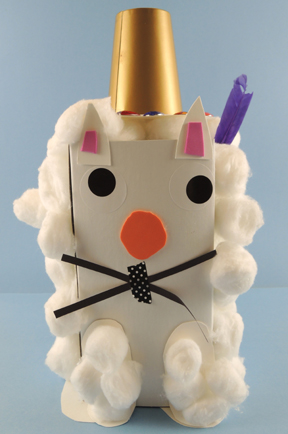
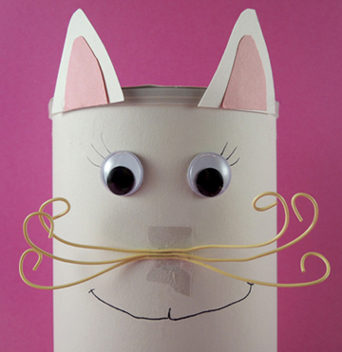 Peel and stick a triangle of self-adhesive foam over the tape.
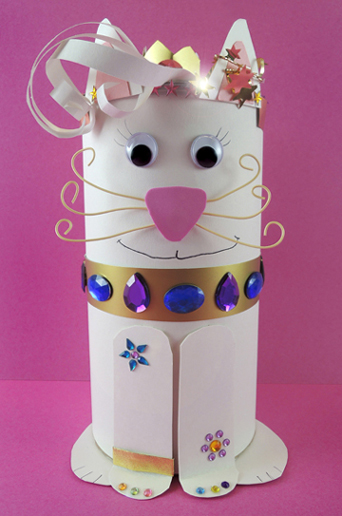
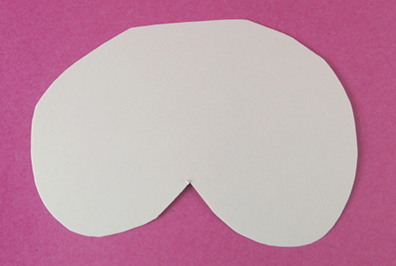
 To make the cat’s hind legs, cut a 4.25″ x 6.25″ rectangle of white poster board into the shape you see below. Hot glue it to the bottom of the oatmeal container.
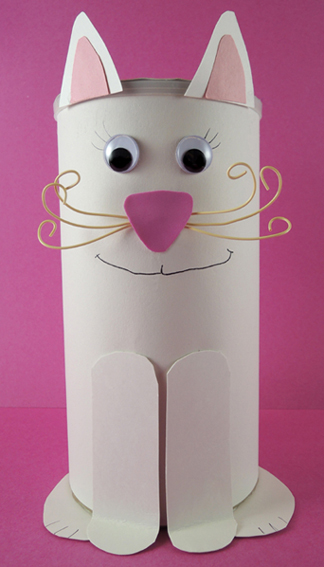
 The front legs are two, 1.75″ x 4.5″ rectangles of white poster board. Round the rectangles at both ends, then fold one end to create cat paws. Hot glue or tape the legs to the front of the container. And don’t forget to add a tail!
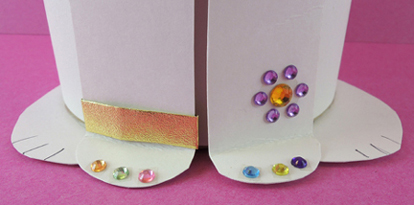
 Now to fancy things up! We crafted paper bangs, a little gold poster board crown, and a gold poster board collar embellished with
  Your cat is finished, now for the accessories! The blanket is a 7″ x 11.5″ piece of fleece trimmed with gold tape. The water dish is a be-jeweled gold paper cup (cut down to 1.75″), with 2 blue cotton balls.
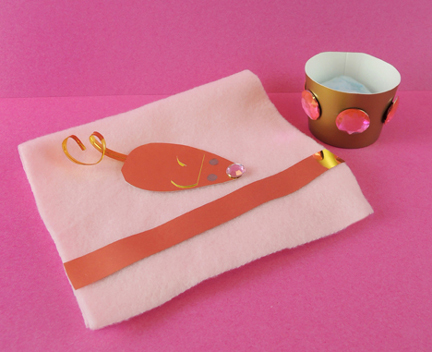 The gold mouse toy is a 2.25″ x 3.25″ rectangle of gold