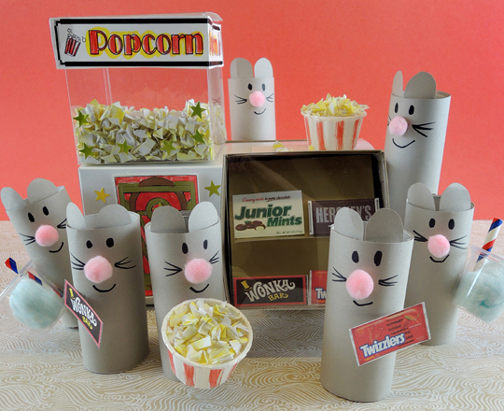
Enjoy a fabulous film with your furry friends! First, stop by our mouse-sized concession stand for popcorn, candy, and drinks. Then head to the “story time theater” for a special screening of a Mickey Mouse animation short!

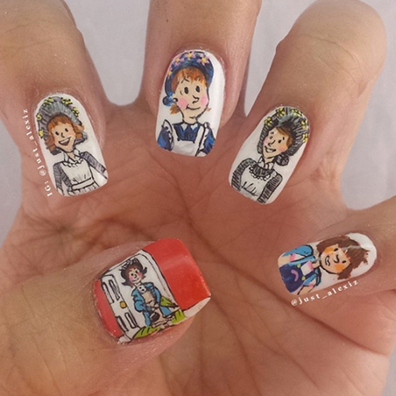
We read Martha the Movie Mouse by Arnold Lobel (Harper & Row, 1966). Martha is a mouse with no home. One night, however, she wanders into a movie theater. The beautiful chandelier, the candy counter, the soft-drink machine – it’s a wonderland! Martha soon meets Dan, the projectionist, and they become friends. But one day, entranced by a musical number, Martha dances her way on stage and there’s a huge fuss. Once again, Martha is out in the cold. But when the projector slips a gear the audience is demanding a diversion or their money back, Martha comes to the rescue. She takes the stage and sings and dances her heart out. Wow! Overnight, Martha the Movie Mouse becomes a star! Martha is happy with her new life, but most of all, she loves quiet evenings watching movies with her good friend, Dan.
You’ll need:
- 1 large box (ours was 4.5” X 4.5” x 9” – a large tissue box works too)
- 1 small box (ours was 2” x 4” x 4” – a small tissue box works too)
- 1 clear plastic favor box (more on this below)
- 1 concession stand template, printed on 8.5″ x 11″ card stock
- 1-2 sheets of white computer printer paper
- Poster board
- 2 white paper sample cups
- 2 clear plastic sample cups
- 2 cotton balls
- 2 snippets of drinking straw
- Grey construction paper
- 2 toilet paper tubes
- 2 mini pom-poms
- Scissors and tape for construction
- Markers for decorating
- Hot glue
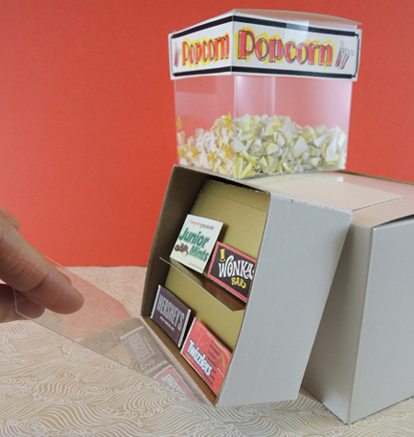
 First the concession stand, starting with that awesome popcorn machine! Our popcorn machine is a 4″ x 4″ x 4″ plastic favor box from Oriental Trading Company (item #13705345, 24 boxes for $9.50). Cut the clear lid off the top of the favor box and set it aside. Later, the this lid will be the “glass” front of the candy display case. You can leave the top of the popcorn machine open, or use a piece of poster board to create a new lid.
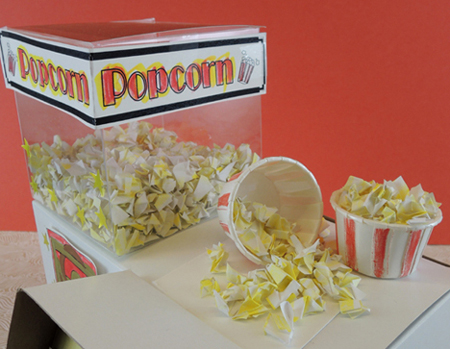
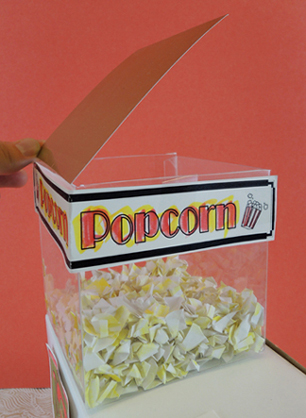 Cut and color the popcorn sign from the template and tape it to the top of the favor box. Then hot glue the popcorn machine to the top of a large box. To make the popcorn, scribble on 1-2 pieces of white printer paper with yellow marker. Cut the paper into tiny squares and crinkle them tightly. Serve your popcorn in 2 small paper sample cups. Use a marker or crayon to draw red stripes on the cup if you’d like!
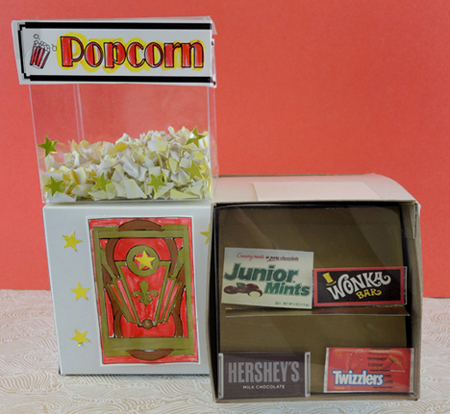
Next up…the candy display case! As you can see in the photo below, both the display box, and the shelf inside it, are tilted backwards. You can also see how the cardboard lid of the box has been replaced with the clear plastic favor box lid. We hinged our lid at the bottom of the display case, but some kids opted for a top hinge.
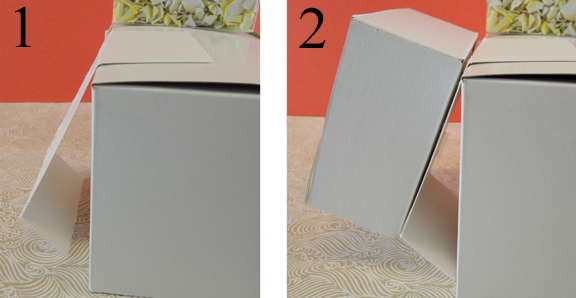
To make the display case, tri-fold a piece of poster board and: 1) Hot glue (or tape) the top fold to the top of the box; then 2) Hot glue (or tape) the display box to the middle fold. As you can see below, the lower fold tilts the display case backwards very nicely.
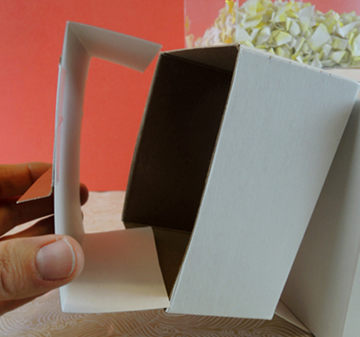
The shelves inside the display box are very similar. Tri-fold a piece of poster board, then tuck it into the box.
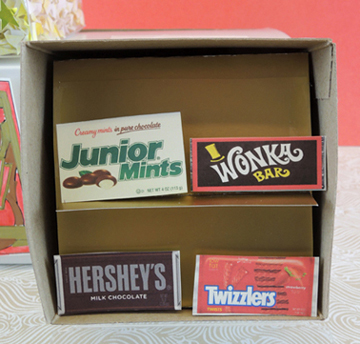
We wanted 2 shelves of candy, so we taped a folded snippet of poster board in the center of shelves. Then we stocked the shelves with candy labels printed on white card stock (thank you, Google image search!).
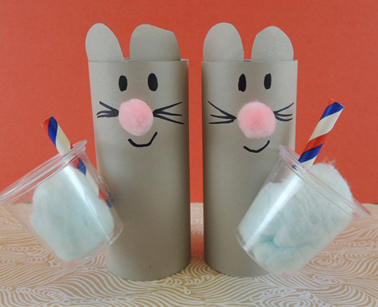
Finally, beverages. Stick some cotton balls in plastic 1oz. cups, add a couple snippets of drinking straw and you’re done! In the below photo, you can also see how we constructed our toilet paper tube mice. Each kids made 2 mice to go with the 2 drinks and 2 popcorn buckets at the concession stand.
For a little extra flash, cut and color the art deco panel from the template and add a couple foil star stickers to the stand.
When the concession stands were complete, mice lined up for goodies and then headed to the movie theater to watch the film. Our “movie screen” was Katie holding up a Microsoft tablet (we didn’t want to prop it up and risk having it take a tumble).
 What was playing that day? A mouse movie of course! It was Mickey’s Garden, a charming 9 minute Disney cartoon from 1935.
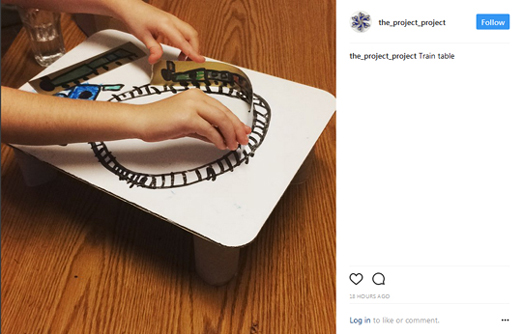
 Q: What do I do with my kid’s art projects? They’ll be upset if I toss them out, but I’m being squeezed out of the house by an army of cardboard creations!
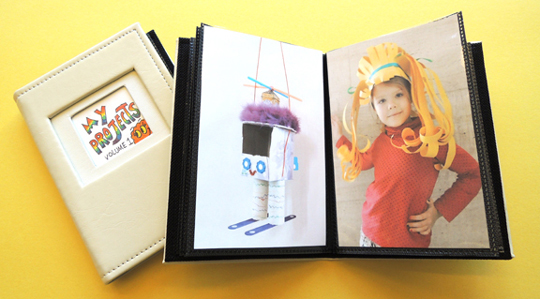 Last weekend, however, I came up with another solution! I created an Instagram account. Now, anytime a project needs recycling, I just upload a photo of it to my Instagram.
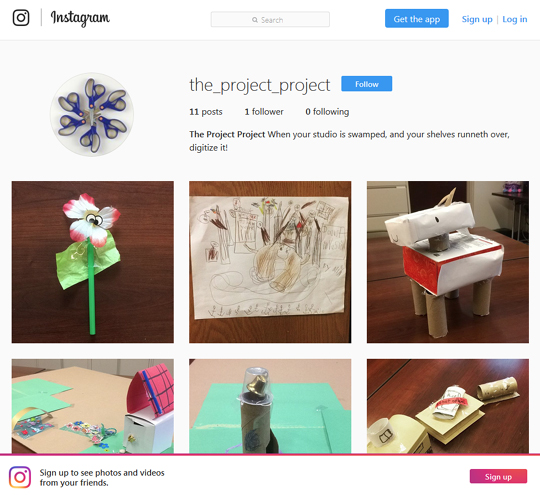 There the project remains, forever validating my kids’ imaginative musings. It’s a fun gallery documenting their tremendous creativity AND a digital representation of one less job for Mom the Recycling Cop. Bonus! Grandma and Grandpa can follow our Instagram to see what those clever grandkids are up to.