
 Seeing blue chickens? Do not adjust your monitor. Cerulean poultry are a perfectly normal story time occurrence.
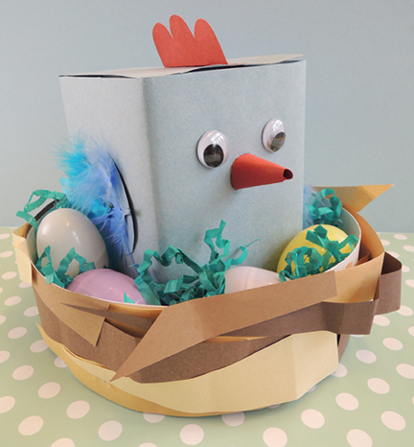
We read Blue Chicken by Deborah Freedman (Penguin, 2011). An illustration of a barnyard sits on a drawing board. It’s almost finished – until a white chicken gets loose from the page and tips over a pot of blue ink! Now, nothing looks right. The ducks are no longer yellow, the pansies are no longer purple, and the other farm animals are totally peeved. Luckily, a dash of water will set things right!
To celebrate that adventurous blue chicken, we made some box birds, cozy nests, and then headed outside for a multi-color egg hunt!
You’ll need:
- A long strip of white poster board (approximately 2.25″ x 22″)
- A sturdy, 7″ paper plate
- 1 box ( mine was 4.5″ x 4.5″ x 6″ – a small tissue box works too!)
- Blue, white, yellow, and brown construction paper
- A pair of wiggle eyes
- 9-12 small feathers, blue of course!
- 4-6 plastic eggs
- Stapler, scissors, tape and glue for construction
- Hot glue
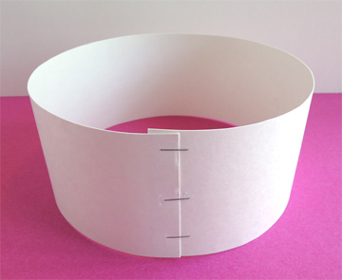
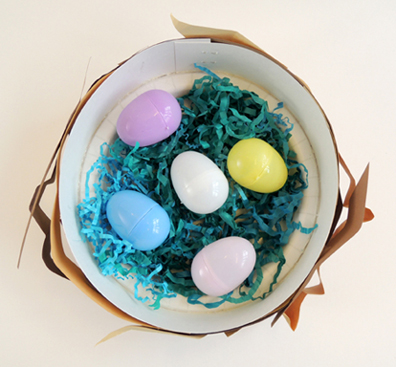
We’ll begin with the nest (which is a replica of the nest from this egg beauty contest). Circle a strip of white poster board around the outside of a paper plate and staple it securely (you’ll need to remove the circle from around the plate to staple it properly).
 Slide the paper plate back inside the circle, pushing it all the way to the bottom.
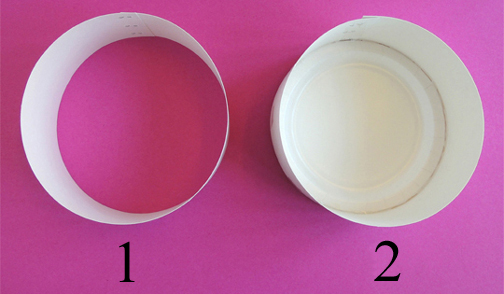 Now flip the “nest” over and use tape to reinforce the connection between the plate and the circle. I used at least 4 pieces of tape:
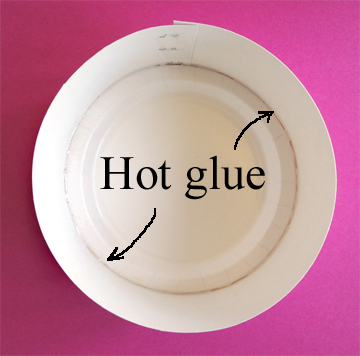
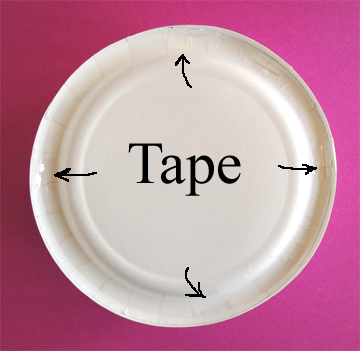 I also reinforced the inside connection with a ring of hot glue.
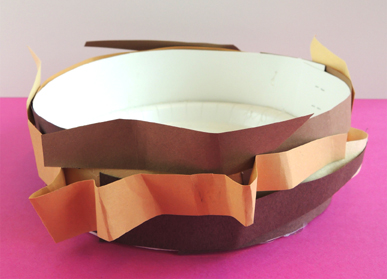
 Finally, decorate your nest with uneven and crinkled strips of brown construction paper. Attach the strips to the nest with tape and/or glue.
 Set the nest aside, it’s time for the chicken!
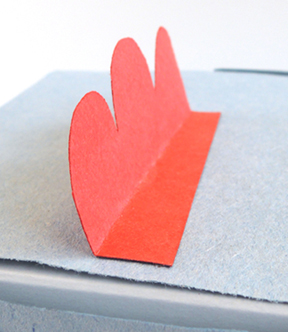
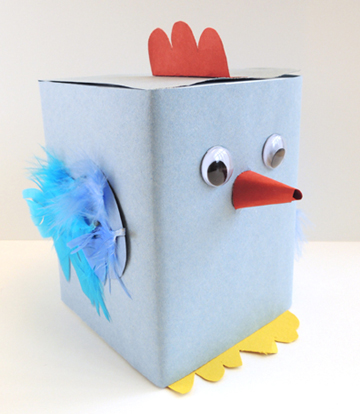 Wrap a box with blue construction paper. Glue a pair of yellow paper feet on the bottom, and blue paper wings on either side. Make a red paper cone beak, and hot glue it to the front of the box. Add a pair of wiggle eyes, or simply draw the eyes on with markers. Glue or tape feathers to the wings (add tail feathers to the rear if desired). Use red paper to make a comb for your chicken’s head. Then tab it and glue or tape it to the top of the box.
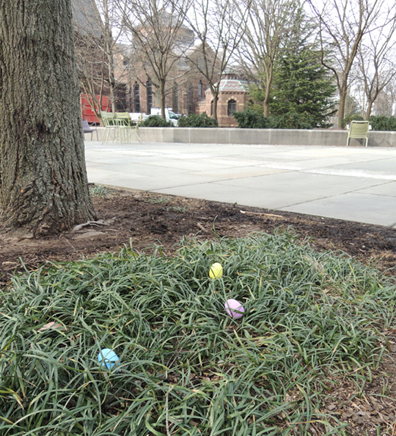
 When the chickens were done, we headed outside to the library’s plaza, where we had hidden a bunch of plastic eggs. We told the kids they needed to find 5 eggs each, then shouted “1-2-3 Go!” To insure success, we tried to make the hiding places fairly obvious (and even held a few back to drop right in front of the kids while they were hunting):
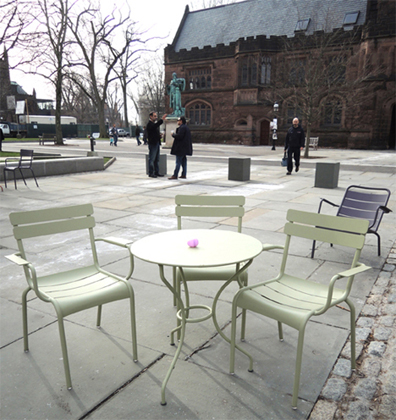
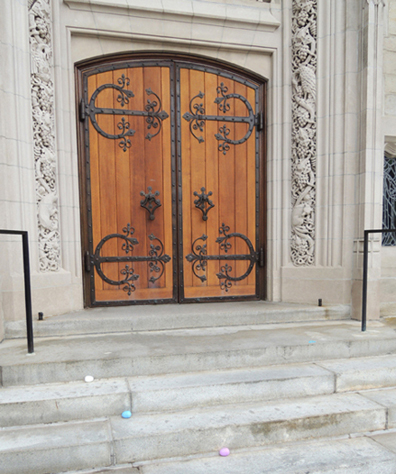 You might recognize that ornate door from this post. It’s actually one of the side doors of the University Chapel, which shares the plaza with my library. If you’d like to take your eggs home in style, consider adding some blue paper crinkle to the nest. Awwww…so cute…now why does this make me think of marshmallow Peeps?
 We get a lot of weird things through our library
 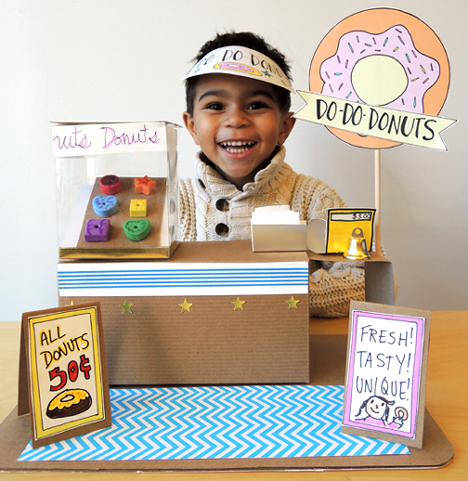 The shop is open, the customers are arriving, and you, the donut chef, must make the most delicious, different, and decadent donuts you possibly can. But wait, there’s more! Your donut shop doubles as a matching game, thanks to the coupons tucked behind the counter!
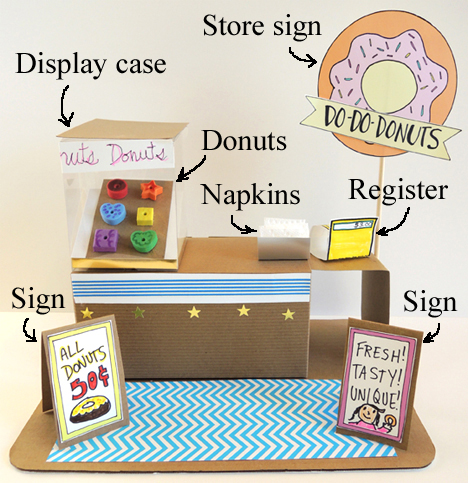 First, glue a piece of patterned paper (or construction paper) to the top of the corrugated cardboard base. It’s OK if it doesn’t cover the entire base. Decorate a box with patterned tape and/or markers (we also used star stickers). Hot glue the box to the base, but not smack in the middle. You’ll need to leave a little room in the front for your shop signs, and a little room on the right-hand side for an extra counter.
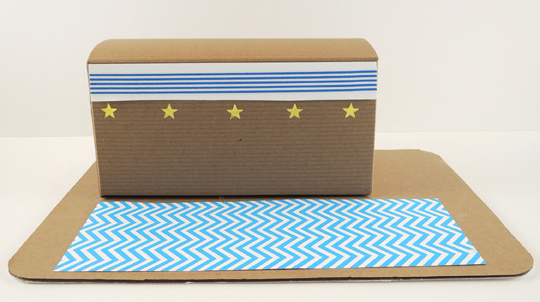 Fold, then tape a piece of tagboard to the side of the box to create the extra counter.
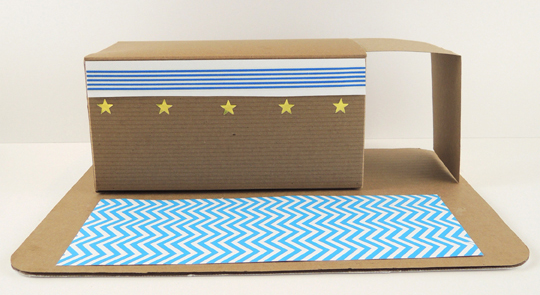 Set the base aside for a moment, it’s time for donuts! Because we wanted to display, remove, and reset the donuts on the tray, we made them magnetic. Use markers to decorate various foam beads like “donuts,” then attach a little piece of self-adhesive magnetic tape to the back. Attach a matching piece of magnetic tape to a tagboard “tray.” We made 2 trays of donuts for our shops.
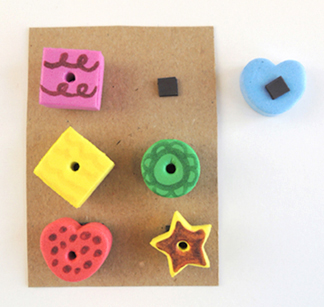 I made display cases for the shop using leftover plastic boxes from
 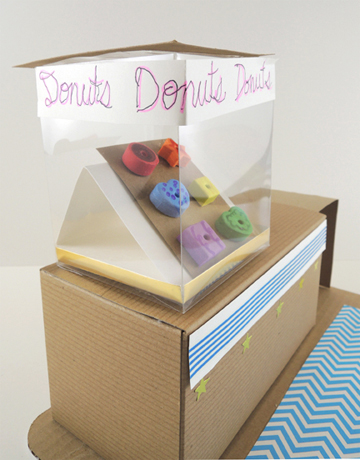 If you don’t have a plastic box, just use the triangular base! To keep your donut tray from sliding off, tape a small piece of plastic drinking straw to the bottom of the base.
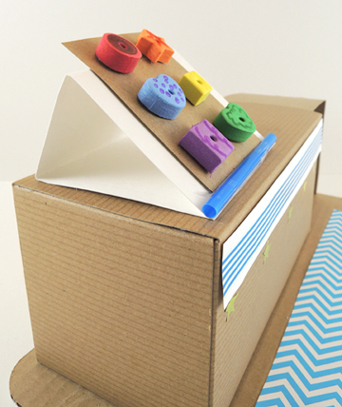 Your shop will need a cash register, and you might recognize the one on the template from
 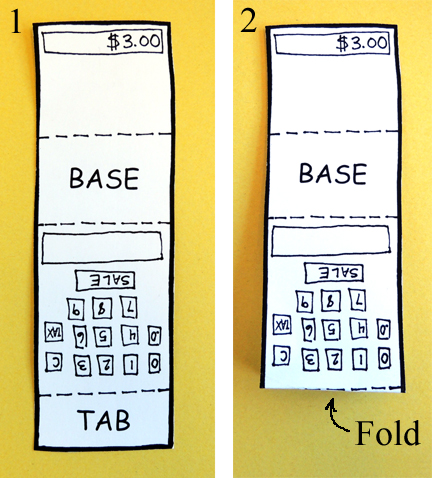 Then, fold both sides downwards from the base like this:
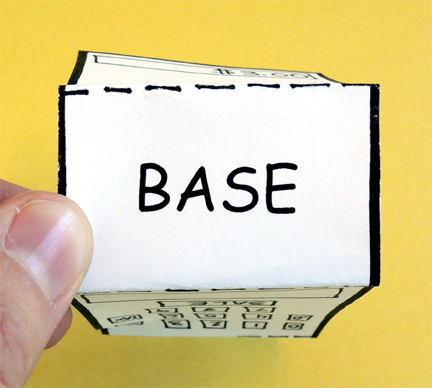 Curl the tab around to meet the opposite side of the register
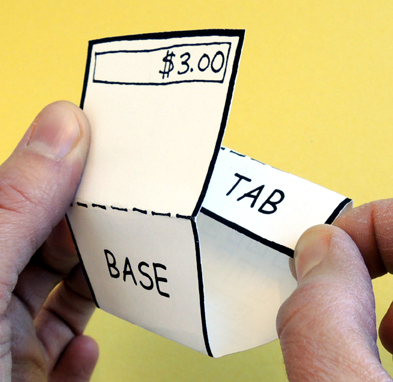 Then secure the tab with tape. Hot glue (or tape) the register to the extra counter.
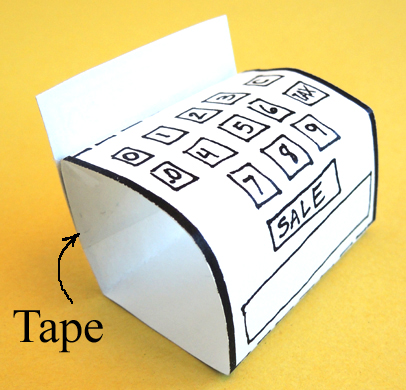 I couldn’t resist adding a napkin holder to the set too. It’s a folded piece of silver poster board with little bits of paper towel tucked into it. Hot glue (or tape) it to the counter.
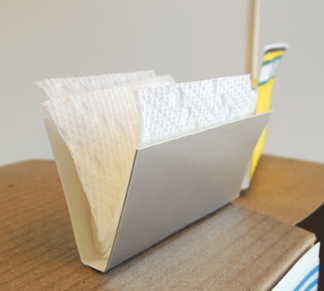 The blank signs on the template get colored in and attached to folded pieces of tagboard.
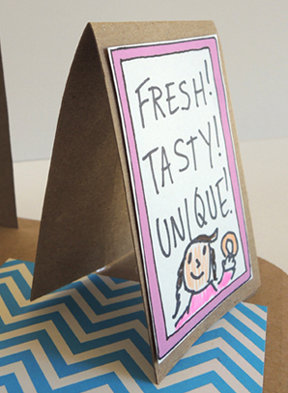 And finally…the giant donut sign! Write the name of your shop on the banner, and tape (or glue) it across the giant donut. Tape the sign to a wooden dowel, then tape the dowel to the side of the extra counter. Here’s a finished stand with a display case:
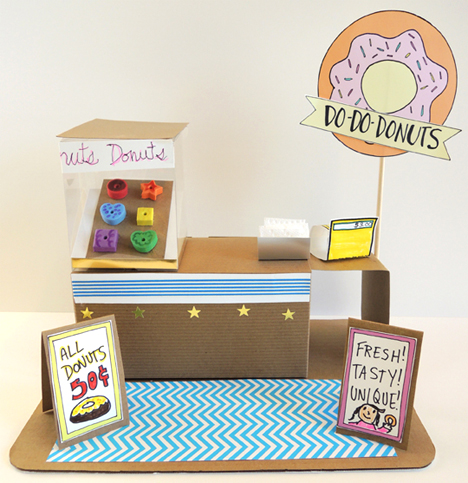 And here’s the version with the simple display stand. Both are totally adorable.
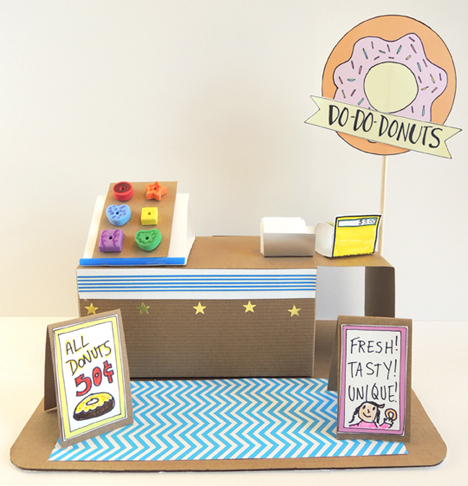 We had some blank white visors in the art cabinet (from Discount School Supply – 24 cost $9), so I dug them out and we decorated them with the names of our donut shop as well.
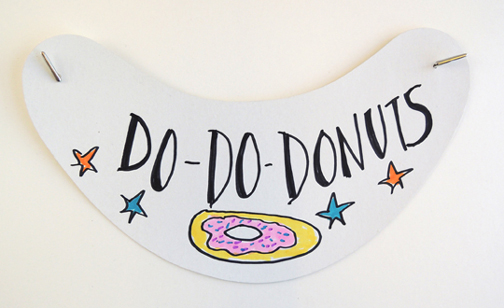 Your shop is ready, now you need to entice your customers to try some donuts! We developed a simple coupon matching game for the kids. Print the coupons from the template, then draw donuts on the coupons that match the donuts in your case. As your customers arrive with their coupons, see how fast you can find and match their orders!
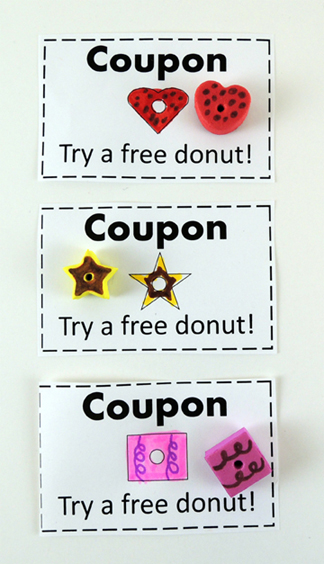 Make sure to hot glue (or tape) an envelope to the back of the counter for convenient coupon storage.
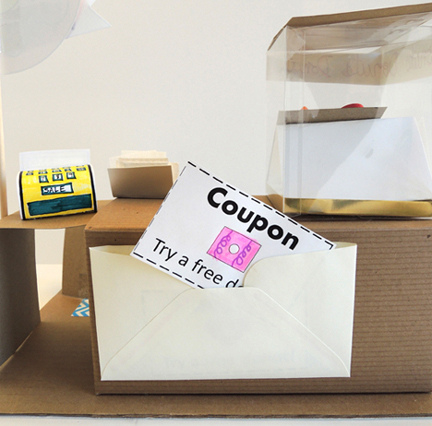 We wish you the sweetest success in all your donut endeavors!