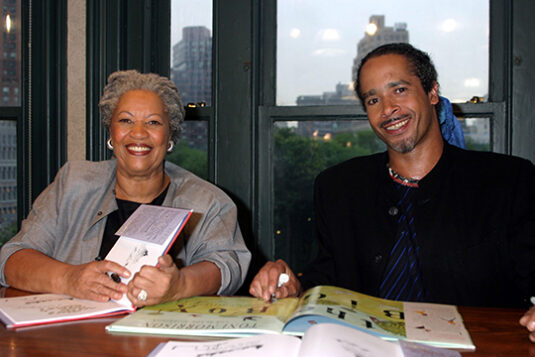
CAAHB4 Jun 18, 2003; New York, NY, USA; TONI and SLADE MORRISON at the Who’s Got Game? Book signing at Barnes and Noble Union Square on June 18, 2003.
This winter, it was our honor to curate “They’ve Got Game: The Children’s Books of Toni & Slade Morrison,” an exhibit that runs in the Cotsen Children’s Library gallery until June 4, 2023. It’s part of the larger, absolutely magnificent exhibit “Toni Morrison: Sites of Memory,” which is currently in the Milberg Gallery of Princeton University’s Firestone Library.
In a nine book collaboration spanning well over a decade, Toni and Slade Morrison deftly crafted stories around themes such as individualism, independence of thought, family connections, freedom, imagination, and the empowerment of self
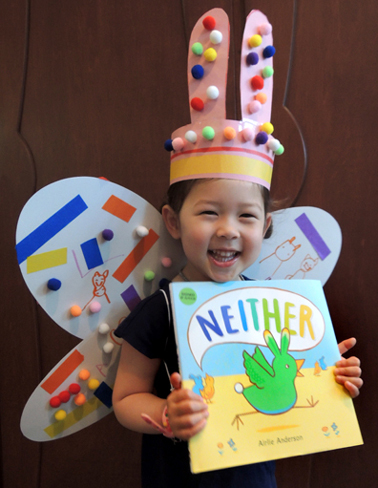
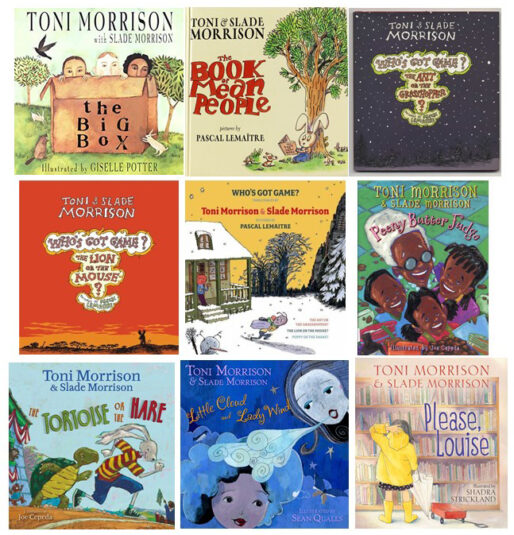 The Cotsen gallery exhibit primarily features the Morrisons’ Who’s Got Game? series, which reimagined Aesop’s fables without any concrete morals. Instead, the stories put that decisive power on the reader. Morrisons’ characters are not good or evil, smart or foolish, weak or strong. Rather, they are more flexible, and offer different perspectives, leaving it to the reader to ultimately ask themselves: who’s got game? The Ant or the Grasshopper? The Lion or the Mouse? Poppy or the Snake?
Visitors can enjoy viewing handwritten pages by Toni Morrison, the charming illustrations of artist Pascal Lemaître (interviewed here), and even some 2004 fan art from a New Jersey third grader! Please stop by, or take a look at the online companion to the exhibit.
We were also delighted to host a Zoom panel with the five artists who illustrated Toni & Slade Morrison’s children’s books! You will find that here.
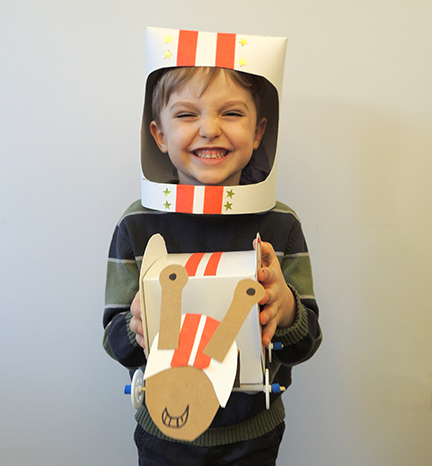
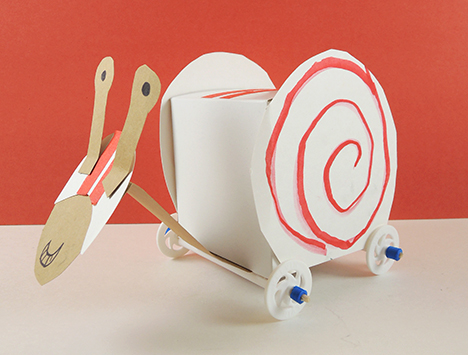 The snail part of this project is very simple. Decorate 2 poster board snail shells and attach them to both sides of a small box. To make the snail’s head and neck, round one end of an 8″ strip of poster board, then fold to create a head. Don’t forget the eye stalks! We also added a paper racing helmet, but that is optional. Tab the other end of the strip and attach it to the underside of the box.
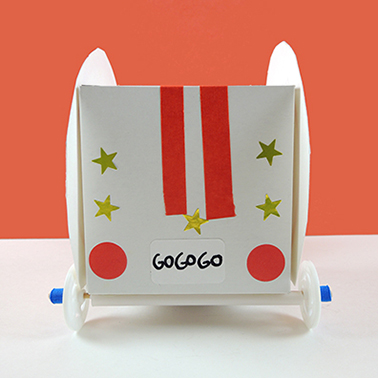 Now to get your snail moving! We thought an RC snail rally would be super awesome, so I made a quick trip to Jazams, our local toy store. I found these RC trucks for $17.
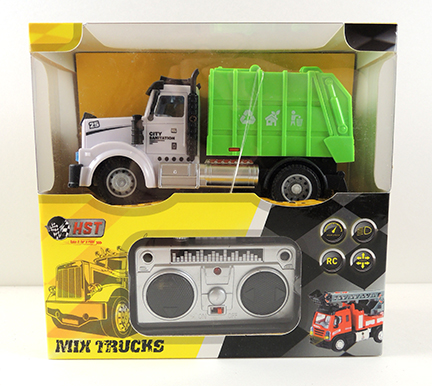 One quick note: You’ll notice that the RC truck in the picture above has a nose that sticks out. There was another box, exact same recycling truck, except it had a flat front (see below). Turns out the truck with the flat front held the snail box MUCH better. So aim to find a flat front truck if at all possible!
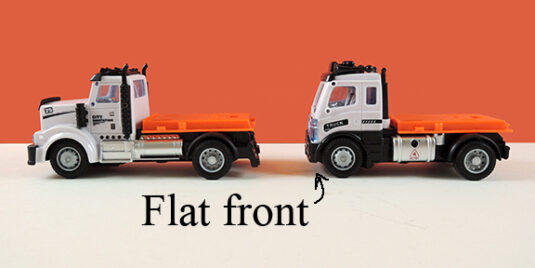 I removed the green recycle section from the back of the truck, cut a hole in the bottom of each snail box, and then slid the snail onto the cab of the truck like so:
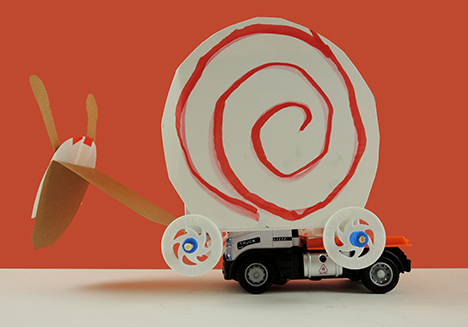
 It’s time for the annual
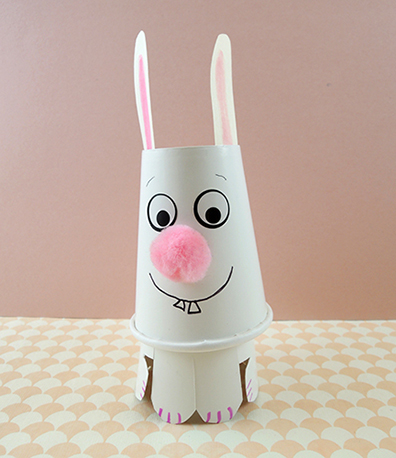
 Perhaps you’d like to expand to entire household with this tiny
 Even alligators can be
 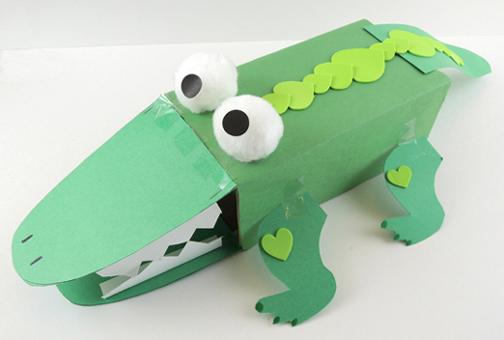 Or make up your