
 This winter, we had a couple of intense snow storms. Whenever it snows, my program attendance drops dramatically. And yet, there are always a couple of hard core patrons who don their snow pants and brave the drifts to come to story time. This causes a bit of a conundrum. You see, some of my projects involve quite a bit of prep work (a-hem! I’m looking at you candy factory and you haunted house). So the program is prepped and ready for over 20 kids. If I do it with just 3 kids, that’s a lot of prep work going by the wayside…so…
A few years ago, I decided that if fewer than 5 kids came to a snowy story time, the previously-prepped project would be bumped to the following week, and I would offer an unplanned, off-the-cuff creative project instead.
The project I’d like to share today is inspired by the fantastic If I Built a House by Chris Van Dusen (Dial Books, 2012). The story is about Jack, a boy with big ideas for building his dream house. There’s a robotic machine that whips up meals, a bedroom at the top of a 200 foot tower, a anti-gravity room, a race track room, an aquarium room…the sky is the limit!
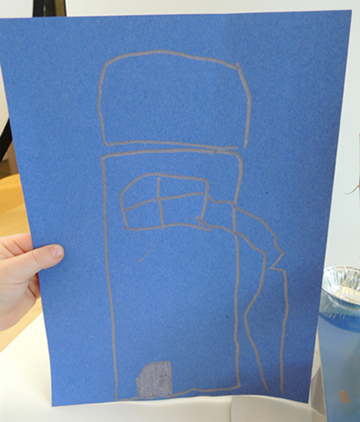
First, the kids and I made “blueprints.” I replicated the look with blue construction paper and silver metallic markers.
 As the kids drew their houses, I rummaged through the office for boxes, tubes, cardboard, items left over from other projects, and interesting odds and ends (including, of course, the Bling Bin). Then, out came the tape, glue, scissors, markers, and hot glue and off went the little architects, putting together 3D models of their blueprints.
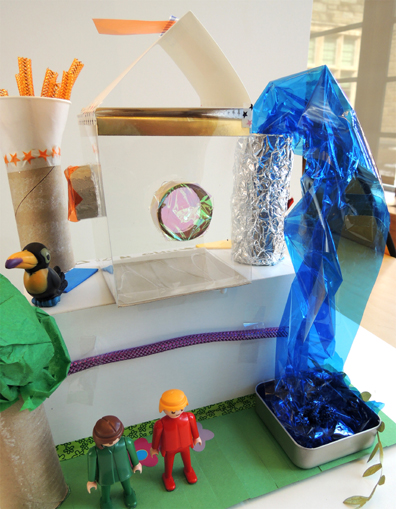
 This house’s base is a box with a clear lid (leftover from this light box project). The architect turned it into a subterranean pond with fish! Perhaps this is our next Frank Lloyd Wright?
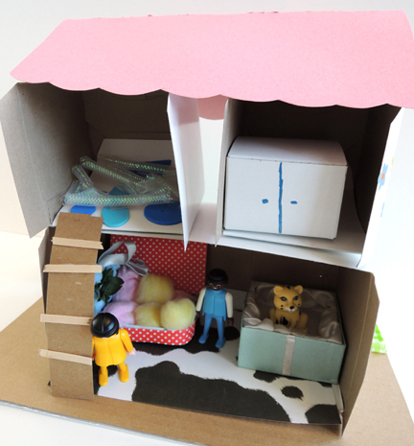
 The next architect went for wide and stacked, with multiple boxes for multiple rooms. I like the ladder to the second floor!
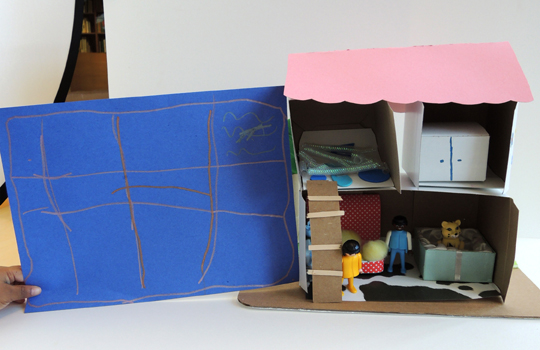 She also forayed into interior design. That polka-dot couch is made out of patterned paper, pink and yellow cottons balls, and an Altoid tin!
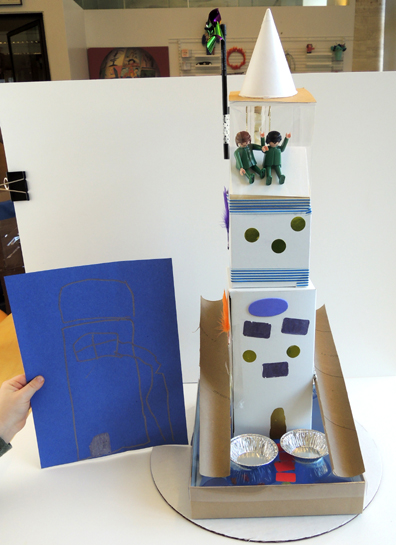
 The final house’s blueprint appeared to have a tree, a squiggle of water, and antenna. I was curious to see how the model would develop, and I was not disappointed.
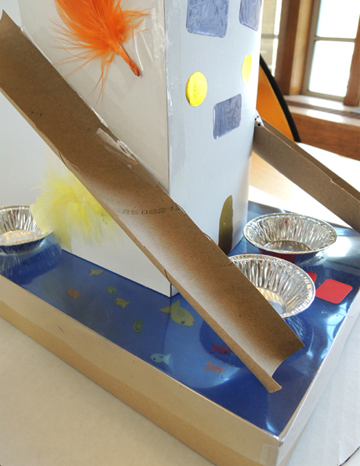
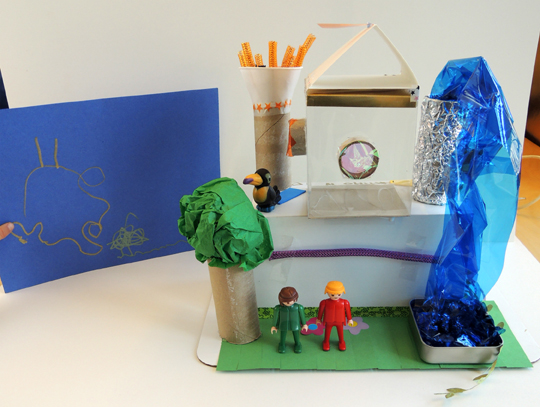 LOVE the fountain! And I’m not sure if you noticed that the “glass” room at the top has multi-color portholes made out of tape rolls with cellophane panes?
If you don’t have an art cabinet to quickly rummage through, or you want to do this with a large group of kids, you could always go with Option #2. Collect a bunch of recyclables and stick them on a table. Then ask the kids to draw their blueprints from the items they see on the table (just make sure you have multiples of each item for each kid to use).
Or, you could do Option #3. Give each kid the same basic “set” of object (ex: a cake pad for a base, a tissue box, a paper towel tube, a cone water cup, and 3 squares of poster board) to build the basic structure, then have other art supplies handy to fancy it up. I promise, the results will be unique!
 If you happen to be on Greene Street, on New York University’s campus, on just the right day, you might notice a parade of strollers and eager children piling into an inconspicuous brown brick building. There, on the 5th floor, is a beautiful little gem of a
 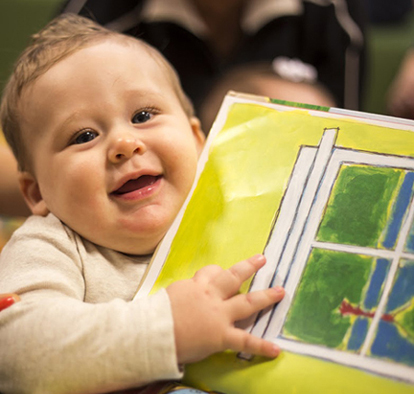 The library honors author, scholar, and late NYU Steinhardt professor Constantine Georgiou (you might recognize one of his books, The Clock, from
 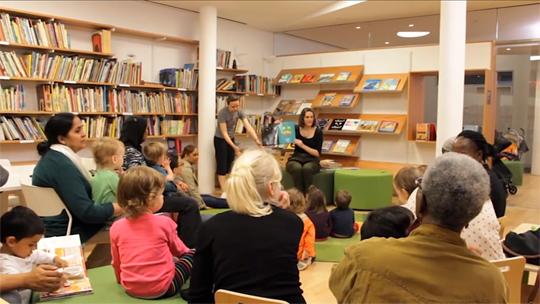 Kendra offers three weekly infant and toddler morning story times. Twice weekly, she heads offsite to local schools to lead emergent literacy programs. Additionally, she hosts student field observations for the Office of Clinical Studies, facilitates events with the Office of Community Affairs, leads professional development workshops, and guest lectures in Teaching & Learning courses at NYU. She’s a busy, busy woman.
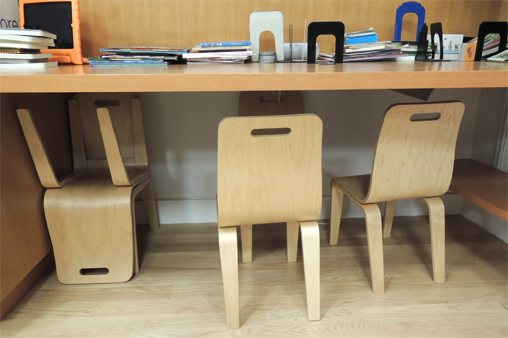
 Though it has no windows to the exterior of the building, the room’s high ceilings, ample overhead lighting, and fresh natural and green colors give the little library a feeling of space and light. And check out those big, green, belly-flopping ottomans. Don’t they look like speech bubbles?
 On others, there stacked next to cute little flourishes and kid-friendly props. I especially like this little Egyptian statue with a sepia-tinted world map.
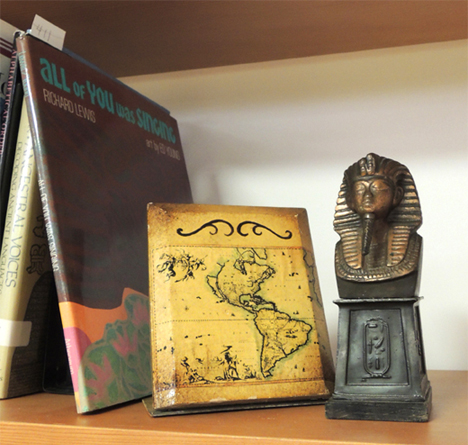 There’s also a section of flat shelves that allow you to display the books by cover. I would love some of these in my library! Nothing says “pick me up!” more than a colorful book cover!
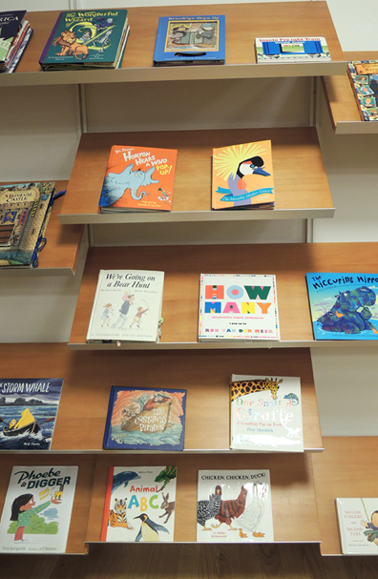 The lower shelves of the library hold the board books, which are stored in clear bins for easy browsing.
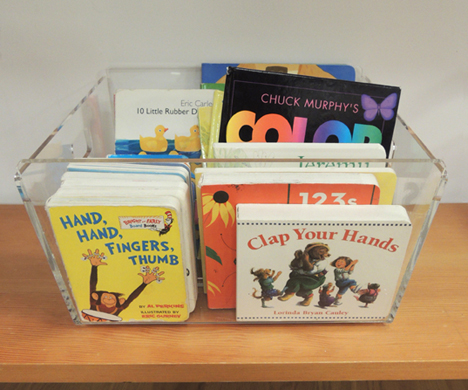 And not too far away from the books are Kendra’s puppets, resting up for their next story time performance.
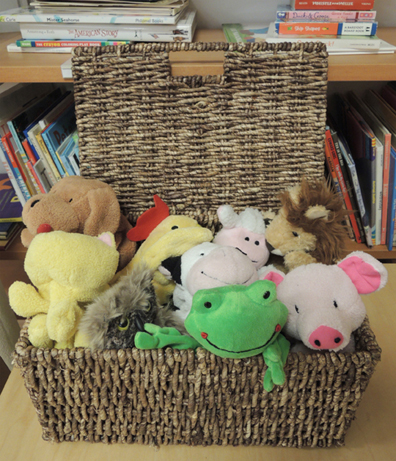 Around the library, kid-size tables (and a few adult ones) are scattered, each holding toys to grab, or books to read!
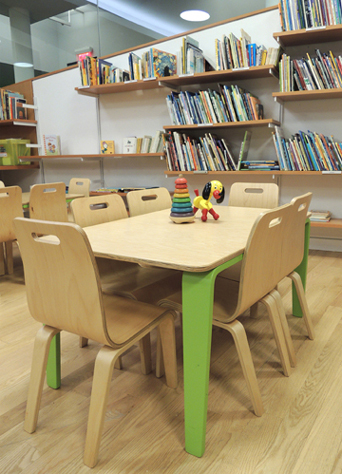

 I’m a sucker for cute mobiles (as documented in
 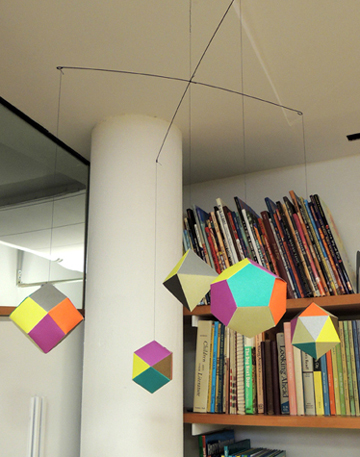 Just outside the main door to the library is an open space for stroller parking, and wooden risers for larger performances or group visitors.
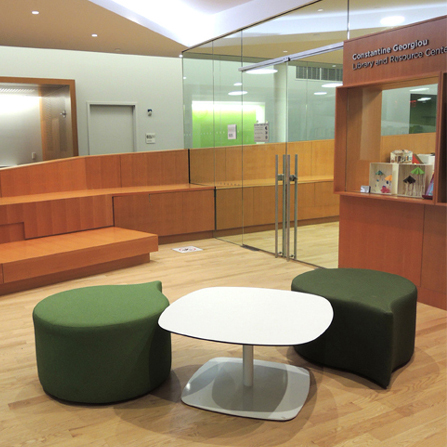 Here’s a closer shot of the front entryway…
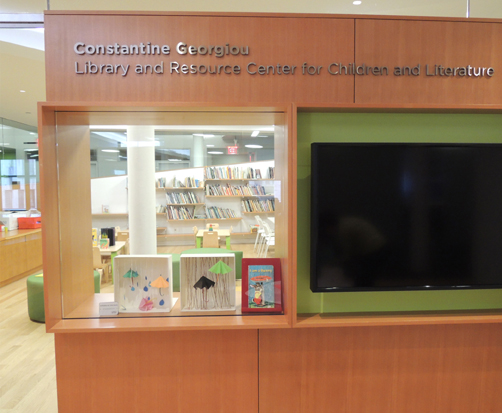 Don’t you love the built-in window that doubles as an exhibit space?
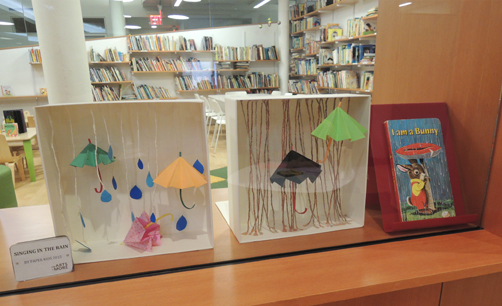 I know New Yorkers have to do clever things with limited space, and this little one-room library is the perfect example of how to be big, spacious, fun, and fresh in a small space. They don’t mind getting messy either! Here’s a shot of a Jackson Pollock-style drip painting program complete with acrylic paints, canvases, paintbrushes, and ping pong balls (as well as read alouds of The Dot (Candlewick, 2003), and Action Jackson (Square Fish, 2007)).
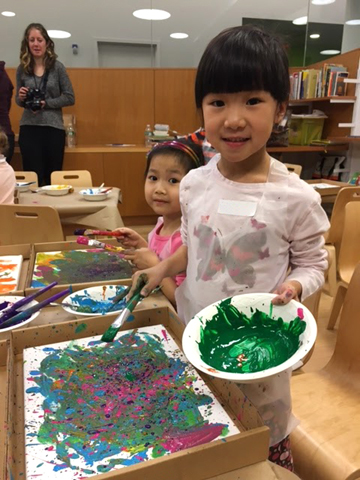 The Constantine Georgiou Library and Resource Center for Children and Literature is open Monday-Thursdays, 9:00-4:00, and Fridays, 9:00-2:00. If you’re in the area, definitely go for a visit!
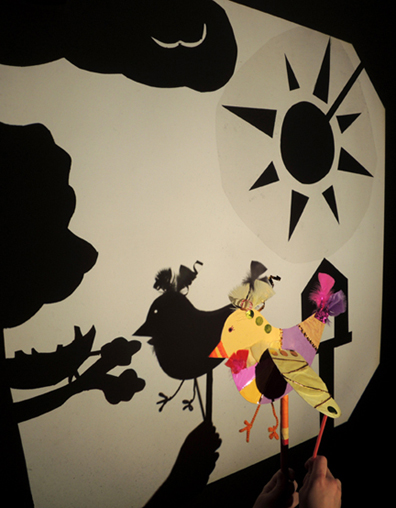 Make a shadow puppet bird, then fly through a story as your narrative appears on the big screen!
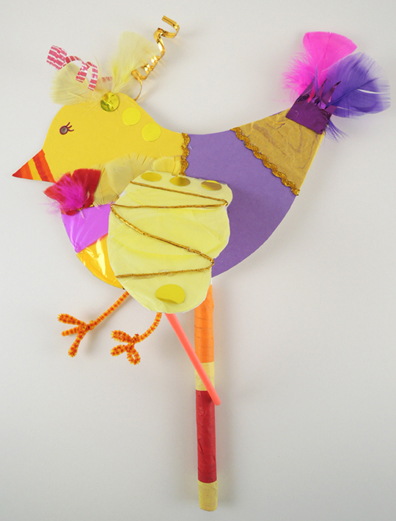
 Use packing tape to attach a 12″ piece of PVC pipe to the back of the bird (regular tape isn’t quite strong enough). We wrapped our PVC pipes with color masking tape, but that’s definitely optional. Your bird is done!
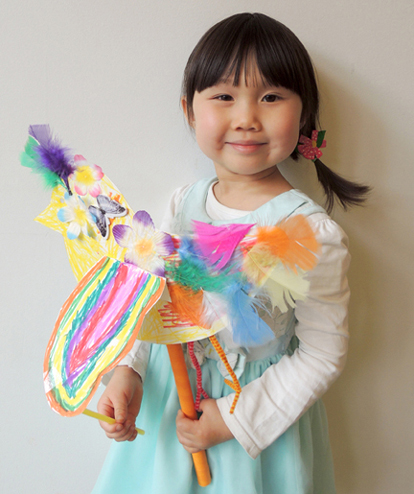 All we need now is a shadow puppet show set! We made our set on an old overhead projector. Oh how do I love thee overhead projector? Let me
 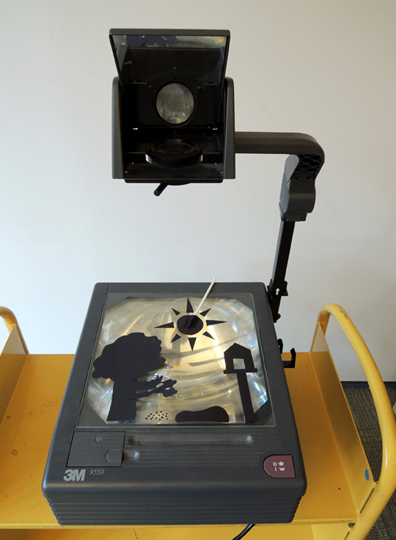 To build the set, Marissa cut a tree, a nest, a lake, and a birdhouse out of black poster board. Making the sun was a little more challenging – our initial attempts looked like a giant spider or a vicious super nova. Marissa solved the problem by hot gluing sun rays to a piece of
 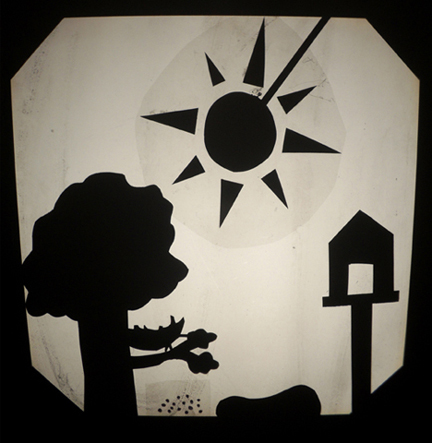 During the shadow puppet story, a storm rolls in, so Marissa also made a cloud, mylar rain, and a thunderbolt.
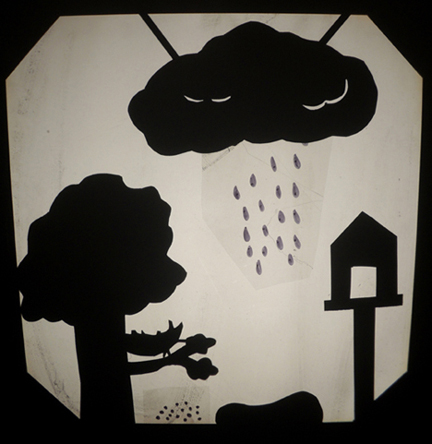 She mounted all the moving set pieces on bits of balloon stick (pencils work too).
 At story time, we lowered the shades, turned out the lights, and fired up the projector! One by one, kids stepped up to the screen. Then, as I narrated, they flew their birds through the story! Hmmm…we might have made that birdhouse a little too tall…
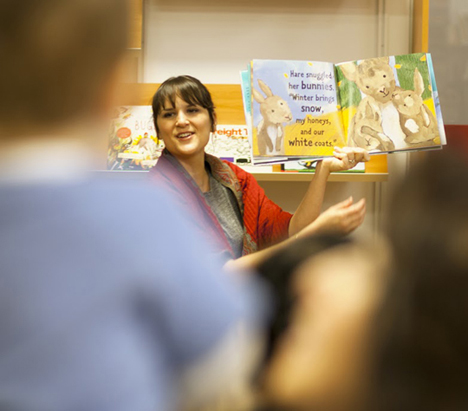
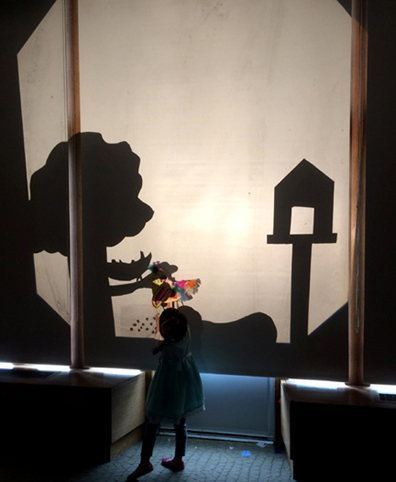 Here’s our lovely puppeteer in action! Ready for a show?