 Is your story time tractor running a little rough? Maybe it’s missing a few foam bead plugs or yarn wires? Not to worry! With your handy-dandy toolbox and “can do” spirit, you’ll have everything working in no time!
We read Tough Chicks written by Cece Meng, and illustrated by Melissa Suber (Clarion Books, 2009). Penny, Polly and Molly are NOT like the other chicks on the farm. Instead of preening feathers, peacefully pecking grain, or cheeping, they are swinging on cow tails, playing in mud, and getting under the hood of Farmer Fred’s tractor to see how it works. The other animals on the farm are annoyed by their antics, but when the tractor breaks down and gets stuck, it’s up to the tough chicks to use their unconventional skills to solve the problem!
You’ll need:
- 1 small box (we used a 4″ x 4″ x 4″ craft box, but a small tissue box works too!)
- Poster board or tagboard
- 2 foam beads
- 2 small rubber bands
- 1 sock
- Cotton balls or polyester fill
- 1 pair of wiggle eyes
- 1 chick beak (paper or self-adhesive foam)
- 1 tractor & tractor engine (more on this below!)
- Scissors and tape for construction
- Markers for decorating
- Hot glue
This story time was essentially two small projects: a chick hand puppet, and a tractor toolbox. Our puppet was a yellow soccer sock (we bought a 10 pair pack on Amazon for about $30) stuffed with poly fill and gathered around the neck with a rubber band. We added wiggle eyes, a self-adhesive foam beak, and a jaunty feather crest.
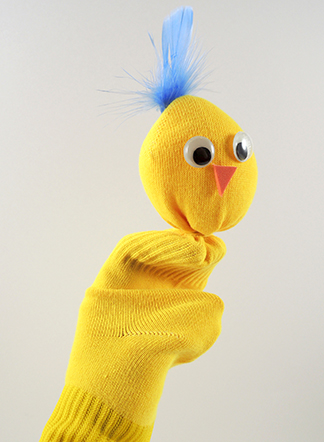 Notice when you place the sock on your hand, you can still use your thumb and fingers to grasp things? It’s an important detail that we’ll return to later! Next up is the tool box:
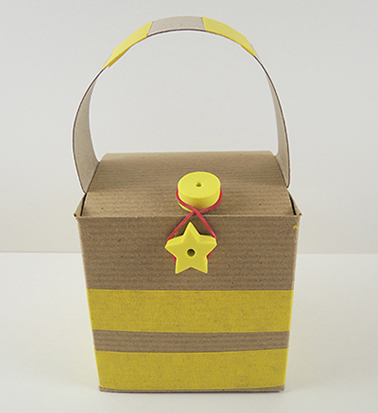 To make the box handle, tab both ends of 1.5″ x 11″ strip of poster board or tagboard, then attach the tabs to the underside of the box lid. Glue 1 foam bead on the top of the lid, and another on the front of the box. Wind a small rubber band around the beads to keep the lid closed while carrying. Decorate the tool box with markers (or use color masking tape like we did).
Now for the contents of the tool box! These can vary, but here’s what was in our boxes:
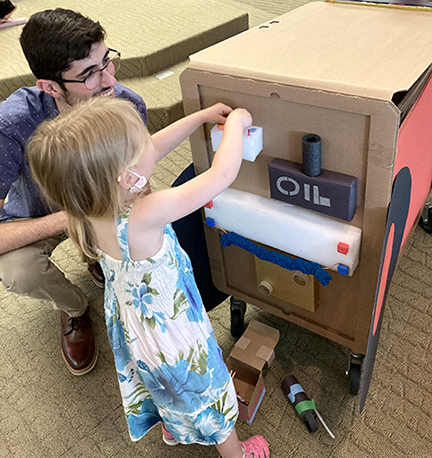
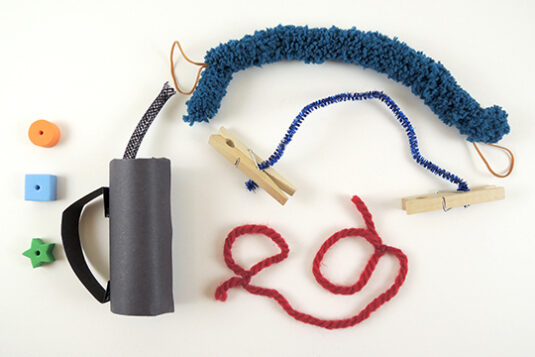 There are 3 foam bead bolts, 1 toilet paper tube oil can, and 3 different tubes and wires. The wires are made of yarn or sparkle stems and have rubber band or clothespin fasteners. All of these items are used to “fix” the engine of this AMAZING book cart tractor Katie constructed out of boxes, tubes, and poster board!
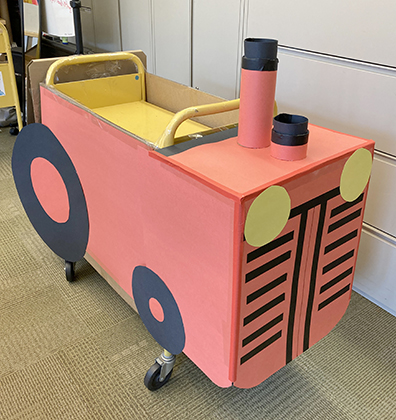 The back of the tractor flipped up to reveal the engine, which had parts missing. Kids then used the various items from their tool kits to repair it…all while wearing their chick hand puppet!
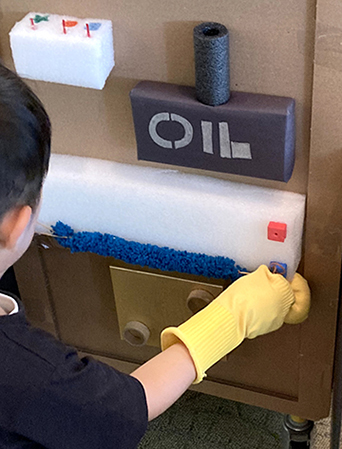 We constructed the tractor’s engine out of various upcycled boxes and materials (I especially love the mac & cheese box oil tank). You can also see how our tool box items fit on the engine below:
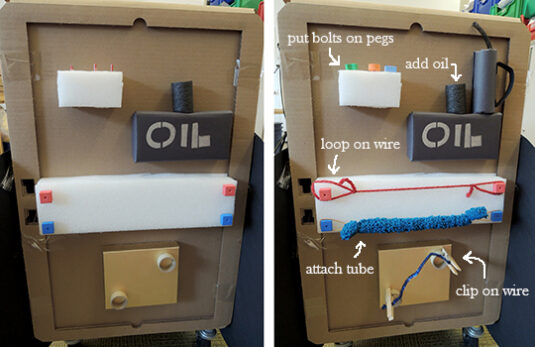
When it was each kid’s turn, they would bring their tool kits to the “broken” tractor, then use their items (with assistance from their hand puppet) to put everything in the proper place. When the engine was “fixed,” I played an audio clip of a tractor engine roaring to life!

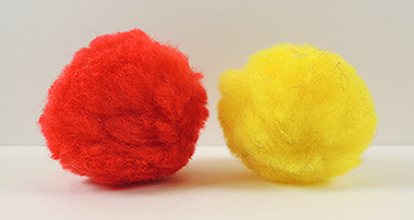
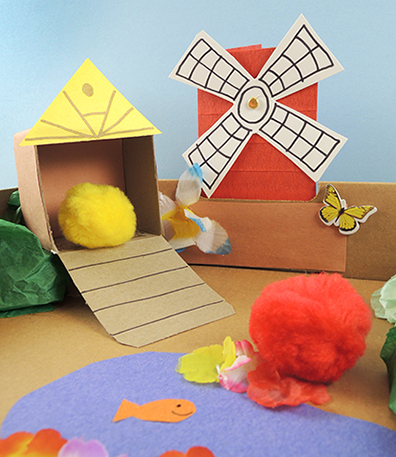 It’s a merry chase! Use your motor skills to navigate a yellow pom-pom hen around the barnyard. But beware the red pom-pom fox, who’s also on a roll!
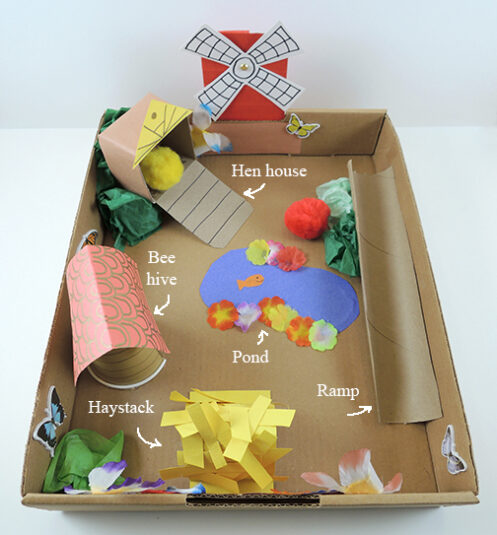 As you can see in the above photo, we used a copy paper box lid as the base of our barnyard. Then we glued a number of elements in place. The bee hive was a paper cup with an arched door. The haystack was a construction paper tunnel. The ramp was a paper towel tube, cut in half length-wise and elevated with a snippet of the remaining tube. The hen house was a small box with the lid positioned as a ramp, also elevated with a snippet of paper towel tube. We added a pond, fabric flowers, and tissue paper shrubs as well.
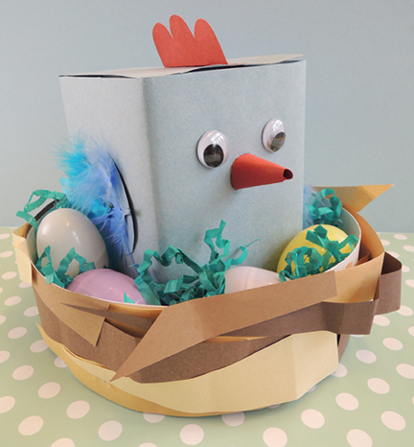 Seeing blue chickens? Do not adjust your monitor. Cerulean poultry are a perfectly normal story time occurrence.
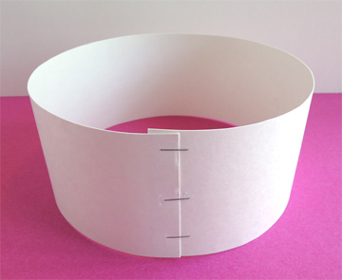 Slide the paper plate back inside the circle, pushing it all the way to the bottom.
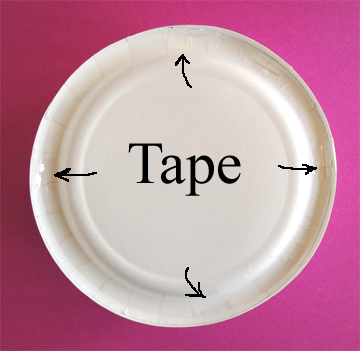
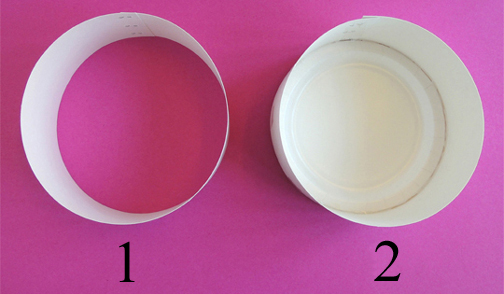 Now flip the “nest” over and use tape to reinforce the connection between the plate and the circle. I used at least 4 pieces of tape:
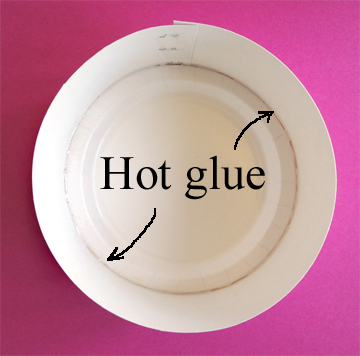
 I also reinforced the inside connection with a ring of hot glue.
 Finally, decorate your nest with uneven and crinkled strips of brown construction paper. Attach the strips to the nest with tape and/or glue.
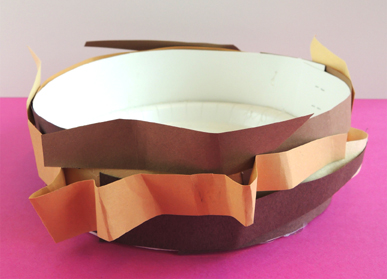 Set the nest aside, it’s time for the chicken!
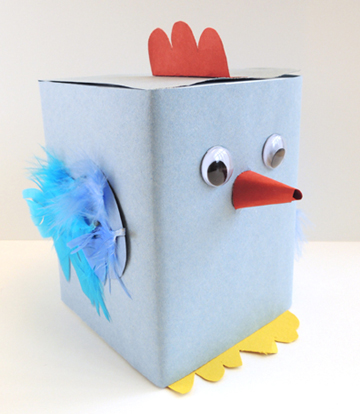 Wrap a box with blue construction paper. Glue a pair of yellow paper feet on the bottom, and blue paper wings on either side. Make a red paper cone beak, and hot glue it to the front of the box. Add a pair of wiggle eyes, or simply draw the eyes on with markers. Glue or tape feathers to the wings (add tail feathers to the rear if desired). Use red paper to make a comb for your chicken’s head. Then tab it and glue or tape it to the top of the box.
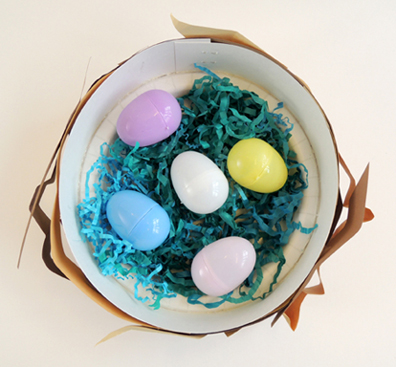
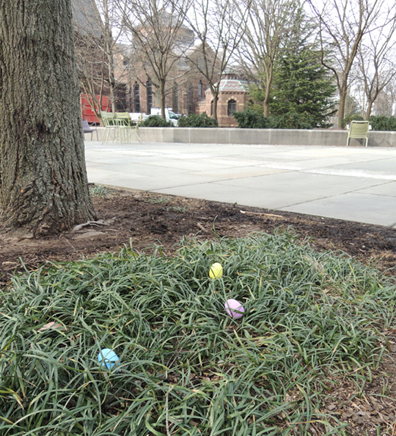
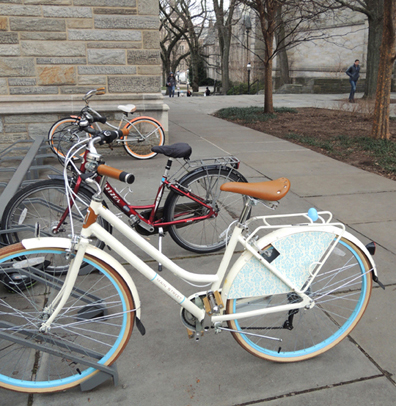
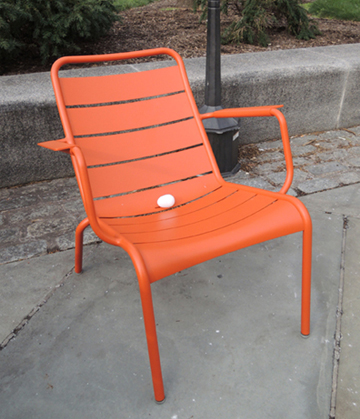
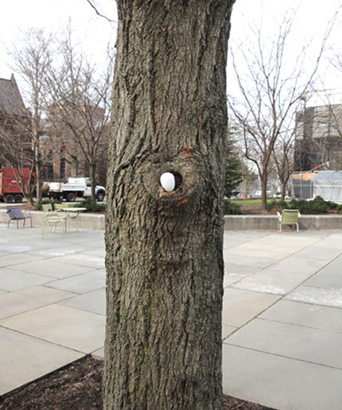
 When the chickens were done, we headed outside to the library’s plaza, where we had hidden a bunch of plastic eggs. We told the kids they needed to find 5 eggs each, then shouted “1-2-3 Go!” To insure success, we tried to make the hiding places fairly obvious (and even held a few back to drop right in front of the kids while they were hunting):
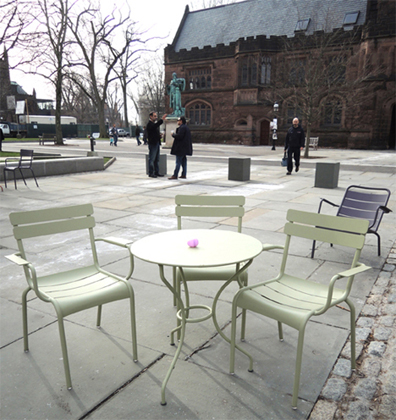
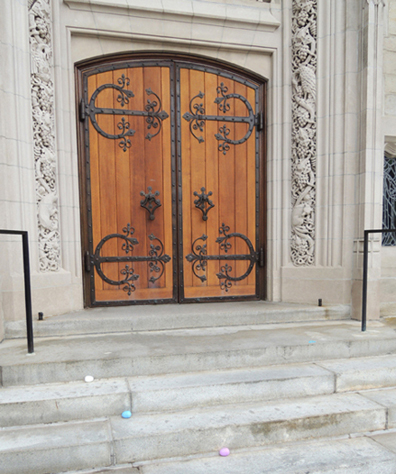 You might recognize that ornate door from