You might recall the sneak peek of our Sherlock Holmes escape room. Now it’s time to unveil all its secrets! It all started when our gang did a professional escape room for my birthday weekend. Katie and I thought the puzzle-solving premise of the escape room would pair perfectly with the literary world’s master of deduction.
 This entire escape room – the research, the puzzles, the narrative, the props, the logistics – is all Katie’s doing! Her preparations were extensive. She watched escape room videos, visited escape rooms, and had a meeting with game master Rebecca Ross from “Epic Escape Game” in Greenwood Village, Colorado. She bounced clue ideas around with Princeton University student Anna Leader (she of Victorian Tea fame) and pretested everything on a group of 6th graders at the Saint Paul School of Princeton. The logistics were pretty staggering too. We ran 3 identical escape rooms simultaneously for 5 hours,180 kids total.
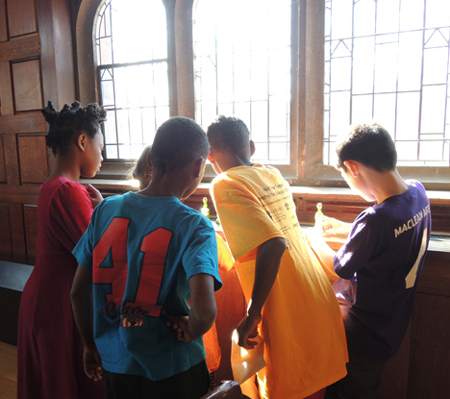
The premise of the escape room was that a poison had been released into the water system of Princeton, and Princeton University asked Sherlock Holmes to quickly find an antidote. He did, but a nefarious group of business men were trying to capture him, steal the antidote, and sell it to the infected populace. Holmes escaped and hid the antidote in a room with clues on how to find it. Kids had 20 minutes to solve the clues and identify the antidote.
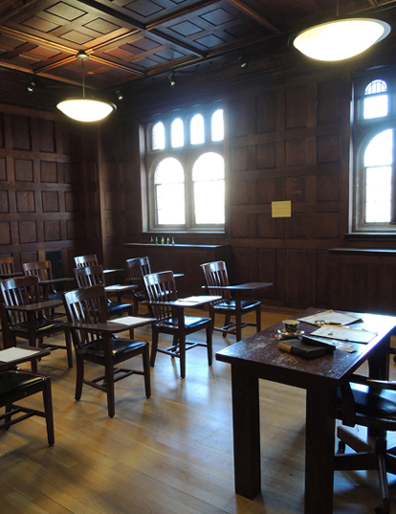
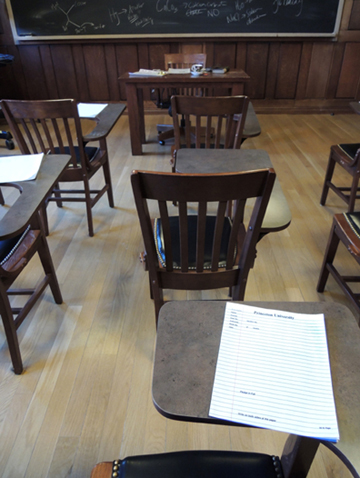
The escape rooms took place in East Pyne Hall on campus. Its beautiful wood-paneled classrooms with leaded windows were the perfect setting for a Victorian caper.
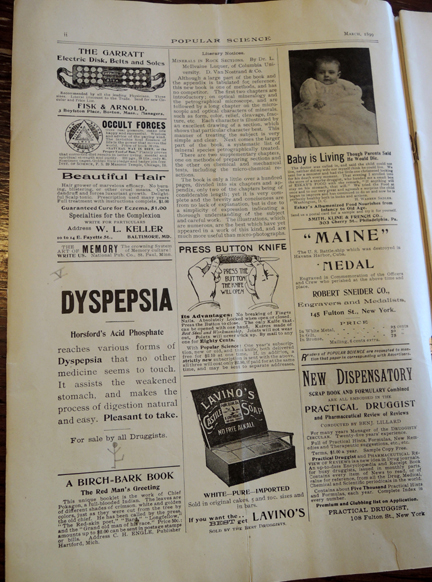
 Upon entering the room, kids found a large wooden desk with a number of items scattered on it. A teacup, teabag, an old map of London, a magnifying glass, books, photos, trade cards, a key, and an issue of Popular Science.
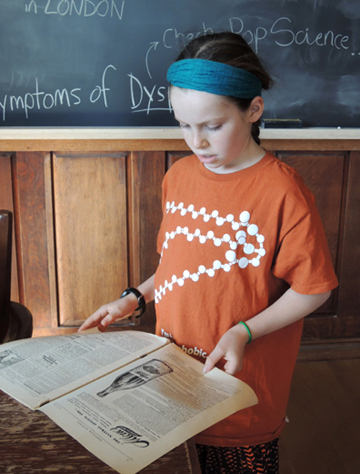
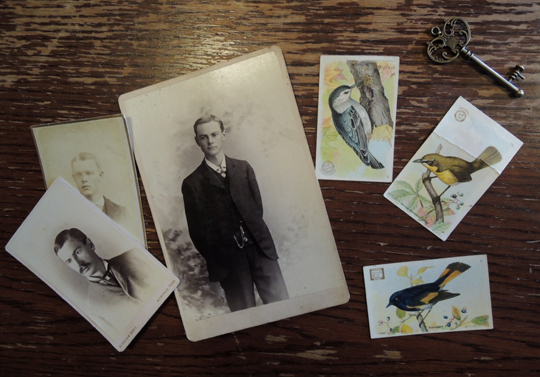
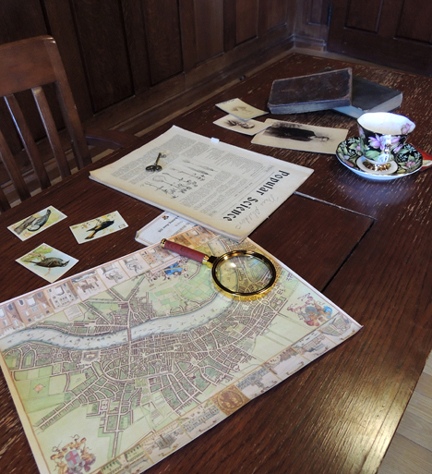 As I mentioned in the sneak peek, the trade cards, Popular Science, photos, and books are real objects from that period (sooooo cool). Also in the classroom were 8-10 Princeton University test booklets…
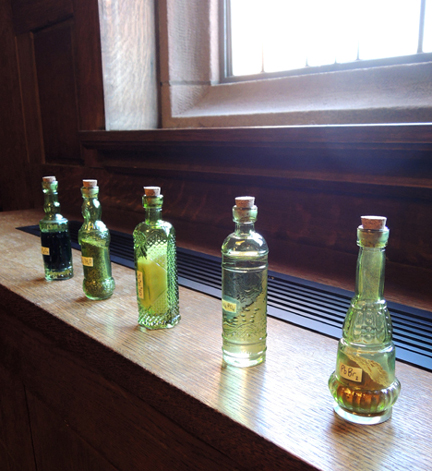
 Five bottles on the windowsill with scientific labels (Katie filled the bottles with items from her pantry, and hot glued the corks in really, really tight!)…
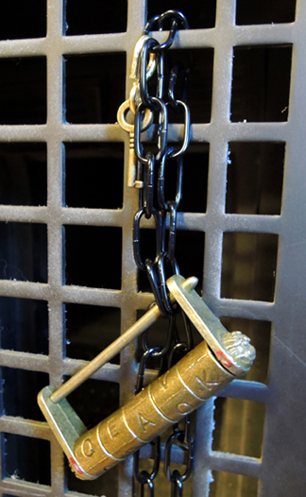
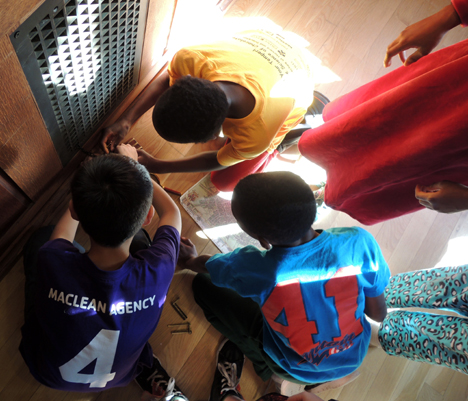
 There was a padlocked wooden box, which was in turn chained to a radiator grate…
 Also chained to the radiator (and far, far out of range of the box) was a key that had an unusual letter lock.
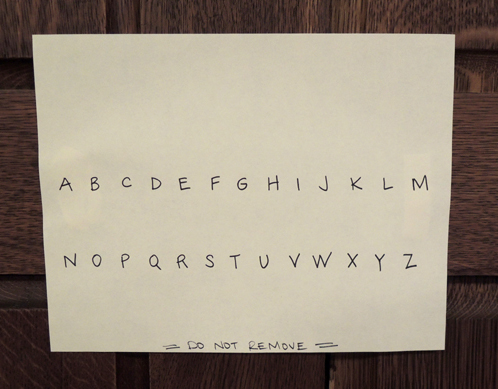
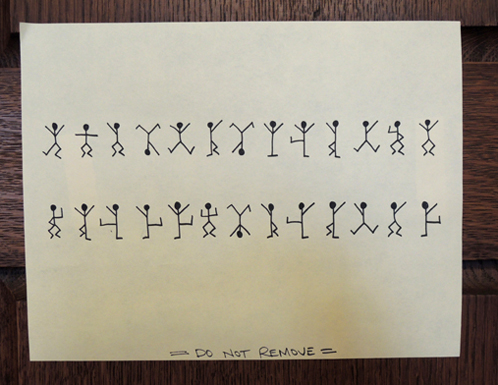
 Additionally, the room had two signs posted on opposite walls. An alphabet:
 And a figurine code. Holmes fans will recognize this as the famous “Dancing Men” cipher.
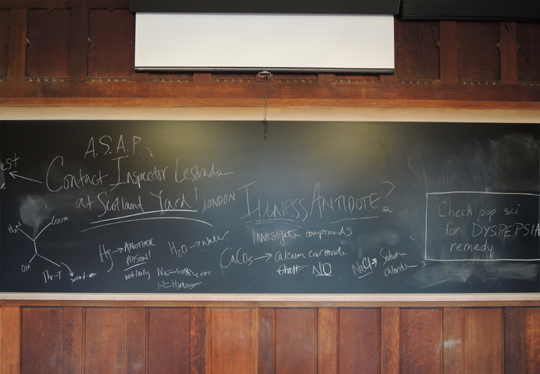
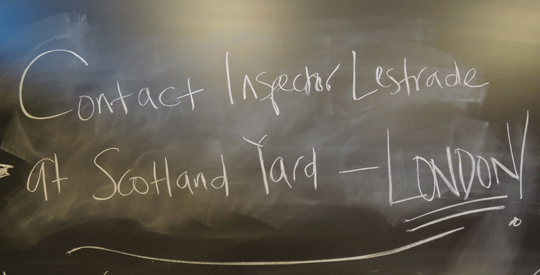
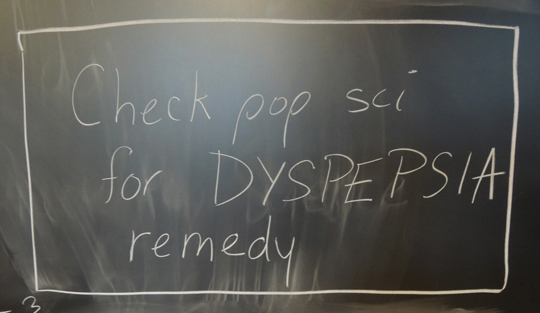
 The blackboard also contained some clues…
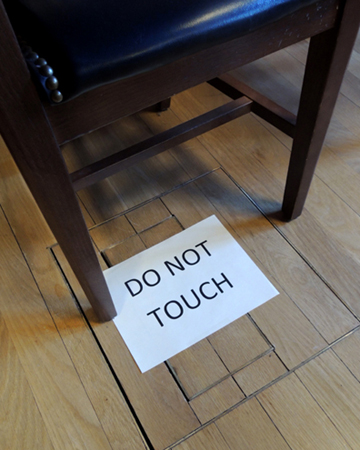
 Finally, we had “Do Not Touch” signs posted in the room for over-eager investigators. You’re definitely going to need these…kids tear the rooms up looking for clues!
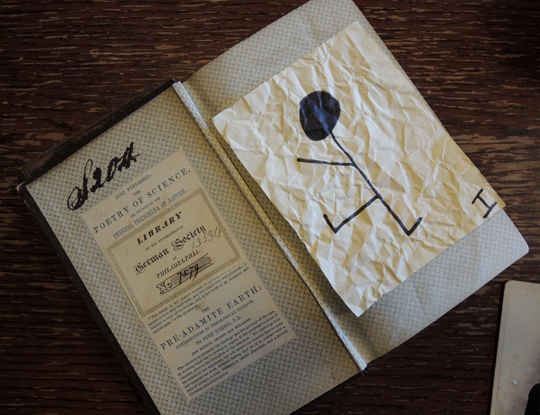
 Here’s how all the clues worked, and the final solution. Hidden inside (and on) the various objects were Dancing Men clues. There was one inside a book:
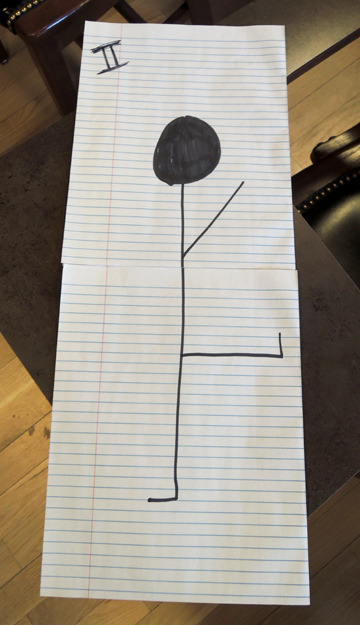
One spread across the back of 2 test booklets…
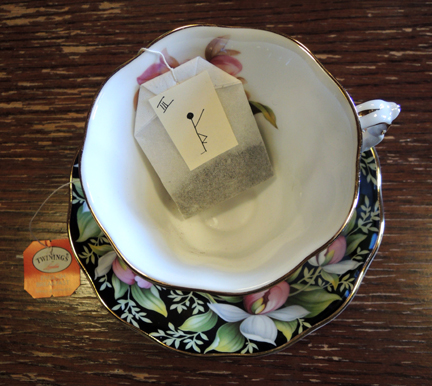
There was one on the back of the tea bag…
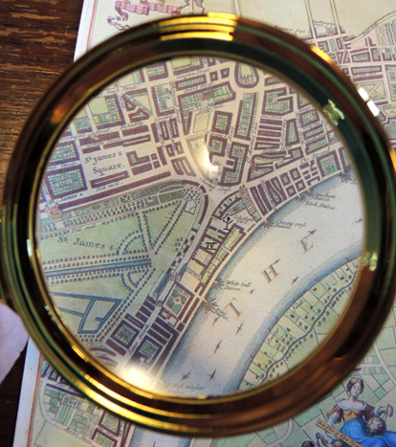
 One on an old map of London (you needed the magnifying glass to find it):
 Finally, there was one in a dyspepsia ad in Popular Science.
 The last two clues were a little hard to find, so we left hints on the blackboard…
 The Dancing Men clues corresponded to the 2 signs on the wall. Each figurine matched a different letter of the alphabet.
However, the signs were posted on opposing walls. So the kids had to cooperate to solve them. Teamwork! Did you notice the Roman numeral on each Dancing Men clue? Those were the order in which you dialed the letters on the letter lock.
Once the key was released from the letter lock, it opened the padlock on the wooden box.
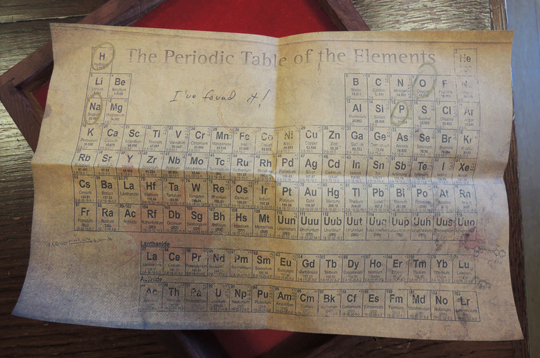
 Inside the box was an old-fashioned periodic table with the words “I’ve found it!” scrawled on it. Elements hydrogen (H), sodium (Na), oxygen (O), and phosphorous (P) were circled as well.
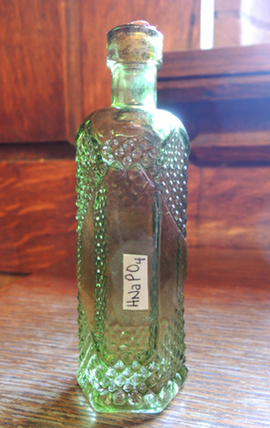
 Kids matched the circled elements to the correct label on the antidote bottle. And we made sure it was an actual antidote. Sodium hydrogen orthophosphate is a saline laxative agent (something Katie’s 11 year-old finds endlessly amusing).
 The kids took the bottle to the game master, who confirmed that they had solved the escape room! We had a game master in each room, dropping hints when needed, preventing parents from solving puzzles, and generally keeping kids on task. Here are our 3 amazing game masters, Princeton University students Anna Leader, Anne Merrill, and Erica Choi.
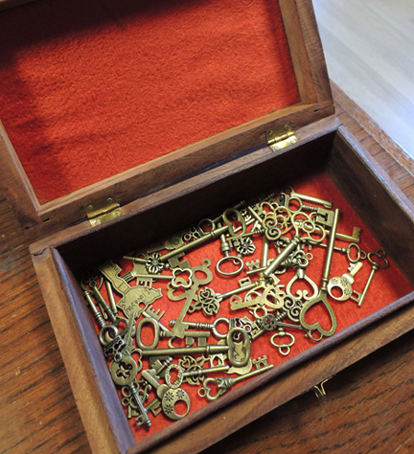
 As kids exited the room, the game masters awarded them their choice of a souvenir key to take home!
 But wait, you say, what about the photographs, the trade cards, the key on the desk, and all that other writing on the blackboard? Hah HAH! Those are all red herrings, added to throw kids off. Because it wouldn’t be an escape room without red herrings!
And how did the escape room go over? Very, very, well! There was excited screaming, running, urgent problem solving, clever work-arounds, and hilarious dialogue. Two of our favorites as heard through the door: “For the LOVE! Will someone please FIND Scotland Yard?!?” and this one (presumably when the periodic table was discovered): “Oh my gosh…guys! We all got Ds in science class!” Most kids finished the room right at the 20 minutes mark. The record? 12 minutes, my dear Watson.
To conclude, here is a list of hints for running the room. If you have any specific questions, or want to know where we found/ bought our items, feel free to e-mail Katie: zondlo@princeton.edu
- Our room was designed for ages 9-14. A maximum of 6 kids participated per room.
- Make sure participants arrive at least 10 minutes before the game begins. We were very clear in all promotional and registration material that late arrivals would not be admitted.
- Have a waiting area for participants, and try to keep it away from the the actual escape room so no one overhears the puzzles being solved.
- Make sure all clues are printed. Not all kids can read cursive. We learned this the hard way.
- Test everything in advance! Make sure the locks slide into the objects they’re supposed to lock! Again, learned this the hard way.
- Make sure you have backups of every clue and object in case something breaks or wanders away (scotch tape for paper repairs is a good idea too).
- Make sure the game masters know the game. We ran them through the room once, and we gave them cheat sheets on event day.
- Bring cell phone chargers. Our 20 minute game timers were our cell phones. Woe to ye who runs out of battery!
Many thanks to everyone who helped us put this escape room together! Thank you Rebecca Ross from Epic Escape Game for fielding our endless questions. Anna Leader, thank you for helping with the puzzles! Thank you to Anne Merrill, Erica Choi, and Anna for being such excellent game masters. To the young investigators at Saint Paul School Princeton, thank you for enthusiastically testing our room. And finally, a BIG tip of the deerstalker to Katie for putting this all together. You are an escape room MASTER!

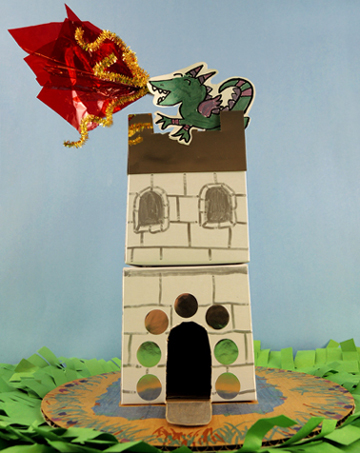
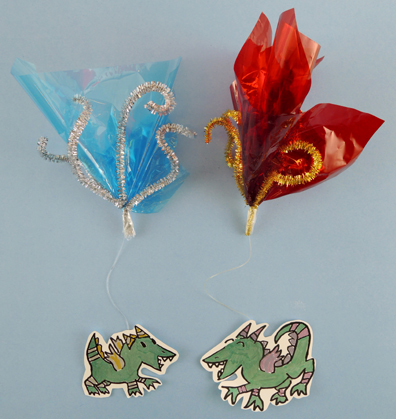 Fold 2 sparkle stems into a V shape, then tape them to the bottom of a bunched 10″ x 10″ square of cellophane, Secure with tape. Knot one end of a 10″ piece of clear beading cord around the bunch, then secure with tape. Repeat these steps to create a second firework. Color and cut the mother and baby dragon from the template, then tape them to the free ends of the firework cords.
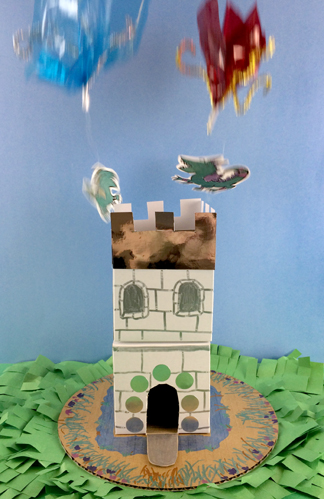
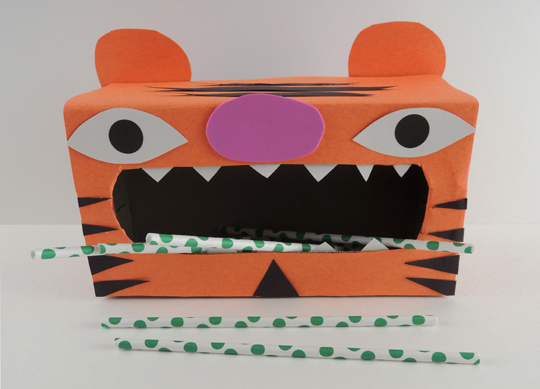
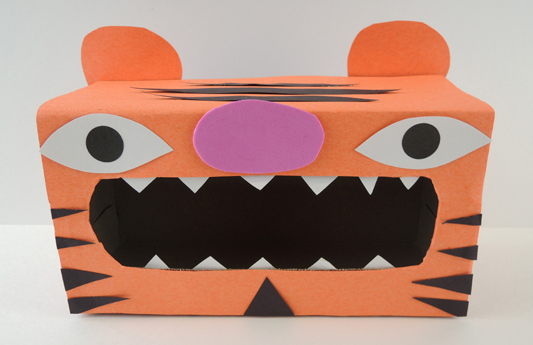 Tyger Tyger burning bright! Make it past the teeth, and you’ll be all right!