New York City is the place to be, especially if you are an ape who has escape the Central Park Zoo and are determined to take in all the sights! He’s wearing a disguise and the master of hiding – can you find Marvin the Ape?
We read The Escape of Marvin the Ape by Caralyn and Mark Buehner (Dial Books, 1992). It’s feeding time, and Marvin makes his move. Leaving a baffled zookeeper behind, Marvin enthusiastically explores the subways, museums, restaurants, shops, and parks of New York City. He’s definitely not going back to his former life, and what’s more, Helvetica the Hippo is hot on the heels of his success!
You’ll need:
- 1 large oatmeal container
- Construction paper
- 1 paper bowl
- Scissors, glue, and tape for construction
- Markers for decorating
- Hot glue
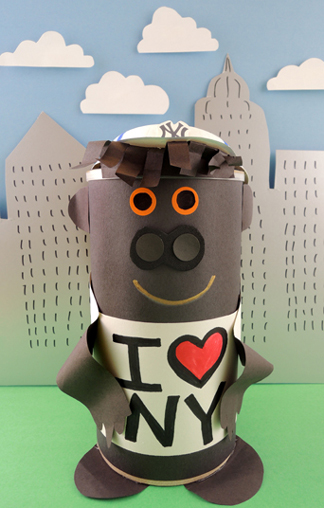
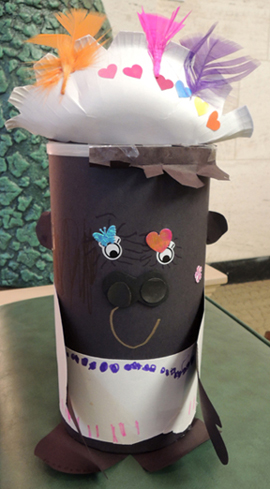
This is a simple project and a hide-and-seek game to boot! You can construct your oatmeal container ape entirely using construction paper, or you can add a few things like dot sticker eyes and a self-adhesive foam nose with dot sticker nostrils.
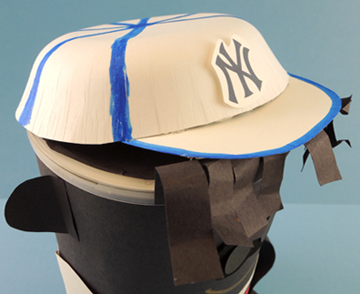
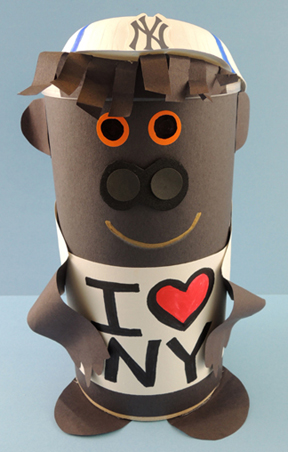 The baseball cap is a trimmed paper bowl with a card stock (or construction paper) brim. We recommend using hot glue to attach the hat and the feet to the oatmeal container.
 The baseball hat is just one optional for headgear of course. We basically gave the kids a bowl, a strip of white construction paper “shirt” and the Bling Bin and let them put together whatever ape disguise they wanted.Check out this feathery tiara and killer eye shadow!
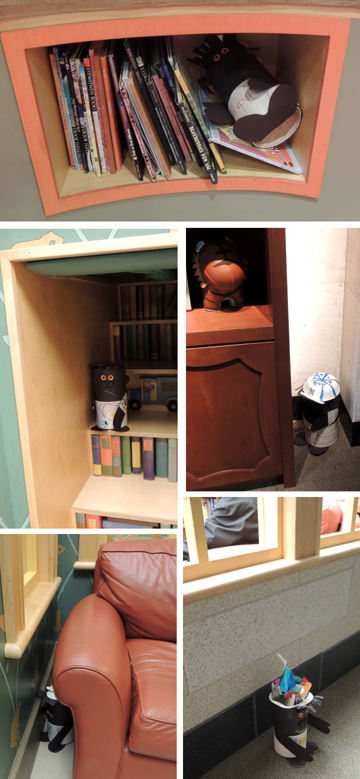
 When everyone was done decorating, we played a game of Hot/Cold Hide-and-Seek. Kids hid their apes around our gallery and invited their grown-ups to find them. The kids gave hints if the grown-ups were getting “hot” or “cold.” Hiding games are always popular at our story times. One enthusiastic group played for over 15 minutes!
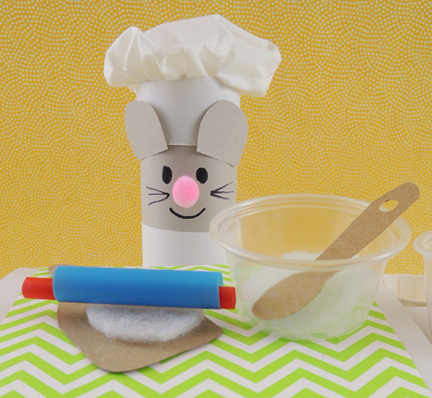 Let this Sous Chef Souris help you make delicious pies! Your miniature kitchen has everything you need for creative baking – mixing bowls, wooden spoons, cutting board, rolling pin, pie pans, fresh felt ingredients, and, of course, matching chef hats!
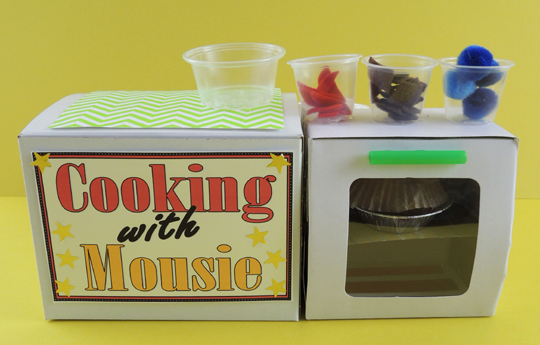
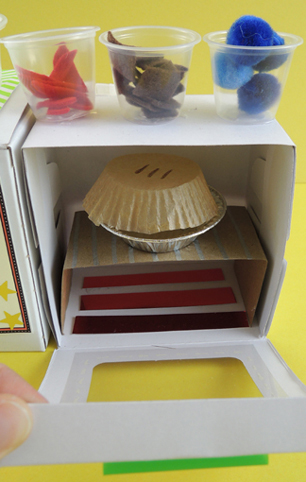 On top of the cooking counter is some
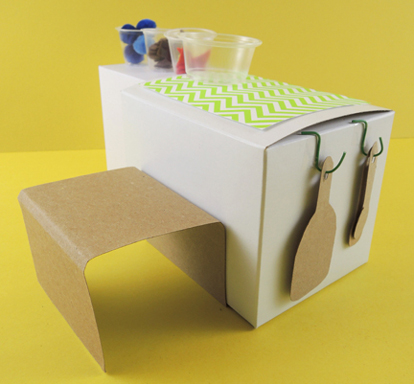
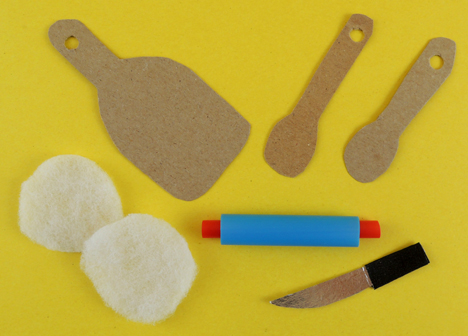 The cutting board and wooden spoons are tagboard. The knife is a little piece of silver mirror board with a black masking tape handle. Those two white circles are polyester batting “pie dough” for the mixing bowl, and the rolling pin is a 2.25″ snippet of bubble tea straw with a 3″ piece of drinking straw threaded into it.
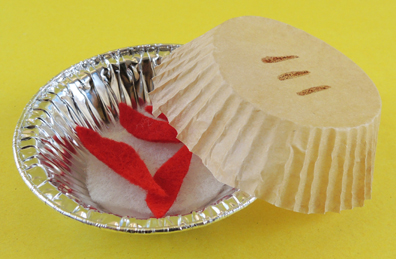 The toilet paper tube mouse is sporting a chef hat made from construction paper and a bunched up facial tissue.
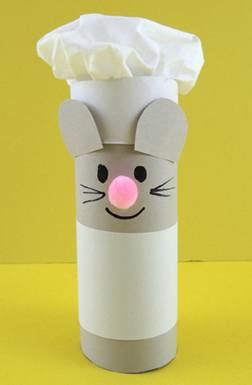 Your chef hat is made out of cardboard and white tissue paper. Instructions for making it can be found in
  When the kitchens were finished and the chefs were ready, we brought out our camera equipment (learn how to construct it
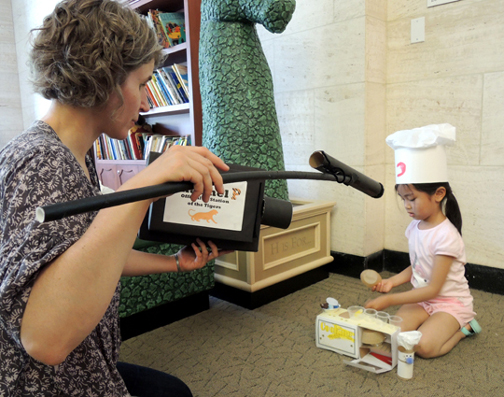
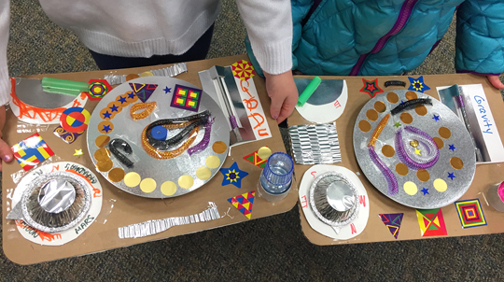
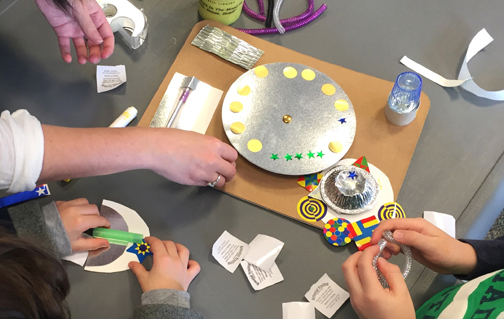
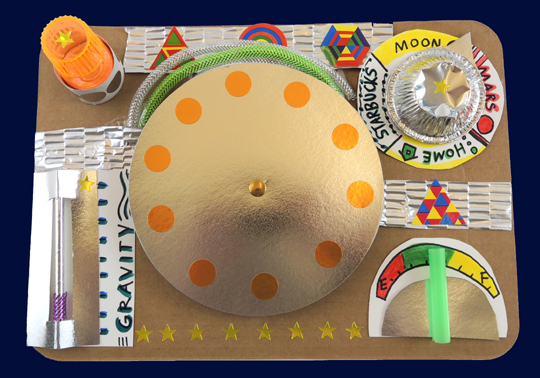 Three, two, one…blast off! We head to the moon using this rocket ship dashboard, which includes a custom steering wheel, fuel gauge, gravity level, destination dial, and flashing light. This was a special story time for the
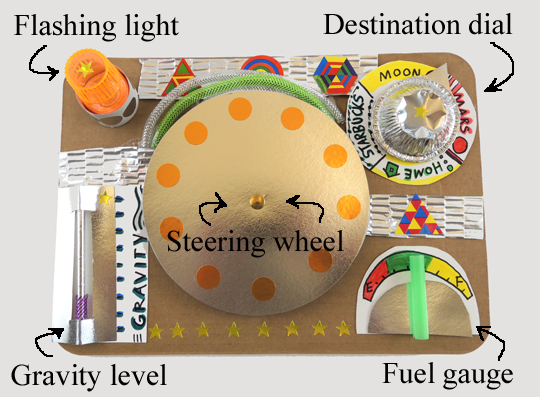
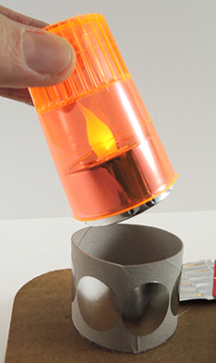 The steering wheel is 2 silver circles hot glued together and then attached to the dashboard with a longer, 1.5″ brass fastener (or use a bit of
 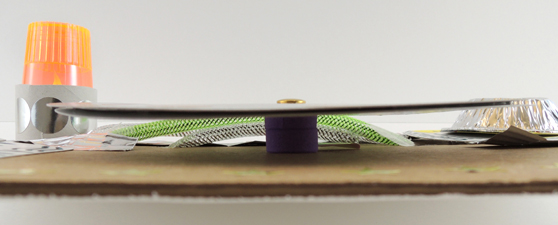 We also had markers, silver foil paper, mesh tubing, foil star stickers and geometric stickers on hand for decorating. The geometric stickers are “Funky Geometric Shapes Rolls of Stickers” from Oriental Trading Company (6 rolls of 900 stickers are $10).
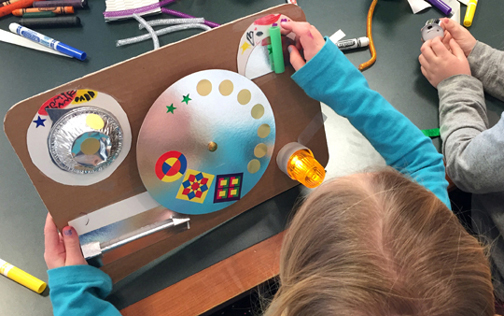
 Once the decorating was done, we fired up ye
 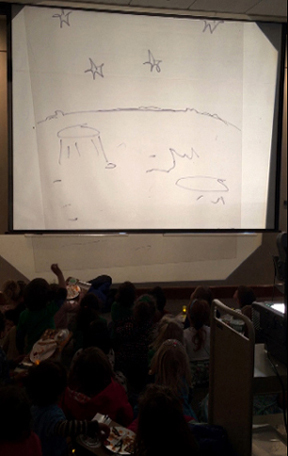 This story time was hosted by the public library in Bernardsville, New Jersey. Look at their charming children’s section, which was the gift of Estella and Jay Parsons:
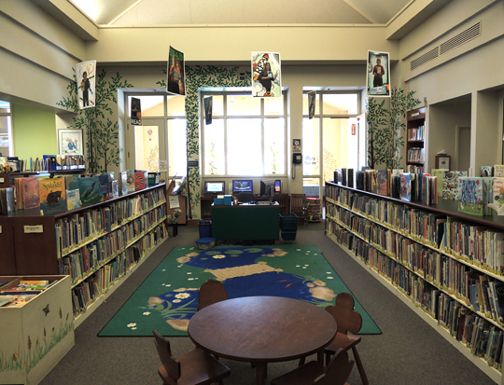 It’s full of beautiful hand-painted trees, botanical touches, and forest animals. Look at the deer standing next to the little wicker chair in the corner!
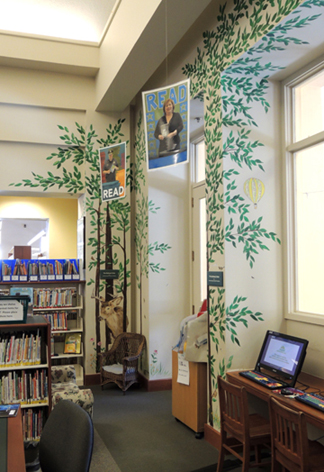 This little singing bird is Katie’s favorite:
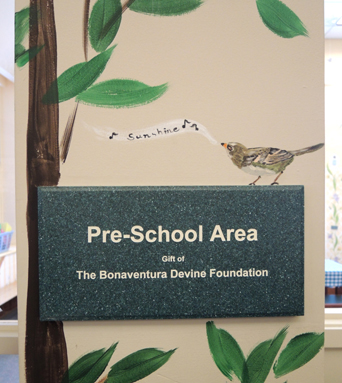 The preschool area (a gift of the Bonaventura Devine Foundation) continues the outdoor theme with picnic-style activity tables with cute gingham covers and buttery sunshine-colored walls.
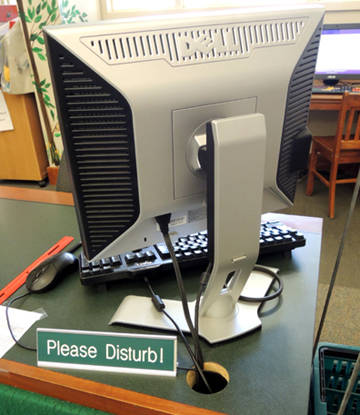
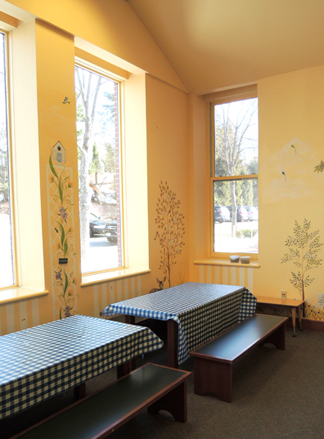 Here’s my favorite touch, however. The “Please Disturb” sign on the reference desk!