
 Today, I will address an issue that affects anyone who coordinates programs with children – be it in a library, children’s museum, or activity room. Like silent pack animals they wait, blocking doors, tracking mud, and leaving behind a smatterings of Cheerios. The issue of which I speak, of course, is strollers.
Strollers are an essential item in parenting life, especially when siblings are at different stages of crawling, walking, and dodging up mall escalators. Strollers are a one-stop shops for snacks, naps, diapering necessities, and sanitation rituals.
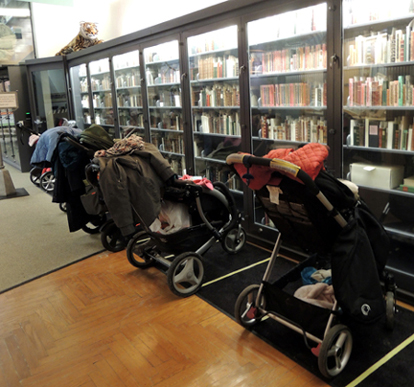
The problem, however, begins when strollers start wandering into areas that need to be kept clear. Our gallery is small, so we mounted a sign asking people to leave their strollers by the front door (strollers carrying sleeping occupants being the exception of course). The sign sort of worked. But when bad weather set in and muddy slush was being tracked to the back of the gallery where babies were crawling, we realized we needed to strengthen our front door message.
That’s when I hit on the idea of stroller parking.
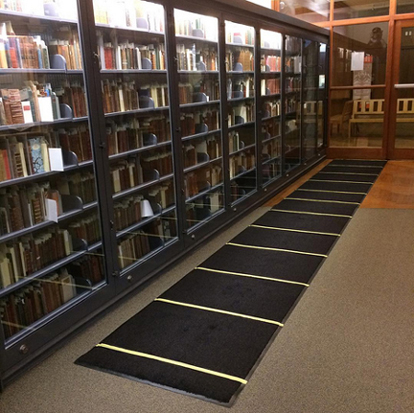
First, I purchased a 3′ x 22′ non-skid rug runner (it’s rubber backed for those inevitable wet stroller wheels). With shipping, it cost $256. Then, Marissa and I made parking lines with yellow masking tape. It was that simple.
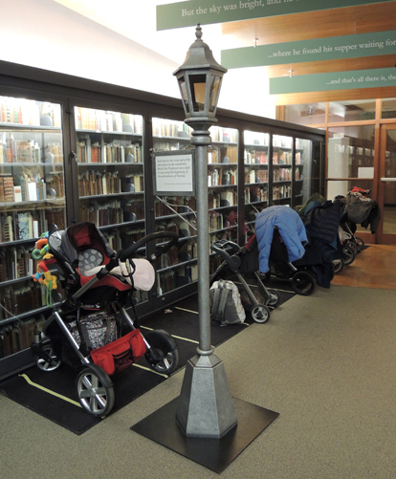
 Well, it worked like magic. Immediately, strollers started parking in tidy little lines at the front of our gallery. And it’s still going strong! Since stroller parking started over a year ago, we haven’t had any strollers wandering into the gallery. Here’s a shot on a busy Monday morning, all parked and proper.
 Every once in a while a masking tape line gets ripped and we have to replace it. Otherwise, this little parking lot takes care of itself! Mind you, we still have a sign up. I think you need both the rug and the sign to get this to work. Recently, we re-purposed an old gallery element as a new sign post:
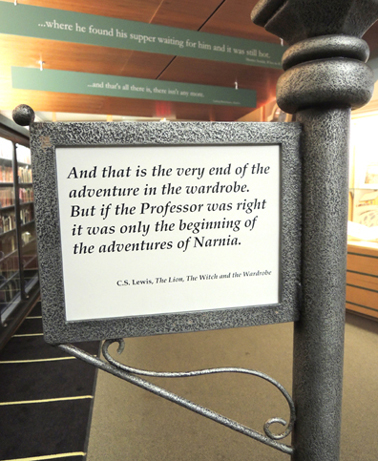
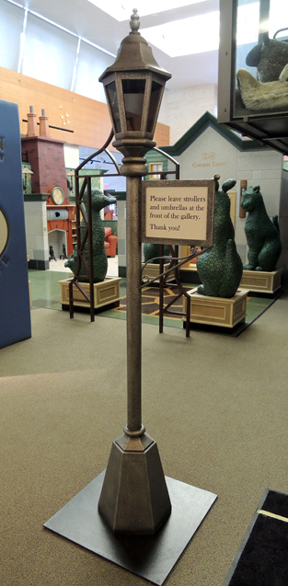 Best of all, the lamp’s sign holder is open on both sides. So as you’re exiting the gallery, you can read the final sentences from The Lion, the Witch, and the Wardrobe:
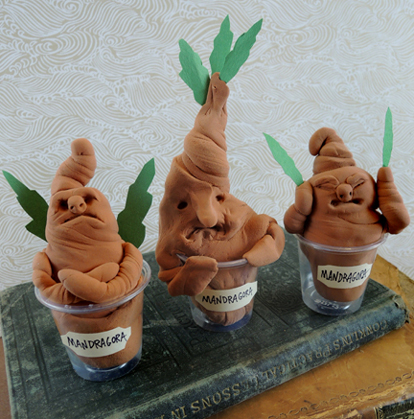
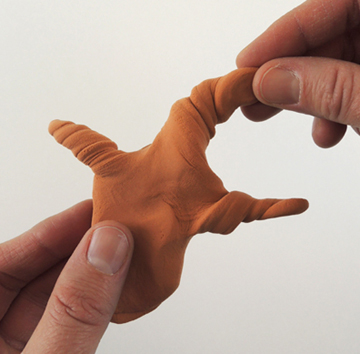 Use sculpting tools and smaller bits of Model Magic to create the face. Then push the mandrake’s plug into a small clear plastic cup. Cut leaves from green construction paper, and gently pinch the Model Magic around the leaves to hold them in place. I love the expression and leaf placement on Katie’s mandrake:
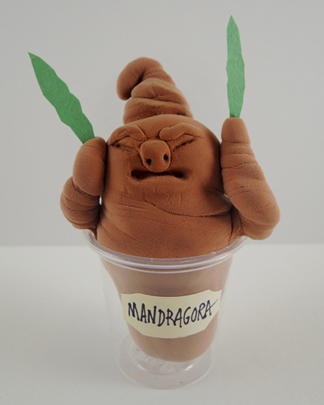 You can add a label to your pot if you’d like. Ours was a bit of manila paper adhered to the plastic cup with a glue stick. We went with the plant’s Latin genus name, Mandragora.
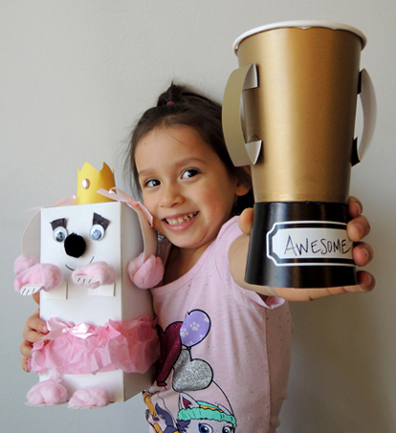
 I made a princess poodle, in a tutu, with construction paper eyelashes. Her name is Kami.
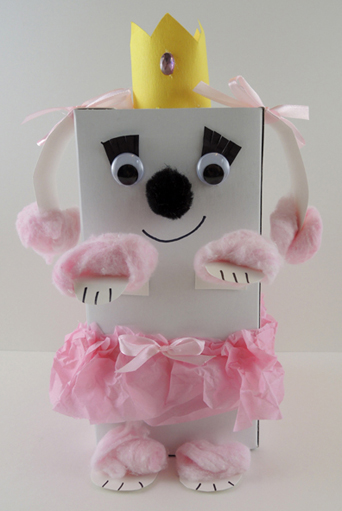 In addition to construction paper for the outfits, we couldn’t resist adding tissue paper, ribbon, felt, cotton balls, and the
 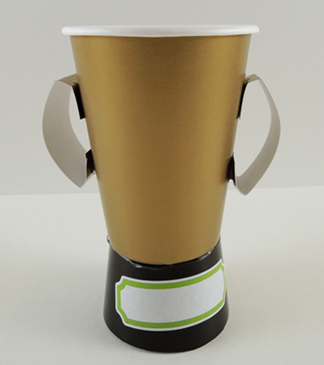 We also came up with some potential award categories in advance. Such as:
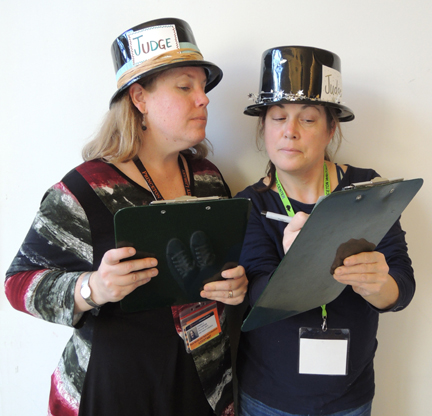 And everyone headed to the library’s lobby! Acting as the announcer, I asked the kids to circle, change direction, halt, and twirl for the judges. While they were doing this, Katie and Melinda were furiously writing award categories on the trophies. I recommend writing a few general ones (Most Creative, Most Original, Best Smile) on the trophies in advance, because the kids get tired of circling around the show grounds pretty quickly!