
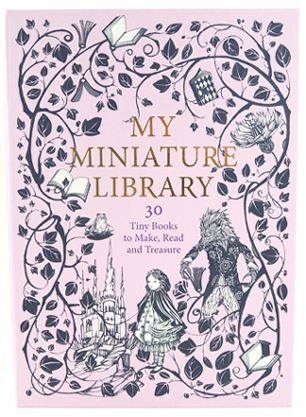
Book lovers dream of that big, beautiful library with the cozy chairs and the rolling ladder. But books can tend to take up quite a bit of space. Today, we have a solution for you! It’s the My Miniature Library kit by Laurence King Publishing, illustrated by Daniela Jaglenka Terrazzini (ages 6+, retails for $20). Katie took the miniature kit for a tiny test drive…
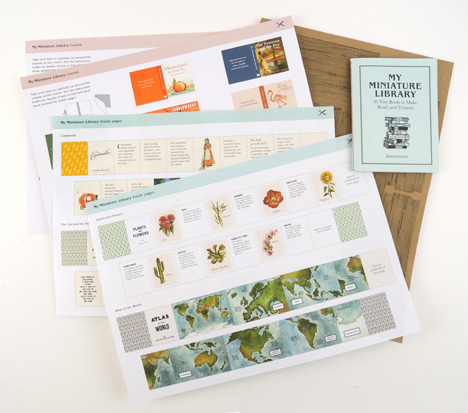
 The packaging for My Miniature Library is a delightful cardboard box in the shape of a book. When you open the box, you are greeted with a small instruction booklet, 18 sheets of books covers and pages, and a cardboard punch-out bookshelf.
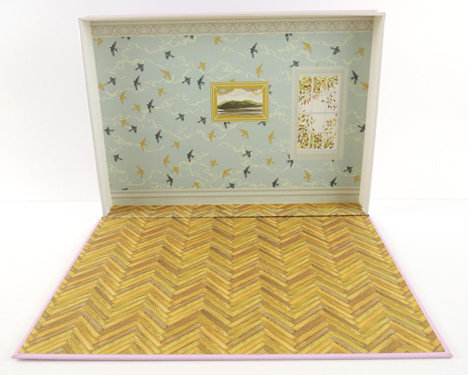
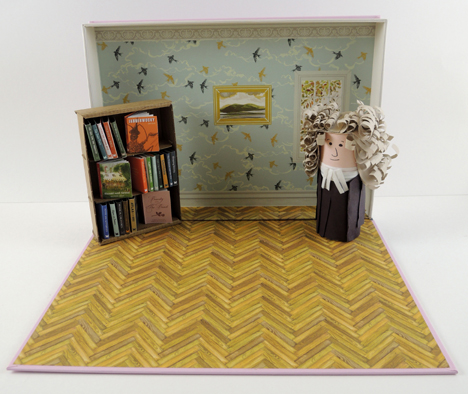
 The 9″ x 12″ box containing the kit (and this is really cool) is also the set of the library. Prop it up on its side, and it becomes your library, complete with chevron hardwood floors, birds in flight wallpaper, and a window framed with fall leaves. When you are done playing with your miniature library, you simply pack everything inside the box, close the lid, and slide the kit on a shelf until next time!
 The kit contains the makings for 30 tiny books: 20 pre-written (both fiction and non-fiction), 8 books with title prompts you can author yourself, and 2 completely blank books for whatever topic you desire. Here’s a set of the pre-printed book sheets (which were primarily fairy tales):
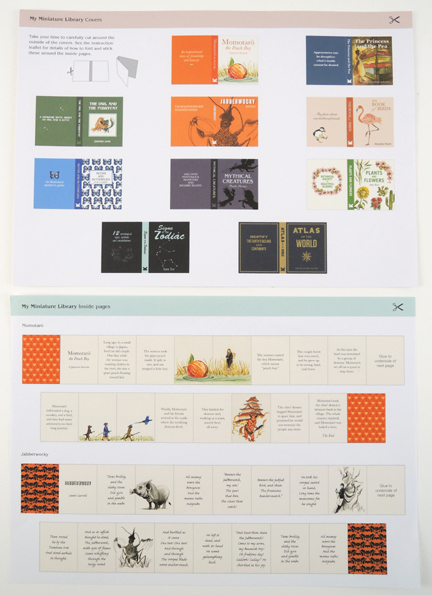 And here’s a set of the design-your-own sheets:
 Generally, the instructions are very clear, concise, and easy to follow. Especially the cardboard bookshelf. The books are where I started to run into some trouble. To create a miniature book, you first cut out the 2 strips that become the book pages, and the cover of the book. Then you carefully accordion-fold the book pages together, and glue them inside the front and back of the book’s cover.
 You have to carefully cut the 2 page strips in order to not lose any of the text or images. You also have to cut out the cover. For 30 books, that’s 90 pieces of paper to cut. That’s a lot of cutting.
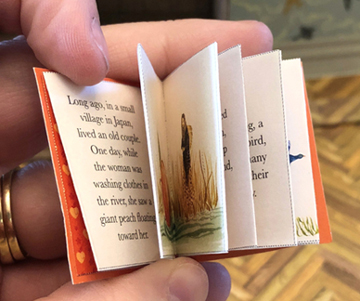
Also, folding the 2 page strips is a bit tedious. These books are small (1″ x 1.5″), so it takes nimble fingers to make sure the tiny pages are folded just right. The covers have a tiny spines that require more nimble finger work.
It took me around 6.5 minutes to make a book from start to finish. Multiply that by 30 and you are looking at well over 3 hours to make all 30 books. Also, the packaging doesn’t mention needing glue to attach the pages to the cover. That piece of information is buried deep within the instructions.
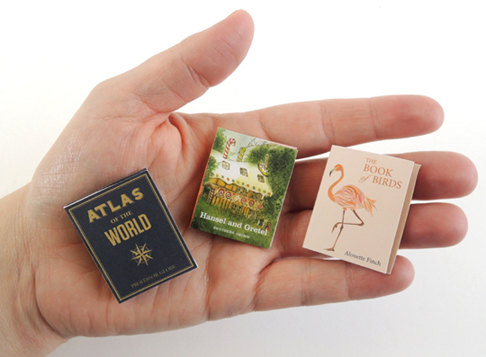
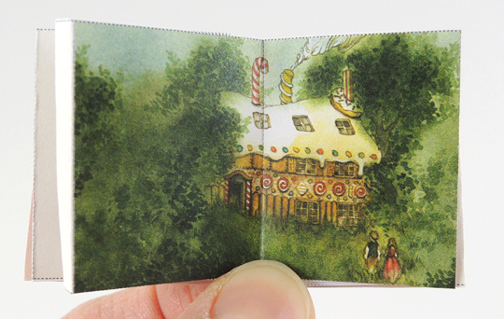
However, when finished, the library is positively adorable. The stories are cleverly edited, so nothing is lost in the retelling. I love the option for children to write and draw their own books. The quality of printing is top notch, and the book illustrations by Daniela Jaglenka Terrazzini are just incredible. Here’s an illustration from Hansel and Gretel:
 And here is the finished library, bookshelf and all. We placed my toilet paper tube portrait of Johnathan Swift (who you first met here) in the library so you can get an idea of the size ratio.
 However, I disagree with the recommended age of 6+. I think children 10+ are better suited for the complicated cutting and folding to put these books together. With an estimated 3 hours to craft all 30 books (and that’s after all the cutting is done), I can imagine many children would give up well before all of the books are finished. Children under 10 might also have trouble writing small enough for the design-your-own books portion of the kit. Still, there’s no denying the awesomeness of your very own library with readable books and gorgeous hardwood floors!
Recommended, with caution. Be prepared with good scissors, strong cutting and folding fingers, a glue stick, and lots and LOTS of patience.
 The future is here, because some amazing genius has invented color changing markers. But do they really work? While Crayola, Alex, and an intriguingly named company called Wham-O all have versions of these markers, today, we’ll be testing the Switch-Eroo set of 12 color changing markers by Ooly ($9).
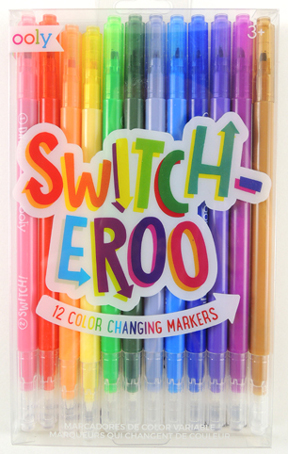 Each marker has a color chisel tip at one end, and a slightly rounder white tip on the other end. The premise is simple. Use the color end first, then turn the marker around and use the white end on top of the color. Here’s a rainbow with the color end of the markers:
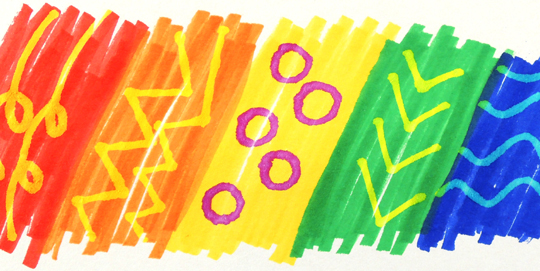
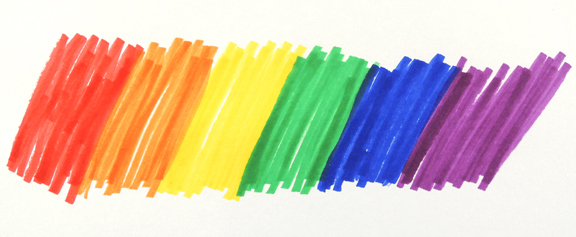 And here’s the results of the white end on top of said colors. Pretty cool right? The color yellow was especially surprising. Look at those big, bold purple circles!
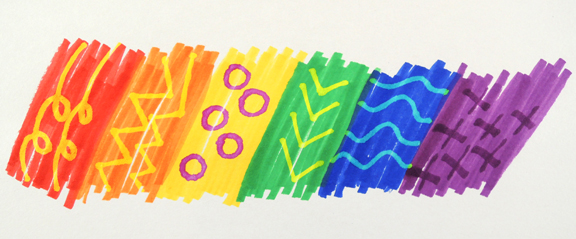 There was no smudging as you “reversed” the colors, though in my opinion, there seemed to be a lot of yellow resulting from the color reverse. Red, orange and light green? Those basically all reversed as yellow. As did blue and pink. But look at the dark green. It reversed as red! Very cool.
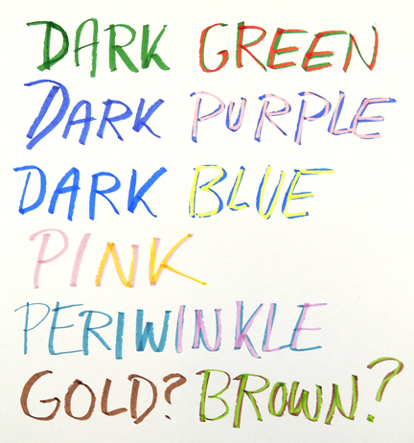 One question you might be asking: Does the white end do anything if you just use it on paper? Nope. Below you can see my yellow scribble, and how I drew on top of it with the white end of the marker. But you can barely see where I departed from the yellow and drew an arrow pointing upwards. Once the white tip moves off the color, the ink basically becomes invisible.
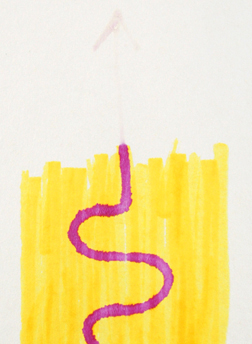
 Wooo hooo hooo! The coolness factor just increased ten fold.
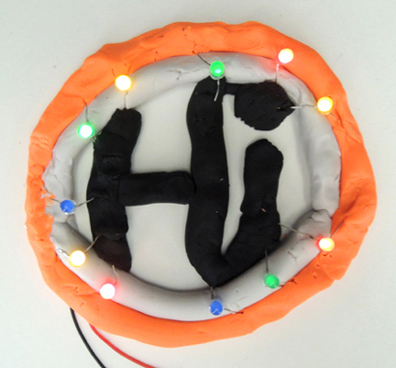 When it comes to crafting, the best way to send that project over the edge of coolness is to LIGHT IT UP! We’ve wired flannel boards with
  So when we spotted the Circuit Clay kit by Klutz we were excited. Ideally, the kit allows kids to do all sorts of electrical experimenting, with the added bonus of sculpting unique creations. But conductive clay? Would that even work? I must admit, we were a wee bit skeptical.
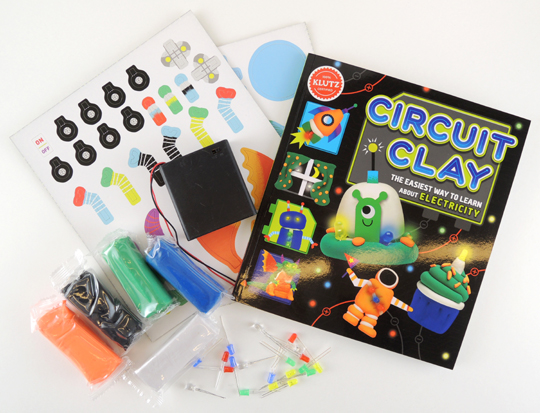 The Klutz kit retails for around $22 (ages 8 & up). It contains a 52-page instruction booklet, 4 packs of color conductive clay, 1 pack of white insulating clay, 20 color LEDs, a battery pack (4 AA batteries required), and 52 paper embellishments for your projects. Katie put the kit through its paces. Take it away Katie!
 Feeling certain in my understanding of basic circuits, I moved ahead in the instruction book and created a Princeton University-inspired orange and black flower, complete with a little glowing bee and butterfly from the kit’s paper add-ons.
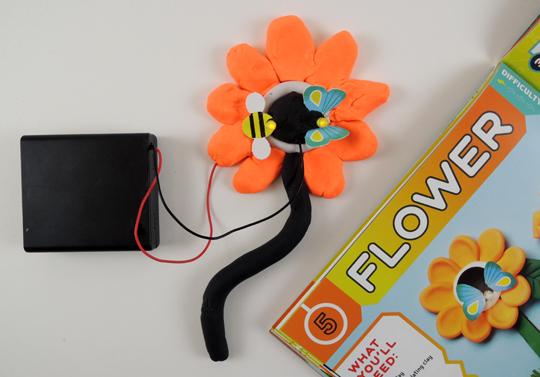 A note about the instruction book: it is an exceptionally well written and illustrated manual that provides easy to understand lessons for kids about electricity. Kudos to Klutz for using every inch of the book with colorful images and educational descriptions.
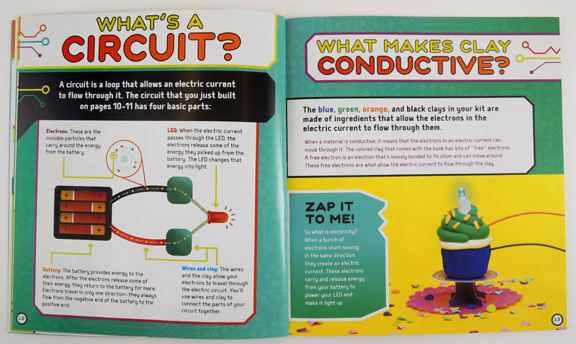 Riding a wave of confidence, I decided to crank it to 11 and make my own design with as many lights as possible. As I was forming the letters to say “Hi” and the circle around it, I had to remember to maintain the circuit between the conductive clay and the insulting clay. I will admit this was a little challenging, and I *may* have broken several bulbs putting it together. But eventually it worked! Here’s a photo of it in full darkness. Notice that the blue bulbs are much dimmer?
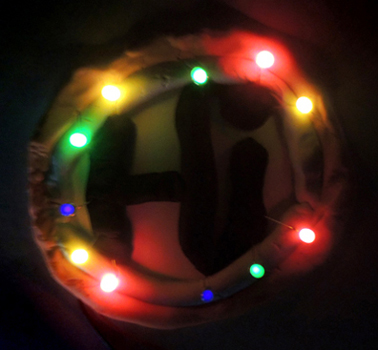 Now for the bad news. I found the clay was quick to crumble and shred, even fresh out of the package. It was sometimes tough to keep the LED bulb’s long wire legs fully inserted into the designs, and it was frustrating at times to figure out how to set up the different circuits. Finally, the book says to “keep your clay in a resealable plastic bag or container so it won’t dry out.” I did seal it in a Ziploc bag, but a couple weeks later, the clay was dry, flaky, and nearly impossible to manipulate.
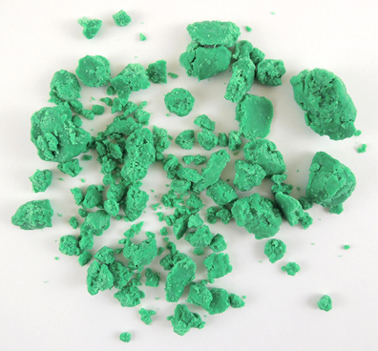 The Klutz Circuit Clay is definitely a clever way to teach kids about electricity without them accidentally getting hurt or shocking themselves. It’s an activity children with patience and strong reading skills can do on their own, but younger kids will definitely need assistance. The suggested age range may be a little low (ages 8 & up), but I’m not sure if kids older than 10 would find this experiment worth their time and attention.