 When Katie saw this DIY miniature library online, she was entranced. It’s perfectly adorable with its tiny little books and knick knacks on the bookshelves and darling framed pictures and actual working chandelier with four lights. But she did NOT love the lengthy process of constructing it. It took 46 hours. 46 HOURS. Katie, share with us your epic journey…
I built the Rolifé DIY Miniature House: Sam’s Study (DG102), which can be purchased on the Rolifé website for $47.99. There is another company, Hands Craft, that makes a similar, if not identical kit. You can purchase their version of Sam’s Study on Amazon for $35.85. There is an age suggestion of 14+.
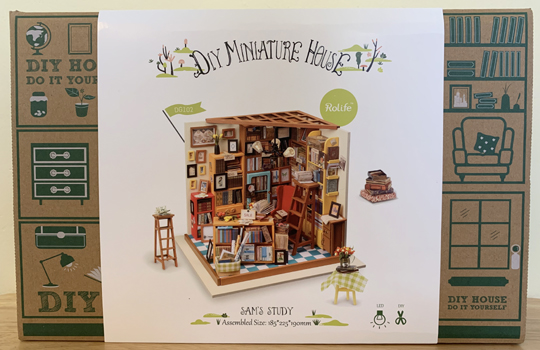
The kit arrives with a multitude of wood, fabric, and paper parts and pieces to construct the library, as well as small bottles of white latex and liquid glue, tweezers, white paint and a small paint brush. You will need to have a few additional tools to help with the construction: a ruler with millimeters, scissors, needle nose pliers, screwdriver, pencil and a binder clip.
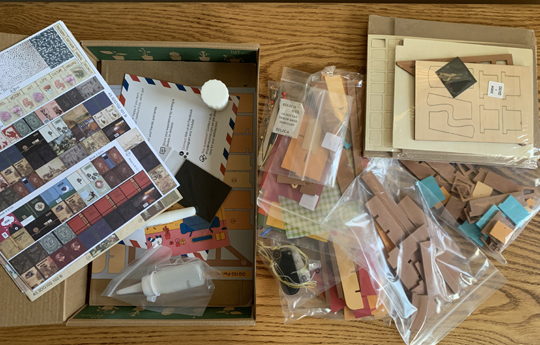
I also highly suggest having a glue stick, another option of super glue (I used Krazy glue with an applicator brush), and a pair of small sharp scissors (I bought a pair of 4.5 inch nano detail scissors). Even though the kit claims batteries are included, you may need to purchase a pair of CR2032 Lithium 3V batteries for the chandelier.
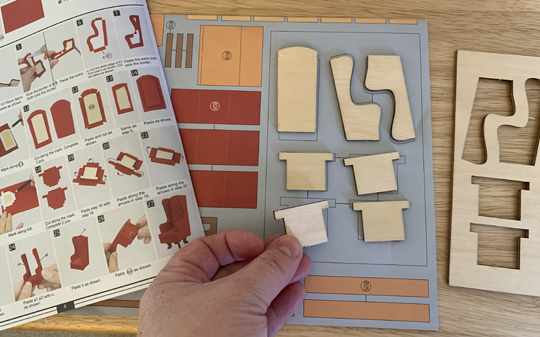
There is an instruction manual packed with photographs and detailed steps to create the miniature library. I followed the manual very closely, making sure I had the correct pieces for each of the cabinets by using the included part number illustration paper.
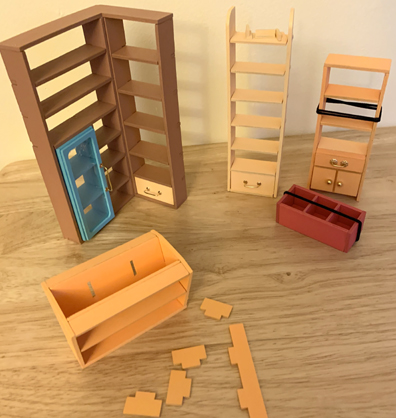
 So many pieces! So much glue! Oftentimes I had to be creative with figuring out ways to assist the various parts to hold together as the glue dried. Elastic hair bands for the win!
When I reached the section to build the sofa – it’s actually a wingback armchair – I was riding a wave of confidence. I had put together six dressers, cabinets, and bookshelves and a ladder without much difficulty.
The petite handles for the doors and drawers were a challenge, but I was able to create them. Surely I could make an armchair.
Surely not.
I created one side of the armchair and my fingers were so completely covered in glue, I was forced to give up. I couldn’t pick up the red fabric or the bottle of glue without it being nearly impossible to put back down. Defeated, I set aside the armchair.
My next challenge was cutting, folding and pasting the roughly 130 paper books, boxes and paintings that fill the shelves and walls of the bookstore. I started snipping with my 9 inch pair of scissors, and it didn’t take me long to realize I needed a much smaller pair in order to save time and my sanity. I was able to cut through the paper much faster with the 4.5 inch scissors, but it took a while to fold the little books and boxes and glue them all together. I used the glue stick and a q-tip to apply glue to the narrow paper edges, which greatly helped speed up the process.
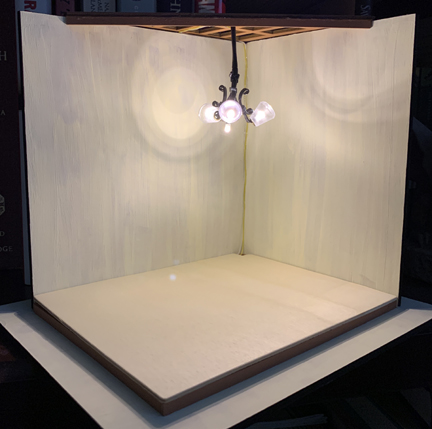
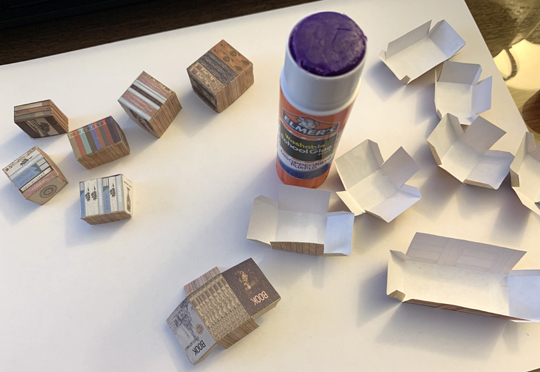 The pièce de résistance was constructing the walls and floor of the bookstore, as well as creating the realistic chandelier that provided the gentle glowing light. The bookstore was relatively easy. The chandelier was complicated. And frustrating. And it nearly didn’t happen because I almost ran out of wire necessary to provide electricity to the bulbs.
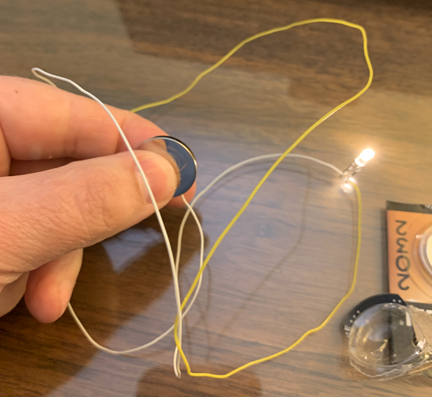
Despite trying to be very careful while cutting and stringing the fragile wires, I cut some and broke others. It took many long hours (and the utterance of many bad words) to bring the light to life. I can fully understand why some who left online reviews of the kit simply gave up on the chandelier. Trust me, I almost did.
 I was just about ready to furbish the bookstore, but I still had to finish the wing back armchair. The various bits and pieces of the chair were ready to go, but I was not looking forward to the actual construction. Begrudgingly, I used every last bit of my dogged patience to put the chair together. It’s not pretty, in fact it’s far from perfect. One side of the chair is slightly taller than the other and there are many areas of the wood frame showing through the red cloth, but I finished it.
Now came the fun part – decorating! The instruction manual had generic photos showing where the furniture needed to go, but you can decide where the books and decorations go. There were many times I needed to use the provided tweezers to glue a tiny framed picture on the wall next to a bookshelf, place a minuscule pamphlet in a specific area, or put the bitty silver coffee mug on top of a book. After all of the irritation I had while building the kit, decorating the bookstore was quite cathartic.
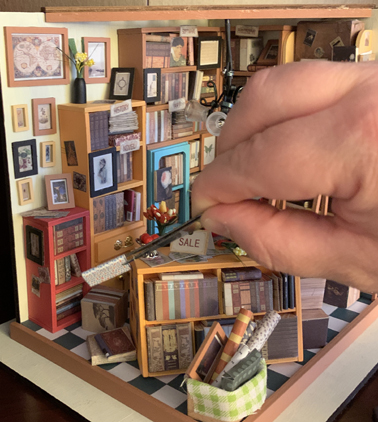
The miniature library is amazing. There are so many charming little touches and details that you could stare at it for hours. Even the red wing back armchair, in all its misshapen glory, looks fantastic nestled in the corner with a pile of books resting on the seat.
This slideshow requires JavaScript.
Dr. Dana and I had a bet as to how long it was going to take me to finish the library. She said 25 hours, I guessed it would take much longer. I was right – it took nearly 46 hours.
Now that I am done putting the kit together, I think it is safe to say that I completely overestimated my technical crafting abilities when manipulating small parts and pieces. It is also safe for me to say that I will try to avoid doing another one of these types of projects in the future. I would recommend it for adults who have tremendous patience and dedication to lengthy projects.
May the teeny-tiny crafting kit odds be ever in your favor.
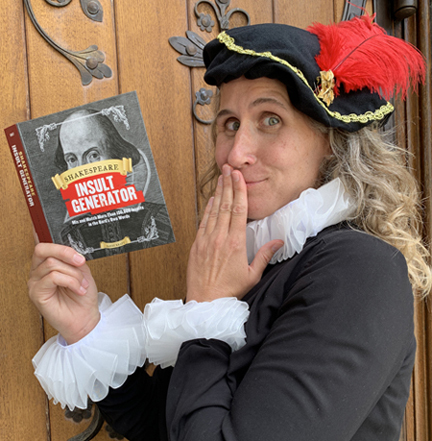 Prepare to “Insult, exult, and all at once” (As You Like It, Act 3, Scene 5). Because today we’re reviewing the epic Shakespeare Insult Generator from Becker & Mayer! Wither you stub your toe on a rock, or are trading barbs with your bitter rival…if your situation requires a fiery oath or stinging retort, you are in good hands with the Bard!
 Retailing for around $9 on Amazon, this little spiral-bound volumes includes 162 Shakespearean words. The pages are divided into three sections (the top and middle sections are adjectives, the bottom section is a noun). The sections can be quickly flipped to create 150,000 original insults.
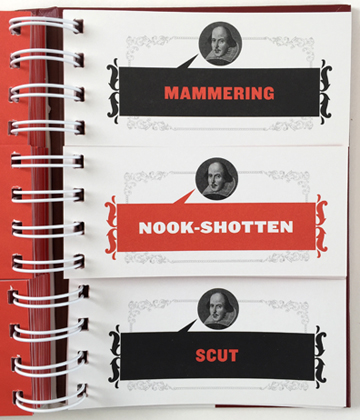 The cool thing is when you flip each section, the word is defined on the back. So if you are wondering what a “scut” is, it’s actually “the short, erect tail of a deer.”
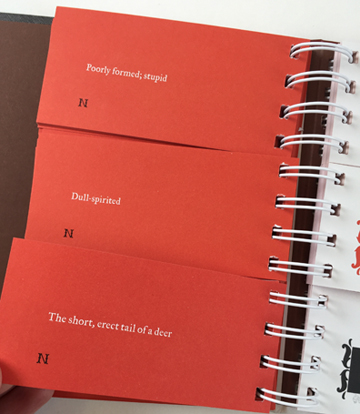 In addition to being visually pleasing, the book comes with a fascinating and humorous introduction. Among other things, you learn that words marked with a feather icon means they were most likely invented by Shakespeare. Words marked with an “N” are ones he only used once (also referred to as “nonce” words). As you can see in the above photo, all three words are nonce. Amazingly, of the 162 words in the book, 22% were invented by Shakespeare, and 64% are nonce! That’s some amazing word-smithery, that is.
 When Katie saw this DIY miniature library online, she was entranced. It’s perfectly adorable with its tiny little books and knick knacks on the bookshelves and darling framed pictures and actual working chandelier with four lights. But she did NOT love the lengthy process of constructing it. It took 46 hours. 46 HOURS. Katie, share with us your epic journey…

 So many pieces! So much glue! Oftentimes I had to be creative with figuring out ways to assist the various parts to hold together as the glue dried. Elastic hair bands for the win!
 The pièce de résistance was constructing the walls and floor of the bookstore, as well as creating the realistic chandelier that provided the gentle glowing light. The bookstore was relatively easy. The chandelier was complicated. And frustrating. And it nearly didn’t happen because I almost ran out of wire necessary to provide electricity to the bulbs.
 I was just about ready to furbish the bookstore, but I still had to finish the wing back armchair. The various bits and pieces of the chair were ready to go, but I was not looking forward to the actual construction. Begrudgingly, I used every last bit of my dogged patience to put the chair together. It’s not pretty, in fact it’s far from perfect. One side of the chair is slightly taller than the other and there are many areas of the wood frame showing through the red cloth, but I finished it.
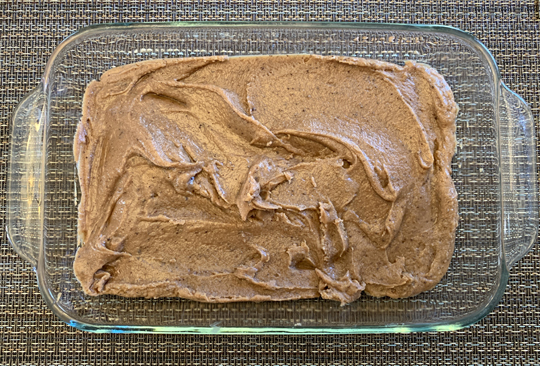 Today, Katie is broadcasting from our official blog test kitchen (which wow, looks remarkably like her own kitchen!). She’s tackling her old culinary frenemy…that cursed confection, sneaky sweet, diabolical dessert otherwise known as…FUDGE. Take it away, Katie!
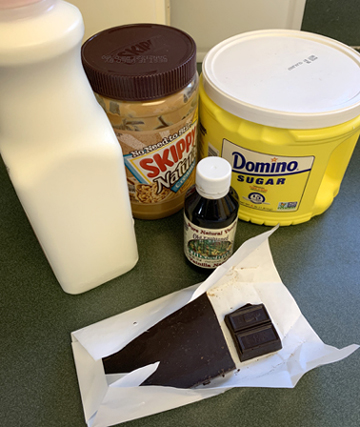 With just five ingredients and clearer directions than the “fooj” recipe, my confidence was high. I carefully followed the instructions exactly as they were written. When it came time to let the milk/sugar/chocolate mixture boil for five minutes, I set a timer and pulled out my candy thermometer (purchased when I attempted to make
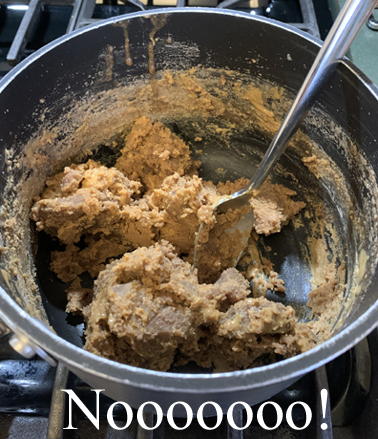
 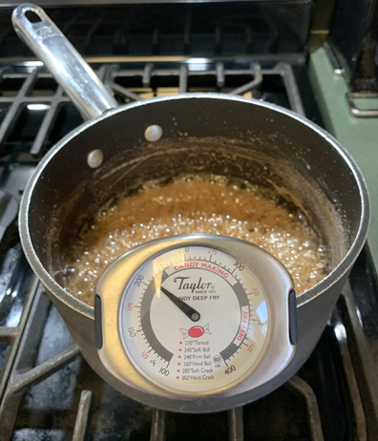 While the pot was taking its cold-water bath in the kitchen sink, a series of unfortunate events drew my attention away from the task at hand. The pot must have rested in the sink for too long because when I tried to add the peanut butter, the fudge was hard. Absolutely rock hard. I frantically tried putting the mixture back on the stove to see if it would soften up as I mixed in the peanut butter, but the result was a colossal, clumpy mess. Fudge failure, yet again.
 I wasn’t about to give up on Nana and her peanut butter fudge, so I started over from scratch. Armed with the knowledge from both of my failures, I focused wholly and completely on the fudge and finding the sweet spot of victory. And somehow, against all odds, I did it. I made fudge!
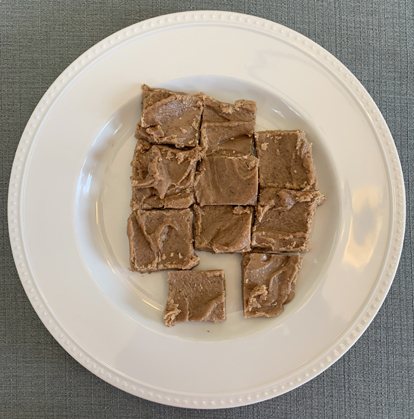 Peeny Butter Fudge is delightfully rich and provides the perfect flavor mixture of chocolate and peanut butter, which is one of my favorite dessert combinations. I provided samples for my teen son and his neighborhood friends to try, and all of them said “this is so good!” My son also said it tastes exactly like the filling in Reese’s Peanut Butter Cups. Collectively we give Peeny Butter Fudge our official seal of tastiness approval.