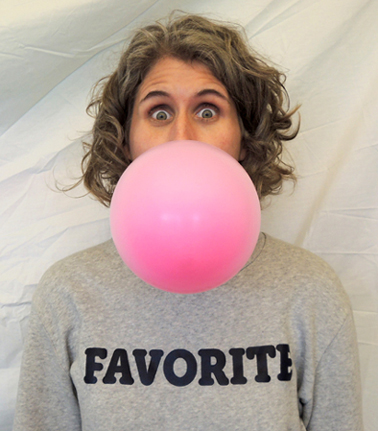
 We always promised that we would share the good, the bad, and the ugly on this blog. Well, today we present a complete and total fail. We tested a 6ft, 72″ latex climb in balloon. Yes, a giant balloon you climb inside.
Why?
Well, we were doing research for a Willy Wonka escape room Katie designed (you can see her awesome Sherlock Holmes one here). We spotted the balloon on Amazon and immediately thought of the gum-chewing Violet Beauregarde and her unfortunate turn as a blueberry in Charlie and the Chocolate Factory. Here’s the shot from the seller’s listing:
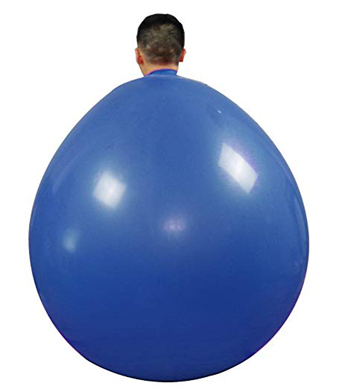
From Amazon
We imagined a Violet-like character in the escape room, giving hints and so forth. However, we were more than a little skeptical the balloon would work. But after watching several hilarious YouTube videos of people trying and succeeding, we decided to test one to see if it would work for us.
It didn’t.
For starters, even though this was listed as a “Climb In Balloon,” the instructions that arrive with the product DON’T tell you how to climb inside it. They instruct you to fill the balloon with helium and float it. Thankfully, YouTube had all the answers. In order to inflate it and wear it, we needed to use a leaf blower. Good thing Katie has a super duper electric one!
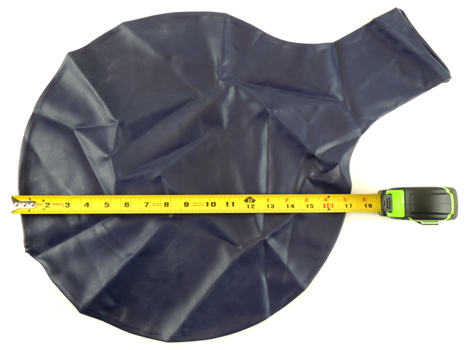
The balloon arrives in a plastic bag with the aforementioned instructions. It looks just like a little balloon, but supersized. I snapped a photo of it with a tape measure, just to give you an idea of the diameter.
 The technique for getting inside the balloon is to inflate it a little, stretch the neck open, and then quickly slide a foot in. Inflate again, and slide the other foot it.
 Then you stand up, inflate, and start shimmying the balloon up your body. But in order to create the space for your legs and torso, the balloon has to stay semi-inflated at all time. Which means someone is running a leaf blower next to your head as you try to ease your way into your balloon suit.
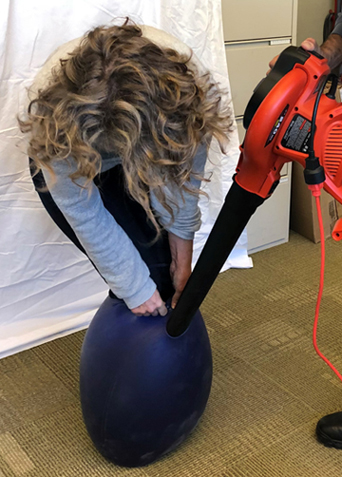 We made it a little past my knees before the balloon ripped. NOOOOO! Maybe it was the roughness of my clothing? Something smooth like running tights, yoga pants, or even wearing shorts might have made the difference.
Or perhaps it was they way the neck of the balloon kept curling downward, stressing the sides of the balloon until it finally ripped? If we’d had a couple of balloons to test, my guess is that we would have eventually succeeded (but at $25 a balloon, this was simply not feasible). Whatever the reason for the fail, I was really, really, really sad. I wanted it to work folks. I really wanted to be inside a giant balloon with just my head sticking out.
Well, you can’t win them all.
The amount of work to get inside this balloon, the high potential for failure, and the price per balloon means we’ll have to figure out something else for the Willy Wonka escape room. And whatever it is, it’ll be Katie’s turn to climb inside it. Heh heh.

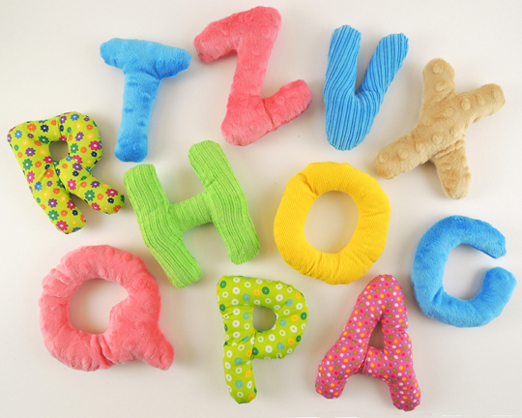
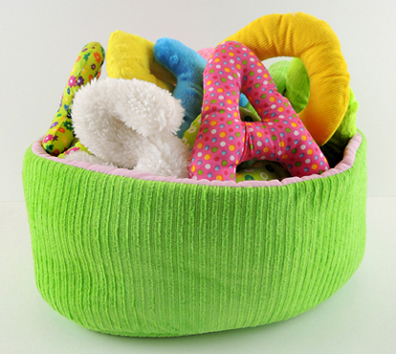 The set retails for $62 online at Discount School Supply. The price is a little steep, but we couldn’t find it less expensively through any other vendors. Etsy, of course, has some fabulous fabric letters, but I don’t imagine they’re machine washable like this set.
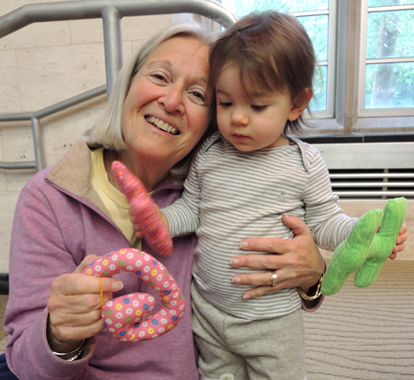
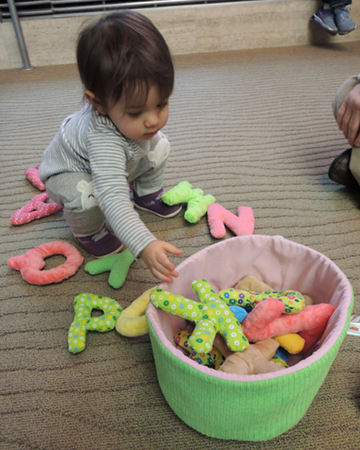 This little girl and her grandparents were naming all the letters as she picked them up. It was incredible to see her grab one and proudly say “W!” all on her own. The Soft Sensory Alphabet by Environments is definitely recommended!
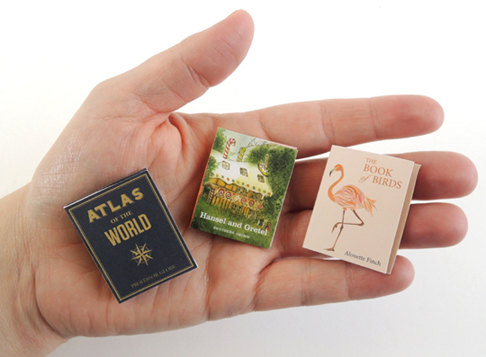
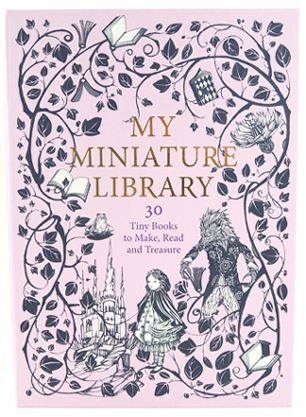 The packaging for My Miniature Library is a delightful cardboard box in the shape of a book. When you open the box, you are greeted with a small instruction booklet, 18 sheets of books covers and pages, and a cardboard punch-out bookshelf.
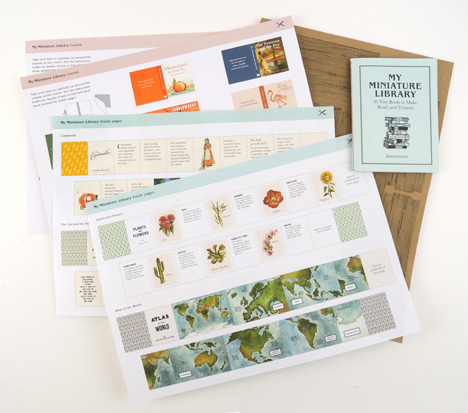 The 9″ x 12″ box containing the kit (and this is really cool) is also the set of the library. Prop it up on its side, and it becomes your library, complete with chevron hardwood floors, birds in flight wallpaper, and a window framed with fall leaves. When you are done playing with your miniature library, you simply pack everything inside the box, close the lid, and slide the kit on a shelf until next time!
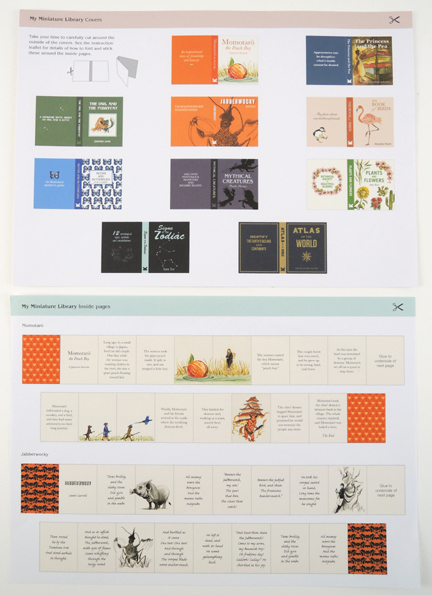
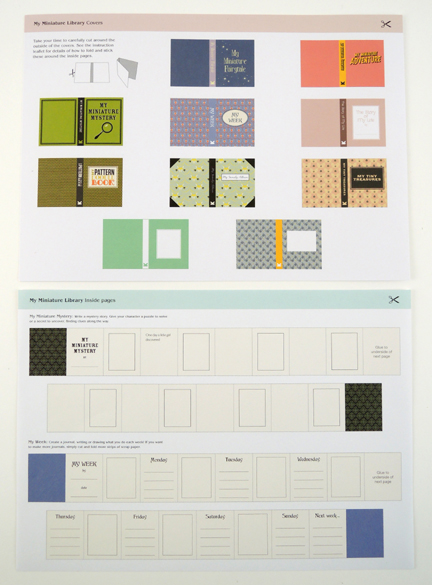
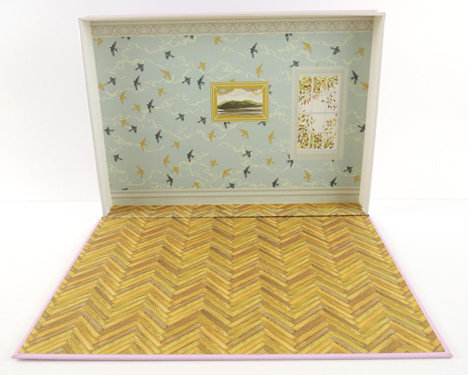 The kit contains the makings for 30 tiny books: 20 pre-written (both fiction and non-fiction), 8 books with title prompts you can author yourself, and 2 completely blank books for whatever topic you desire. Here’s a set of the pre-printed book sheets (which were primarily fairy tales):
 And here’s a set of the design-your-own sheets:
 Generally, the instructions are very clear, concise, and easy to follow. Especially the cardboard bookshelf. The books are where I started to run into some trouble. To create a miniature book, you first cut out the 2 strips that become the book pages, and the cover of the book. Then you carefully accordion-fold the book pages together, and glue them inside the front and back of the book’s cover.
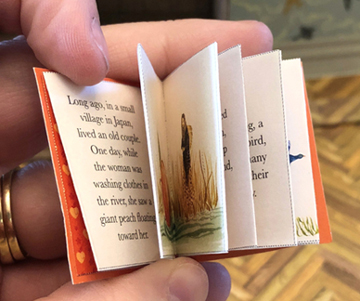 You have to carefully cut the 2 page strips in order to not lose any of the text or images. You also have to cut out the cover. For 30 books, that’s 90 pieces of paper to cut. That’s a lot of cutting.
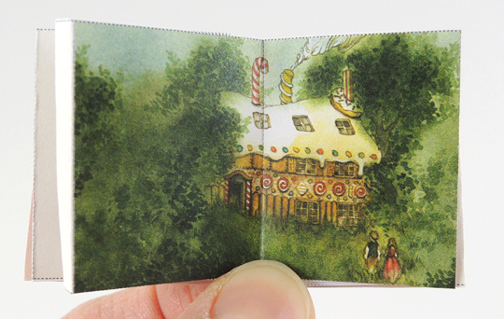 And here is the finished library, bookshelf and all. We placed my toilet paper tube portrait of Johnathan Swift (who you first met
 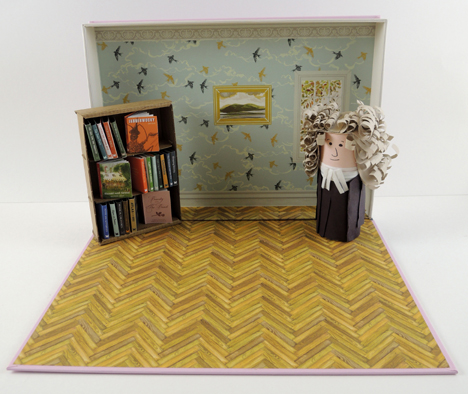 However, I disagree with the recommended age of 6+. I think children 10+ are better suited for the complicated cutting and folding to put these books together. With an estimated 3 hours to craft all 30 books (and that’s after all the cutting is done), I can imagine many children would give up well before all of the books are finished. Children under 10 might also have trouble writing small enough for the design-your-own books portion of the kit. Still, there’s no denying the awesomeness of your very own library with readable books and gorgeous hardwood floors!