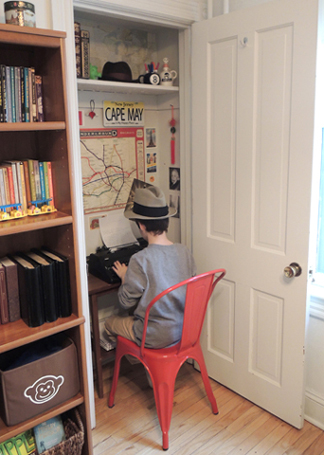
 This April Fool’s day, I decided to transform a tiny, unremarkable closet in my house into what my kids and I have dubbed THE MYSTERY CLOSET. The challenge was to create it for under $20. My friends, the grand total was $19.30. Details below!
The ultimate goal for THE MYSTERY CLOSET was that it be a place for writing. While we each have a desk in our bedroom, and while there is an art project table in the kitchen, I felt there also needed to be a dedicated space for our household typewriter. It had been sitting on a buffet table in the dining room, but the height and location of the buffet meant you had to stand to type. The results were just a few sentences here and there. I theorized that if I lowered the height of the typewriter, and allowed space for a chair to be pulled up, it would result in longer stories. I was way right.
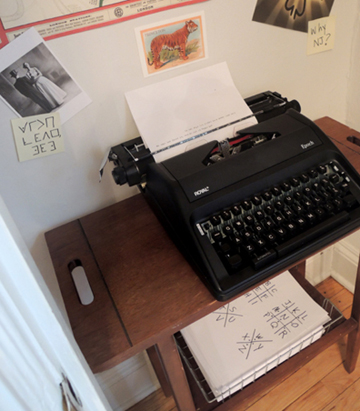
There were 2 major limitations to this project: size and budget. The closet is very tiny. A mere 12″ deep and 43″ across. Luckily, I had an old table in the attic that fit. There’s just enough space on the table for the typewriter and a metal basket with blank paper underneath. Scoot a chair over from the dining table, and you have yourself a desk!
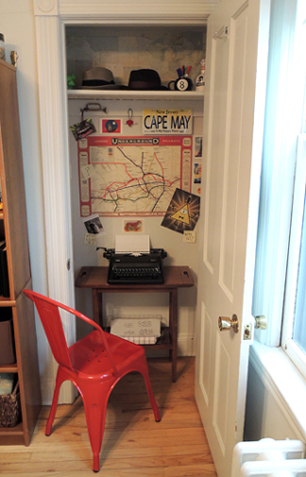 Budget was the other concern. I solved it by using items already in the house – xmas ornaments, halloween decorations, hats from the costume bin, a red tassel I found in my nightstand, a rediscovered world map, a…uh…green glow-in-the-dark pig that oinks when you squeeze it, etc.
I papered the upper shelf with the world map, but the London Underground map you see on the back wall is actually wrapping paper from a local bookstore! I also bought a dozen postcards. The final purchase was a Magic 8 Ball mug, deeply discounted, from Target.
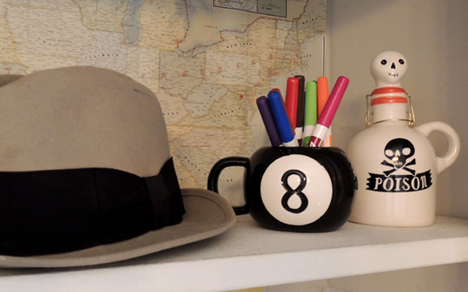 And for you eagle eyes who spotted Bill Cipher, the question mark Post-it note, and the 8 Ball…yes, we are huge Gravity Falls fans. Fun fact: the first sentence I left the kids on THE MYSTERY CLOSET typewriter was “Stan is not what he seems.” #teamwaddles
And speaking of ciphers, the new installation did include a coded message. I dropped 2 copies of the pigpen cipher in the metal basket, and left a Post-it message to the kids nearby:
 The grand finale? This closet is wired with overhead LIGHTS! There’s no electrical outlet, so I used battery-operated LED string light stars from IKEA (a leftover xmas stocking stuffer). The battery box is taped to the interior door frame, within easy reach.
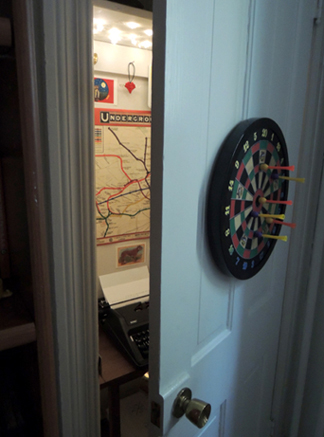
The London Underground wrapping paper cost $4.50, The Magic 8 Ball mug was $2.80, and the postcards cost $12. Project total: $19.30. Reaction from my kids? Priceless.
That morning, I didn’t say anything about the closet. I just waited until my daughter asked “Hey, where’s the typewriter?” A cryptic reply, a house-wide search, and the closet was soon discovered! They were soooo excited. Especially my 10 year-old son. I’m happy to report THE MYSTERY CLOSET has been in steady use by both kids ever since. The typewriter goes at all hours, which is truly music to this mom’s ears. Success!

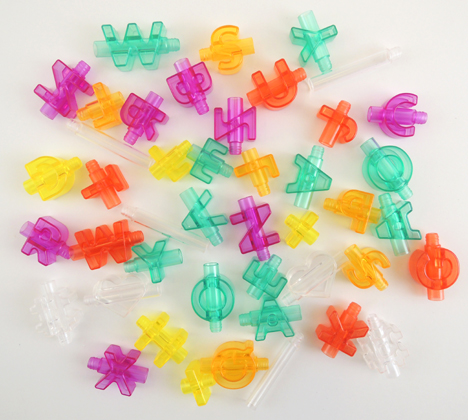
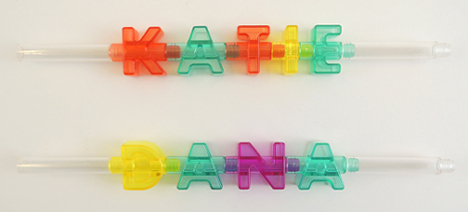
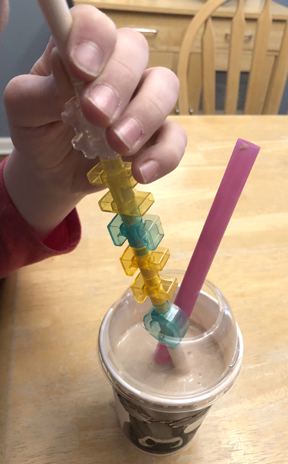
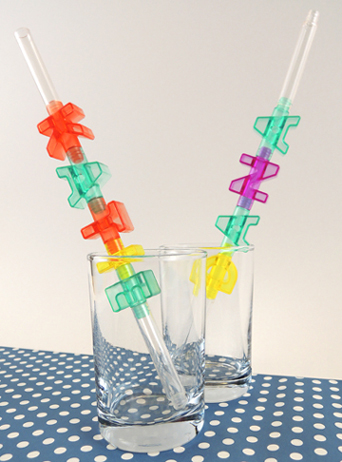 We’ve all eaten our words from time to time, but how taking a cool sip of your favorite beverage through them? Katie and her son tested this intriguing concept with Spell & Sip customizable straws by Spelly (Amazon, $15).
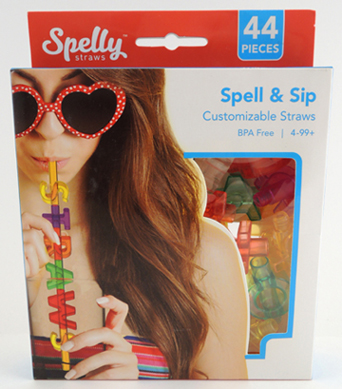 These BPA free straws are advertised for ages 4-99. The set contains 44 pieces. This includes an assortments of alphabet letters, 4 straw ends, and 2 sets of symbols.
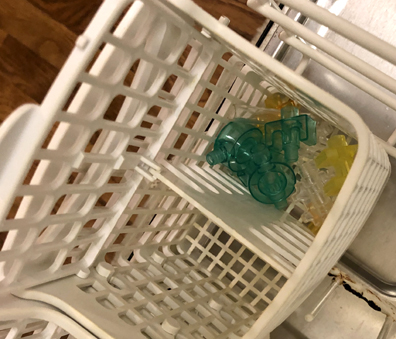
 Now the real test…cleaning! Katie put the used letters and pieces into the silverware basket of her dishwasher, closing the basket lid secretly praying the hot water wouldn’t melt anything. This was doubly risky because there was absolutely nothing on the product’s box that mentioned cleaning or being dishwasher-safe (only a statement that the company is “Not responsible for any damage caused by improper use or care”).
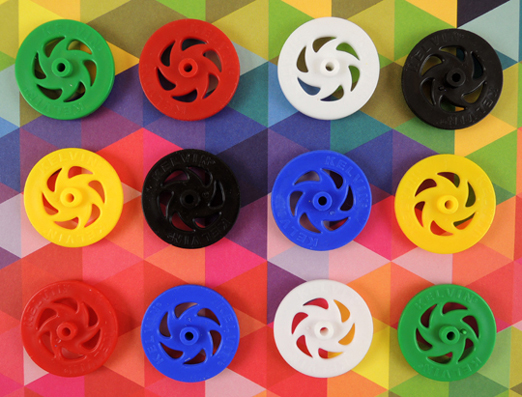 You’ve seen them in various projects that roll, toddle, and race. For anything ambulant, we highly recommend these fantastic plastic wheels, sold by Kelvin Educational. This post also includes instructions on how to make an official Pop Goes the Page wheel assembly for all your vehicular needs!
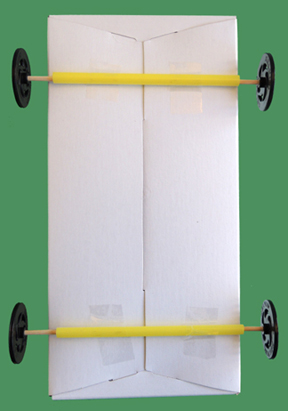
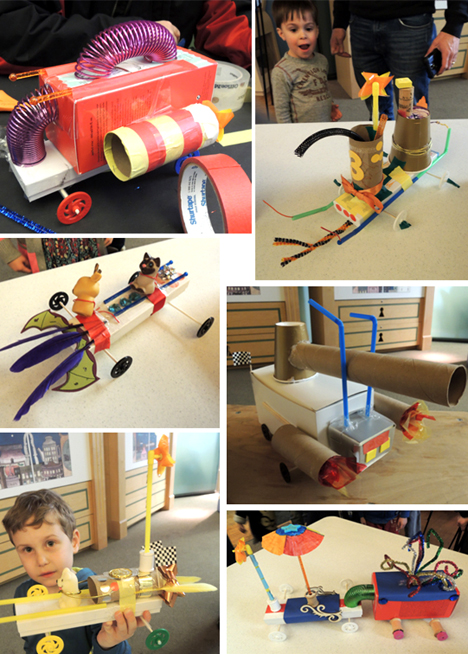 To make a wheel assembly, tape two, 4″ plastic straws to the bottom of a box. Then thread two, 6″ wooden rod “axles” through the straws. We used BBQ skewers cut down to the proper size with pruning shears (and don’t forget to cut off the pointy end of the skewer!). Here’s what a finished wheel assembly looks like:
 The wheels can be purchased from Kelvin Educational. Black wheels are product #990168 ($10 for 100); and color wheels are #990169 ($11 for 100). Warning! Sometimes, the wheels slide off the ends of the skewers. To remedy that, we hot glue
 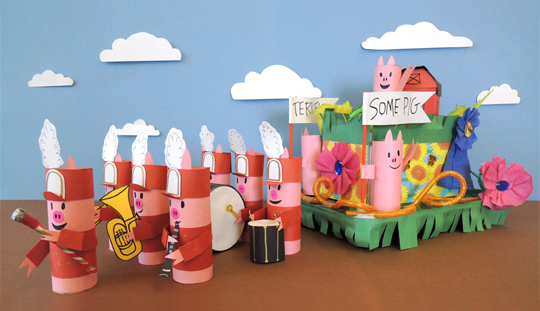 Pig
Pig 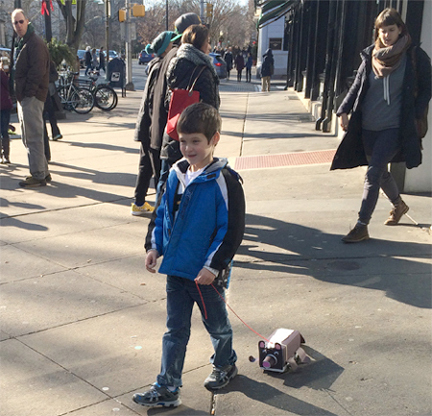 Hitting the streets with your
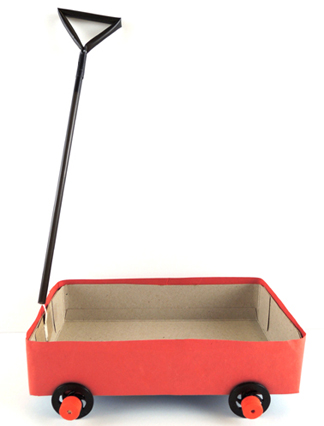
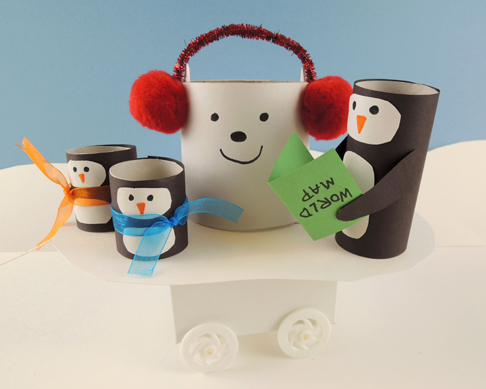 An
An 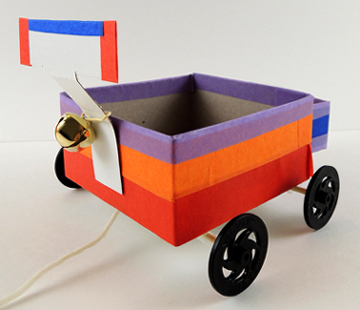 A
A 