It should come as no surprise to anyone when I make this statement: KATIE ADORES ESCAPE ROOMS. Since her first in-person escape room during a birthday celebration, Katie has gone on to design many awesome literary escape rooms, both in-person (see here, here, and here), and virtual (see here, here, and here)! So it makes total sense for her to test drive Finders Seekers, a mailed-right-to-your-door escape room company. Take it away, Katie!
Yes, I adore escape rooms, both participating in and creating them! Not being able to partake in a live escape room because of the pandemic, I eagerly started searching for a worthy “at-home” alternative. That’s when I found Finders Seekers.
Finders Seekers is a monthly subscription where you receive a box in the mail with an escape room mystery adventure inside. The rooms are based on the culture and history of a different city somewhere in the world. The cities have covered the entire globe, including Sydney, Australia; Athens, Greece; Petra, Jordan; and San Francisco, California. There are a couple options for purchasing: you can sign up for a month-to-month service for $30, or you can select up to 3 levels of prepay spanning a year. There’s a gift option for sending a box to an escape room fanatic as well. You can cancel your subscription at any time.
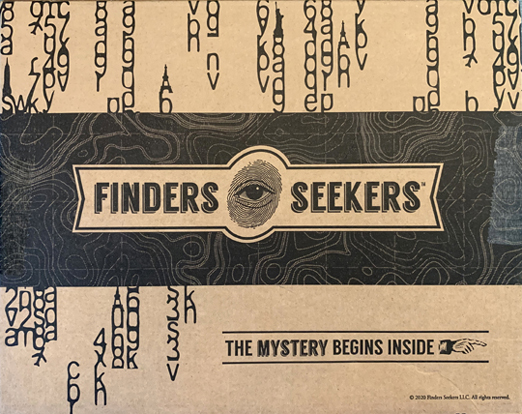
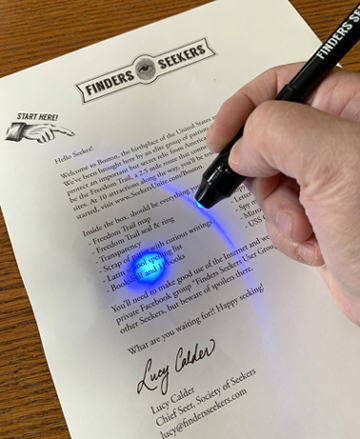
Your “Escape Room in a Box” literally comes in a Finders Seekers marked box, which tells you that “The Mystery Begins Inside.” When you open the box, you find a “Classified” envelope with all the materials you’ll need to solve the escape room, along with a letter of specific instructions from Lucy Calder, Chief Seer of the Society of Seekers. Chief Seer Calder provides a website with links to different locations within the city, along with supporting information to help you solve the clues and puzzles.
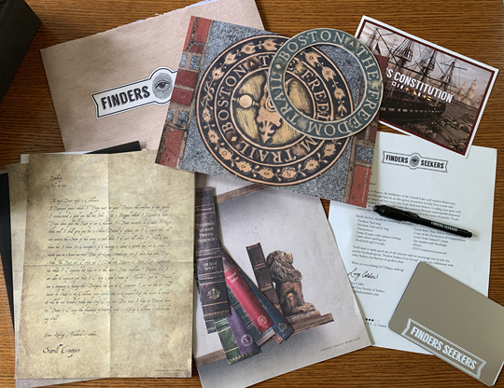
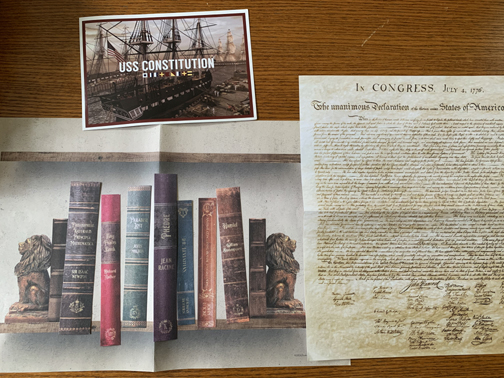
Our first Finders Seekers adventure took us up the East Coast to Boston, Massachusetts. From the deck in our backyard, my son and I raced along Boston’s Freedom Trail and visited 10 historical stops along the way. We were tested by 10 “patriots” at the sites and once we solved the riddle, we were given a token that helped us decipher the final mystery to the location of a stolen relic.
The descriptions and data provided within the website work hand-in-hand with the materials found inside the envelope. You definitely need both elements to figure out the solution. If you get stuck on a puzzle, never fear. The website provides additional hints (and even the final solution!) if you need help as you work through the escape room.
My 13 year-old son and I found some of the puzzles rather easy to figure out, whereas others required us to put in a bit more thought to figure out the solution. Some friends of ours did it with their daughter and her friends (ages 9-11) with success as well. Even though my son and I had decided to not use any of the extra hints, we did get help once because it was difficult to read part of the clue on our materials and the puzzle wasn’t terribly clear.
Otherwise we managed to solve the escape room entirely on our own. Together we traveled through the city, learned fun facts about one of the most historical places in the United States, and crossed the Boston Marathon Finish Line in a little over two hours!
Our other Finders Seekers adventures had us jetting off to Paris, France and making various stops along the Metro, including the Catacombs and Moulin Rouge. We also have a mystery in Beijing, China waiting for us to solve.
For families who like game nights, for couples searching for a fun date activity, or for anyone who simply loves escape rooms (including yours truly), Finders Seekers is ideal. You finish the escape room in one sitting, rather than having to solve one section and then wait another month for the next part of the mystery. You can also do it entirely on your own! It provides enough challenges to foster excitement and intrigue for several enjoyable hours and introduces the adventurers to new places and cultures. Finders Seekers receives my highest recommendation!
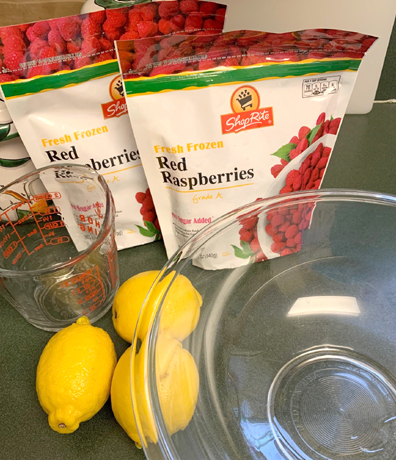
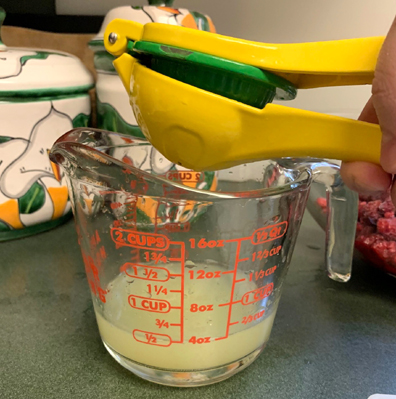 I decided to use it all and carefully mixed it with the raspberries. Once the sugar water was ready, I transferred the raspberries in lemon juice into the pot with the boiling water and let it all cool on the stove before putting the concoction into the fridge overnight.
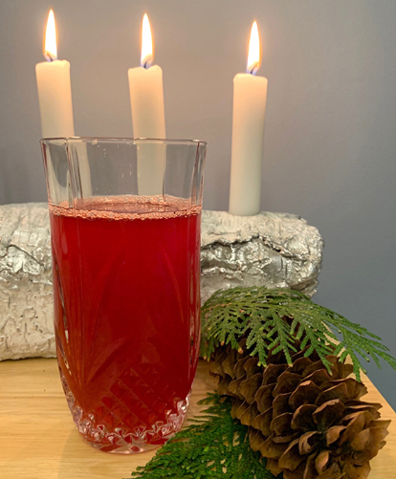
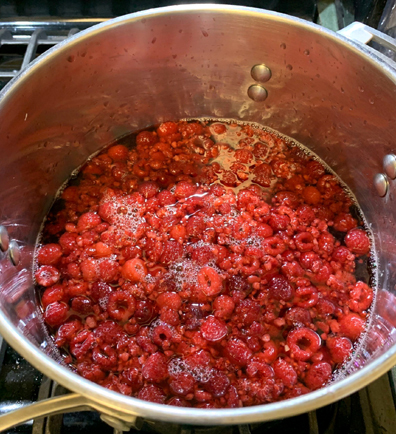 After 24 hours, I strained the raspberry mixture through a sieve in batches so that I could make sure there were no seeds in the juice. After a quick mash of the raspberry mush and another pour through the sieve, the raspberry cordial was ready.
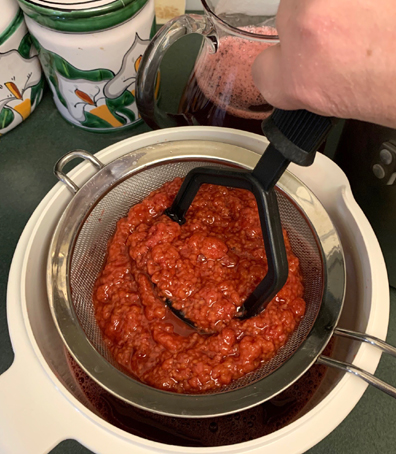
 If you are searching for other culinary inspirations, check out these interesting
  We’ve reviewed a lot of interesting word products on this blog (see this