

It sparkles and shimmers. Could it be gold? Well, you might strike gold and get rich…or you might be fooled by some glittery pyrite! We made some awesome geology connections at To Be Continued, our story time for 6-8 year-olds, including rocks that sing!
We read Missing on Superstition Mountain by Elise Broach (Henry Holt, 2011). Brothers Simon, Henry, and Jack have moved from Chicago to Superstition, Arizona. The sleepy little town is shadowed by the looming and unforgiving Superstition Mountain, which has a history that none of the adults seem to want to share. The boys have been forbidden to go into the mountains, but when Josie the cat runs away, they follow her and soon uncover a mystery that involves three human skulls, a lost gold mine, and the strange, seemingly supernatural, power of the mountain. Can the boys and their friend Delilah survive Superstition?
In addition to a secret gold mine (which is totally awesome), Missing on Superstition Mountain has quite a bit about rocks, landscapes, and geology. When we finished the book, I thought it would be cool to do some rock-based activities. And Princeton University have some fantastic resources when it comes to geology.
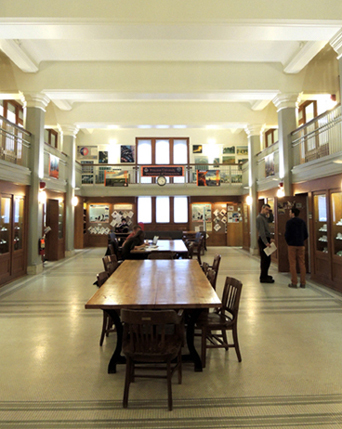 First, we took a walk across campus to Guyot Hall, home of the Department of Geosciences. Their central office space is lined with display cases full of rocks, gems, fossils, and minerals.
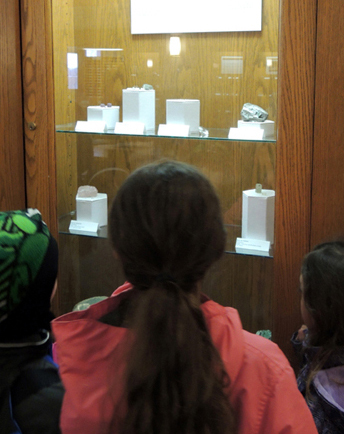
 The kids oohed and aahed over some of the precious stones…
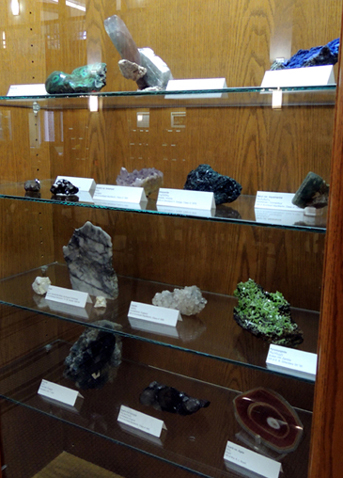
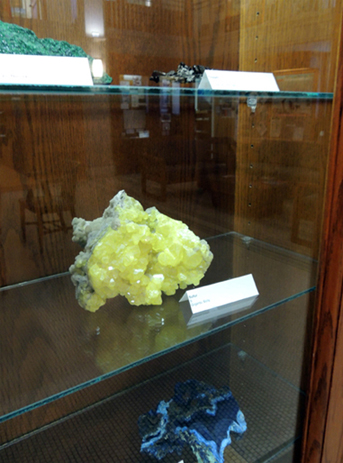
 But were equally impressed by the gigantic mineral specimens!
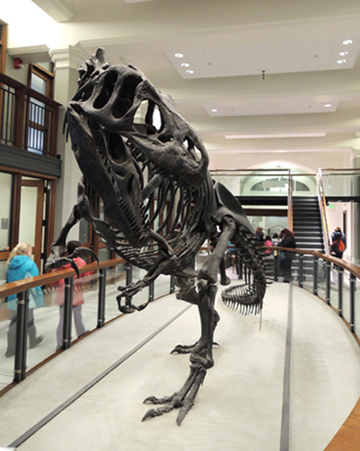
 We visited a Allosaurus skeleton and a T. Rex skull on our way out of the building. Yes!
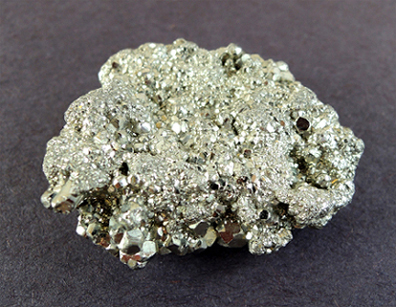
 Back at the library, I had samples of pyrite for the kids to look at (courtesy of Laurel Goodell, manager of the undergraduate labs in geosciences). Pyrite is called “Fool’s Gold” because of its sparkly gold appearance, but it’s actually a mineral.
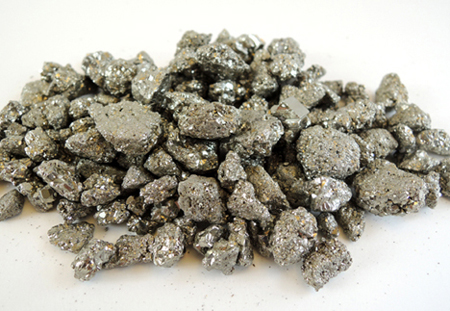
 The kids couldn’t take home the big samples of pyrite, but I did find some smaller pieces on Amazon. I bought three, 0.2 ounce boxes of pyrite nuggets for $5.79 a box. They arrived powdered with black grit, so be prepared to do some major rinsing, and maybe a little scrubbing, before you given them to kids. But as you can see below, they cleaned up nicely and there were some pretty good sized pieces in there.
 The kids took their stash home in a cotton drawstring bag (left over from this event). I also tucked a little information sheet inside the bag too (here’s the template if you’re interested). But I saved the best geology connection for last. Did you know that some rocks can produce musical notes?
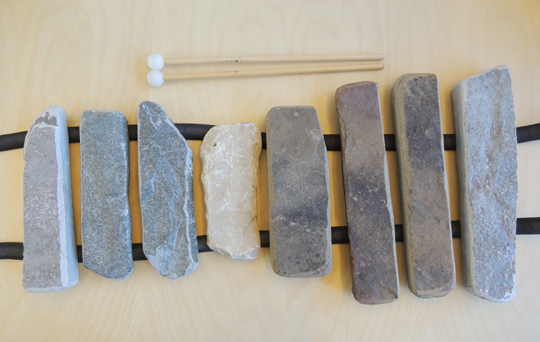 This is a lithophone. It’s a xylophone with tone bars that are made out of stone (as opposed to wood or metal). When you strike the stones with a mallet, they produce a musical tone. But not all rocks sing! It takes a lot of trial and error, as well as a lot of chipping and grinding to make rock tone bars. The stones you see above are limestone, sandstone, and granite.
The lithophone was made by Tom Kaufman, owner of Tinkertunes Music Studio in Michigan. I commissioned him to build it for a Journey to the Centre of the Earth event in 2013. After the event, the lithophone went to its new home in the geosciences lab.
Ready for a little rock concert?
If you think that’s cool, you should check out Tom’s lithophone fence. It plays “Row Row Row Your Boat” as you run around it with a mallet! The fence was installed at the Gerald R. Ford Presidential Museum in Grand Rapids, Michigan for ArtPrize, an annual art contest.
Many thanks to Laurel Goodell and the Department of Geosciences for the pyrite and lithophone loan!
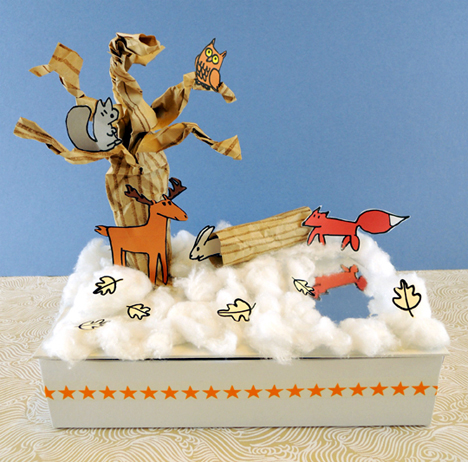 It’s a diorama, a keepsake box, a mini exhibit, AND a lesson in ecology! Open the lid of this winter landscape and you’ll find the creatures that hibernate, burrow underground, and tunnel underneath the snow, complete with an information card!
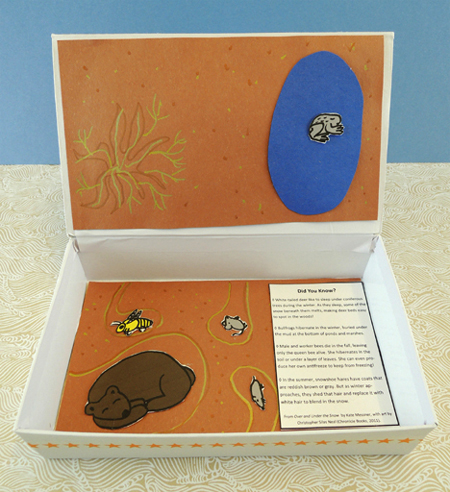 We read Over and Under the Snow, written by Kate Messner, and illustrated by Christopher Silas Neal (Chronicle Books, 2011). A father and child ski over the deep snow in the woods. Even though it’s a world of white, signs of life are everywhere – squirrel, owl, deer, snowshoe hare, and fox. But under the snow is yet another world. Shrews and voles run in tunnels. Bullfrogs burrow in the mud, bears hibernate, and a queen bee sleeps, waiting for the first signs of spring. The book ends with the child in a cozy bed, dreaming of nature. An absolutely beautiful book, with gorgeous, bold illustrations set against snowy white.
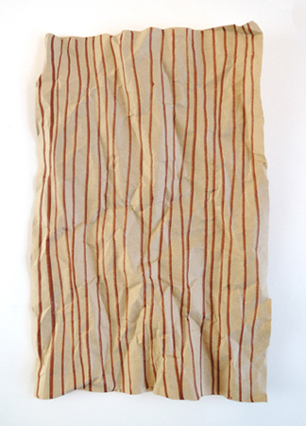 Roll the paper into a tube and secure it with tape. Cut 4 tabs in the bottom of the tube (each tab should be about 1.5″ long). Fold the tabs outwards. Later, you’ll use these tabs to attach the tree to the box lid:
 Cut 5-6 tabs in the opposite end of the tube (these tabs are much longer, about 5″). Fold them out gently, then twist them to create the branches of your tree.
 Hot glue (or tape) the tree to the lid of the box. If you’d like to add a log to your landscape, use a brown marker to draw horizontal lines on a 3.75″ x 4.5″ rectangle of brown wrapping paper. Crinkle the paper, then roll the paper into a tube and secure it with tape. The final length of the log should be 3.75″. Set the finished log aside for a moment.
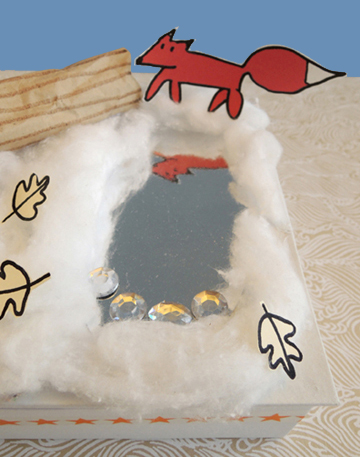 Your winter landscape is complete! Well, maybe not quite complete…
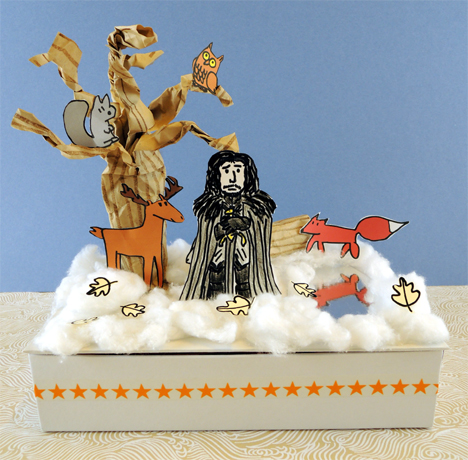 Bet you a
  The roar of the audience, the flashing lights, the first strains of your big number thrumming through the arena…grab the mic…it’s time for some kitty karaoke. We made rockin’ oatmeal container cats and then hit the stage to sing our hearts out. But, given the feline nature of this rock star, you could only sing in “meow.”
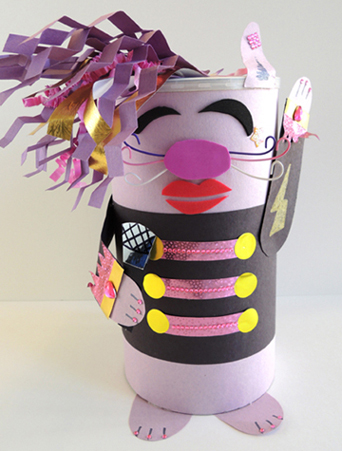 Wrap a large oatmeal container with construction paper, then add an additional strip of black construction paper around the middle for a “jacket.” To make whiskers, tape 3 Twisteez wires to front of the oatmeal container:
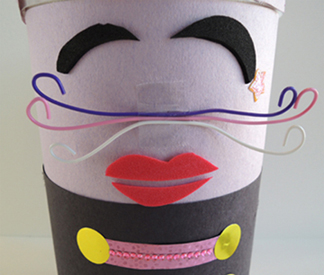 Then peel and stick an oval of self-adhesive foam over the tape.
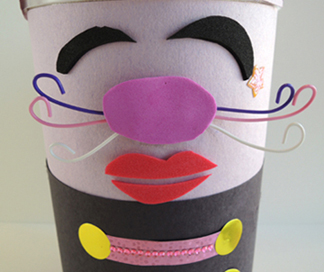 In the above photo, you’ll also notice how I used self-adhesive foam shapes to make eyes and a pair of lips (but you can also just use markers).
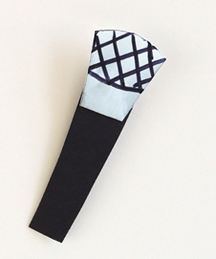 Now for the concert! We made our stage out of an old archive box. As you can see in the image below, we hot glued the lid to the base (and reinforced the connection with packing tape). The stage lights are toilet paper tubes wrapped in black construction paper with black masking tape wrapped around one end. The stage lights are attached with hot glue, then reinforced with a bit of packing tape.
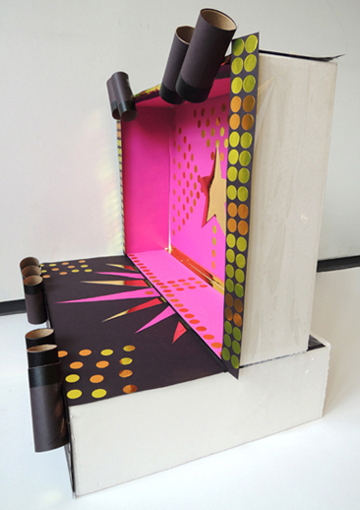 We used black and fuchsia poster board, mirror board, and a ton of metallic dot stickers to create a sparking wonderland of rock-stardom. Oh. Yeah.
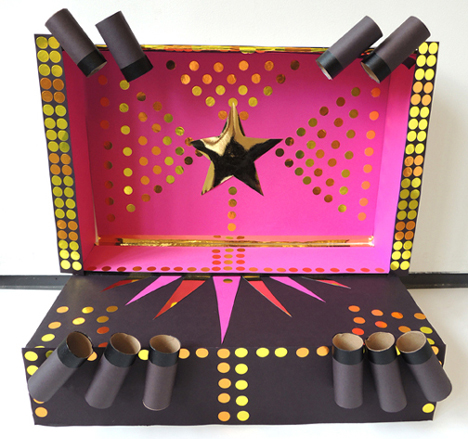 For the final touch, we wrapped two LED floor lights with purple and blue cellophane, and pointed them at the stage. You certainly don’t have to go this elaborate. A shoe box wrapped with tin foil, a sparkly scarf on the floor, a section of carpet with a light shining on it. Really, it all works!
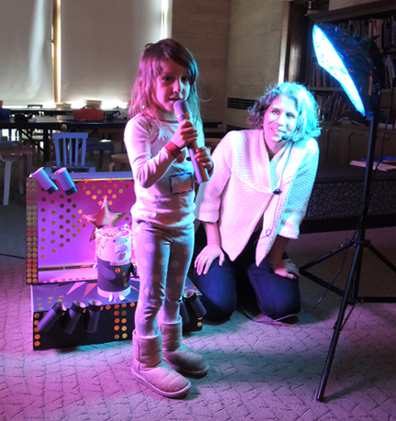 Facing inwards to the stage…
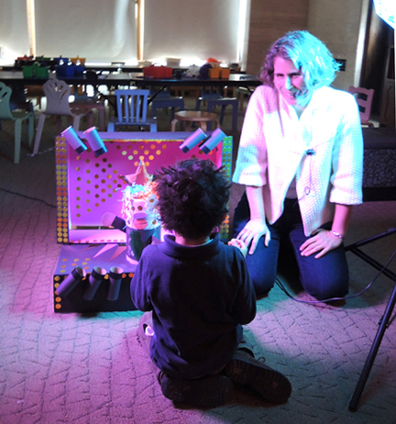 Facing inwards to the stage with backup singer…
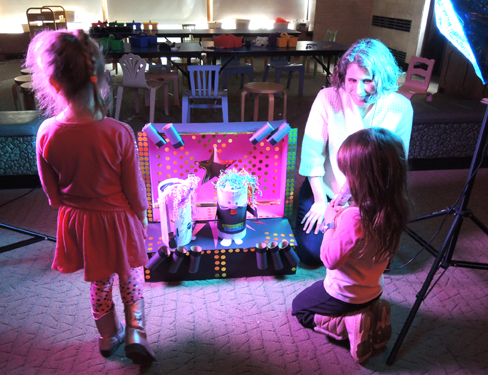 The power duet…
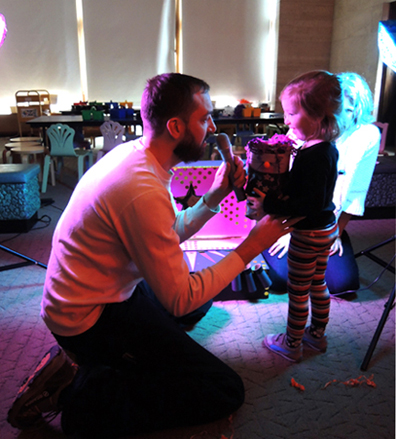 You might notice the kids are using a real microphone! I use a wireless amp for my story time programs, so I busted out a hand-held microphone and let kids experience the power of amplification. A cheaper (and less noisy) option is to make a paper and tin foil microphone. You’ll find instructions for that right