 Some wild and crazy vowels are on the loose, and you must grab your magnetic fishing rod and catch AEIOU…and sometimes…that mysteriously elusive Y.
We read Sue MacDonald Had a Book, written by Jim Tobin, and illustrated by Dave Coverly (Henry Holt, 2009). Sue MacDonald had a book, but AEIOU made a break for it. So Sue must hop a train, ride a hot air balloon, delve into a sewer system, wield a fishing rod, and more to catch those rascally vowels. Honestly, this book should be in every early education classroom. Fantastic writing, great illustrations, and best of all…you SING the book to the tune of Old MacDonald!
You’ll need:
- 1 vowel template, printed on 8.5″ x 11″ white card stock
- A long piece of (ours was 32″)
- A selection of color masking tape
- 7 jumbo paper clips (mine were 1.75″ long)
- 1 magnet
- A piece of string (approximately 55″ long)
- Scissors and tape for construction
- Markers for decorating
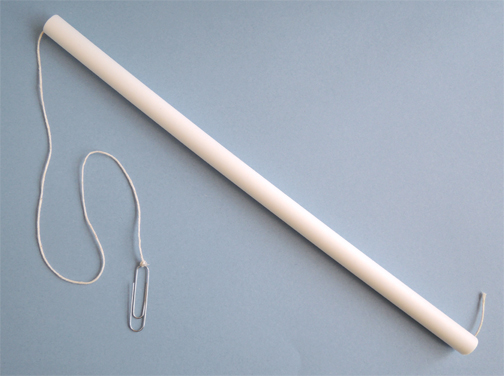
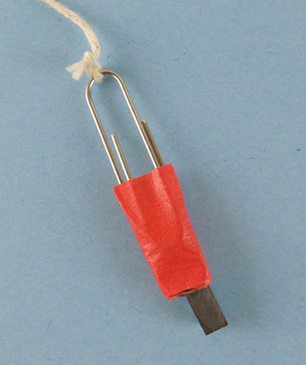
The fishing poles are just about identical to the ones we constructed at our ice fishing story time. First, tie a jumbo paper clip to a piece string, then lower the paper clip into a piece of PVC pipe. Keep lowering the paperclip until it’s hanging well below the pole and there’s just a few inches of string sticking out of the top. Next, turn your pole so it looks like this:
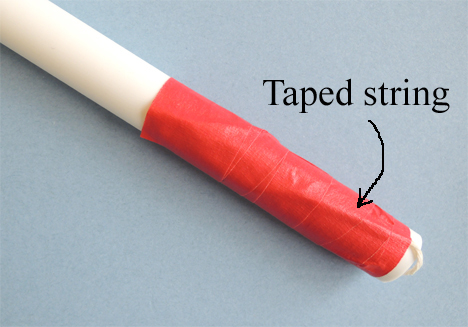
 Push the unattached end of the string against the pole, and cover it with color masking tape. Continue wrapping the pole until you’ve created a 3″ handle. If you’d like, use the color masking tape to decorate the rest of the pole.
 Finally, tape a magnet to the paper clip. We used little ceramic block magnets. Since these were potential choking hazards for younger siblings, we checked, double checked, and triple checked to make sure everyone’s magnet was firmly taped in place.
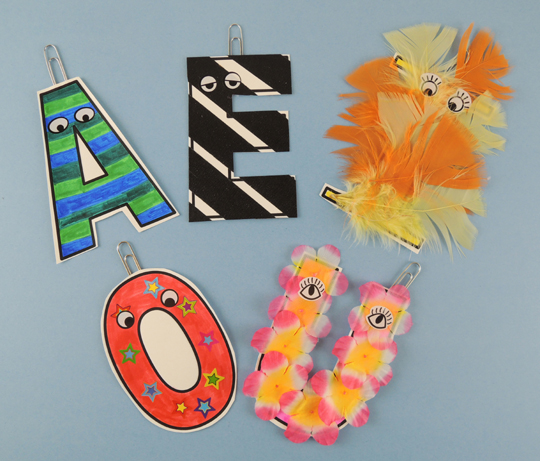
 Next up, the VOWELS! Cut the vowels out of the 2-page template. You can use just markers to decorate them, or you can do what we did and bring out the Bling Bin and eye stickers.
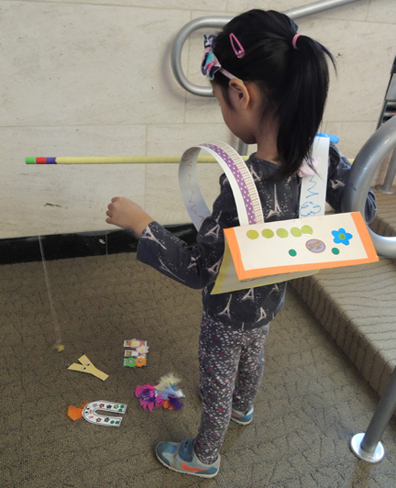
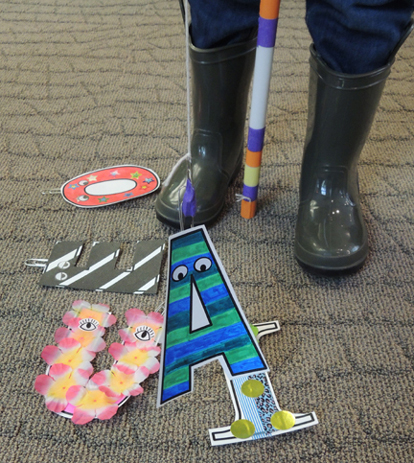
 When you’re done decorating, tape a jumbo paperclip to the back of each letter. Spread the vowels on the floor, take a few steps back, and try “hooking” them with your rod.
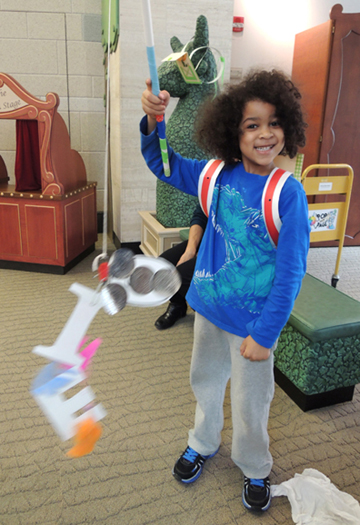
 Check out Mr. Expert Fisherman…3 on 1 hook! Nice!
 The letter Y is on the template, but at our story time, we decided to do something a little special with it. We traced the Ys onto gold mirror board:
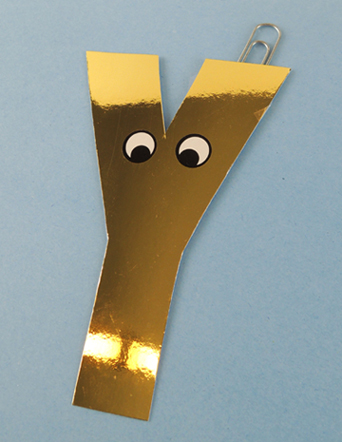 Then, as kids were fishing, we quietly dropped the golden Ys into their pile of vowels. If they caught the Y, they got to take it home (and of course, everyone caught the Y)!
Did you notice that some our our fishermen and women in the photos are wearing backpacks fashioned from manilla office folders? If you’d like to make one for your vowels to ride home in, the instructions are right here in this camping post.
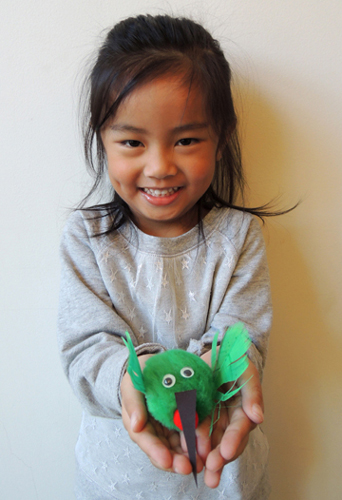
 The hummingbirds were created by Katie. Aren’t they cute? She made a green version modeled after the ruby-throated hummingbird, and a purple version modeled after the violet sabrewing hummingbird.
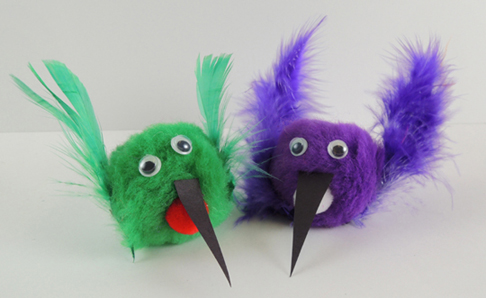 To make a hummingbird, glue a thin black construction paper beak onto a large (1.5″ diameter) pom-pom. Glue a smaller (.75″) pom-pom underneath the beak. Add a pair of small wiggle eyes and 2 feathery wings and you’re set!
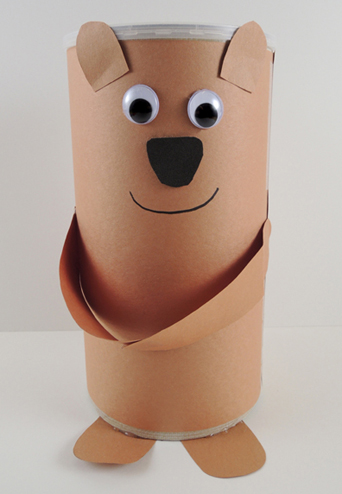
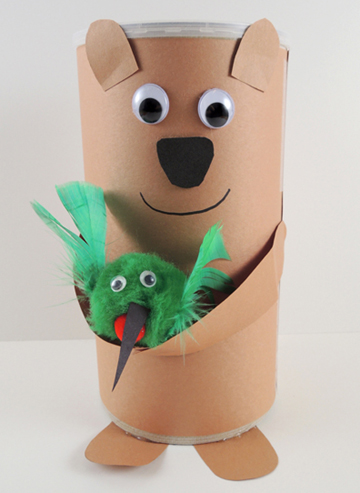
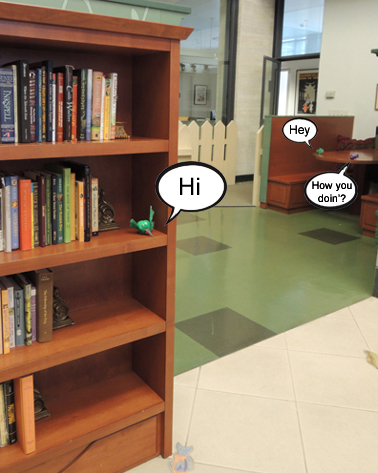 Then, slowly, and oh-so-quietly, kids and their bears went in search of their hummingbirds.
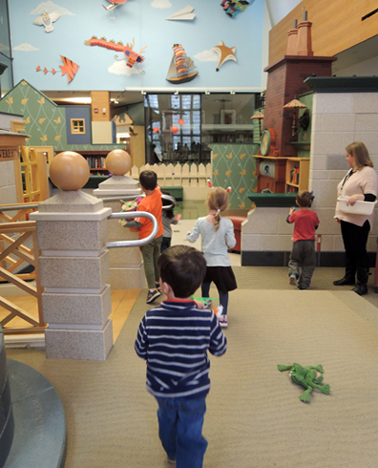 Looking for more feathered friends? Check out this
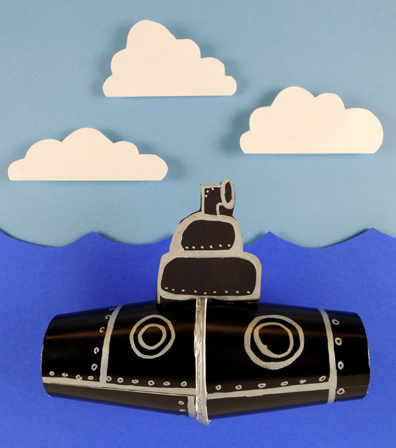
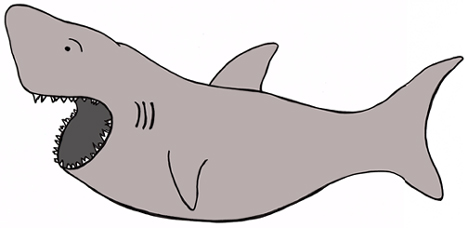
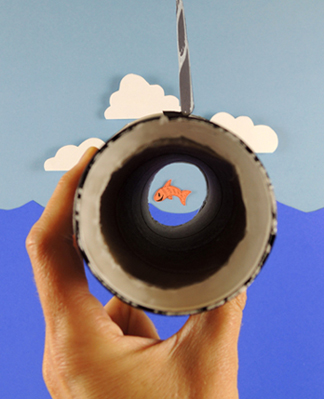 We recommend Rub-a-Dub Sub, written by Linda Ashman, and illustrated by Jeff Mack (Harcourt, 2003). Zooming around in an orange submarine, a little boy encounters numerous ocean creatures – a seal, a manta ray, a horseshoe crab, and an eel to name a few! But an encounter with an enormous shark forces him to quickly retrace his steps to the surface, where he finds himself safe and sound – in his very own bathtub.
 Next, turn the cups end-to-end and connect them together with hot glue. If you can’t do hot glue, simply connect the cups with tape. We used black masking tape for the photo below, but regular tape works just as well.
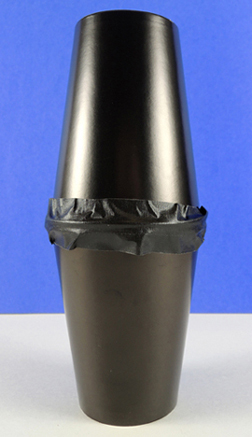 For the paper towel tube version of the project, cut the holes in the bottoms of the cups. Then place a piece of paper towel tube inside the bottom cup (our tube piece was 6.75″ long but you might have to adjust yours a little). Place the second cup over top of the first…
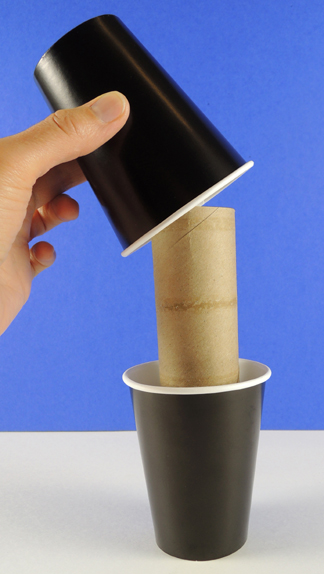 Then hot glue (or tape) the two cups together. So…is the extra effort for the paper towel version worth it? You decide! Here’s a side-by-side comparison of the 2 projects. One could argue that the paper towel tube version looks more like a spyglass, but the cups-only version is cute too.
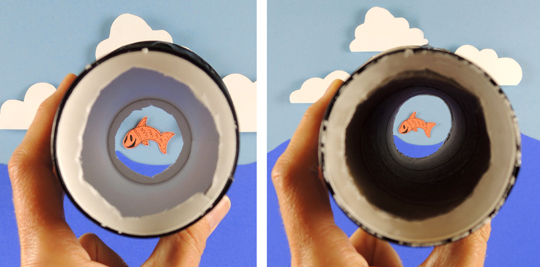 Next, cut a periscope shape out of construction paper, tab the bottom, and attach the periscope to the top of the sub. Finally, use markers to give your sub portholes, plates, rivets, and bolts. Any markers will do, but we really liked how silver metallic marker looked on the black paper cups.
 Miss Marissa designed this awesome project, and she made a fantastic I-Spy game to go with it! To play, print up the characters in this template (click