
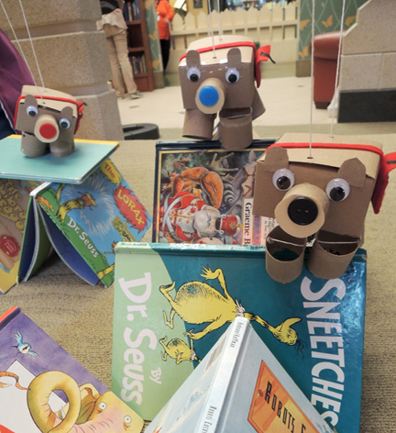
 This intrepid bear marionette marches over all obstacles in our library landscape… searching for new friends and a cozy place to call home!
We read Otto the Book Bear by Katie Cleminson (Disney Hyperion, 2011). Otto the Bear is a character in a book. He possesses the delightful ability to come to life and rove outside his book. Otto explores the house, reads, and journals on the family typewriter. When his book is tragically overlooked when the family moves away, Otto decides to strike out on his own. But it’s a big world for a tiny bear, and he soon grows downhearted. But what’s this? A building full of light, hope, and characters like him? Now, Otto lives in the library with tons of new friends and readers. He is a very happy bear!
You’ll need:
- 1 small box (ours was 4″ x 4″ x 4″ – a small tissue box works too)
- String
- Brown construction paper
- 1 wooden dowel
- 2 large plastic buttons
- 3 toilet paper tubes
- Red felt (optional)
- Scissors and tape for construction
- Hole punch
- Hot glue
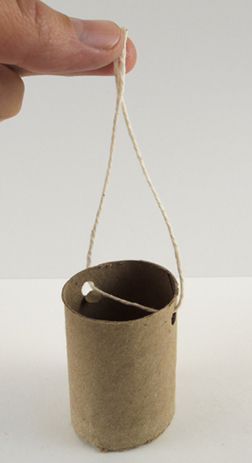
 This marionette is designed with simplicity in mind! First, cut the bottom off a small box.Then cut the box down to about 2.25″ tall. Punch two holes in the top of the box, and thread a 29″ piece of string up and out of both holes like so:
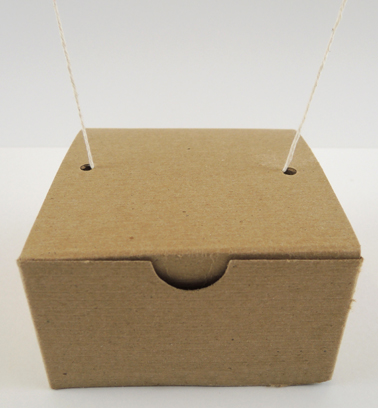 Tie the free ends of the string to a wooden dowel rod. If the top of your box has a lid like ours did, make sure to tape it down tightly.
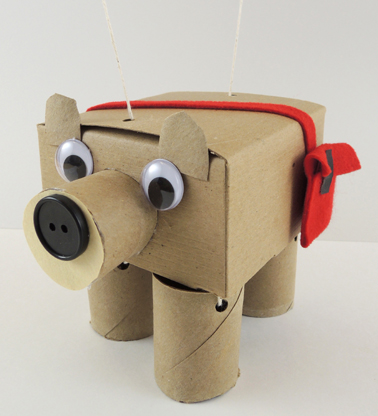
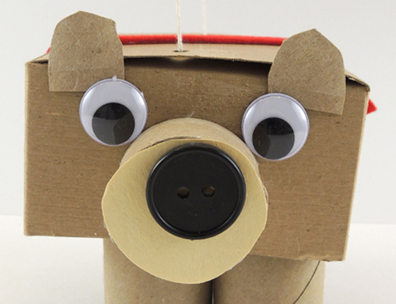
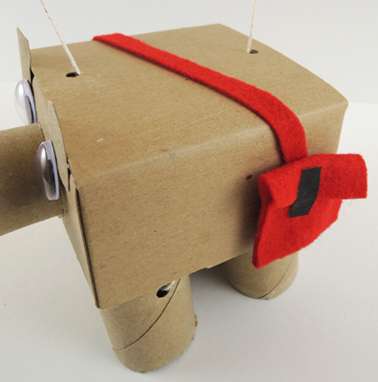
Next up, the bear’s face! The snout is half a toilet paper tube with a circle of brown construction paper covering one end. Hot glue the snout in place, then add a plastic button nose, a pair of wiggle eyes, and ears. We made the ears (and the bear’s tail) out of the extra cardboard we cut from the box earlier.
 To make the bear’s legs, cut 2 toilet paper tubes in half. Punch 2 holes in the top of a half, then thread a 10″ piece of string through the holes like this:
 Repeat the above steps with the remaining three legs, then tape all 4 legs to the inside “ceiling” of the box. Here’s a shot of the underside of the box with the leg strings taped in place.
 Did you notice the black button in the image above? We hot glued that to the inside rear of the bear to counterbalance the button on the bear’s snout. It helps keep the marionette from leaning forward too much.
In the book, Otto wears a handsome red messenger bag. We crafted our bags out of red felt, using hot glue to seal the sides. A little piece of black masking tape held the bag closed.
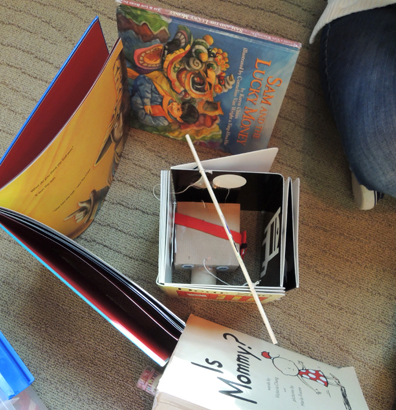
 When the bear marionettes were finished, we encouraged kids to pull books off the shelves and use them to create mountains, walls, ramps, bridges, and paths for their bears to travel across. A few kids also made cozy little places for the bear to nap. Awwwww!
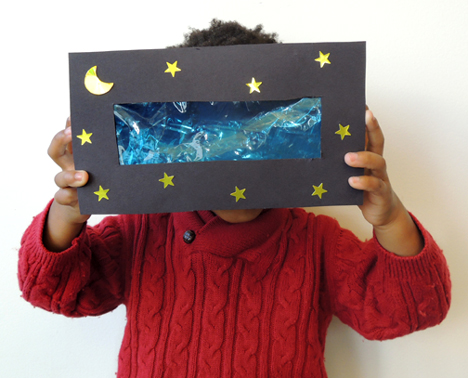 Change a familiar landscape to a nocturnal world full of shadow and intrigue. It’s our Snap Story Time version of night vision googles, ready to go in a few simple steps!
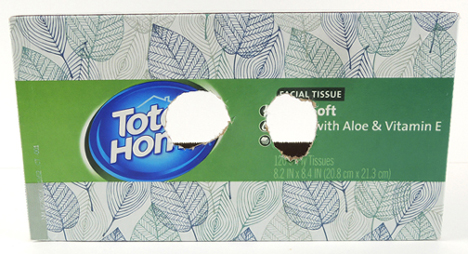 Then tape rectangles of blue cellophane over the opening of the tissue box. We did 3 layers of cellophane to darken things down quite a bit.
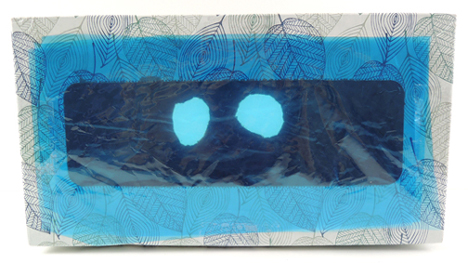 We added a black poster board frame to the tissue box with a foil moon and stars as well:
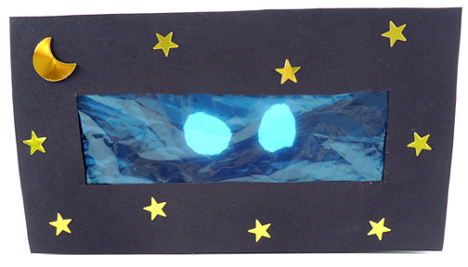 To operate, place the goggles up to your eyes and watch as your familiar space is transformed to a cool blue night world!
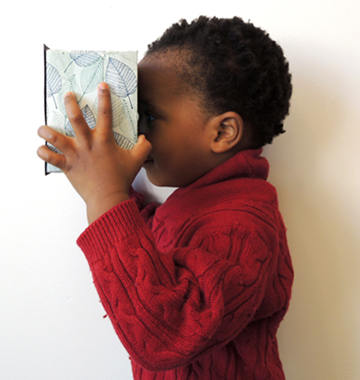
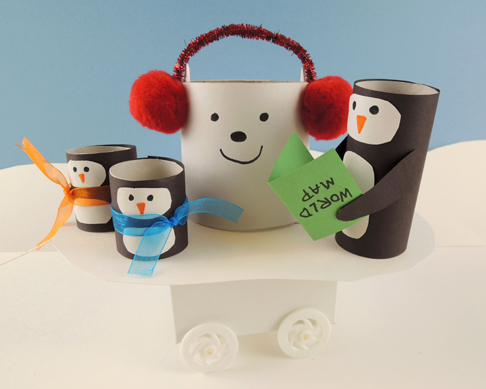 Heading to the North Pole? South Pole? Or perhaps you’re on an unintentional grand tour of the globe? Hop on this convenient ice floe with some slightly puzzled penguins and polar bear and prepare to see the world!
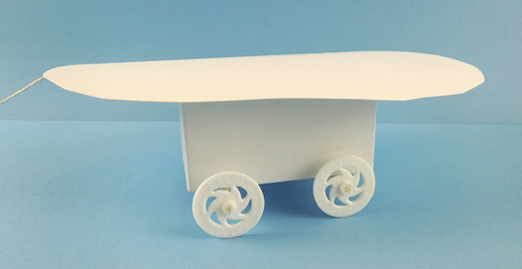
 Now for the polar bear and the penguins! For the bear, we wrapped a 3.5″ tall packing tape core with white construction paper. The earmuffs are a
 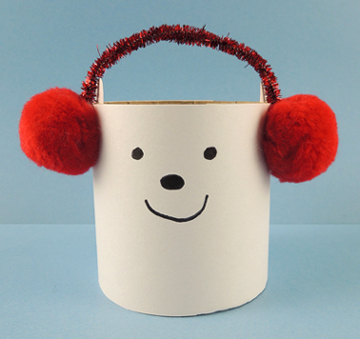 To make the penguins, wrap 2 toilet paper tubes with construction paper. Cut one of the tubes in half to create the 2 small penguins. Attach wings, faces, and tummies. We also added ribbon scarves and a world map to our penguins trio (and if you want to be true to the book’s illustrations, attach the map upside down).
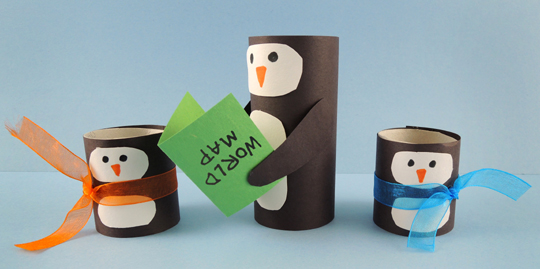 Place the polar bear and penguins on top of the ice floe and travel the world! Some kids opted to tape their passengers to the ice floe to keep them from falling off…
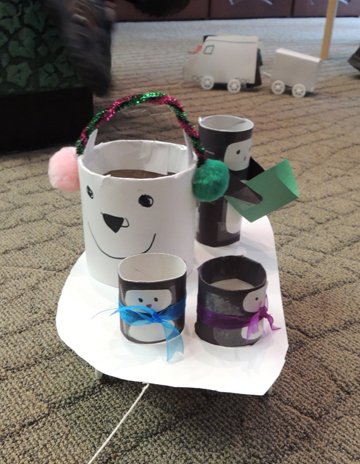 I snapped this adorable traveling quartet en route to our gallery, but did you also notice the vehicle in the background? One little boy decided to create a “snow train” using project materials. The penguins are riding inside the engine. Fantastic!