Magic abounds as you create your very own “Love-Never-Lies” potion and examine the mystical properties of liquid nitrogen. Katie recently unleashed her science wizardry at To Be Continued, our chapter book story time for 6-8 year-olds!
We read The Wizards of Once by Cressida Cowell (Little, Brown, 2017). Back in the Dark Ages, in a dangerous woods, two children from warring tribes unexpectedly meet. Xar is from the Wizard tribe, even though he possesses no magic, and Wish is from the Warrior tribe, even though she is clumsy. Both feel out of place in their homes. Both are a tremendous disappointment to their royal parents. And both are currently doing something they definitely should NOT be doing. Their meeting sparks an epic adventure involving magic, dangerous creatures, daring escapes, clever double-crosses, a fainting assistant bodyguard, and the discovery of what friendship truly means. The Wizards of Once is hilarious, fantastical, and face-paced read-aloud. Our story time absolutely kids loved it.
One potion that plays a pivotal role in the book is “Love-Never-Lies.” It has two properties:. 1) If you eat, drink, or smell it, you fall in love with the next person (or animal!) you see; and 2) If you are holding the potion and tell a lie, it changes from red to blue. The bigger the lie, the darker the blue.
So with color changing potions in mind, Katie put together an awesome little demonstration with acids and bases using household items and red cabbage juice.
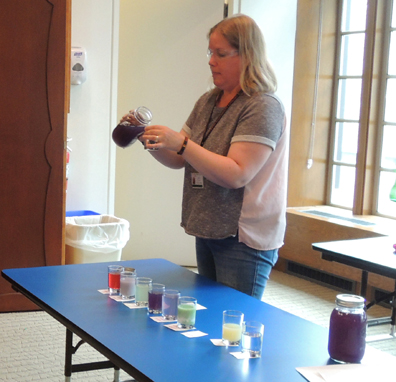 The red cabbage indicator demo is simple, inexpensive, but impactful. The experiment involves adding red cabbage juice to various household acid and bases, and then observing how the acids and bases change color according to their pH level. Katie used these instructions from ZLIFE Education’s website, and lectured about pH, acidity, and anthocyanin. Then, she upped the science magic with liquid nitrogen.
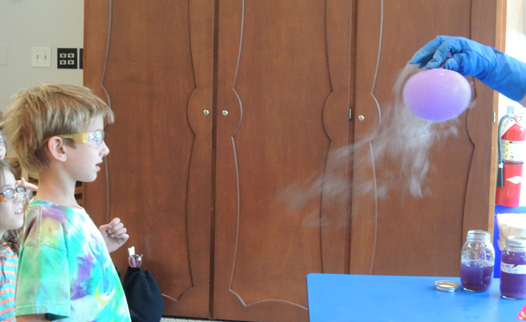
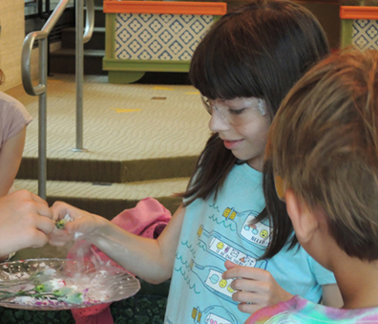
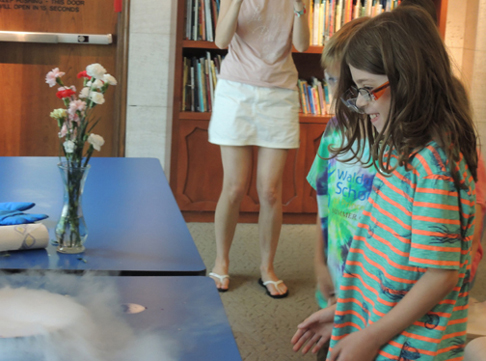
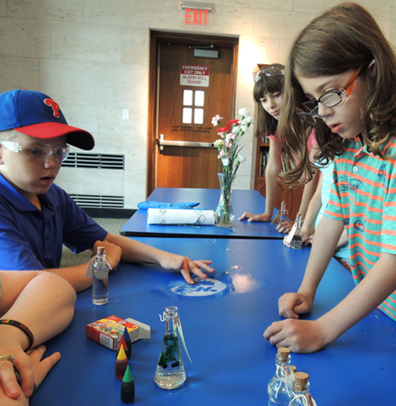
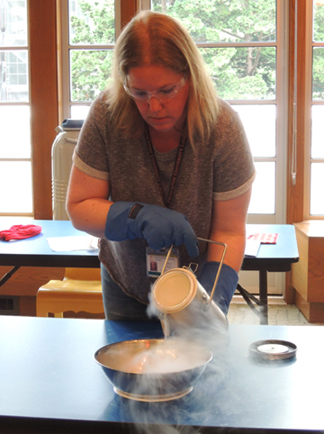 Wearing gloves, wielding protective eye gear, and armed with her knowledge of nitrogen-infused particles, Katie froze balloons, carnation flowers, and made clouds. It was AWESOME.
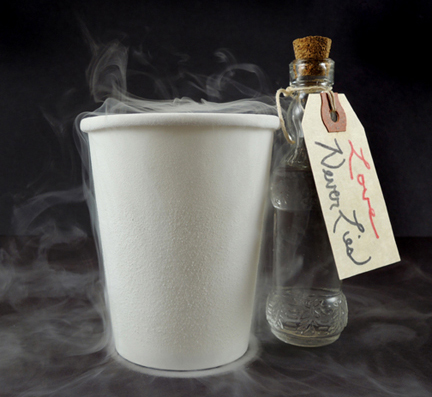
 The grand finale was mixing your very own bottle of “Love-Never-Lies” potion to take home. Katie purchased some 5″ vintage replica bottles with corks from Amazon (10 bottles cost $20). These are the same bottles we used with much success for our Sherlock Holmes escape room.
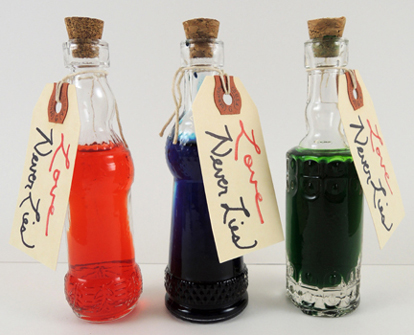 Katie filled the bottles with water, and then kids came forward to choose the color and amount of food dye for Katie to drip into the bottle. As the colors mixed, the kids predicted the final color of the potion.
 Cressida Cowell is also the author of the How to Train Your Dragon series. If you’d like to see what we did with that book, you’ll find the post here. And holy clouds, if you haven’t seen the trailer for How to Train Your Dragon 3, get thee to the internet!
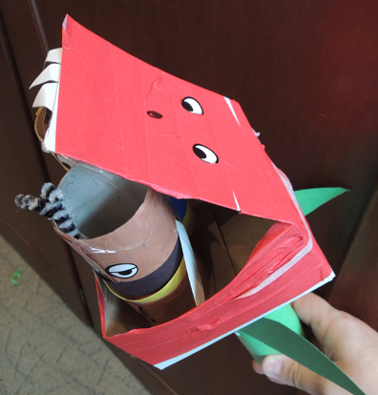
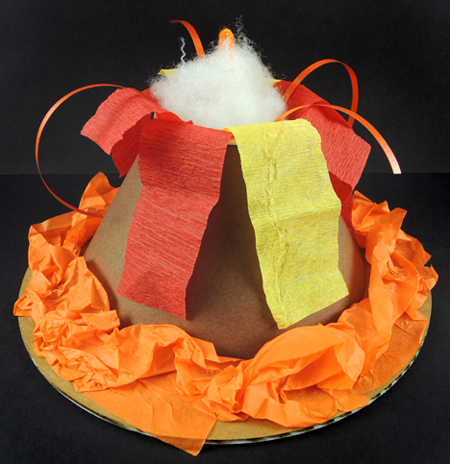 A tug is all it takes to activate this awesome paper lava volcano! Katie had lava on her mind when she designed this project…and we have some pretty spectacular proof of it at the end of the post!
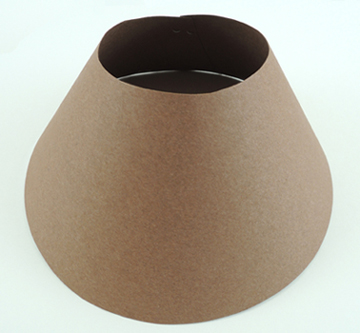 Drop a paper cup in the top of the cone, then hot glue the bottom of the CUP to the corrugated base (no need to glue the volcano cone to the base). We added some orange tissue paper lava as well, but this is optional!
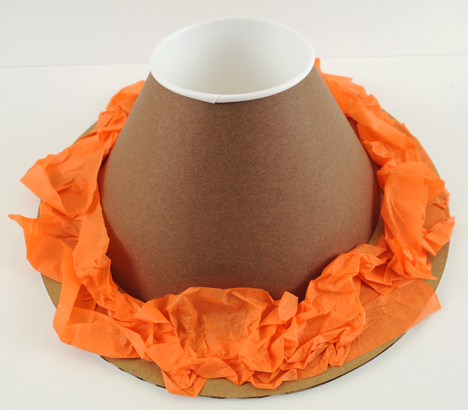 To make the eruption, cut a 2″ diameter circle out of poster board. Punch a hole in the center of the circle, then thread a 14″ piece of yarn through it. Secure the yarn to the back of the circle with tape.
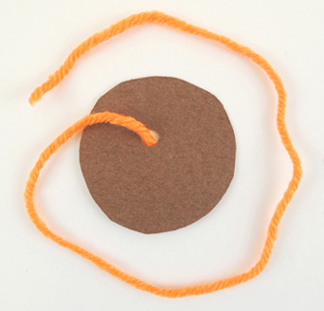 Tape six, 6″ yellow and red paper streamers to the back of the circle. Definitely don’t do more than 6, or the circle won’t slide in and out of the cup as easily. We also added four, 6″ pieces of orange
 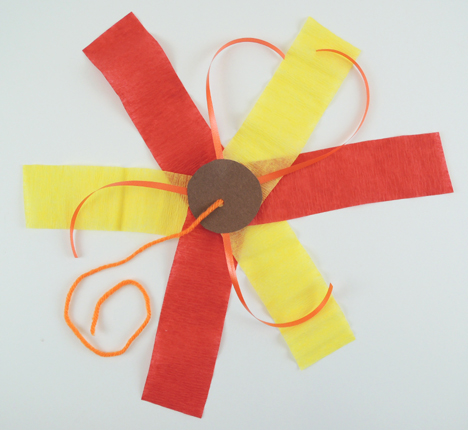 Finally, the smoke! Carefully thread a piece of polyester fill down the yarn, and hot glue it to the top of the circle. The yarn should rise from the center of the polyester fill.
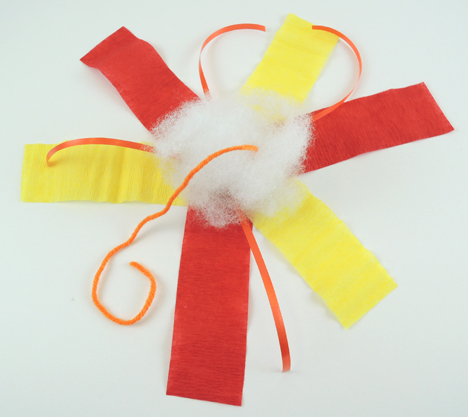 To operate your volcano, gently push the eruption circle into the cup, leaving the yarn dangling out the side of the volcano cone. Tug the yarn, the circle will rise, and your volcano will erupt!
 Katie was a little concerned about kids going home and jumping on their furniture to escape the lava. WHY was she concerned? Because that’s exactly what she and her brothers used to do everyday. It drove her mom bonkers. So she designed a “Lava Proof” spot for kids to jump on instead. Basically, this was a 12″ diameter cake circle. Kids could color in the
  One kid, however, took safety a step further and made her spot “Cheetah Proof” as well.
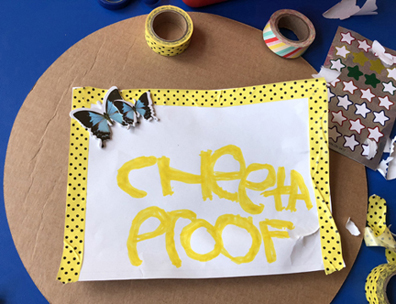
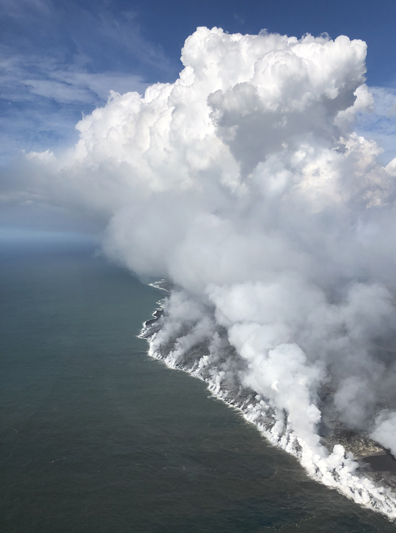 Our pilot, Scott, described what we were seeing from the windows of our helicopter the best: it is uncomfortably beautiful. Uncomfortable in the sense that many people have lost their homes and possessions because of the volcanic eruption, but beautiful because we were witnessing the birth of new land created by one of the most powerful natural forces on our planet.
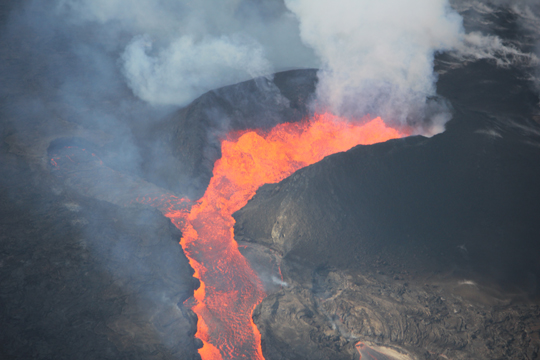 I think what astounded me the most was the glow Fissure 8 created along the horizon, especially at night. We drove to Pāhoa one evening, which is the closest town to Fissure 8. The entire sky was an eerie orange color that would pulse and move as the lava erupted out of the ground. We also watched a sunset from Mauna Kea, a dormant volcano on the Big Island, and stayed until it was completely dark to stargaze and see the Milky Way galaxy. You can see the volcanic glow from Fissure 8 on Mauna Kea, and they are separated by 60 miles! Incredible!
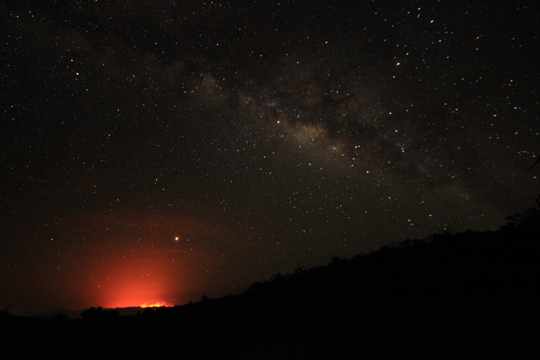 Mahalo nui loa, Goddess Pele, for sharing your majesty with us. Our trip is one we will never, ever forget.
 You can’t fly with one wing. But if you join up with another one-winged friend, well…the sky’s the limit! This project also double as a cute motor skills hook and balance game.
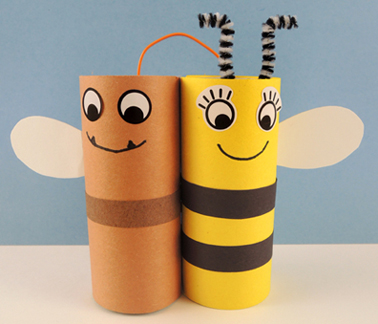 The other two game pieces are a lily pad and a flower. The lily pad is made out of construction paper, and the flower is a cupcake liner I found in the discount Easter section of Target. The flower is a small box hot glued to the top of a 6″ piece of paper towel tube. We added some green paper crinkle to the inside as well.
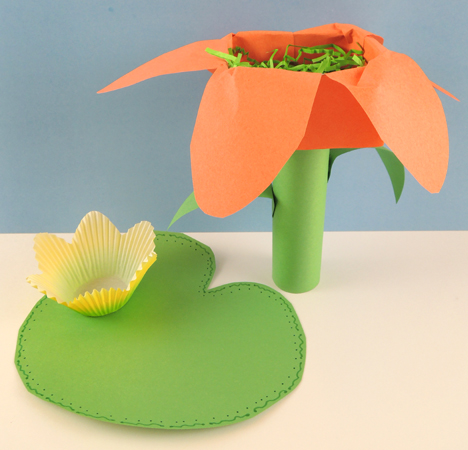 The final step is to rig up a fishing pole. We used a wooden dowel, yarn, and an unfolded paperclip fishing hook. To play the game, place Horsefly and Honeybee on the lily pad. Then hook them with the fishing pole and fly them to the safety of the flower.
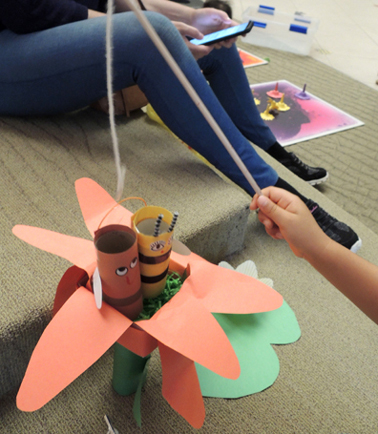 Some story times, kids will grab the project’s supplies and create something entirely impromptu. So may I present…a Venus Fly Trap?