
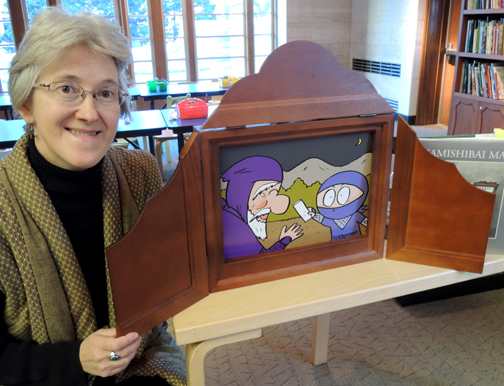
 December 7th was World Kamishibai Day, and we were honored to invite the amazing Dr. Tara McGowan for a special international story time at our library! While I have performed kamishibai in elementary school classrooms (and blogged about it extensively here) I am no match for the sheer talent of Tara – bilingual kamishibai historian, scholar, and artist extraordinaire!
 If you don’t have time to jump over my kamishibai post, I’ll quickly summarize: Kamishibai (pronounced kah-me-she-bye) is a form of Japanese storytelling that involves illustrated story cards and a small, portable stage (you can also perform without the stage). While telling the tale, you pull the cards out of the side of the stage to make the story progress.
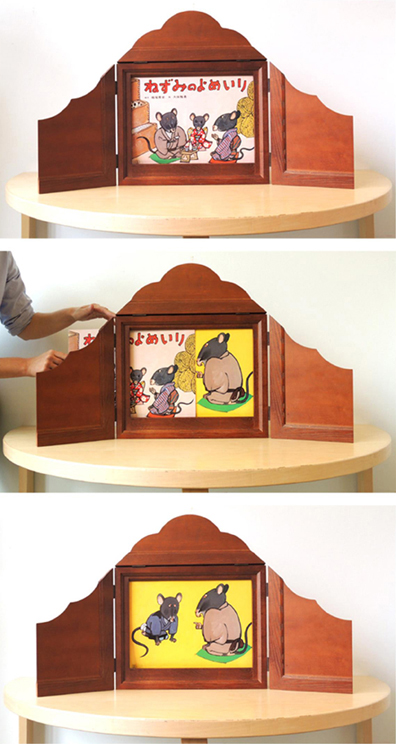 It’s colorful, dynamic, simple, and absolutely intended to be enjoyed by an audience. And the art on the cards! Wow! Here is one from The One-Inch Boy:
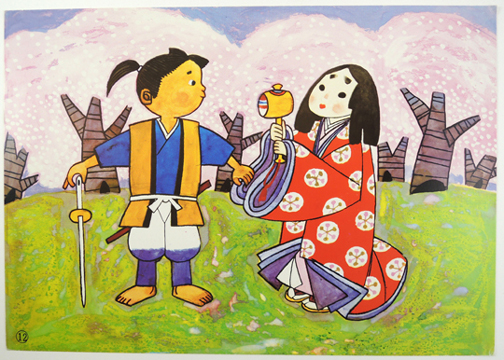
Issun-boshi (The One Inch Boy). Written by Joji Tsubota, illustrated by Hisao Suzuki
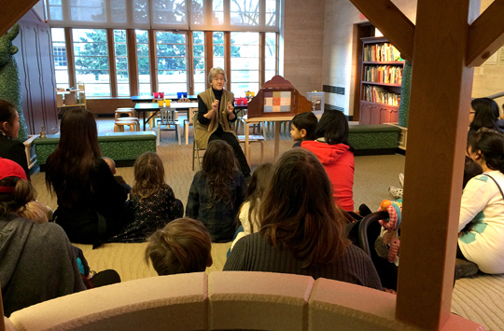
Tara began her story time with a little history. She brought a copy of Allen Say’s book, Kamishibai Man (which Tara wrote the afterword for by the way!) and talked briefly about the evolution of this art form. Then, with a little audience help, she launched into her performance, which consisted of four short kamishibai stories.
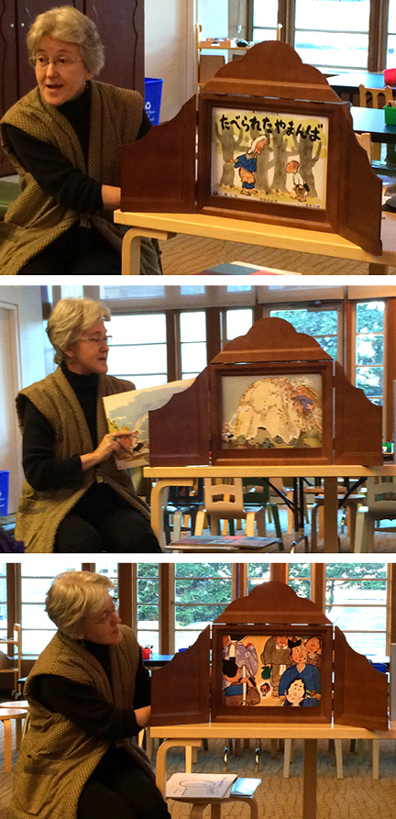 It’s difficult to capture the liveliness of a kamishibai performance with photos (and I didn’t want to be obtrusive and shoot a video). But Tara is a MASTER storyteller. Seamlessly mixing Japanese and English, she uses her voice in an incredibly lively way, both to narrate and express sound and motion. She varies the way she pulls to cards to build suspense or depict action, and is in constant communication with her audience.
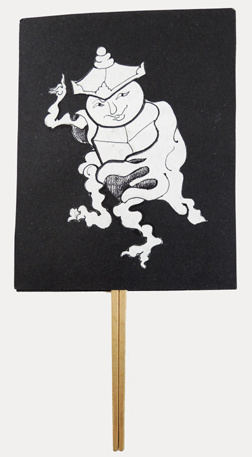
The story time kids also made tachi-e puppets (you’ll find the instructions here).
 After story time, I caught up with Tara to chat about her work, and the art of kamishibai:
How long have you been performing kamishibai?
Since 2000, so almost 2 decades now.
Can you tell us a little about its history?
The kind of kamishibai commonly performed today was first introduced to the streets of Japan in 1929. The first street kamishibai of this type were based on films because silent films in Japan almost always had a movie narrator standing next to the screen, providing an oral soundtrack. These movie narrators, known as benshi, were enormously popular, so kamishibai storytellers on the streets tried to emulate their vocal style, while moving the pictures in the stage in tandem with their telling. When sound came to film, many former benshi are said to have turned to kamishibai instead. The puppet style of kamishibai, called tachi-e (standing pictures), began much earlier in the 19th century, inspired by magic-lantern shows. Both kinds of kamishibai were used to sell candy or other treats on the street corners, especially in urban areas.
What do you like about kamishibai storytelling versus other kinds of storytelling?
I started out performing oral storytelling, without props, and I still like oral storytelling best for interacting with an audience and being able to tell more emotionally complex tales. As a performer, I experience the two forms very differently. With oral storytelling, the audience sees their own version of what the storyteller is evoking with his or her words and gestures, but, with kamishibai, the storyteller’s role is to bring the images on the cards to life. The interaction with the audience is less direct because the storyteller and the audience are all focused on the movement of the cards.
When kamishibai illustrations are designed well, they can work magic! But, just like with picture books, there are many poorly designed kamishibai out there. As a visual artist, I find designing my own kamishibai stories to be an ever-stimulating challenge, and it’s great to get immediate feedback from a live audience to know what is working or what needs changing. I also really enjoy working with people of all ages to create and perform their own kamishibai.
You’ve done scores of kamishibai workshops with kids and teens. What’s your experience working with them on their stories?
The most remarkable experiences I have had with teaching students to create and perform their own kamishibai is to see how it can bring even extremely shy kids out of their shell. When someone has spent a great deal of time creating and illustrating a story, they want to share it, and this becomes a strong motivation for overcoming stage fright. Also, because the cards are the focus of attention, the performer can take more of a backseat position. It is up to them whether they want to draw the audiences’ focus to themselves or keep it focused on the cards, and learning to direct audiences in this way is very empowering for young people and also a great skill to have!
You’re bilingual, and have traveled to Japan for both research and performances. What, in your experience, are some differences between kamishibai in Japan, and kamishibai in America?
One of the main differences I see is that many people in Japan have associations with kamishibai based on its sometimes troubling historical role, first as a street-performance art and then as a powerful tool for war propaganda during World War II. People outside Japan tend to romanticize the street-performance artists, but actually, they were not viewed at all favorably by many parents and educators at the time. The stories were considered violent and sensationalistic, much like video games today.
Kamishibai performers in Japan today continue to feel pressure to elevate the format and distance it from the negative aspects of its past. Since the war, the few publishers who still sell kamishibai tend to choose shorter and shorter stories for very young audiences, so kamishibai is increasingly viewed by people in Japan as a simple format only for small children. Of course, there are also many kamishibai performers in Japan who are trying to change people’s attitudes toward the format and forge new directions for the medium. Among tezukuri, or “hand-made,” kamishibai performers, you see stories of all genres and for all ages.
Outside Japan, performers don’t have negative associations, based on kamishibai’s past, but they do bring to the format their own cultural traditions. In Mexico, I saw many flamboyantly decorated stages, which I have never seen in Japan, and in Slovenia, I saw kamishibai used as a medium to perform songs and poetry. This is also something I have not seen as much in Japan.
Do you have a favorite kamishibai story?
I have many favorites, but, if I had to pick one, I think it would be “Nya-on, the Kitten,” illustrated by my dear friend Kyoko Watanabe. It is a simple story, but the sophistication of her design never ceases to amaze me. She is able to express changes in point-of-view visually by showing each scene from a carefully chosen camera angle, and the transitions from one card to the next are so clever. I use this story often, even with teenagers, to teach point-of-view in storytelling and how it can be expressed visually.
If you are interested in learning more about kamishibai, and possibly bringing it into your own classroom or library, Tara has written a book about this very subject (see below). It’s definitely worth checking out!

Used with permission of the author (Libraries Unlimited, 2010).
 When a sneaky burglar strikes, it’s up to you and your lion companion to save the day! We made these simple oatmeal container lions, and then caught a story time crook.
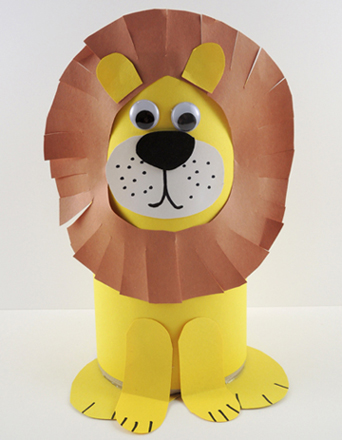
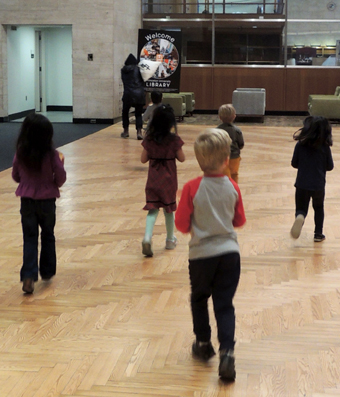 Eventually, she was cornered and tagged repeatedly by oatmeal container lions. Which, admittedly, was a first for her!
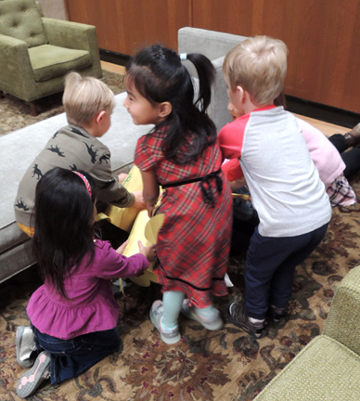 After the triumphant capture of the burglar, the kids returned to the program area to make hats for their lions (which is the reward he asks for in the book). These were cone party hats, cut down to 5″. The kids decorated them with stickers and a duck quill. Very snazzy.
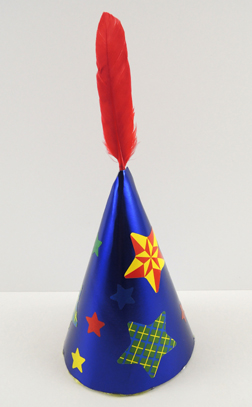
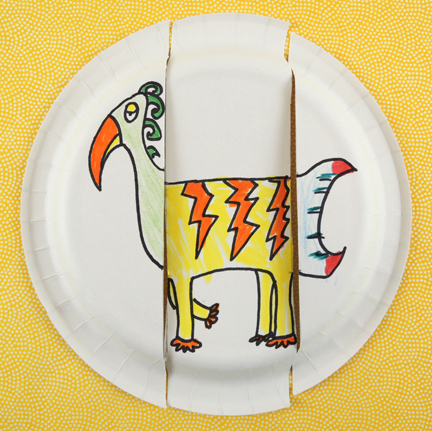
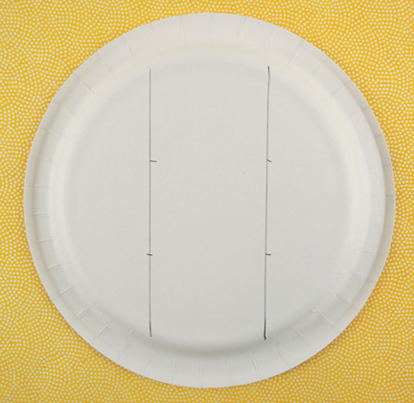 That’s ALL the prep you need! Now draw your creatures on the plates (we went fantastical instead of realistic). Make sure the necks, bodies, and tails start and stop along the notches:
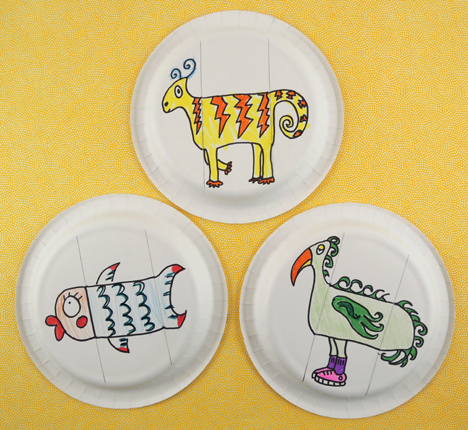 Cut the paper plate along the pencil lines, resulting in 3 separate pieces. Have the kids walk around the room with their pieces, mixing and matching with others. The results are very funny…
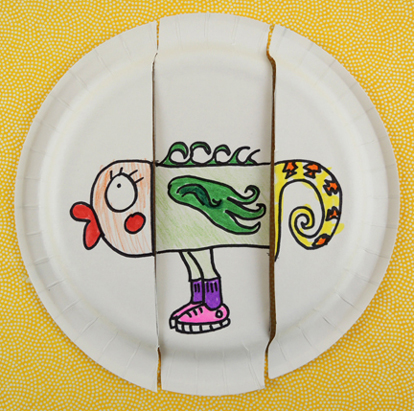 You might wonder why we used paper plates instead of index cards or pieces of paper. We found the elevation of the paper plates nice to draw on, and the workspace just tall and wide enough for many forms of creatures. Also, the raised edges of the paper plates make it easy for little hands to pick up, manipulate, and match the pieces.