
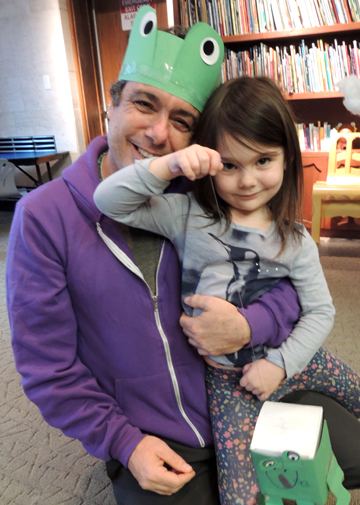
 The world is full of delightful things for a little frog to jump over, but the absolute best place to eventually land? The loving arms of Mama (or Dada!) frog. Our story time kids jumped box frogs over several obstacles, but waiting at the finish line – with a BIG hug – was their respective grown-up, bedecked in a frog headband!
We read Leap Back Home to Me, written by Lauren Thompson, and illustrated by Matthew Cordell (Margaret K. McElderry Books, 2011). In this incredibly sweet rhyming book, a little leaping frog has a great time jumping over bugs, plants, trees, creeks, and hilltops, but he always returns to loving embrace of Mama frog.
You’ll need:
- 1 small box (ours was 4″ x 4″ x 4″ – a small tissue box works too)
- Green construction paper
- 1 piece of (ours was 22″ long)
- 1 mini craft stick (ours was 3″ long)
- Scissors and tape for construction
- Markers for decorating
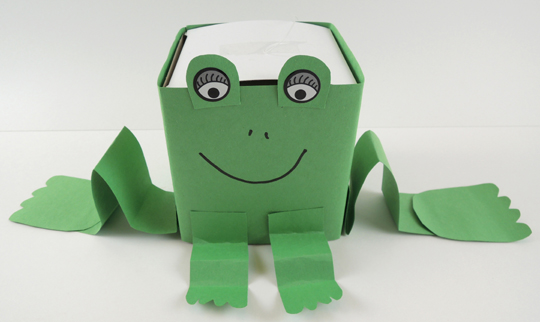
To make a frog, cover a small box with green construction paper. Add big accordion-fold legs, arms, and eye bumps (we added eye stickers as well). Use markers to draw the mouth and nostrils.
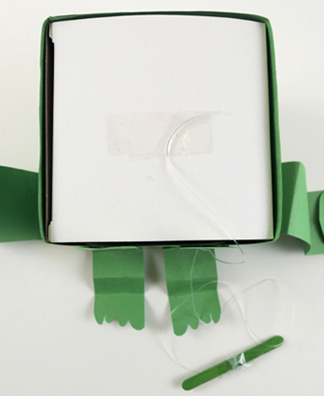
 To make the bouncy jump cord, tape a 22″ piece of clear elastic beading cord to the top of the box, then knot the other end around a craft stick handle. We wrapped tape around the knot on the craft stick as well, just to make it extra secure.
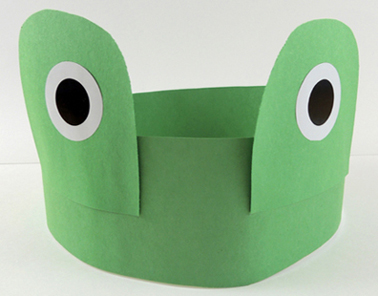
 Below is the big frog headband for grown-ups. This is also made of green construction paper. We added jumbo eye stickers as well, but you can also draw on the eyes with markers.
 Your 2 frogs are done, now for the obstacle course! It can really be as simple as “jumping” over chairs, tables, and books. But we had a couple big boxes come in through our recycling program, so we got a little creative. We recruited a young man to act as both the line leader and start flag for the course…
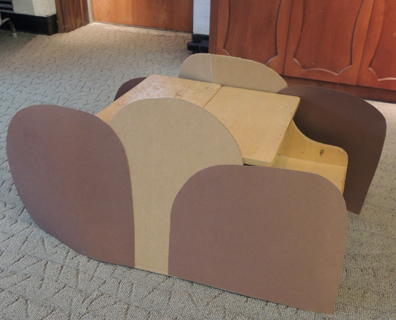
 When he shouted go, a kid / frog duo headed onto the course. First they leaped over the meadow, then jumped past an owl nest (which had an owl in it – another audience recruit).
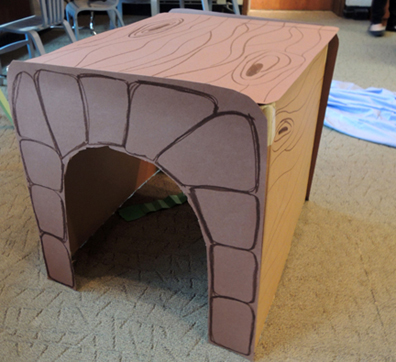
 Next was a log tunnel, and just beyond it, a blue twin sheet “river” to jump over.
Then the duo bounded over a “mountain” (two wooden step stools pushed together).
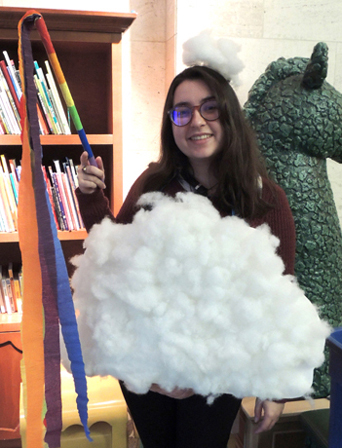
 And stopped to say hello to a rainbow cloud (i.e. Michelle, a Princeton University student assistant). Did you notice her little puff hat? Soooo cute.
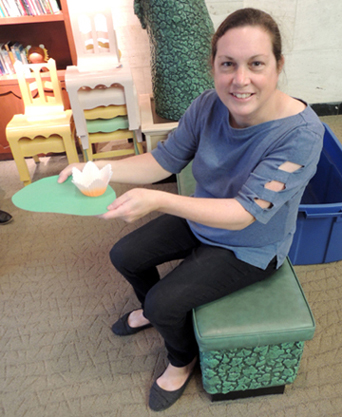
 Next it was on to Miss Melinda, who had a lily pad for each frog to rest on. We made these out of green poster board and a paper muffin cup.
 The final step was to jump into the arms of your mom/dad frog, who was waiting at the finish line in a fine frog head band! Ready to see the course in action?
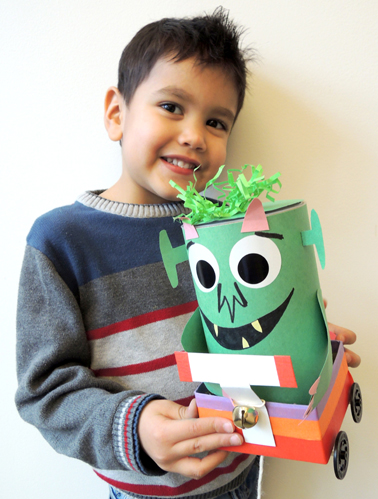 We’ve made a lot of monster projects on the blog, but this is our first monster…on a bicycle! Where is he going? To find YOU, of course. And make a very special delivery.
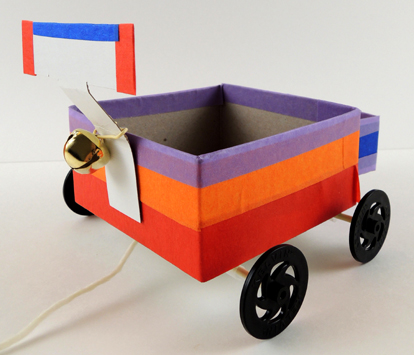 The bike is a 4″ x 4″ x 4″
 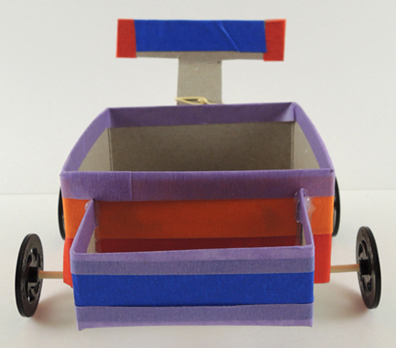 Use a small box or extra cardboard to create a small bike basket, then tape or hot glue to the back of the bike box. Not only does the basket keep the bike from tipping too far back when you’re pulling it, the basket holds something VERY special a little later. Finally, we have our monster…
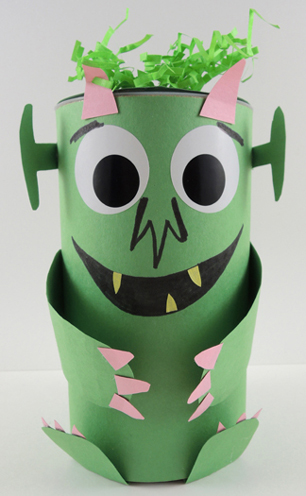 Wrap a small oatmeal container with construction paper, then add arms, legs, eyes, ears, and horns. We added a little
 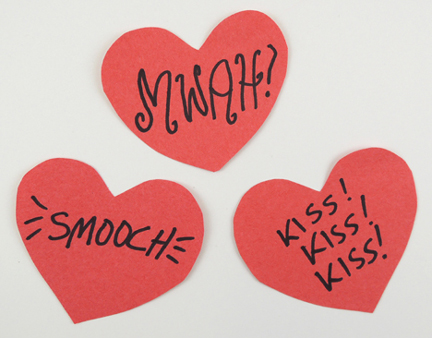 These were “kisses” the monster was carrying with him in his bike basket for you! Awww!
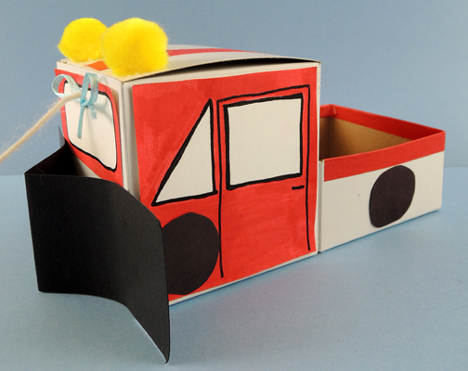
 Color and cut the side doors and windshields from the template, then tape them to the box. I would, however, like to bring your attention to this very clever variation on the template. The kid bent the doors outwards, and drew a snowplow driver inside!
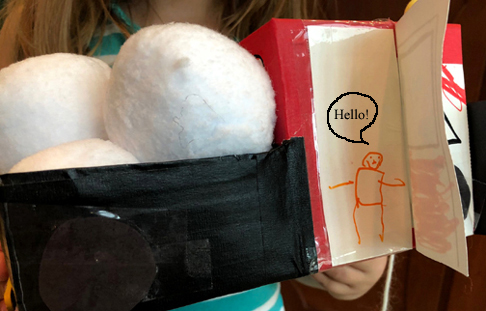 We provided
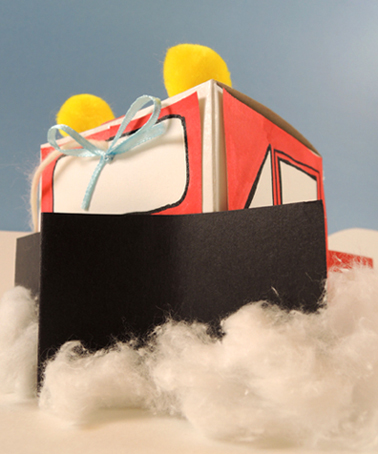
 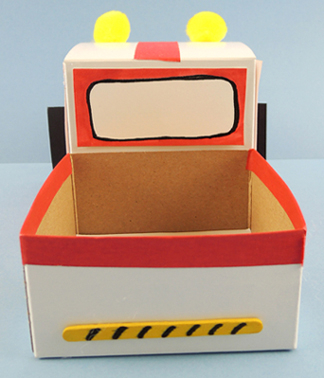 The wheels and blade of the snowplow are black poster board. Add 2 yellow pom-pom “flasher lights,” a yarn pull string, and you’re done! We decided to add an extra challenge to our story time project in the form of these fabric snowballs. I scored a dozen packages of these on deep, deep discount this summer.
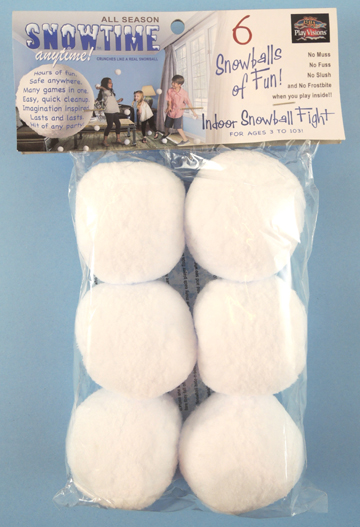 Kids were challenged to navigate our gallery, rolling the snowballs in front of the plow without losing them. Then they got to take some snowballs home!
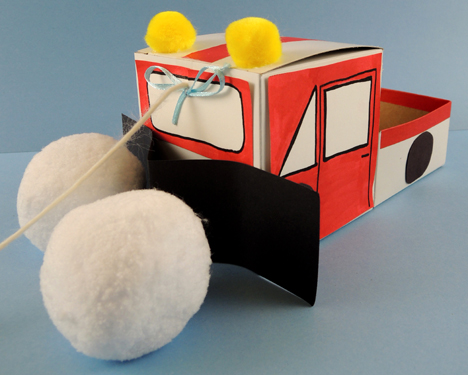 Did you notice the little blue bow on the snowplow’s windshield? In the story, Gus ties his blue scarf on Walt to celebrate the little plow being “Number One!” We definitely wanted to capture that sweetness here as well.