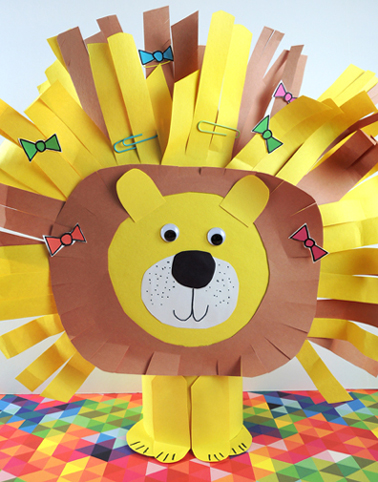
 Is your mane getting a little wild and unruly? It might be time to tame those locks with a firm hand and LOTS of hair bows!
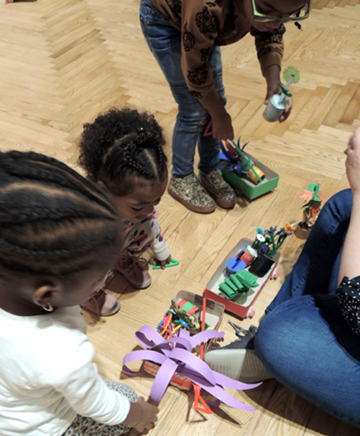
We read Little Red and the Very Hungry Lion by Alex Smith (Scholastic Press, 2015). Little Red is going to be eaten by a lion. At least that’s what the lion THINKS is going to happen! But Little Red has other ideas and this sassy and resourceful girl gives him quite a schooling. A delightful play on Little Red Riding Hood, this book was a super fun read-aloud…especially the last page!
In the book, the lion gets an amazing, but ultimately unwanted, makeover. It’s hilarious and we wanted to capture that in our story time project. So we designed an oatmeal container lion with a fabulous mane for cutting and styling!
You’ll need:
- 1 large oatmeal container
- Brown, yellow, and white construction paper
- A circle of corrugated cardboard
- 1 mane styling template, printed on 8.5″ x 11″ white card stock
- Scissors, tape, and glue for construction
- Markers for decorating
- Hot glue
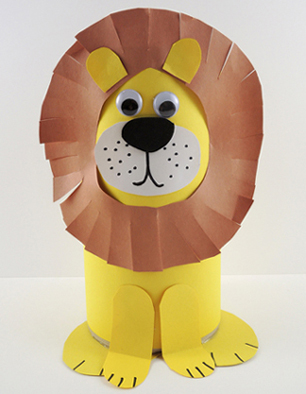 The lion is an oatmeal container decorated with construction paper and (optional) wiggle eyes. The original instructions can be found in our Lion-Hearted Hero post. However! You’ll need to do one significant modification to the lion’s face…a cardboard circle foundation to hold all those mane extensions:
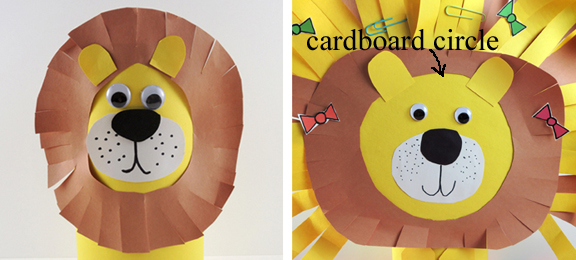 Glue a circle of yellow construction paper to a 7.5″ diameter corrugated cardboard circle (we used a cake circle). Attach the brown mane circle, and add the lion’s eyes, ears, nose, and muzzle. Next, tape a bunch of yellow and brown construction paper fringes to the back of the cardboard circle. Finish by hot gluing the entire thing to the oatmeal container body. We recommend reinforcing that connection with tape as well.
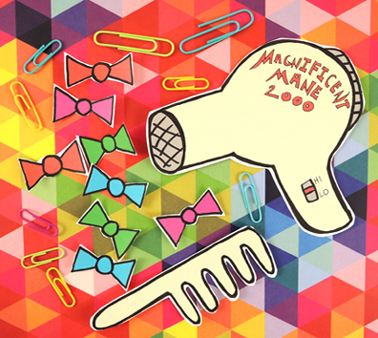
Color and cut the hair bows, comb, and blow dryer from the template, then stand your lion in front of a mirror and start cutting and styling! We also offered paper clip barrettes and extra mane fringes to take home for future haircuts.
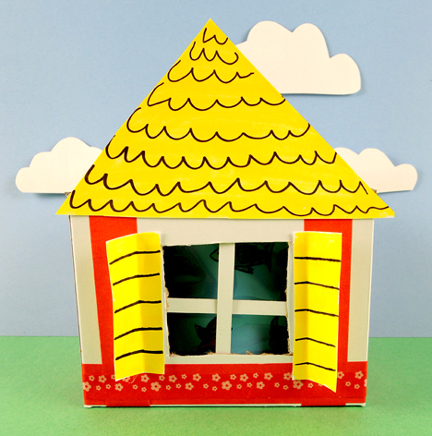
 Now decorate the outside of your house! We offered construction paper,
 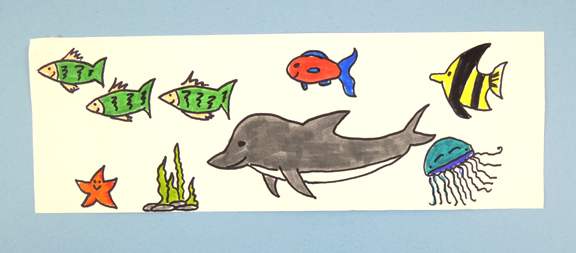 The final piece of the project is the spinning cylinder. This is a plastic cup attached to the roof of the house with a brass fastener. Two tabs extend from the top of the box, allowing you to easily turn the mechanism:
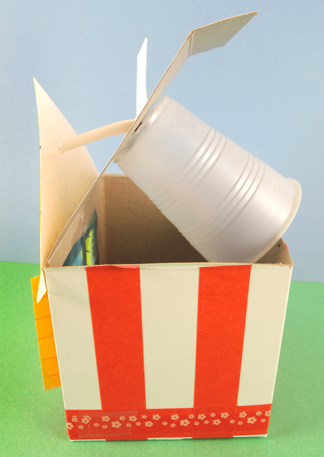 Our tabs were created with a 0.75″ x 3″ snippet of poster board. Punch a hole in the center, then thread a brass fastener through the hole. Push the ends of the fastener through small slits cut in the top of the box and the bottom of a plastic cup. Unfold the fastener’s prongs inside the cup.
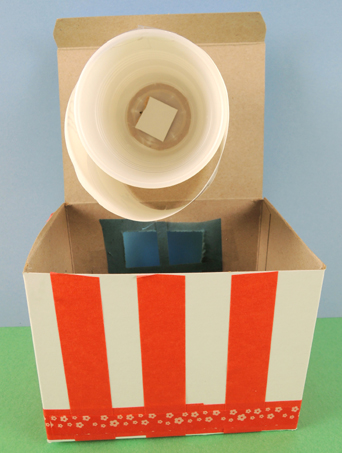 Finally, wrap your strip of ocean critters around the cup. As you can see in the above photo, the cup is tapered, so the strip won’t wrap around it in a perfect circle. No problem! So long as the strip is secured tightly to one point of the cup (we suggest the strip’s seam) it will work. Here’s a shot of the finished mechanism, which is then tucked inside the house. Secure the lid down with tape.
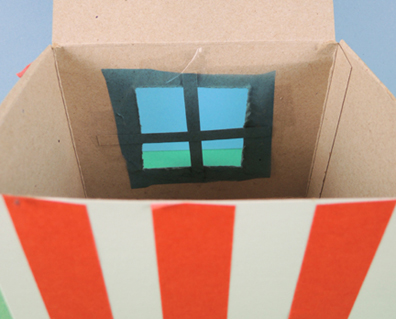
 Ready to see this little contraption in action? The colors were a little muted in the video, so I removed the blue cellophane from the window to showcase the ocean critters more clearly. Swim my little friends, swim!
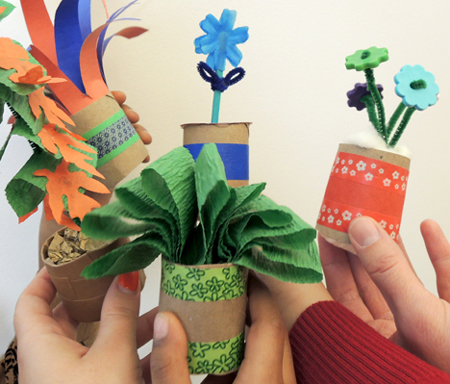
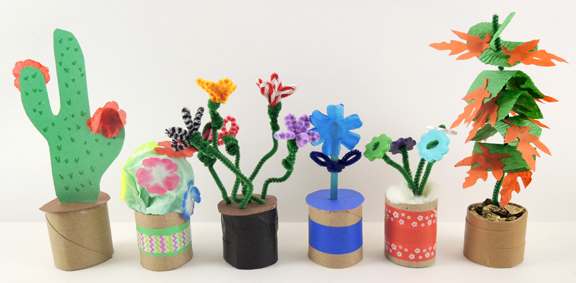
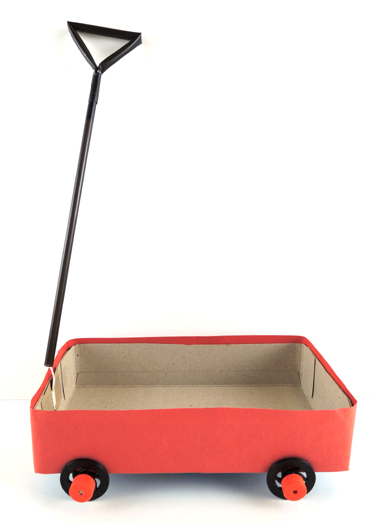 When the wagons were assembled, kids popped their potted plants in and we circled the library’s lobby. Everyone was invited to trade at least one pot with Katie (and we pre-made a number pots for this purpose).