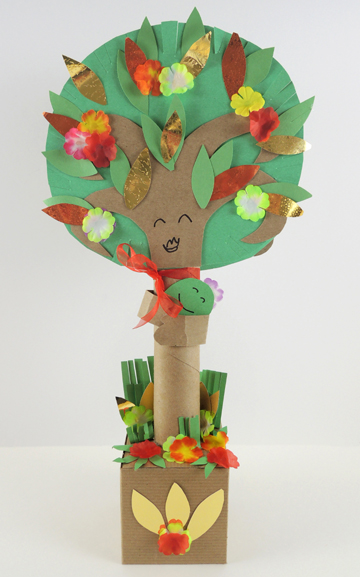
It’s a simple project bursting with love…a mama tree hugging her baby seed!
We read The Little Tree, written by Muon Van, and illustrated by JoAnn Adinolfi.The smallest tree in the forest watches time pass, the land change, and wonders what will happen to her little seed. Finally, with the help of a world-traveling brown bird, she releases her little seed to the skies. Then she waits and worries about her little seed. Then one day, a gift arrives…a leaf that belongs to the tallest, strongest, and brightest tree the brown bird has ever seen. Yes, it’s the Little Tree’s precious seed, grown up strong and beautiful!
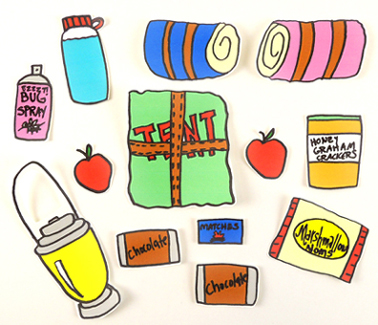
You’ll need:
- 1 small box
- 1 paper towel tube
- Brown poster board
- Green poster board
- Tree decorating supplies (more on this below!)
- Scissors and glue for construction
- Markers for decorating
- Hot glue
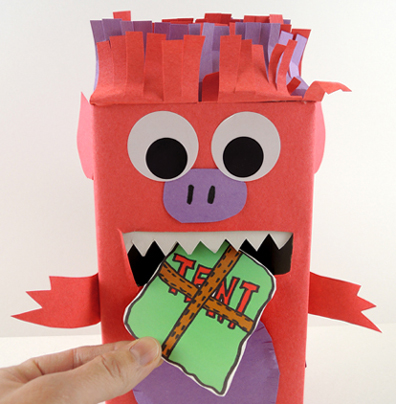
First, cut 2″ off a paper towel tube, then hot glue it to the top of a small box. Glue 2 circles of green poster board to 2 sets of brown poster board branches (our branch template is here), then hot glue everything to the top of the paper towel tube. Add a pair of brown construction paper arms to your tree, and tuck a green poster board “seed” into them. Finally, decorate your tree with markers, or use green construction paper, embossed foil paper, fabric flowers, gold mirror board, and shimmer ribbon like we did. Done!
The Little Tree is a very touching book. In fact, Katie and I had a bet that I wouldn’t be able read it aloud without crying (it was a draw – I did choke up at one point!). Even more touching, however, is the author’s note at the end…
The book is a tribute to Muon Van’s mother, who fled the post Vietnamese-American war regime with her two children. In America, she gave birth to five more children. Even though she only had a third grade education, she put them all through college, and in some cases, grad school. Van lovingly praises her mother who, like the Little Tree, was brave enough to override her fears, doubts, and limitations and provide her children with a life she could not imagine for herself.
 Theoretically speaking, what WOULD happen if a llama created a black hole with his overzealous cake consumption? Would the world survive?
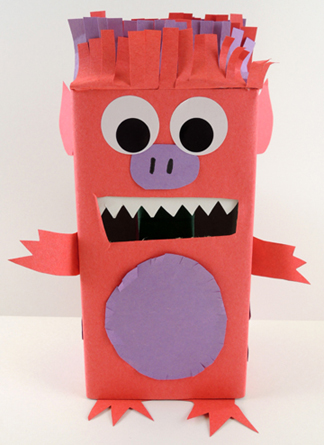
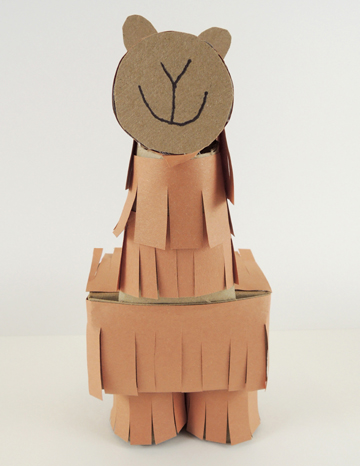
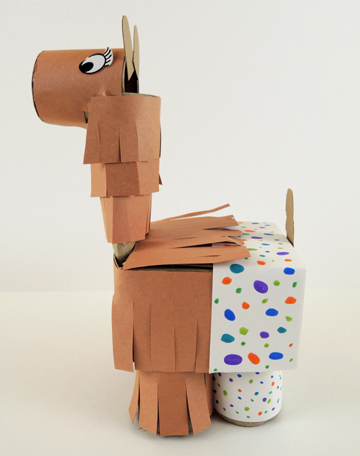 First, wrap 4 toilet paper tubes with constructions paper…2 with brown paper fringes, 2 with plain white. Next, cut the bottom off a small box (like a square tissue box). Then set the box on top of the legs (we hot glued the legs in place, too). The rest of the box gets decorated with brown construction paper fringes and white construction paper “pants.”
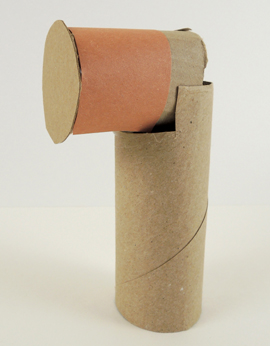 Now wrap the neck with brown construction paper fringes, pinch the bottom of the neck, and slide it into the front of the box (if you’re using a tissue box, you’ll need to cut a slit in the box). Use spare cardboard to make llama ears and a tail, add some eyes, and you’re done!
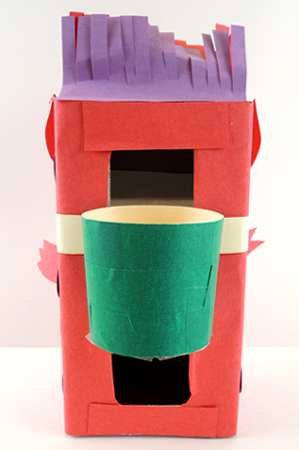
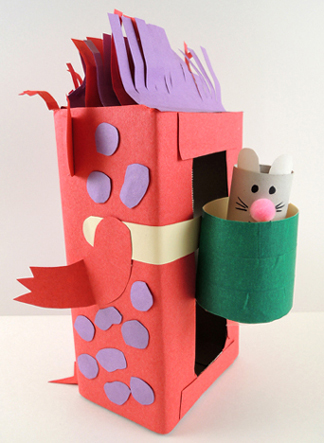
 We decided to take the project one step further by introducing a black hole activity (and yup, crafting a black hole was a first in my long history of story times!). First, we had kids make pies and cakes using a paper cup, tin foil, and a paper baking cup.
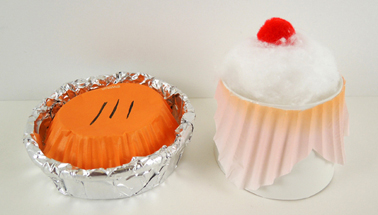 The pie tin is the top of the paper cup (i.e. the open mouth part of the cup) wrapped in tin foil. The pie is the bottom of a paper baking cup.
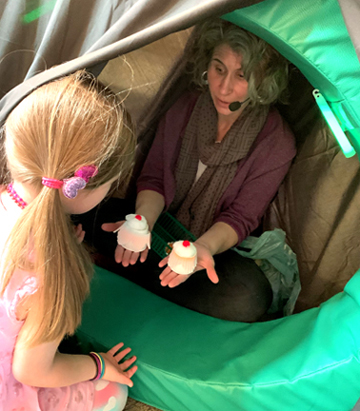 I sat inside, and kids had to enter the black hole, look at the 2 cakes and 2 pies “floating” inside it, and select the one they had created!