
 Flip the puppet back and forth to reveal a simple, dynamic story! This project was part of our library’s World Kamishibai Day performance. Called tachi-e (“standing pictures”), the puppets originate from 19th century Japan.
You’ll need:
- 2 rectangles of white paper
- 2 rectangles of black poster board
- 1 pair of new, intact chopsticks
- Scissors and glue for construction
- Markers, pens, and color pencils for decorating
- Hot glue
A tachi-e puppet is two sided. The first side is the puppet at rest, then quickly flip it to create a change. This Japanese lantern ghost was designed by artist Tara McGowan:
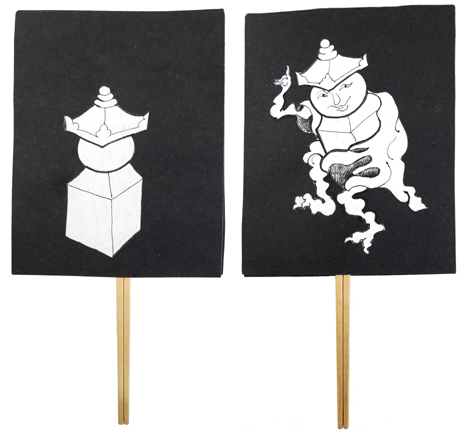 It’s way cooler to see the puppet in action though…
First, draw a 2-step sequential scene on 2 separate rectangles of white paper. Cut each drawing out, then glue each on a rectangle of black poster board (our rectangles were 5.5″ x 8.5″). Hot glue a pair of new, intact chopsticks to the back of the first poster board rectangle, then hot glue the second poster board rectangle on top of it. Twirl the stick to operate the puppet!
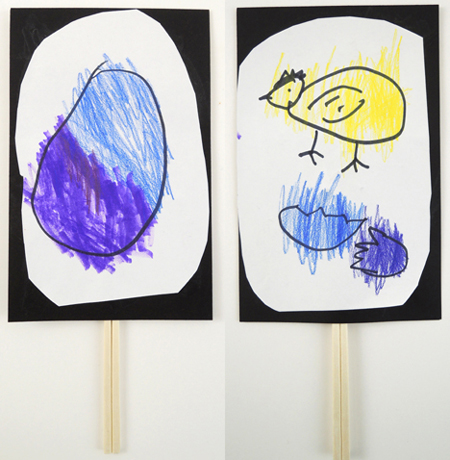
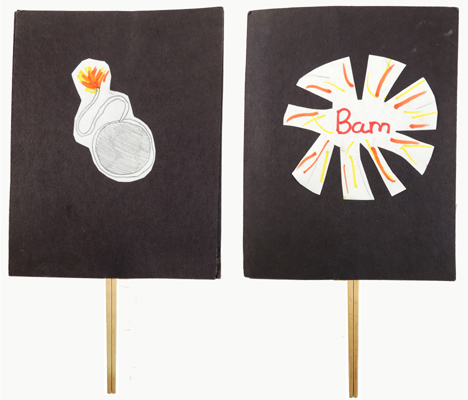
The kids had some great idea for puppets. I managed to snap a couple. A hatching chick…
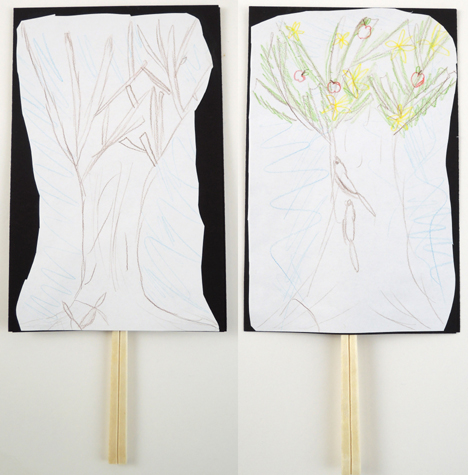
A budding tree (with squirrels running up the trunk!)…
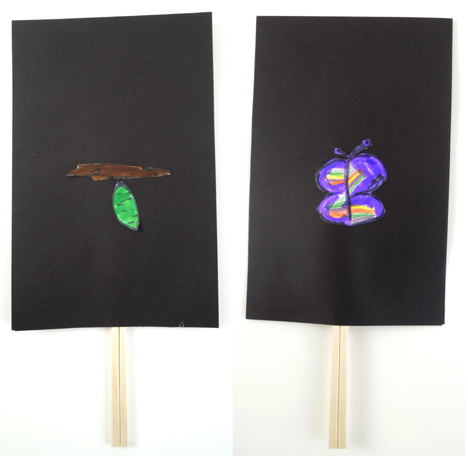
 A very sweet butterfly…
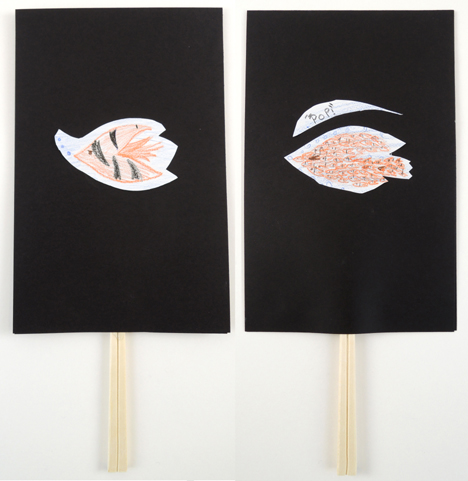
 A single fish that goes “Pop!” and turns into a school of fish…
 An exploding firework…
 And a girl that duplicates into 5 girls!
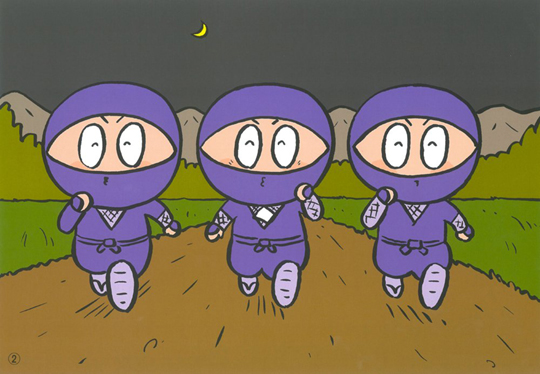
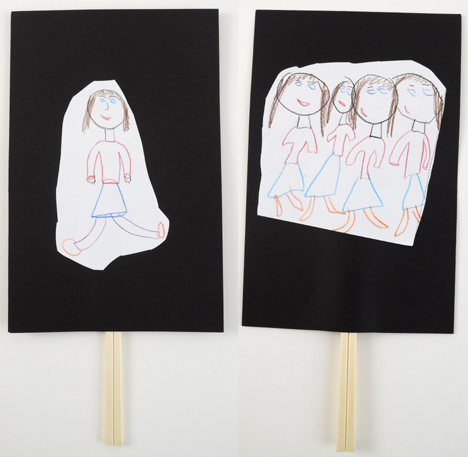 If that last one seems a little confusing, it was inspired by a kamishibai performance of Manmaru manma tantakatan (written by Fumiko Araki, and illustrated by Takuya Kusumi). It’s about a ninja boy who duplicates himself to foil a wicked serpent.
From Amazon

 I couldn’t resist busting out a little Oliver! at the end of the shoot. If you look closely, you can see that I truly got into character by smearing mud all over my London orphan face.
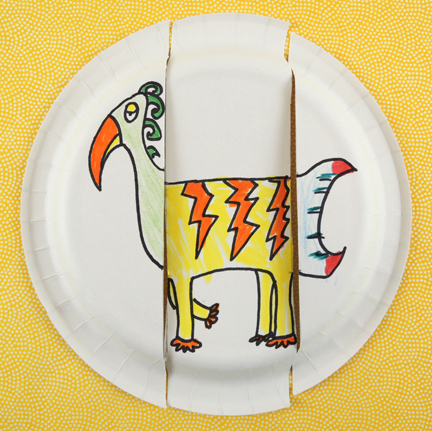
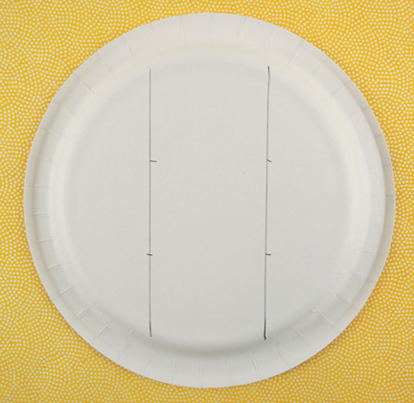 That’s ALL the prep you need! Now draw your creatures on the plates (we went fantastical instead of realistic). Make sure the necks, bodies, and tails start and stop along the notches:
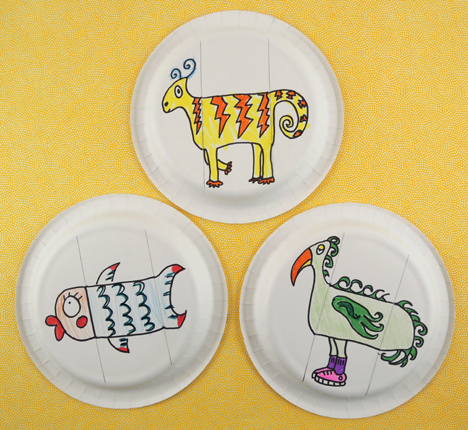 Cut the paper plate along the pencil lines, resulting in 3 separate pieces. Have the kids walk around the room with their pieces, mixing and matching with others. The results are very funny…
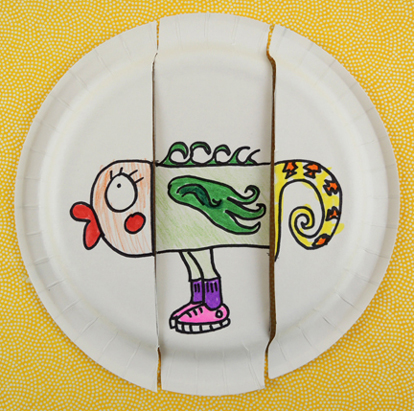 You might wonder why we used paper plates instead of index cards or pieces of paper. We found the elevation of the paper plates nice to draw on, and the workspace just tall and wide enough for many forms of creatures. Also, the raised edges of the paper plates make it easy for little hands to pick up, manipulate, and match the pieces.