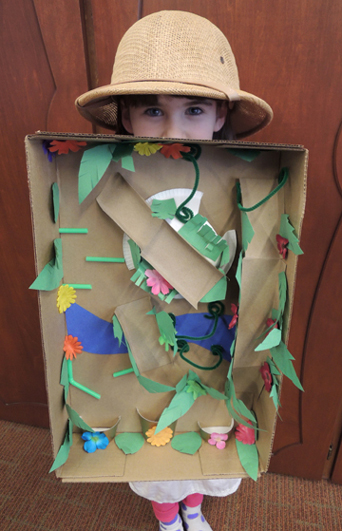
It’s a jungle out there, but we bet you can safely navigate your bouncy ball up ramps, over bridges, past drinking straw obstacles, and through pipe cleaner wickets to the goal!
We recommend reading The Zabajaba Jungle by William Steig (Farrar, Straus and Giroux, 1987). In a dreamy, dangerous journey through the Zabajaba jungle, young Leonard and his trusty bolo encounter a number of jungle creatures and treacherous obstacles. A Steig classic.
You’ll need:
- 1 copy paper box lid
- Construction paper
- Drinking straws
- Green pipe cleaners
- Paper cups
- Paper bowl
- Poster board or tagboard
- Scissors, tape and/or glue for construction
- Hot glue (optional)
Our jungle game is a copy paper box lid with as many (or as few) obstacles for you to navigate a ball through. We used bouncy balls – I bought a 6-pack for $1 at our local dollar store. Here’s our basic jungle:
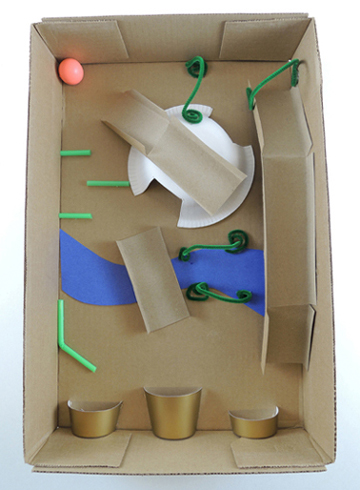 As you can see, we had a paper bowl tunnel, a bumpy drinking straw “path,” green pipe cleaners acting as vine wickets, and a blue construction paper river. We used tagboard to make a bridge, as well as a ramp and an elevated pathway. At the bottom of the box lid are the “goals”…paper cup halves cut down to various heights. Want to fill things out a little? Add construction paper foliage:
 You can also add fabric (or construction paper) flowers for some pops of color!
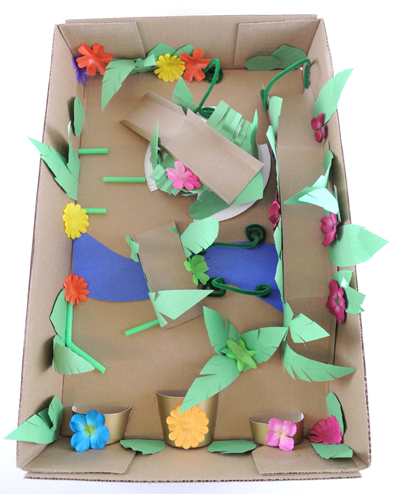 To play, drop a bouncy ball in anywhere, then navigate through the obstacles and foliage by tilting and turning your box top. The ball goes in a cup, you win! Bonus fun – use multiple balls at once, or play with one kid at each end of the box top!
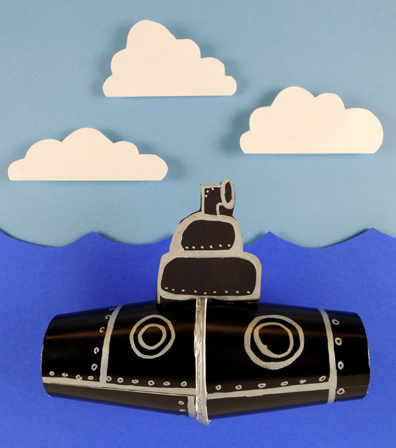
 We recommend Rub-a-Dub Sub, written by Linda Ashman, and illustrated by Jeff Mack (Harcourt, 2003). Zooming around in an orange submarine, a little boy encounters numerous ocean creatures – a seal, a manta ray, a horseshoe crab, and an eel to name a few! But an encounter with an enormous shark forces him to quickly retrace his steps to the surface, where he finds himself safe and sound – in his very own bathtub.
 Next, turn the cups end-to-end and connect them together with hot glue. If you can’t do hot glue, simply connect the cups with tape. We used black masking tape for the photo below, but regular tape works just as well.
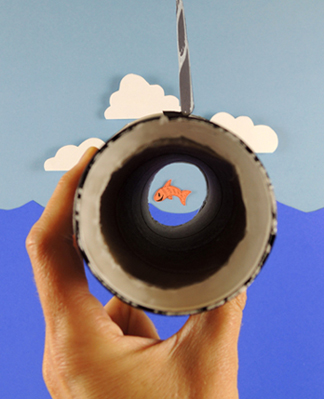
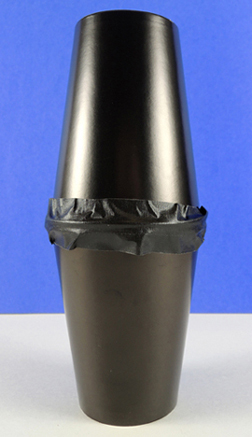 For the paper towel tube version of the project, cut the holes in the bottoms of the cups. Then place a piece of paper towel tube inside the bottom cup (our tube piece was 6.75″ long but you might have to adjust yours a little). Place the second cup over top of the first…
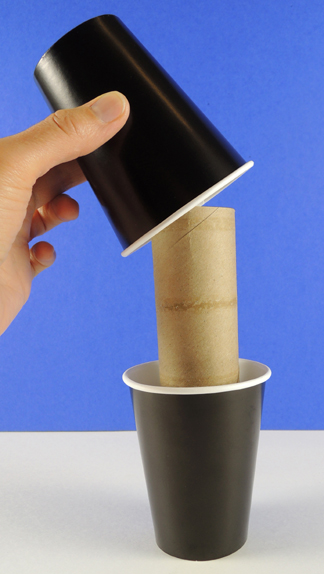 Then hot glue (or tape) the two cups together. So…is the extra effort for the paper towel version worth it? You decide! Here’s a side-by-side comparison of the 2 projects. One could argue that the paper towel tube version looks more like a spyglass, but the cups-only version is cute too.
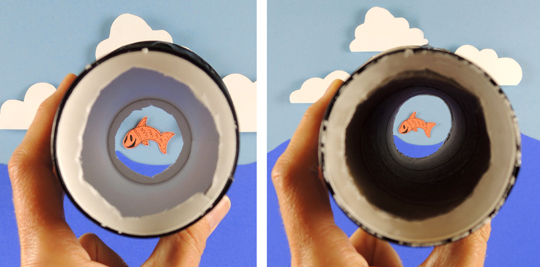 Next, cut a periscope shape out of construction paper, tab the bottom, and attach the periscope to the top of the sub. Finally, use markers to give your sub portholes, plates, rivets, and bolts. Any markers will do, but we really liked how silver metallic marker looked on the black paper cups.
 Miss Marissa designed this awesome project, and she made a fantastic I-Spy game to go with it! To play, print up the characters in this template (click
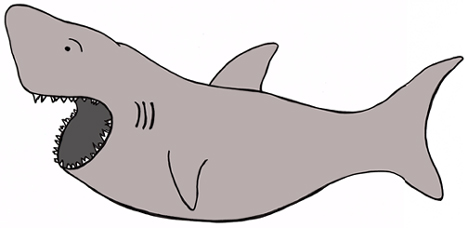
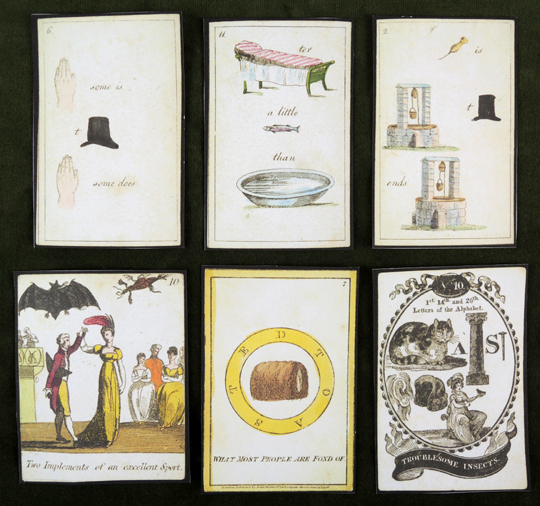
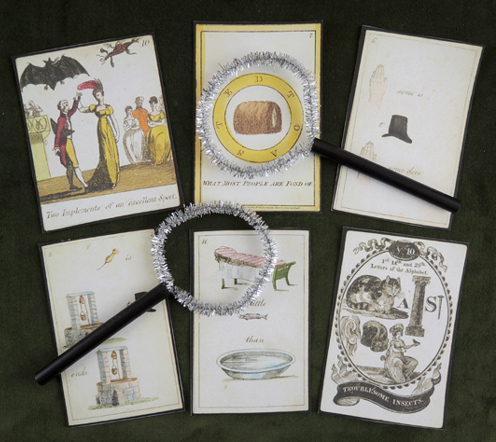 Calling all consulting detectives…grab your sparkle stem magnifying glass and examine this most intriguing collection of 18th and 19th century puzzle cards. And, while the individual man is an insoluble puzzle, the answers to these cards are at the end of the post (and you can print a set of your own)!
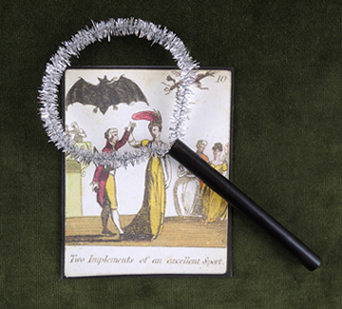 And what of those curious cards? They are reproductions of 18th and 19th century rebus puzzle cards in our library’s