
My post about dabbling in the world of watercress has led to another culinary experiment, this time from Katie’s kitchen…a splendid raspberry cordial! Do you have an literary recipe you’ve always wanted to try? By all means, let us know and we’ll give it a whirl! And without further ado, Katie’s adventures in cordial…
There are a few books from my childhood that I have read multiple times and enjoy more with each additional read. And there are a few scenes from those books that never fail to make me laugh out loud. Anne of Green Gables is one of those books. The scene when Diana gets sick drinking what Anne thought was raspberry cordial always brings me into fits of giggles. Poor Anne, who didn’t realize she was serving currant wine to Diana and made her friend “simply dead drunk” from the generous pours of the delicious beverage.
I’ve always wondered what the infamous drink tasted like, so I did a quick search online and found a plethora of recipes for raspberry cordial. I decided to use an original recipe from the official Anne of Green Gables website. The only change I made was using frozen instead of fresh raspberries, which are tough to find in the winter season.
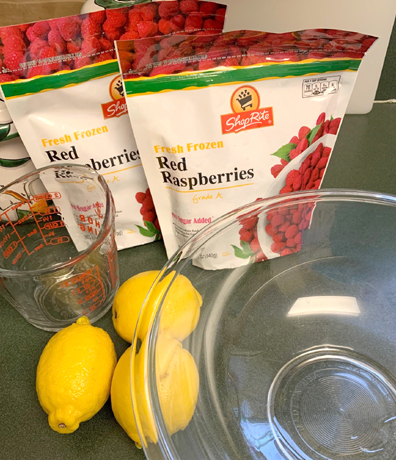
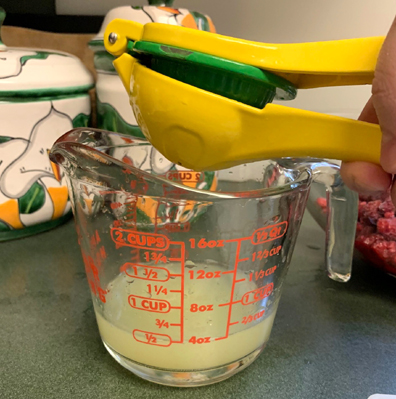
I thawed out two bags of frozen raspberries and placed them into a large bowl. Using my handy lemon/lime press, I juiced two lemons and was surprised to find I already had a ½ cup of juice.
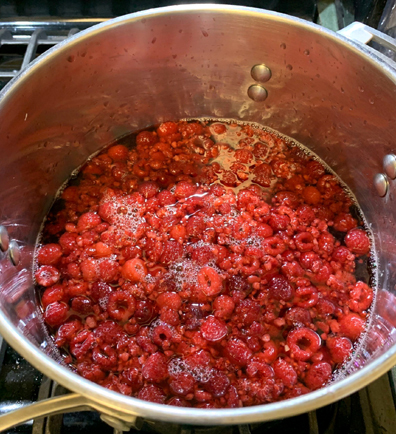
 I decided to use it all and carefully mixed it with the raspberries. Once the sugar water was ready, I transferred the raspberries in lemon juice into the pot with the boiling water and let it all cool on the stove before putting the concoction into the fridge overnight.
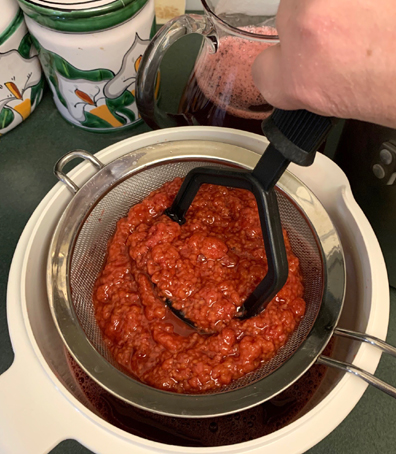
 After 24 hours, I strained the raspberry mixture through a sieve in batches so that I could make sure there were no seeds in the juice. After a quick mash of the raspberry mush and another pour through the sieve, the raspberry cordial was ready.
Raspberries are my son’s favorite fruit and he eats lemons raw (as I mentioned when he helped me make Harry Potter’s Triple Power Icy Lemon Pops). When I told him about the cordial, he was more than willing to give an official taste test. Here’s his review:
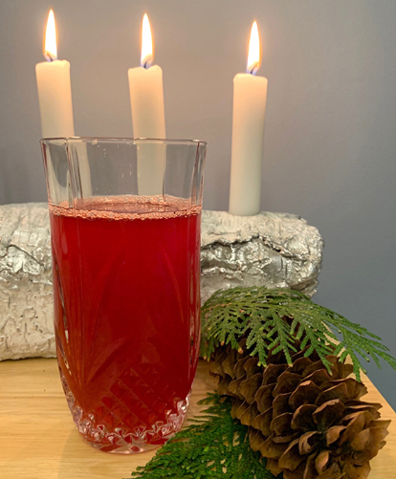
Overall, I think this drink should be a staple in every house around the world. It has the perfect mix of sour and sweet with the raspberry and lemon juices combined. I would drink this every day if I could because it’s a very high quality refreshment that can be made easily. The only thing I would say about this is to make sure to do everything in the recipe correctly, as the cordial has a very delicate taste that could be changed and you just can’t let that happen.
It’s a super simple drink that packs quite a delicious punch. It would be perfect to sip on a warm summer day while having a picnic outside with your loved ones, or enjoyed by a crackling fire on a cold snowy evening. My family and I give it our highest taste bud recommendation!
 If you are searching for other culinary inspirations, check out these interesting cooking pamphlets or learn about the book that gets Dr. Dana’s creative juices flowing.
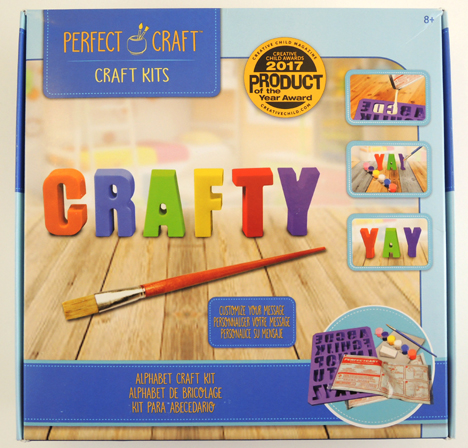
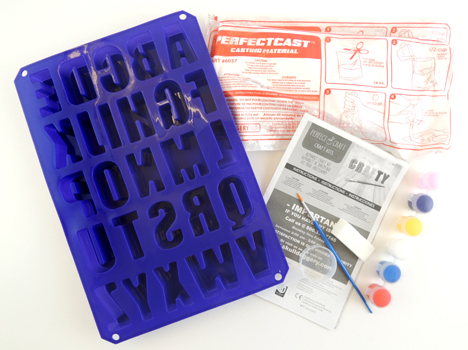
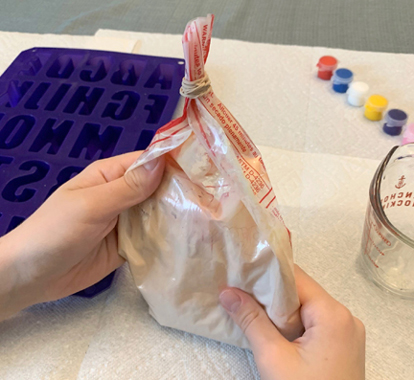
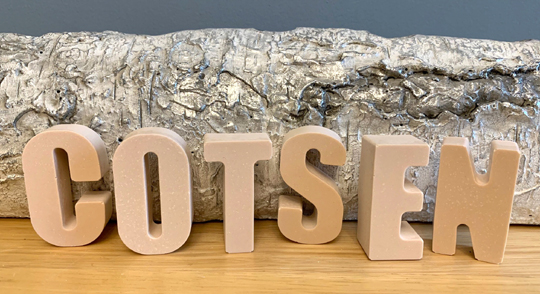
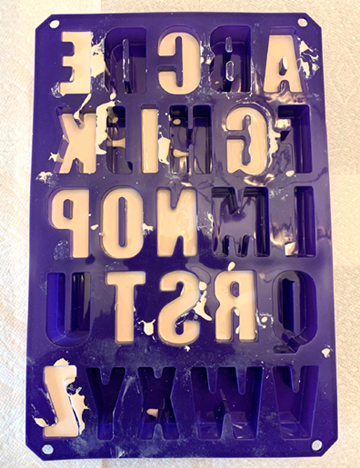 One entire bag of casting mixture allowed us to make 13 letters, but be careful! The instructions suggest you fill the letter mold about ¾ full. However, due to the fast pour of the mixture, we sometimes overfilled. As you can see, the final letters E and Z were quite thick!
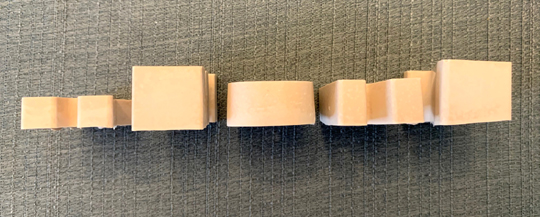

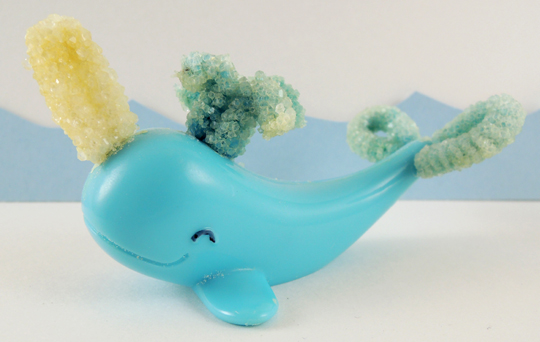
 The kit provides the basic pieces to get started. Namely an instructional booklet, 2 pipe cleaners, crystal powder, a plastic narwhal figurine, and a little paper backdrop to pose the finished product on.
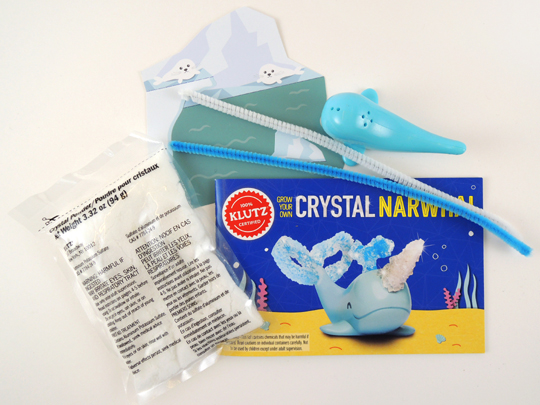 However, you will have to fill in some gaps with items you may or may not have already at home: 2 heatproof glass jars with lids (I used old jelly jars, but Bell jars would totally work), measuring cups and spoons, a plastic plate, and a pot holder or trivet. Most importantly, you need to use distilled water to make the crystal growing solutions. I bought a gallon of distilled water at the grocery store for 99 cents.
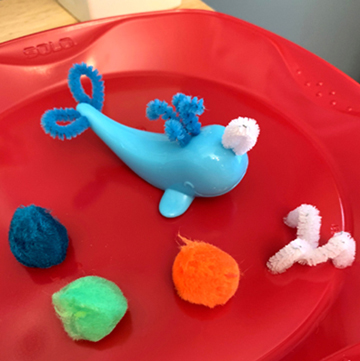 Next, you make a crystal “growing solution” and let the narwhal soak in the solution for 4-8 hours. If you made the solution correctly, crystals will grow on the pipe cleaners. Let the narwhal dry overnight, then do a second round of soaking in the growing solution. If your experiment worked, you finish with a beautiful narwhal with a crystal tusk, water spout and tail!
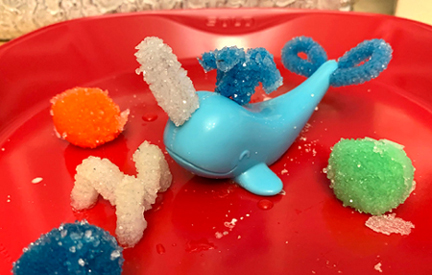 One suggestion…I had to get a bit creative with my glass jar because there wasn’t enough growing solution liquid to fully cover my narwhal. I simply rolled up a dish towel and rested my jar at an angle so the pipe cleaners were submerged.
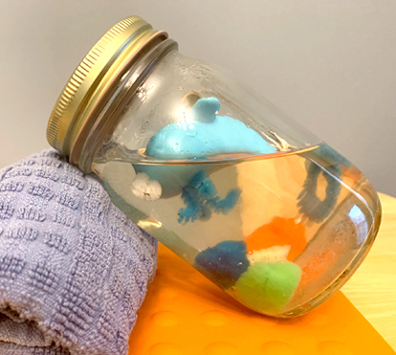 Another suggestion is using something other than your fingers to remove the narwhal from the liquid after it is done soaking. I used a wood skewer, but you can also use a plastic spoon or tongs. In fact, every time I handled the narwhal or any of the experiment materials, I thoroughly washed my hands to remove residual crystal powder (which is aluminum potassium sulfate, or alum).
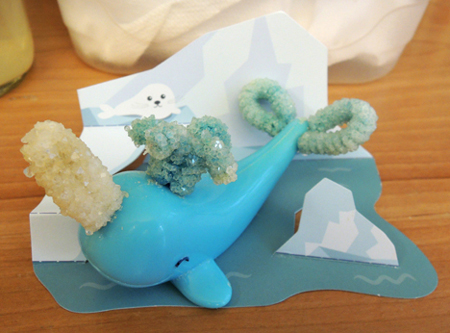 It took me 4 days to finish the project. But I allowed extra soaking time for the pom-pom “icebergs” to grow bigger crystals, so technically you can wrap up the experiment in 3 days. There is a great deal of adult supervision to complete this kit. I fully agree with the suggested age range of 8 and older with adult assistance. There is no way a child should work with stove tops, microwaves, boiling water, and chemicals without an adult present.