You all know Marissa, right? My artistic assistant, friend, and go-to companion for donut binges. You might also recall that Marissa is currently in library school at Rutgers University. But what some people do not know about Marissa Warren is that she is severely Dyslexic. A Dyslexic librarian? Is that possible?
What I’ve learned is that when it comes to Marissa, ANYTHING is possible.
In 2016, Marissa did a fantastic presentation for local parents called “Marissa Can’t Read.” It detailed her journey through childhood (she couldn’t read until she was 11!), her progression to college (she majored in History and learned Greek!), and what she hopes to accomplish in the future (ultimately, being a Youth Services librarian!). After her talk, many parents, teens, and kids came forward to thank her for giving them hope and inspiration. She also received thank you cards, e-mails, and personal letters.
Yup. That’s our amazing Marissa.
I caught up with Marissa recently to get her insights on literacy, libraries, and being a Dyslexic in the kingdom of words.
Describe your relationship with books when you were growing up.
As strange as it may seem, I loved books from a very young age. I had my own mini library in my house growing up and I would take books off the shelves and make up my own stories. Looking at letters on a page was like looking at abstract art. I wanted so badly to be able to read them. It wasn’t until I was 11 that letters started to come together to form words that my brain could recognize. I was still a slow reader but as I read more I struggled less and my reading became more fluid. Once I was able to, I read everything.
When were you first diagnosed with Dyslexia?
I was diagnosed with Dyslexia in first grade. At the time I was in a private school but due to the lack of support and understanding I was asked to leave. After I attend a school that was geared for students with Dyslexia. In my freshman year of college I was formally diagnosed with ADHD and Dyscalculia which is the math equivalent of Dyslexia. Being diagnosed with ADHD and Dyscalculia later on in my schooling was like a weight was lifted off my shoulders. There was a reason why I struggled to read but until then there hadn’t been a reason for my struggle with numbers. Being diagnosed was a validating moment.
Why did you decide to become a Youth Services librarian?
As a I got older it became clear pretty quickly that many individuals with Dyslexia didn’t like to read. Books, reading, libraries, and asking for help can be very intimidating. Even as an undergrad I was still uncomfortable asking for help in a library. There’s this fear of: What if the librarian judges me for asking for help or what if I have to tell them my secret? For a long time asking for help came with feelings of shame, which is why I avoided libraries for so long. Becoming a Youth Services librarian allows me to advocate for individuals with varying learning differences.
I’ve had several parents embarrassed that their child is struggling with reading or kids embarrassed about asking for help. The first thing I tell them every time is that I’m Dyslexic, I understand. More often than not either the child or parent lights up and says, “me too!” They go from blushing and whispering to relaxed and almost excited. Being able to connect with kids and adults who are struggling to feel like they are welcome in a place filled with words they might not be able to read is so rewarding. I decided to become a Youth Services librarian to not only shake up the idea that someone with Dyslexia could never succeed in a world of books but to also bring awareness and change to how people struggling with Dyslexia can be better integrated into the library community.
What are some helpful tools/resources or techniques you’ve utilized while working on your library degree?
My study habits change every semester depending on the courses I’m taking. What works one semester may not work another. I am constantly trying new study routines or study spaces. A few helpful hints:
- Planning: I plan out my whole semester before it starts. I color code each course and write down due dates on a calendar I keep above my dresser, in my day timer, and in Google calendar. It might seem like overkill but I’m bound to look at one of them during the day. Additionally, I make weekly To Do lists broken down by class. Marking off each completed assignment is rewarding.
- Time Management: This seems like an obvious one but because my brain works differently I know I need to build in extra time, especially in the beginning of the semester while I’m getting acquainted with my classes and professors.
- Communication: I receive special accommodations through my university. I email each professor at the beginning of the semester to let them know I’m Dyslexic, what accommodations I’ve been granted, and invite them to ask questions. Throughout the semester I email my professors weekly to ask questions about assignments, concerns, confessions, etc. I’ve learned it’s better to send 20 emails until I understand an assignment than it is to quietly struggle.
- Snacks: Food is crucial! My brain is working hard so I need to make sure I’m eating enough to keep going. It’s like trying to drive a car without fuel. You can run on fumes for a while but eventually you’ll stall out.
- Helpful Tools: For reading I use a combination of different tools. I have to mix it up since reading is so mentally exhausting. I use a Kindle which has the OpenDyslexi font, Kurzweil 3000, books, printouts so I can highlight, Audible, and bookshare. Also, highlighters. Pink is for the big idea, orange is for key topics, and yellow for the important details.
Can you share your perspectives on what it means to be a librarian with Dyslexia?
It’s awesome being a Dyslexic librarian. When I tell people that I have Dyslexia they’re always shocked that I decided to take this route. Even though I’m an adult working in a library I still struggle. When I’m tired or hungry I tend to have more issues with reading and make more mistakes. The letters move around a lot more than they usually do. I’ve learned the best way to handle my mistakes is to laugh at them. Honestly, some of the mistakes I make are pretty funny.
Being in this position gives me the chance to bring awareness of the many differences that people have which may not always be visible. I’ve had parents tell me how encouraging it was for them to see and talk to someone who struggles with reading like they do. Working in a position where there are few individuals with Dyslexia, I feel so lucky that I have made it this far because it wasn’t an easy journey.
What would you recommend for dyslexic readers (both children and adults!) who are hesitant to come to your library, or feel it isn’t a place for them?
Something that I work hard at and I think every library should strive for to be judgment free.
It’s my job as a librarian to create a space in which patrons feel safe and comfortable asking for help.
First, I would tell them that I am also Dyslexic. Second, I would explain that I want them to feel comfortable coming to the library and I would be more than happy to help them if that’s what it takes. This would extend beyond Youth Services – from signing up for a library card to finding a book in the adult nonfiction section. I’m not restricted to staying in Youth Services. Third, the library is so much more than just books! We have daily programs, clubs, and events. There is something for everyone at the library and I want to help them find their place.
We usually hear about the negative aspects of reading and Dyslexia (Ex: Dyslexia means you can’t read, you can’t enjoy books). Do you have some positive associations with reading and dyslexia?
Being Dyslexic is like having a super power. We don’t see the world like everyone else. For me, when I read the words come alive. The story becomes a movie.
Additionally, I’ve spent so much time not being able to read signs, menus, instructions, etc. that I’ve had to learn to be resourceful. When you have Dyslexia you learn tricks that help you navigate through the world. They come in handy in ways I never thought they would. In college, I was fortunate to have the chance to study in New Zealand and Greece. I traveled quite a bit to other countries, some of which didn’t speak English. Not being able to read for so long I felt quite comfortable when I was traveling in these places. I was able to use the skills I had learned as a child to get by. This realization, in a strange way, was comforting.
Your Instagram has awesome little book projects and tributes. Can you talk a little bit about creativity and literacy?
There are endless creative ways to make connections for children. Using creativity extends beyond making literacy connections to science, math, geography, art, music, etc. One of the benefits to working in a library setting is that we don’t have the academic restraints that schools do. Libraries can be a place where kids come to explore, experiment, and discover connections and interests without pressure.
When I read picture books, fiction, or nonfiction certain aspects of the book jump out at me. It’s then that my brain starts to form a project, program, or game. I have a long list of books and projects ideas that I hope to use.
What are you up to now?
I’m getting close to finishing my masters! I have one semester left in the fall. This March I will be attending Bologna Children’s Book Fair in Bologna, Italy. I will be interviewing international book sellers for a course I’m taking on international children’s books. Additionally, I’ve been learning the ins and outs of the public library world by creating programs and learning to run story times at the Princeton Public Library. Of course, I will continue to be inspired by books and create projects from them.
I’d like to conclude this interview with what I’m calling the”Marissa Warren Hall of Fame.” These are some projects, sets, and programs that she put her marvelous talents into. The last one is a doozy!
1950s DINER
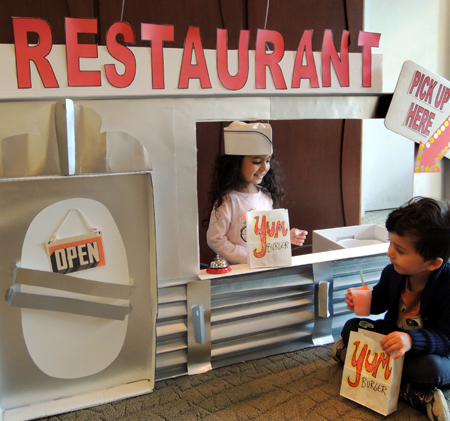 Story time set for Hamburger Heaven (Houghton Mifflin, 1999).
SUBMARINE
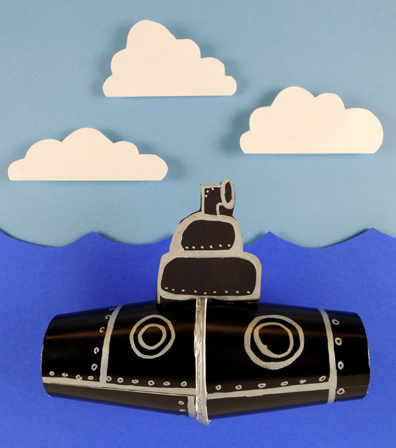 Simple project for Rub-a-Dub Sub (Harcourt, 2003).
PIG MARCHING BAND
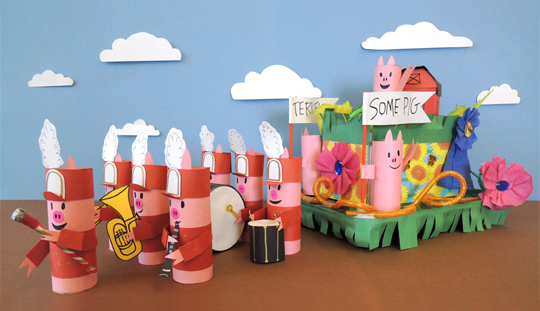 Blog set piece created for Pig Parade (Simon & Schuster, 2010).
MULTI-LENS CAMERA
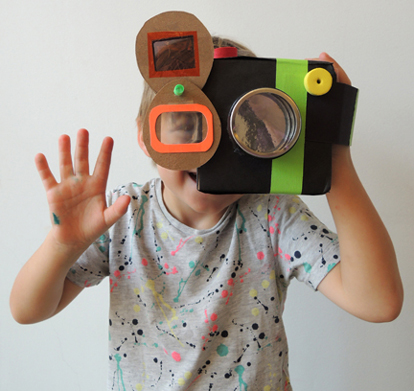
Story time project for Young Charlotte, Filmmaker (Harry N. Abrams, 2015).
HAUNTED HOUSE
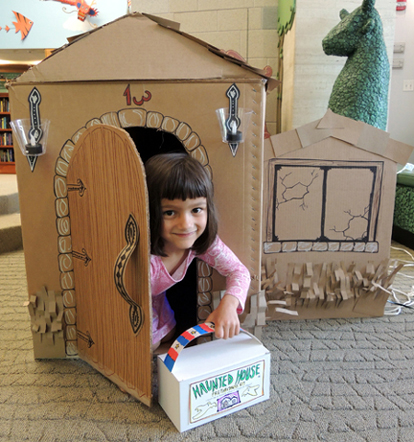 Story time set for I’m Not Afraid of this Haunted House (Carolrhoda Books, 2005).
VW BUS
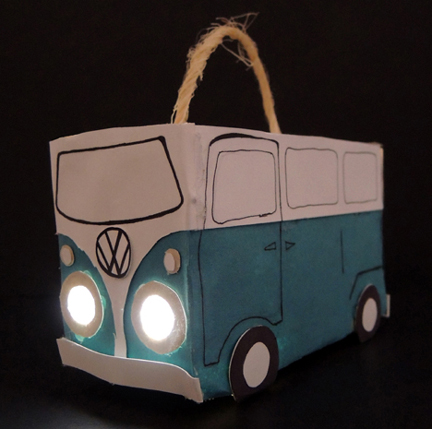 Simple project for Night Light (Orchard Books, 2013)
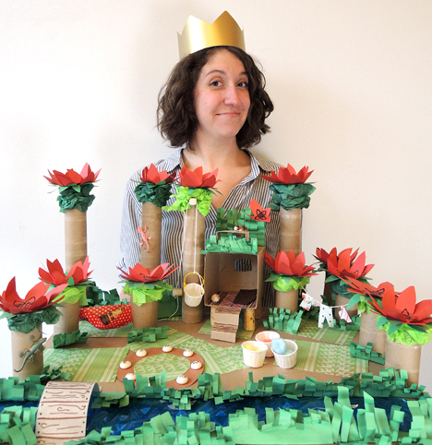
BUTTERFLY GARDEN
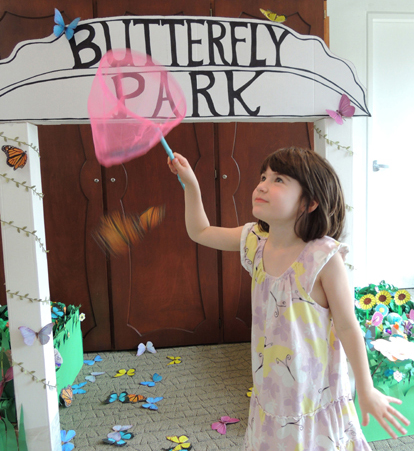 Story time set for Butterfly Park (Running Press, 2015).
ANYTHING WITH A DINOSAUR ONESIE
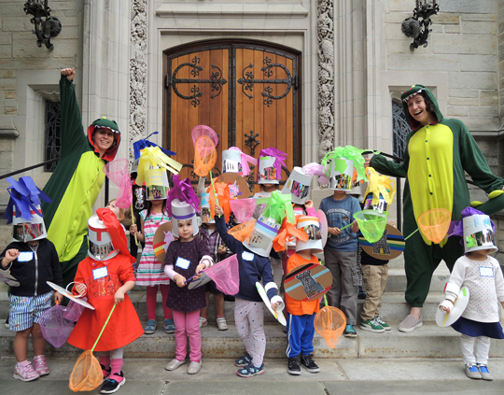 As seen at The Kiss That Missed (Barron’s Educational Series, 2002) story time and The Library Dragon (Peachtree, 1994) story time. And, uh, sometimes we just wore these around the office.
VICTORIAN TEA
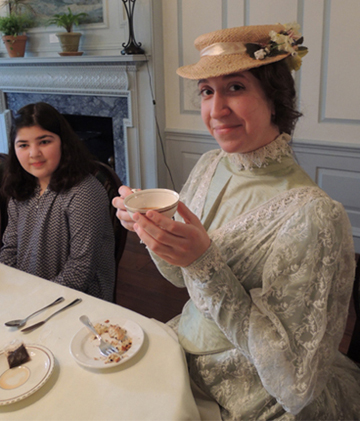 Contributions included historical research and program design. Plus, rocking that hat.
AND FINALLY…
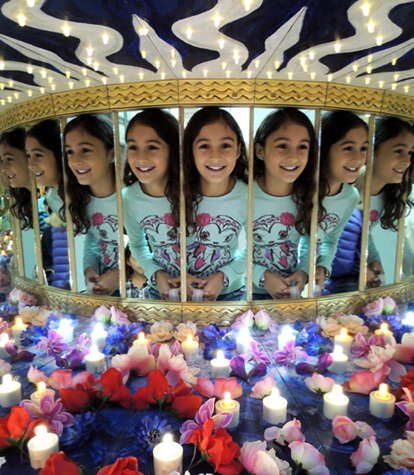
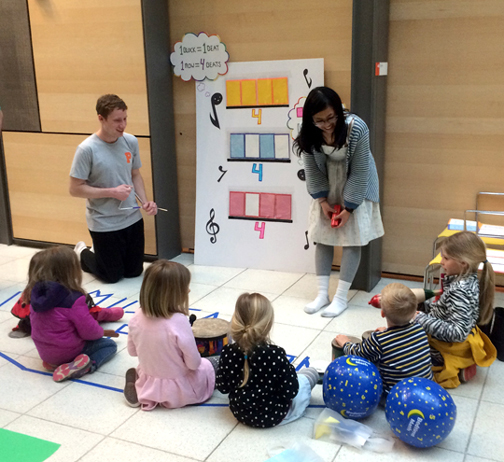
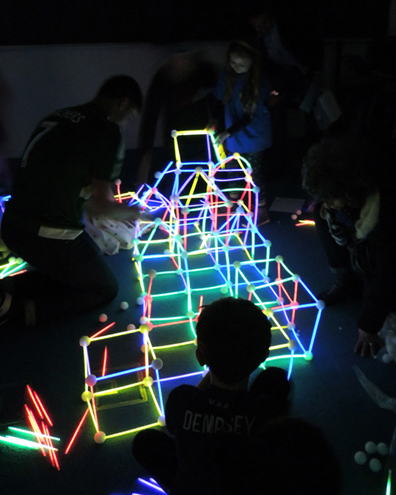
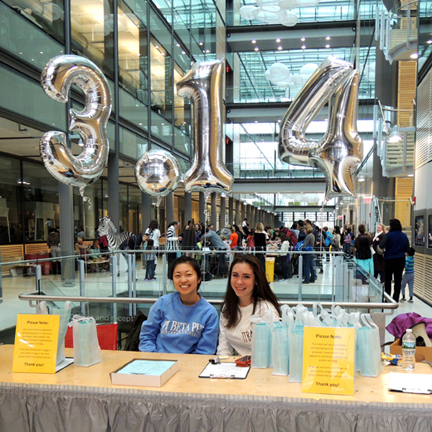
Marissa mentioned that she has Dyscalculia, the math equivalent of Dyslexia. I have it too. In spades. Well, as fortune would have it, Norton Juster was coming to campus for my live webcast, and Marissa and I decided it would be awesome to create large-scale event about the mathematical kingdom in The Phantom Tollbooth.
It was hard. We almost quit at least 5 times. But we stuck in there and had a sense of humor about it. There were times when we would end up laughing hysterically because we couldn’t figure out a simple concept from a children’s math book. But in the end, success! We delivered a unique event for both the math-phobic and the math-phillic. So the final Marissa Warren Hall of Fame entry goes to…
A DAY IN DIGITOPOLIS!
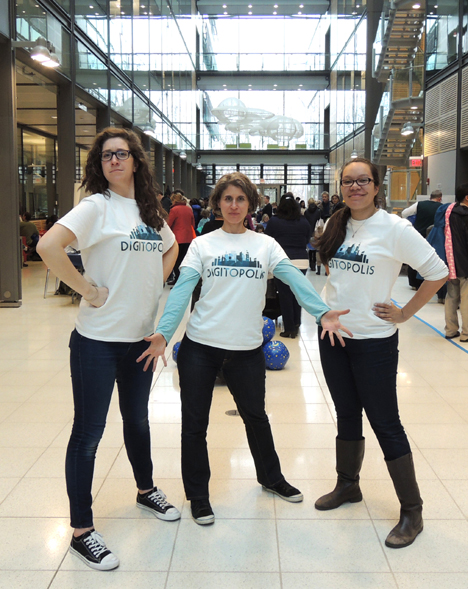 Co-partnered with Bedtime Math, the event involved 4 local businesses, 5 non-profit organizations and community groups, 2 University departments/organizations, 6 University student groups, 6 individual University students, and the combined forces of dozens of University student volunteers. The event was so huge, I had to break it down into 2 blog posts. Here’s Part I, and here’s Part II.
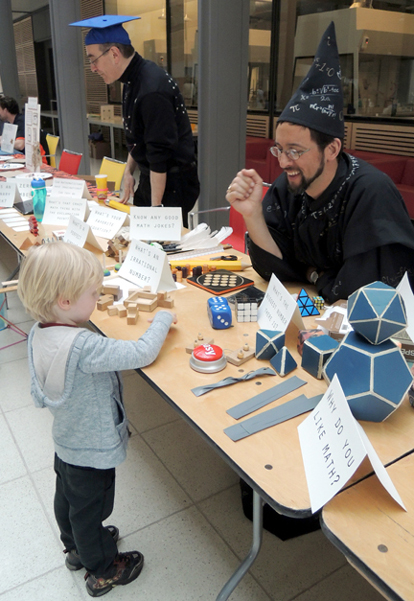
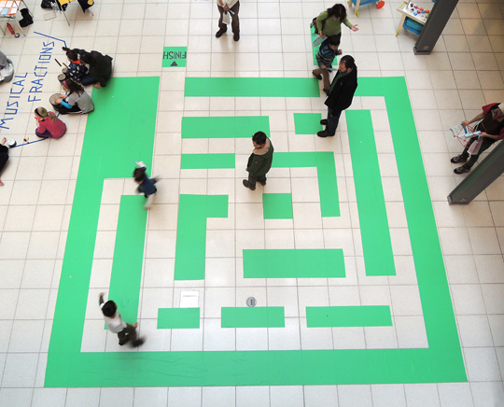
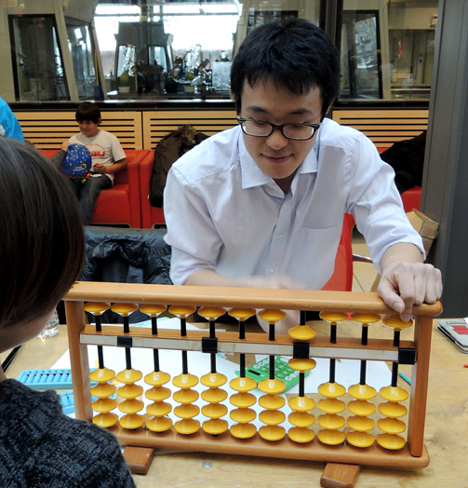

Marissa, is it an honor to know you, and one of the greatest privileges of my career to have worked with you. You’ve shown me how to stand up, and push through, with humor and grace. Go and illuminate the library world girl. You’re a marvel.

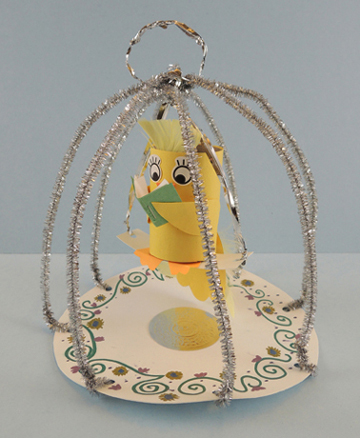
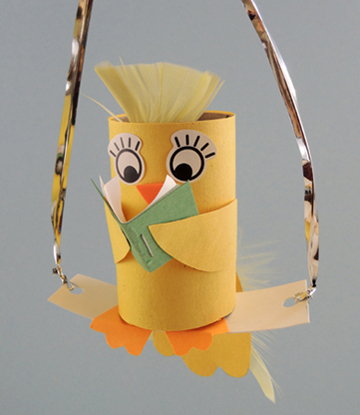 When it’s time for your next library visit, perhaps you’d consider bringing a canary with you? I hear they’re friendly, quiet, and quite avid readers. Make a sweet little canary on a perch and a sparkly, decorative birdcage to go with it. And don’t forget that mini library book!
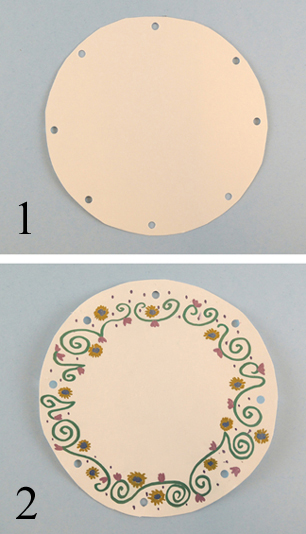
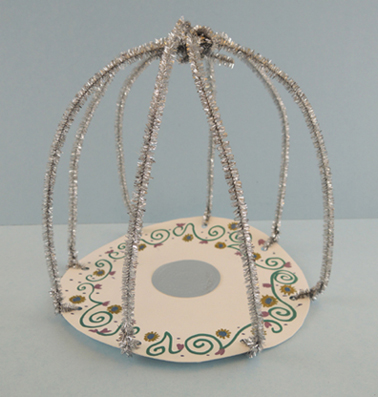
 We’ll begin with the birdcage, and finish with the reading canary! Punch 8 symmetrical holes into a circle of poster board, then decorate the poster board with markers (we used Crayola metallic markers and they looked fantastic).
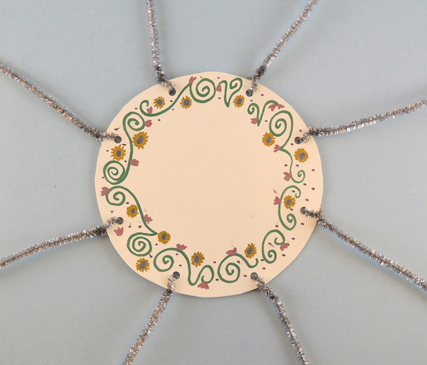
 Wrap the ends of 8 sparkle stems through each hole.
 Gather the free ends of the sparkle stems together over top of the poster board circle. Adjust the stems, as needed, to create a birdcage, then twist the ends of the stems together. We also added a decorative silver
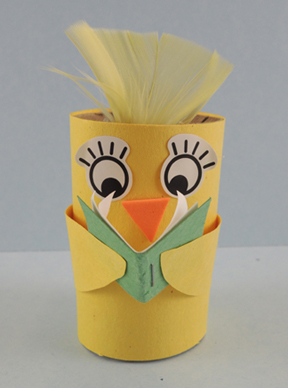
  To make the canary, cut a toilet paper tube down to 2.75″ and wrap it with yellow construction paper. Add a small feather crest, and use markers to draw a beak and eyes (or use
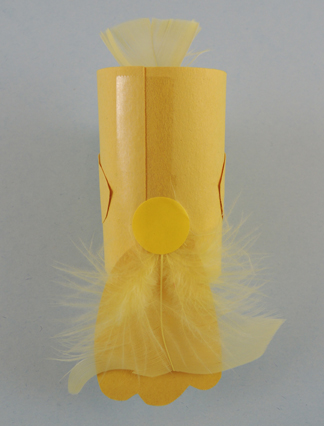
  Cut a tail out of yellow construction paper (our tail was about 2.75″ long). Hot glue (or tape) it to the canary’s body, and add a small feather on top. We covered the top of the feather with a yellow
  Now for the perch! Punch a hole in each end of a 1″ x 3.75″ piece of poster board. Cut a pair of orange canary feet from construction paper, then hot glue them in the center of the perch. Finally, hot glue a 0.75″ x 6″ strip of tagboard on top of the feet. Bend both ends of the tagboard strip upwards to create perch “prongs.” Your perch should now look like this:
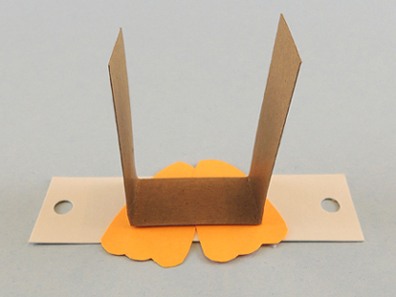 Slide the prongs into the bird tube, then secure them to the inside of the tube with tape.
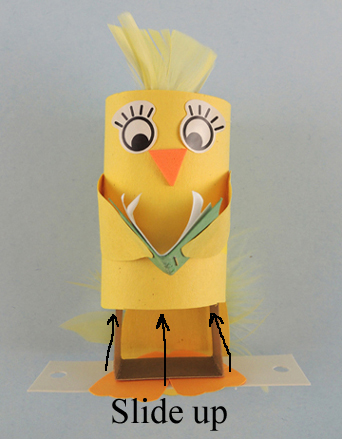 Next, wrap a silver craft tie in each hole of the perch. Bring the ties over the canary’s head and twist them together. Note! Because of the height of the birdcage, you’ll need to twist the craft ties fairly close to the top of the canary’s head. Finally, curl the little orange canary toes over the edge of the perch.
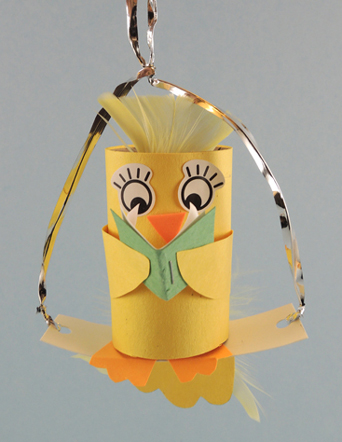 Slide your perched canary inside the cage, adjust for height, and then wrap the free ends of the craft ties around the top of the cage to secure it in place. Circle and twist the extra craft tie to create a carrying handle for your birdcage.