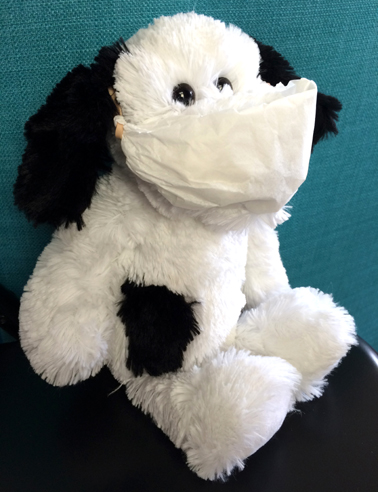
Today’s simple project is the result of a news photo I saw the other day…an exhausted-looking mother in NYC, pushing a heavily covered baby carriage. She was wearing a medical mask. Gripping tightly to her other hand was a little boy, also in a mask, toting a stuffed dog.
But the stuffed dog wasn’t wearing a mask. And my daughter has the exact same stuffed dog. Something in my heart just pulled.
So here’s how to use two common household items to make a mask for those most beloved companions. The ones your children reach to for comfort and reassurance. And hey, if you want to give Domino the Dog a quick cuddle yourself, you just go and do that.
You’ll need:
- 1 flat bottom/basket style coffee filter
- 2 rubber bands
- Scissors
Apologies for the image quality…I’m shooting from my not-so-camera-ready home studio!
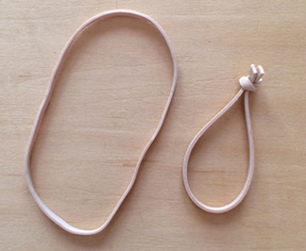
Stuffed animal heads, noses, and ears vary wildly, so you might have to cut the coffee filter down a bit. Same goes for the rubber bands! You can see how I shortened my rubber band below:
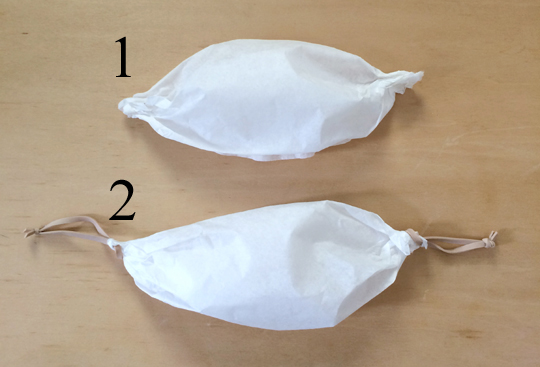
Flatten the coffee filter, then fold the top and bottom inwards like a burrito. The size of the folds will, of course, vary with the size of your stuffed animal’s head.

Now tightly bunch both ends of the folded coffee filter. Use scissors to snip a small hole in the bunching on each side (and aim a little ways in from the ends so the rubber bands don’t tear through). Finish by looping rubber bands through the holes.
Slide the mask over your stuffed animal’s nose and face, and the rubber bands behind its ears. Adjust as needed. Stay safe, little friend!
 Theoretically speaking, what WOULD happen if a llama created a black hole with his overzealous cake consumption? Would the world survive?
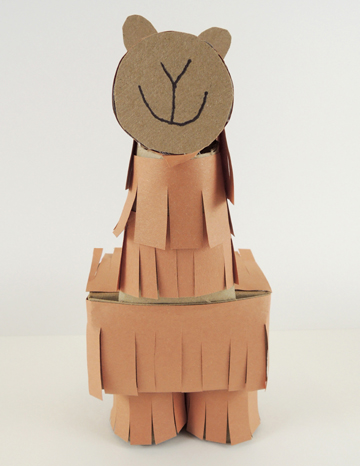
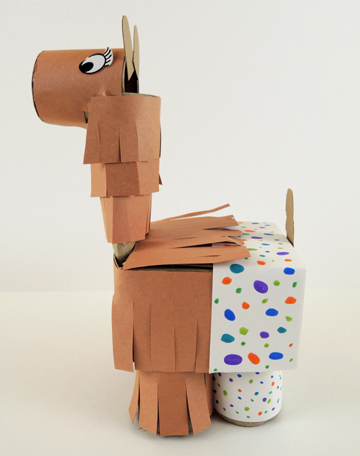 First, wrap 4 toilet paper tubes with constructions paper…2 with brown paper fringes, 2 with plain white. Next, cut the bottom off a small box (like a square tissue box). Then set the box on top of the legs (we hot glued the legs in place, too). The rest of the box gets decorated with brown construction paper fringes and white construction paper “pants.”
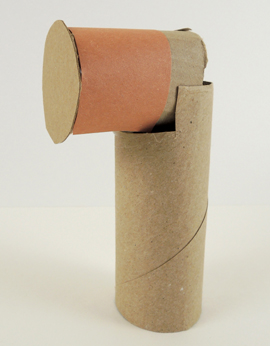 Now wrap the neck with brown construction paper fringes, pinch the bottom of the neck, and slide it into the front of the box (if you’re using a tissue box, you’ll need to cut a slit in the box). Use spare cardboard to make llama ears and a tail, add some eyes, and you’re done!
 We decided to take the project one step further by introducing a black hole activity (and yup, crafting a black hole was a first in my long history of story times!). First, we had kids make pies and cakes using a paper cup, tin foil, and a paper baking cup.
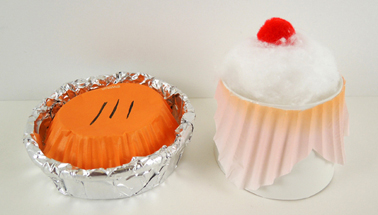 The pie tin is the top of the paper cup (i.e. the open mouth part of the cup) wrapped in tin foil. The pie is the bottom of a paper baking cup.
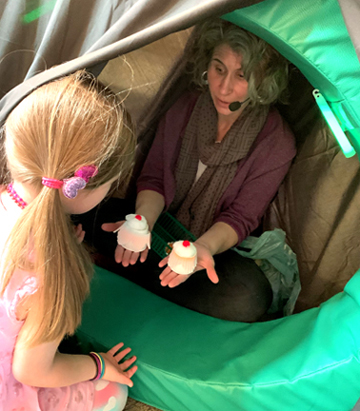 I sat inside, and kids had to enter the black hole, look at the 2 cakes and 2 pies “floating” inside it, and select the one they had created!
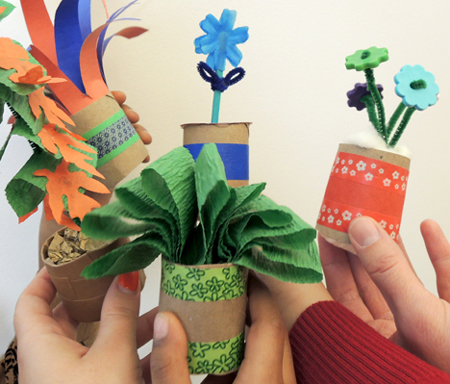
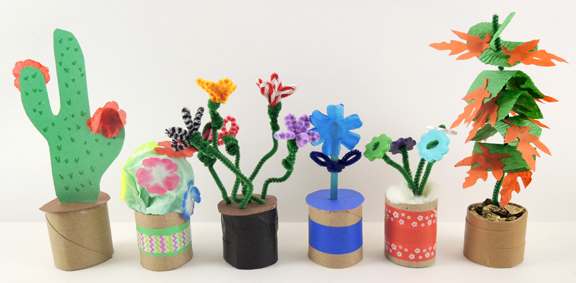
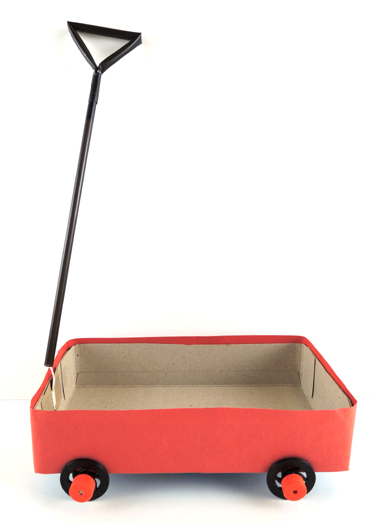 When the wagons were assembled, kids popped their potted plants in and we circled the library’s lobby. Everyone was invited to trade at least one pot with Katie (and we pre-made a number pots for this purpose).